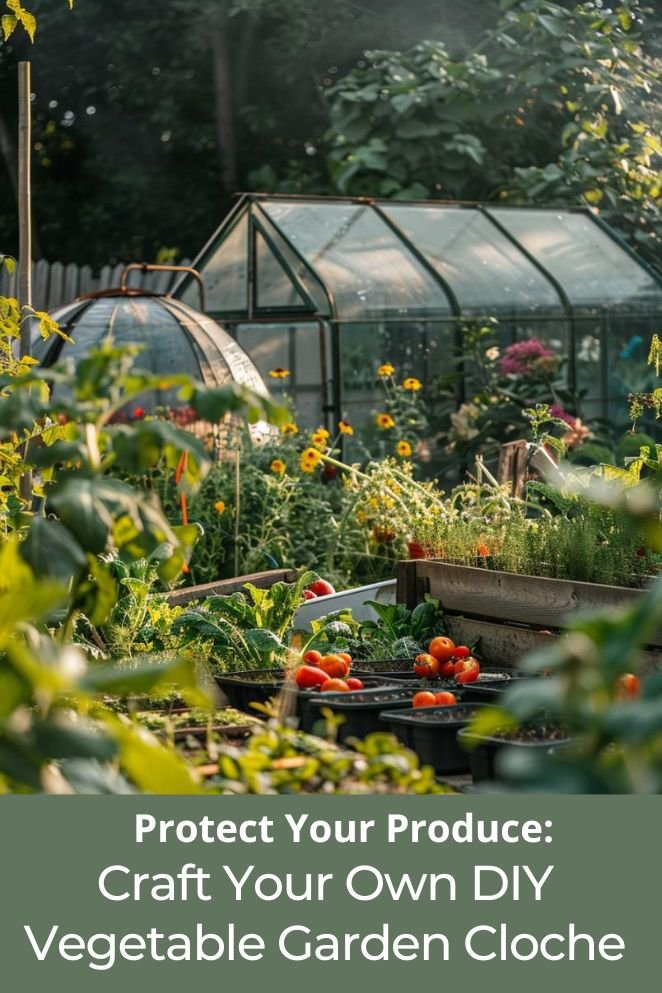
Growing your own vegetables is immensely rewarding, but it comes with its challenges.
One effective way to protect your precious plants from harsh weather, pests, and fluctuating temperatures is by using a garden cloche.
In this blog post, we’ll delve into the world of DIY vegetable garden cloches, exploring different types, how to make them, and tips for using them effectively.
By the end of this guide, you’ll be ready to create your own cloche and ensure your garden thrives!
Types of DIY Cloches
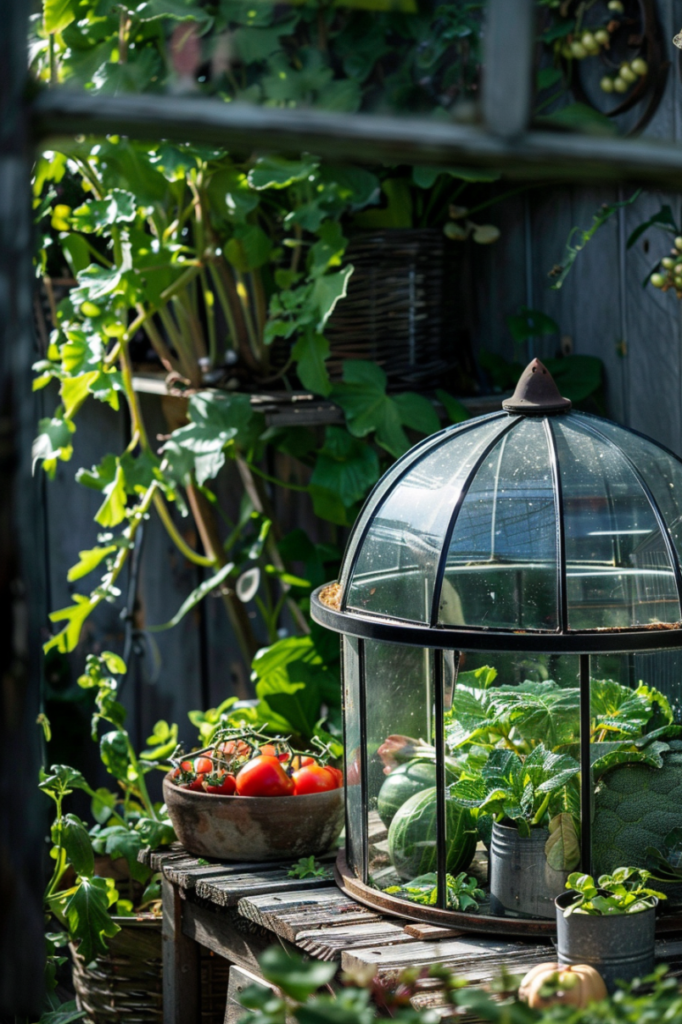
Cloches are useful structures in gardening that protect plants from cold weather, pests, and harsh elements.
Here are different types of DIY cloches you can make at home:
Repurposed cloche
A repurposed cloche is a budget-friendly option that uses materials you already have.
You can repurpose items like old plastic bottles, jars, or even clear umbrellas.
These materials are great for creating small cloches that protect individual plants or seedlings.
They are eco-friendly and allow you to recycle household items creatively.
- Read also: Grow Anywhere: DIY Container Ideas For Vegetables
- Read also: Grow Your Own! DIY Vegetable Garden for Beginners
Hoop and cover cloche
A hoop and cover cloche is versatile and suitable for larger garden areas.
It involves creating a hoop structure using materials such as PVC pipes or wire bent into arcs.
You then cover the hoops with plastic sheeting or fabric.
This design is flexible in size and can protect rows of plants or larger garden beds.
It provides good insulation and protection against frost or pests.
Wooden frame cloche
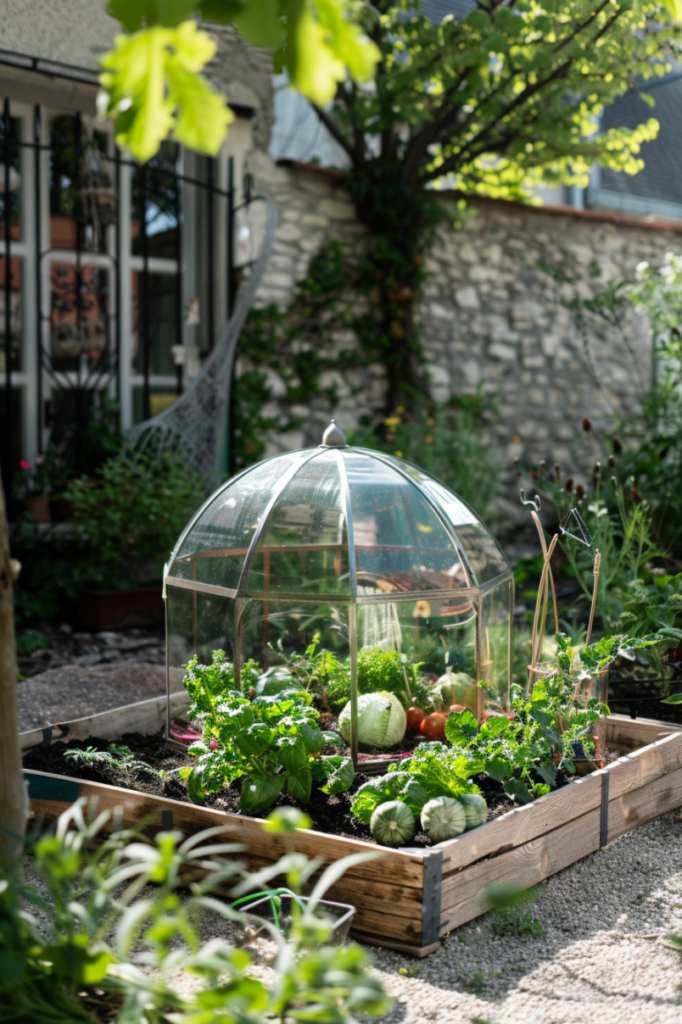
A wooden frame cloche is sturdy and provides long-term protection for your plants.
It consists of a frame made from wood, which can be treated to withstand outdoor conditions.
The frame is covered with clear plastic or glass, creating a greenhouse-like environment.
Wooden frame cloches are ideal for raised beds or areas where you want durable protection throughout the seasons.
They offer better insulation and can help extend the growing season for delicate plants.
Step-by-Step Creating a DIY Vegetable Garden Cloche
Now that we’ve covered the types of cloches, let’s dive into creating your own DIY vegetable garden cloche.
We’ll focus on a simple yet effective hoop and cover cloche.
Materials needed
- PVC pipes or flexible wire (for the hoop)
- Plastic sheeting or garden fabric (for the cover)
- Garden staples or stakes (to secure the cover)
- Zip ties or duct tape (for securing the hoops)
- Scissors or a utility knife
Step-by-step instructions
Building a hoop and cover cloche is a practical way to protect your garden plants from the elements.
Here’s how you can create one:
Measure your garden bed
Start by measuring the length and width of your garden bed where you want to place the cloche.
This helps you determine the size of the hoops and cover you’ll need to adequately protect your plants.
Cut the hoops
Cut PVC pipes or flexible wire into segments that, when bent, will form arches over your garden bed.
Typically, you’ll need hoops spaced every 2-3 feet along the length of the bed.
Adjust the length of the hoops based on the width of your garden bed.
Install the hoops
Insert the ends of each hoop into the soil on either side of the garden bed.
Arrange the hoops in a row to create a series of arches that span the length of the bed.
Ensure the hoops are evenly spaced and stable in the ground.
Secure the hoops
For added stability, secure the tops of the hoops together using zip ties or duct tape.
This helps to keep the structure intact and prevents the hoops from shifting or collapsing under weather conditions.
Cover the hoops
Drape a sheet of plastic or garden fabric over the hoops, ensuring it covers the entire length of the garden bed.
The cover should reach down to the ground on both sides of the bed to provide maximum protection for your plants.
Secure the cover
Use garden staples, stakes, or heavy objects (like rocks or bricks) to secure the edges of the cover to the ground.
This prevents the cover from blowing away in strong winds and ensures it stays in place during inclement weather.
Adjust as needed
Check the tension of the cover to ensure it’s taut but not overly tight.
The cover should have some slack to accommodate plant growth and allow for adequate air circulation.
Adjust the positioning and tension of the cover as necessary to optimize protection for your plants.
Tips for Using Your DIY Cloche
Using a DIY cloche in your garden can help protect your plants and extend your growing season.
Here are some practical tips to ensure you get the most out of your cloche:
Monitor temperature
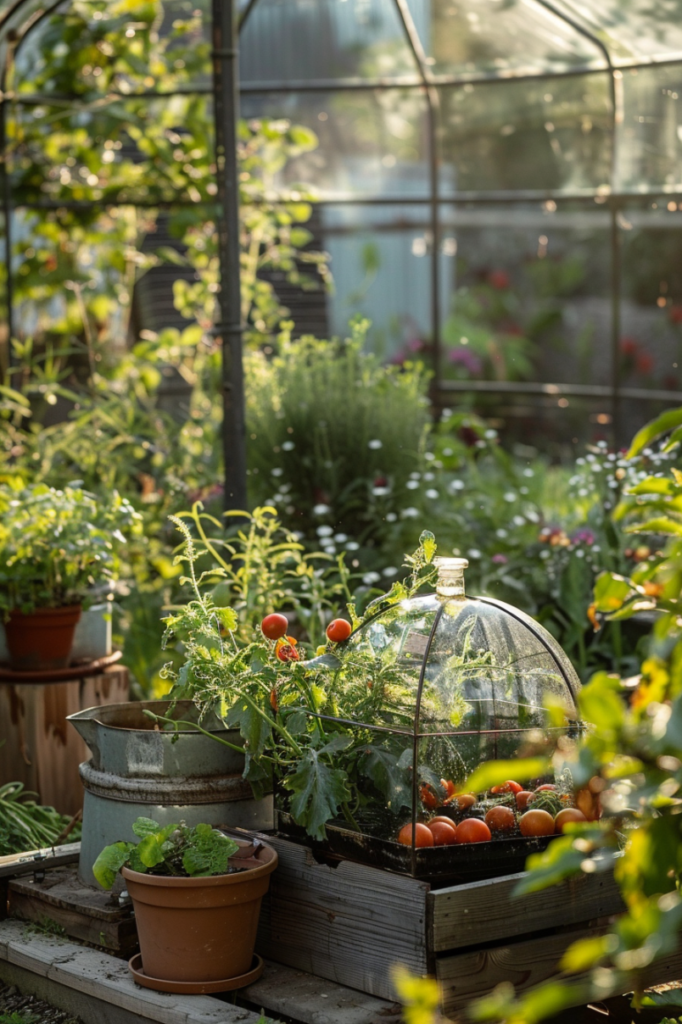
On sunny days, temperatures inside the cloche can rise quickly, creating a greenhouse effect.
To prevent overheating, it’s important to monitor the temperature regularly.
Consider lifting the cover slightly or rolling up the sides to allow for ventilation and regulate the internal temperature.
This helps maintain a comfortable environment for your plants and prevents them from getting too hot.
Water regularly
Cloches can limit the amount of rainwater that reaches your plants, especially if they are covered with plastic or fabric.
It’s essential to water your plants regularly, ensuring they receive an adequate amount of moisture.
Check the soil moisture levels frequently and adjust your watering schedule as needed to keep your plants healthy and hydrated.
Check for pests
While cloches provide protection from many pests, they can also inadvertently trap pests inside with your plants.
Regularly inspect your plants and the interior of the cloche for any signs of pests or unwanted visitors.
Remove pests promptly to prevent damage to your plants and maintain a healthy garden environment.
Seasonal use
Use your DIY cloche primarily in early spring or late fall when temperatures are cooler and frost is a concern.
Cloches help to create a warmer microclimate that encourages early planting or protects tender plants from late frosts.
However, during the hot summer months, excessive heat can build up inside the cloche, potentially harming your plants.
Consider removing the cover or ventilating the cloche to prevent overheating and allow for adequate airflow.
- Read also: Grow Your Own! DIY Vegetable Garden for Beginners
- Read also: Balcony to Farm Fresh: DIY Vegetable Garden on a Balcony
Conclusion
Creating a DIY vegetable garden cloche is a fantastic way to protect your plants and extend your growing season.
Whether you choose a repurposed cloche, a hoop and cover cloche, or a wooden frame cloche, you’ll provide your plants with a better environment to thrive.
Follow the steps and tips outlined in this guide, and you’ll have a functional cloche in no time.
FAQs
Garden cloches protect plants from harsh weather, pests, and fluctuating temperatures, creating a more stable growing environment.
It’s best to use UV-resistant plastic sheeting designed for gardening, as it will last longer and provide better protection.
Ventilate your cloche by lifting the cover or rolling up the sides on warm days to prevent overheating.
Cloches are best used in early spring and late fall. In summer, remove or ventilate the cloche to avoid overheating.
Use garden staples or stakes to anchor the cover securely to the ground and ensure the hoops are firmly in place.

