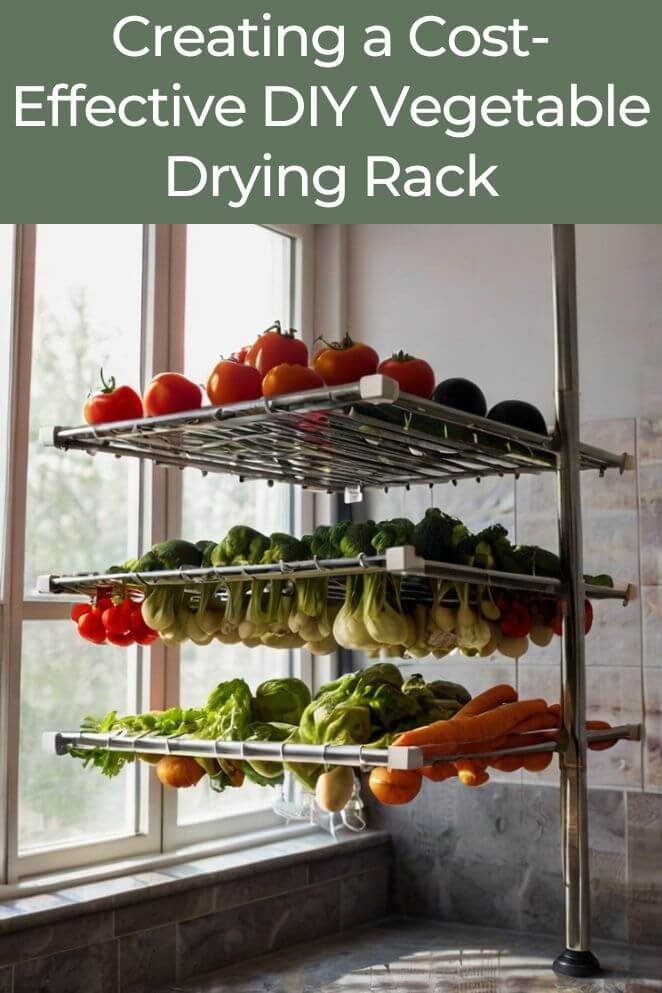
Drying vegetables at home is a fantastic way to preserve your garden’s bounty and enjoy delicious, nutrient-rich produce year-round.
Whether you’re a seasoned gardener or just starting, building a DIY vegetable drying rack can be an incredibly rewarding project.
In this blog post, we’ll explore the benefits of drying vegetables at home and guide you through two DIY options: a simple screen drying rack for beginners and a multi-tiered wooden drying rack for larger batches.
Benefits of Drying Vegetables at Home
Drying vegetables at home offers several advantages that can enhance your culinary experiences, save you money, and boost your nutritional intake.
Here’s a closer look at these benefits:
- Read also: Shelf-Made Drying: DIY Drying Herb Rack for Every Kitchen
- Read also: Protect Your Produce: Craft Your DIY Vegetable Garden Cloche
Convenience and cost savings
- Easy meal preparation: Having dried vegetables on hand means you can quickly add them to soups, stews, casseroles, and other dishes.
- Reduced waste: By drying your vegetables, you extend their shelf life significantly, reducing food waste. Dried vegetables can last for months when stored properly.
- Cost savings: Drying your vegetables can save you money in the long run. Fresh vegetables are often cheaper than commercially dried ones.
Nutritional benefits
- Preserved nutrients: Drying vegetables helps retain essential vitamins and minerals that are beneficial for your health.
- Healthy snacking: Dried vegetables can be a nutritious snack option. They are low in calories and rich in fiber, making them a healthy alternative to processed snacks.
- Control over ingredients: When you dry vegetables at home, you have complete control over the process.
Option 1: Simple Screen Drying Rack (Great for Beginners)
Materials
- Wooden frames (or old picture frames)
- Fine mesh screen or cheesecloth
- Staple gun or nails
- Sandpaper
- Wood glue (optional)
Instructions
Here’s a detailed, step-by-step guide to creating your own vegetable drying rack using simple materials.
Step 1: Prepare the frames
- Choose your frames: Start with sturdy picture frames, either new or old ones you have around the house. Make sure they are in good condition.
- Clean and sand: Clean the frames thoroughly to remove any dust or dirt. If you’re using old frames, sand any rough edges to prevent splinters.
Step 2: Attach the screen
- Select your screen material: These materials allow air to circulate around the vegetables, which is essential for proper drying.
- Cut to size: Measure the inner dimensions of your frames and cut the screen or cheesecloth to fit.
- Stretch and secure: Place the cut screen over the back of the frame. Stretch it tightly to avoid sagging, which could affect the drying process.
Step 3: Assemble the rack
- Create multiple layers: If you want to dry a large quantity of vegetables at once, consider making a multi-layer rack.
- Ensure stability: Make sure your stacked frames are stable and won’t tip over. You can secure the frames together with small clamps or ties if needed.
Step 4: Place Vegetables on the Rack
- Prepare your vegetables: Wash and slice or chop your vegetables into uniform pieces. This ensures even drying. Thin, evenly-sized pieces will dry faster and more uniformly.
- Arrange on the screen: Place the prepared vegetables in a single layer on the screen. Avoid overlapping pieces, as this can prevent proper airflow.
Step 5: Dry the Vegetables
- Find the right location: Place your drying rack in a well-ventilated area with good airflow and low humidity.
- Enhance airflow: If the air circulation isn’t sufficient, you can use a fan to speed up the drying process. Position the fan so it blows air across the vegetables.
- Monitor progress: Check the vegetables regularly to monitor their progress. Depending on the type and thickness of the vegetables and the drying conditions.
Tips
Choose the right vegetables
Some vegetables are better suited for drying than others.
Starting with the right vegetables can make the process smoother and more successful, especially for beginners.
- Tomatoes: They have a high water content, which makes them ideal for drying. Once dried, they become chewy and intensely flavorful.
- Peppers: Both sweet and hot peppers dry well. Dried peppers can be ground into powder or rehydrated for cooking.
- Herbs: Herbs like basil, thyme, rosemary, and oregano are perfect for drying. They retain their flavor well and can be easily crumbled into dishes for seasoning.
Slice evenly
Uniformity in slicing is crucial for consistent drying.
When vegetables are cut into even slices, they dry at the same rate.
This helps prevent some pieces from becoming over-dried while others remain too moist.
- Thickness: Aim for slices that are about 1/4 inch thick. This thickness allows for efficient drying without becoming too brittle.
- Consistency: Use a mandoline or a sharp knife to achieve consistent thickness. Consistency ensures that all slices dry uniformly.
- Preparation: Wash and dry your vegetables thoroughly before slicing. Remove any damaged or bruised parts to ensure the best quality for drying.
Monitor drying
Regularly checking on your drying vegetables is essential to achieve the best results.
Monitoring the drying process helps you avoid over-drying, which can lead to brittle and less flavorful vegetables.
- Frequency: Check your vegetables every few hours, especially during the initial stages of drying when they still contain a lot of moisture.
- Signs of over-drying: Vegetables that are over-dried can become brittle and lose their flavor.
- Adjusting: If you notice some pieces drying faster than others, you can rotate the trays or move pieces around to ensure even drying.
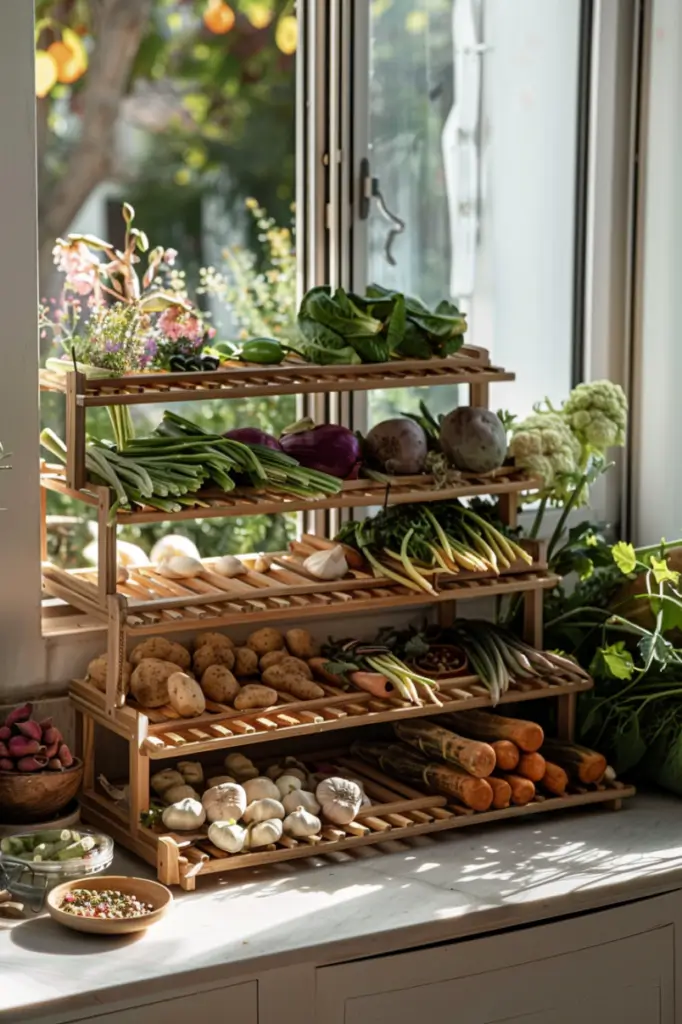
Option 2: Multi-Tiered Wooden Drying Rack (For Larger Batches)
Materials
- Wooden boards (for the frame and tiers)
- Fine mesh screen
- Wood screws and nails
- Drill and saw
- Sandpaper
- Hinges (optional, for collapsible racks)
- Wood glue
Instructions
Step 1: Build the frame
- Materials needed: Gather your materials. You’ll need wooden boards, screws, wood glue, a saw, and a drill.
- Cut the boards: Decide on the size of your drying rack. Common dimensions might be around 2 feet by 3 feet, but you can adjust based on your needs.
- Assemble the frame: Lay out the boards to form a rectangle or square frame. Apply wood glue at the joints for added stability.
Step 2: Create tiers
- Additional boards for tiers: Measure and cut additional wooden boards for the tiers. The number of tiers will depend on how much drying space you need.
- Attach the mesh screen: Cut pieces of mesh screen to fit the size of each tier. Place the screen over the boards and stretch it tight.
Step 3: Assemble the rack
- Attach tiers to frame: Start attaching the tiers to the main frame. Ensure there is enough space between each tier for proper airflow.
- Collapsible option: If you want a collapsible rack for easy storage, attach hinges to the sides of the frame. This way, you can fold the rack flat when it’s not in use.
Step 4: Place vegetables on the tiers
- Prepare vegetables: Wash and slice your vegetables into uniform pieces. This ensures even drying.
- Arrange on the mesh: Place the sliced vegetables in a single layer on each tier. Make sure the pieces are not overlapping.
Step 5: Dry the vegetables
- Find the right spot: Position your drying rack in a sunny, well-ventilated area. Outdoors is great if the weather is dry and warm.
- Use a fan: To speed up the drying process, you can use a fan to enhance air circulation. Position the fan so it blows gently across the vegetables without disturbing them.
- Monitor the progress: Check the vegetables regularly. Depending on the type of vegetable and the drying conditions.
Tips
Use quality wood
When constructing your vegetable drying rack, selecting the right materials is essential for both the safety and longevity of your setup.
- Durable wood: Opt for sturdy, durable wood types like cedar or pine. These woods can withstand the weight of the vegetables and the humidity of the drying process.
- Untreated wood: Ensure the wood is untreated and free from chemicals. Treated wood can release harmful substances that might contaminate your vegetables.
- Smooth finish: Sand the wood thoroughly to avoid splinters, which can damage the vegetables and make the rack difficult to handle.
Ensure proper ventilation
Proper ventilation is key to successful vegetable drying.
Good airflow helps to remove moisture from the vegetables, speeding up the drying process and preventing mold growth.
- Open area: Place your drying rack in a well-ventilated area. Outdoors, a shaded spot with a gentle breeze is ideal.
- Enhance airflow: You can enhance airflow by using fans. Place a small fan near the drying rack to keep air moving around the vegetables.
- Avoid humid areas: Humid environments can slow down the drying process and promote mold growth. Ensure your drying area is dry and has a constant airflow.
Rotate tiers
If you’re using a multi-tiered drying rack, rotating the tiers periodically is crucial to ensure all vegetables dry evenly.
- Even drying: Vegetables on different tiers may dry at different rates due to variations in airflow and proximity to heat sources.
- Prevent over-drying: By regularly rotating the tiers, you can prevent the vegetables on the top or bottom tiers from drying out too quickly.
- Consistent quality: Consistent drying across all tiers means your vegetables will retain their texture and flavor better.
- Read also: Beat the Frost: DIY Cold Frame For Your Vegetable Garden
- Read also: DIY Seed Starting Trays: A Budget-Friendly Way to Get Your Garden Growing
Conclusion
Building a DIY vegetable drying rack is a practical and enjoyable project that helps you preserve your garden’s harvest efficiently.
Whether you opt for a simple screen drying rack or a more complex multi-tiered wooden rack, you’ll reap the benefits of having delicious, dried vegetables available year-round.
Happy drying!


