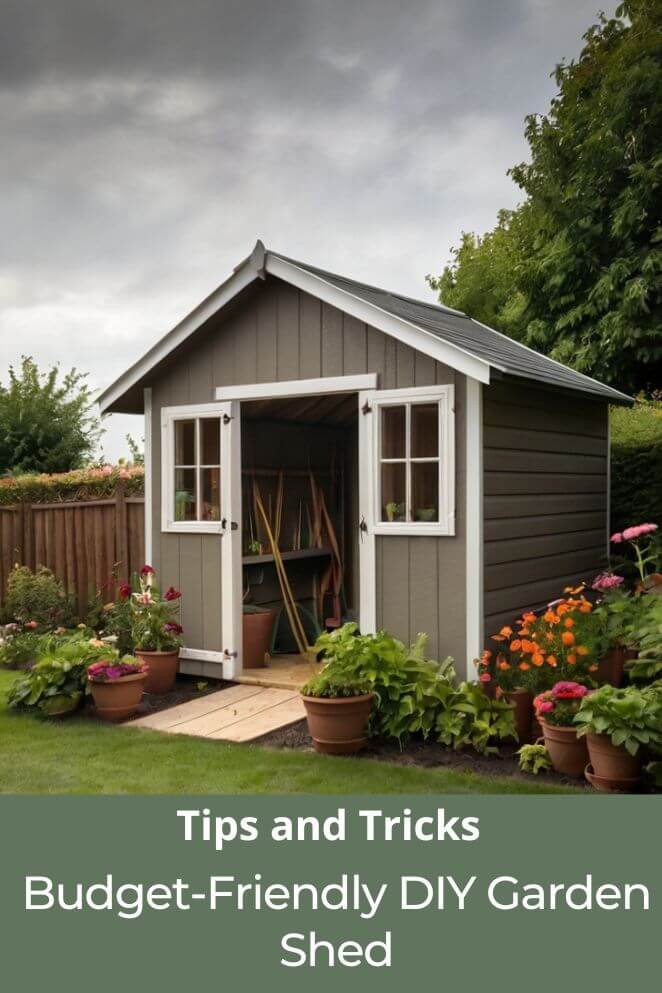
A garden shed can be a game-changer for your backyard.
Not only does it give you extra storage space for gardening tools, equipment, or outdoor gear, but it can also add a touch of charm and functionality to your yard.
Building a shed from scratch might seem intimidating, but with a bit of planning and some basic tools, you can make your own durable, customized garden shed.
This guide will walk you through each step, from planning to finishing touches.
The Benefits of a Garden Shed
A garden shed offers more than just storage space.
Here are a few benefits to consider:
Organization
If your garage or home is filling up with gardening tools, pots, or bags of soil, a garden shed can offer a dedicated place for all of it.
Having a spot for these items keeps them out of the way, making it easier to find what you need when it’s time to garden or work on outdoor projects.
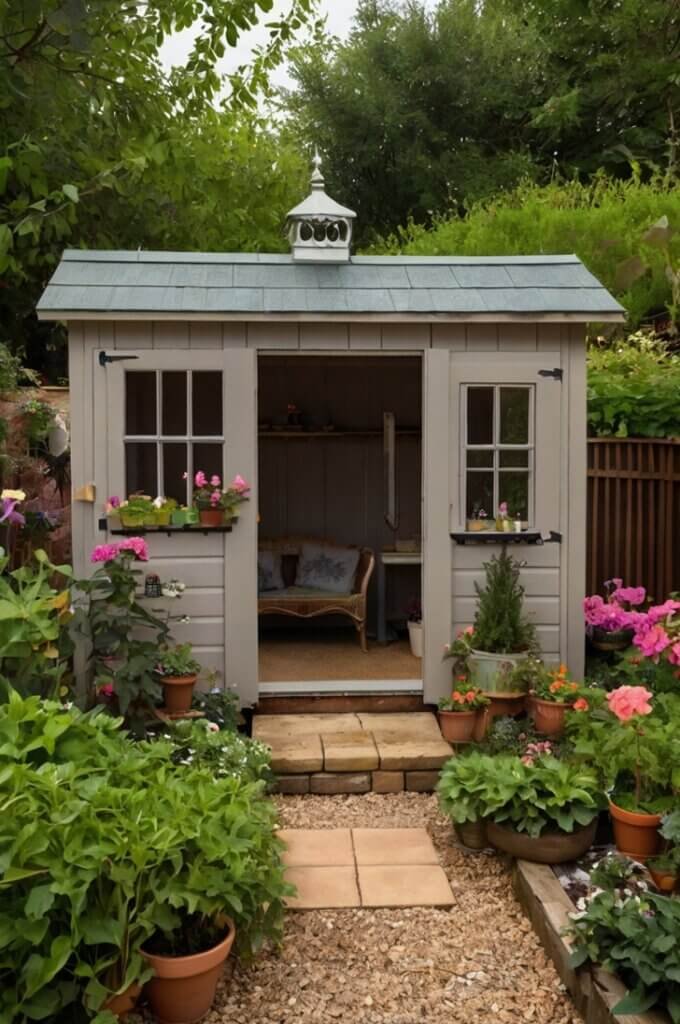
Workspace
A shed can serve as a small area for potting plants, tackling DIY projects, or even working on minor woodworking tasks.
Imagine a peaceful corner where you can focus on these projects without needing to set up and clean up each time—everything you need is right there.
Increased property value
Many homeowners find that a stylish, functional shed adds to their yard’s aesthetic appeal, giving potential buyers another reason to love the space.
It’s a feature that can make your property stand out.
Customization
If you choose to build or design your own, you can create a shed that fits perfectly with your outdoor space, style, and specific needs.
Whether it’s adding windows for more light, shelving for extra storage, or workbenches, you can shape it to suit you.
- Read also: A Step-by-Step Guide: DIY Greenhouse for Propagation
- Read also: Transform Your Garden: Easy DIY Greenhouse for Beginners
Planning and Preparation
Before you begin building, some careful planning will save time, money, and potential issues.
Choosing a location
Choosing the right location for your shed is essential for convenience and durability.
- Sunlight: Placing the shed in partial shade can help prevent it from overheating in the summer.
- Drainage: Look for a spot with good drainage, away from areas prone to pooling water.
- Accessibility: Make sure the shed is easily accessible from your garden and home.
Check with your local authorities to understand any building codes or permit requirements.
Some areas have specific regulations on shed size, location, and height.
Designing the shed
Your shed’s design will depend on your storage needs, available space, and budget.
Size and layout
Start by deciding on the shed’s dimensions.
Take a look at what you’ll be storing and sketch a basic layout.
This will help you estimate the space you’ll need for features like shelves, hooks, or a small workbench.
Planning out the inside helps make sure everything has a place and that your tools and supplies are easy to access.
Foundation type
Next, consider the foundation.
Options include a concrete slab, pier blocks, or a timber base.
Concrete slabs offer solid durability, ideal if you’re looking for a long-lasting structure, but they do take a bit more work to install.
If you want something quicker, pier blocks or timber frames can be effective and easier on your budget.
Wall and roof framing
For a simple, weather-resistant structure, go with a basic gable or slanted roof.
These designs are not only easier to build, but they also shed rain effectively.
The framing process becomes easier, saving time and ensuring the shed stands up to the elements.
Flooring and roofing materials
For flooring, pressure-treated plywood is a solid choice—it stands up well to wear and tear.
For the roof, go with durable materials like asphalt shingles or corrugated metal.
These materials hold up against harsh weather and require minimal upkeep.
Gathering tools and materials
Having the right tools and materials ready will make your building process smoother.
- Tools: Essential tools include a saw, drill, hammer, level, and measuring tape. You may also need a square for accuracy in measurements.
- Building materials: Plan for wood, screws, nails, paint, and sealant, along with foundation materials (concrete, pier blocks, or timber).
Building the Foundation
A sturdy foundation is key to the longevity of your shed.
Preparing the site
- Clearing the area: Start by clearing any vegetation, debris, or rocks from your chosen spot.
- Leveling the ground: Use a shovel and rake to level the ground as much as possible. A flat, stable base will make the construction process much easier.
Laying the foundation
Depending on your choice of foundation:
- Concrete slab: For maximum stability, pour a concrete slab by framing the area with timber, then pouring and leveling the concrete.
- Timber frame: A timber foundation can be constructed with pressure-treated wood, which is durable and resistant to rot.
- Brick or pier blocks: For a smaller shed, pier blocks can support a wooden frame and offer flexibility in uneven terrain.
Framing the Walls
Framing the walls is a key step in building a sturdy shed.
This process gives your shed its structure and stability.
Cutting the wall frames
Start by cutting your lumber to the lengths needed for each wall.
A saw will do the trick here. Once everything is cut, assemble the frames on the ground first.
This makes it easier to ensure everything fits correctly. Use screws or nails to secure the joints and make sure the frame is solid.
Erecting the walls
Next, it’s time to raise the walls.
Carefully stand each wall frame on the foundation, securing it in place with screws or nails.
To keep everything stable while you’re working, use temporary braces to hold the walls upright until all the frames are connected.
Building the Roof
Building a sturdy roof is essential for protecting your shed from the weather and adding structural strength.
Framing the roof
Start by framing the roof. You can either build rafters or use trusses, depending on the size and design of your shed.
Rafters are a simpler option, great for smaller sheds, while trusses provide more support, which is ideal for larger sheds.
Once you’ve chosen your framing method, attach the rafters or trusses securely to the top of the wall plates, making sure they’re evenly spaced and firmly in place.
Installing the roofing material
Next, it’s time to cover the roof. Pick a material that suits your climate and durability needs; options like asphalt shingles, metal, or corrugated plastic are popular choices.
Each has unique benefits, so consider what works best for your area.
Follow the manufacturer’s instructions carefully to ensure you install the roofing properly, covering all areas to keep your shed weatherproof.
- Read also: Creating Art: DIY Garden Sculptures to Transform Your Garden
- Read also: Affordable DIY Patio and Deck Ideas for Your Backyard
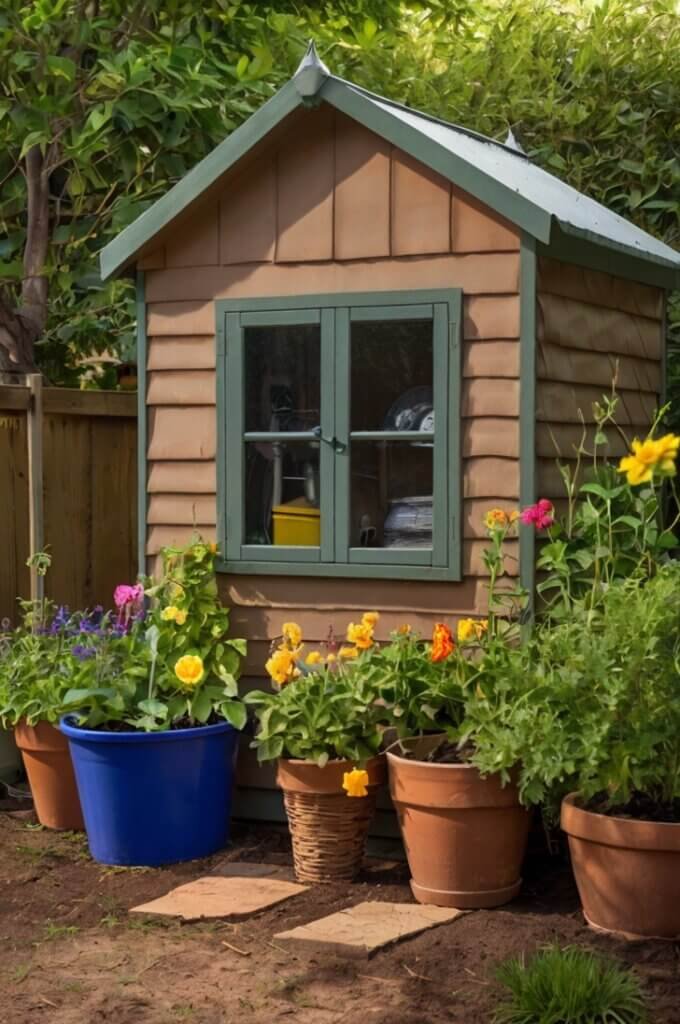
Adding Doors and Windows
Adding doors and windows makes your shed more practical, bringing in light and adding ventilation.
Measuring and cutting
First, decide where you want your doors and windows and determine their sizes based on your shed layout.
Carefully measure and mark the spots. Then, using a saw, cut the openings in the walls, making sure they are level and correctly sized.
Installing doors and windows
For the doors, hang them with sturdy hinges and test to make sure they open and close smoothly.
For the windows, secure them in place and seal the edges with weatherstripping to prevent drafts and keep moisture out.
Finishing touches
With the structure complete, you can add finishing touches to make your shed both useful and visually appealing.
Small details like a coat of paint, hooks, or shelves inside can make a big difference in how well your shed meets your needs.
Interior finishing
- Storage solutions: Install shelves, hooks, and racks to organize tools and supplies. Consider adding a small workbench if you plan to use the shed as a workspace.
- Paint or stain: Painting or staining the interior walls can help protect against moisture and pests.
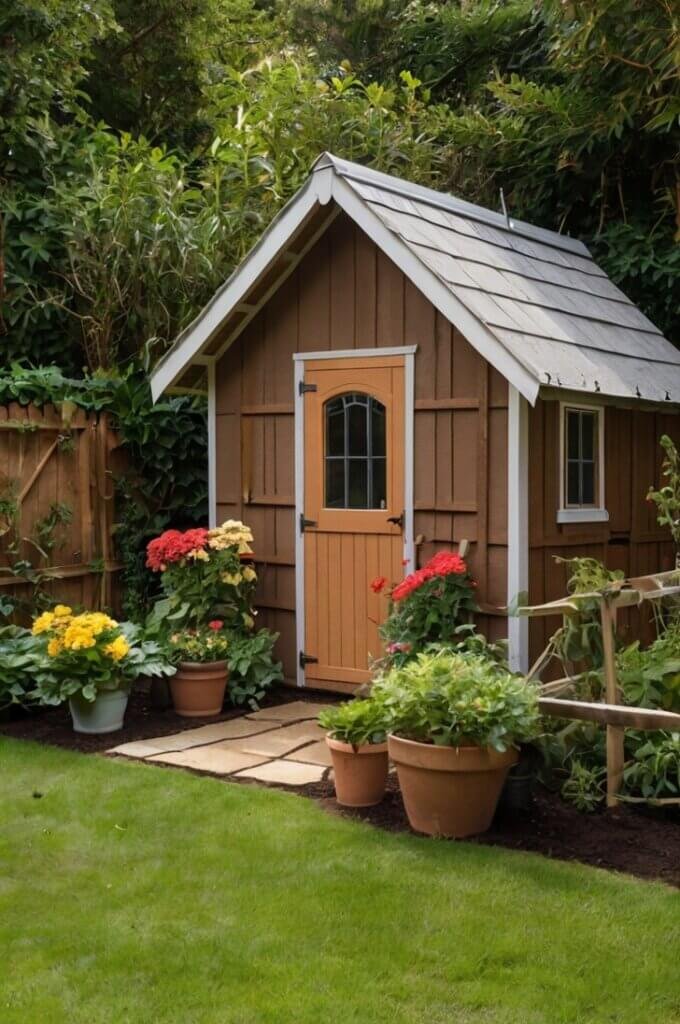
Exterior finishing
- Protective coating: Apply a weatherproof sealant, paint, or stain to the exterior to increase durability.
- Landscaping: Add plants, stones, or mulch around the base of the shed to improve drainage and make it look more integrated with your yard.
Final Thoughts
Building a garden shed from scratch can be incredibly rewarding.
Not only will you have a customized storage solution tailored to your needs, but you’ll also gain valuable DIY skills in the process.
With proper planning, the right tools, and some patience, you’ll create a structure that will serve you for years to come.


