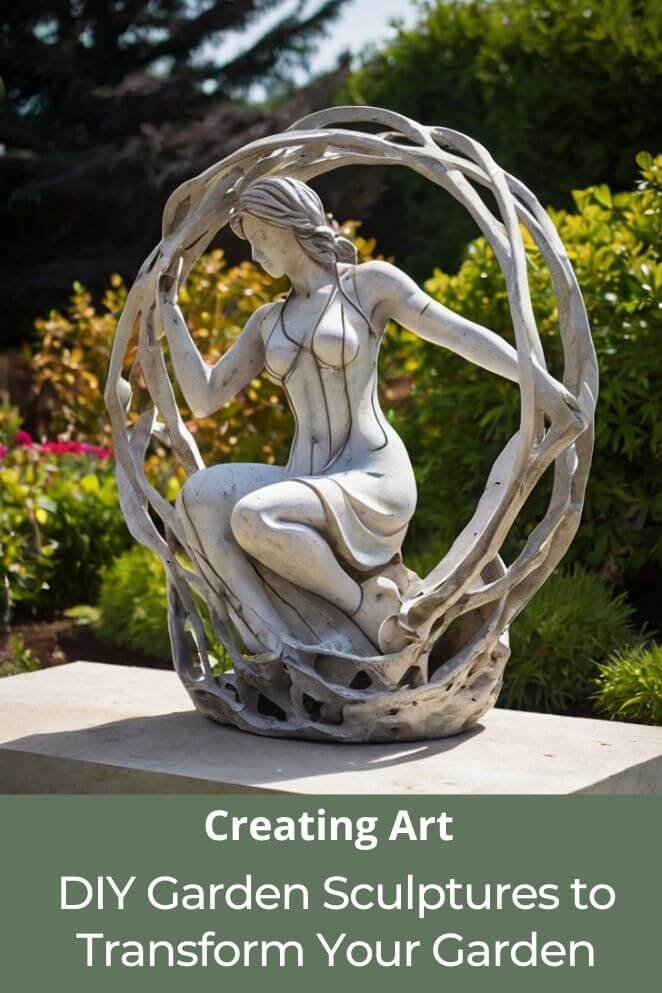
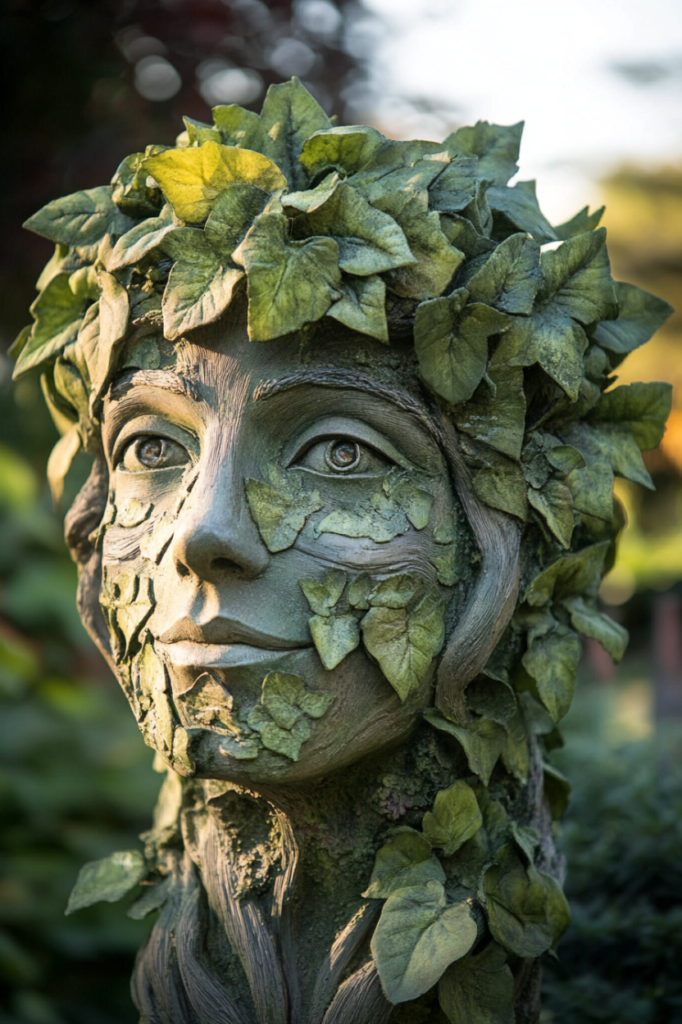
Adding a personal touch to your garden can make it feel warm and inviting, reflecting your unique style.
One of the best ways to achieve this is by creating your own garden sculptures.
You can use a variety of materials, such as concrete, metal, fiberglass, or even papercrete, to craft DIY sculptures that showcase your creativity.
These sculptures not only enhance the beauty of your outdoor space but also add character and make your garden truly your own.
Types of Garden Sculptures
Each material used for garden sculptures offers a different aesthetic and level of durability.
Here’s a breakdown of popular materials for garden sculptures:
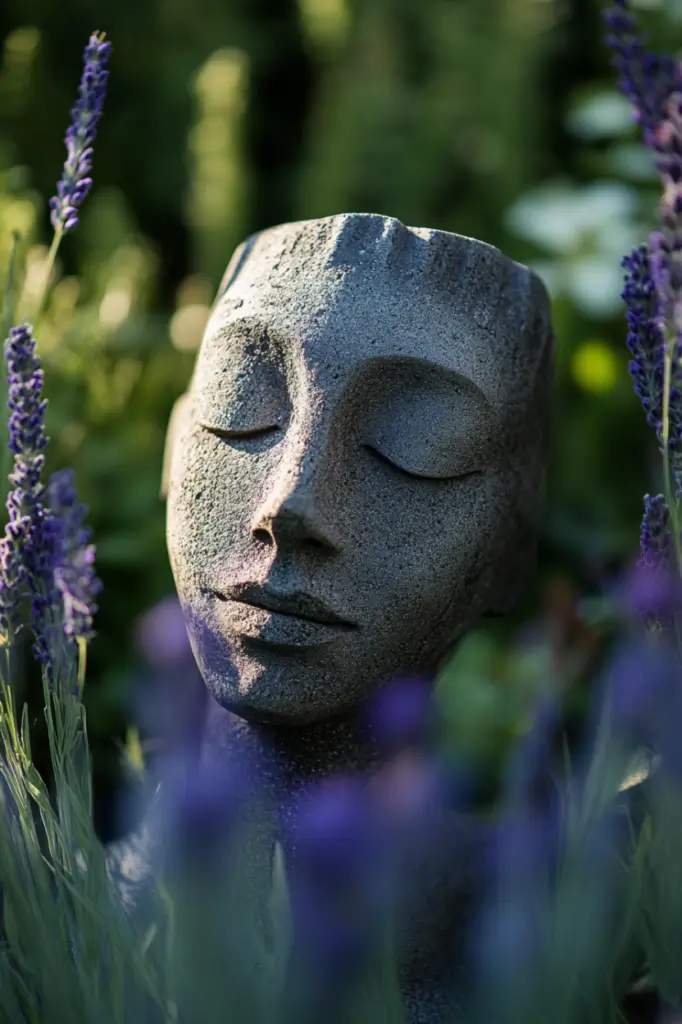
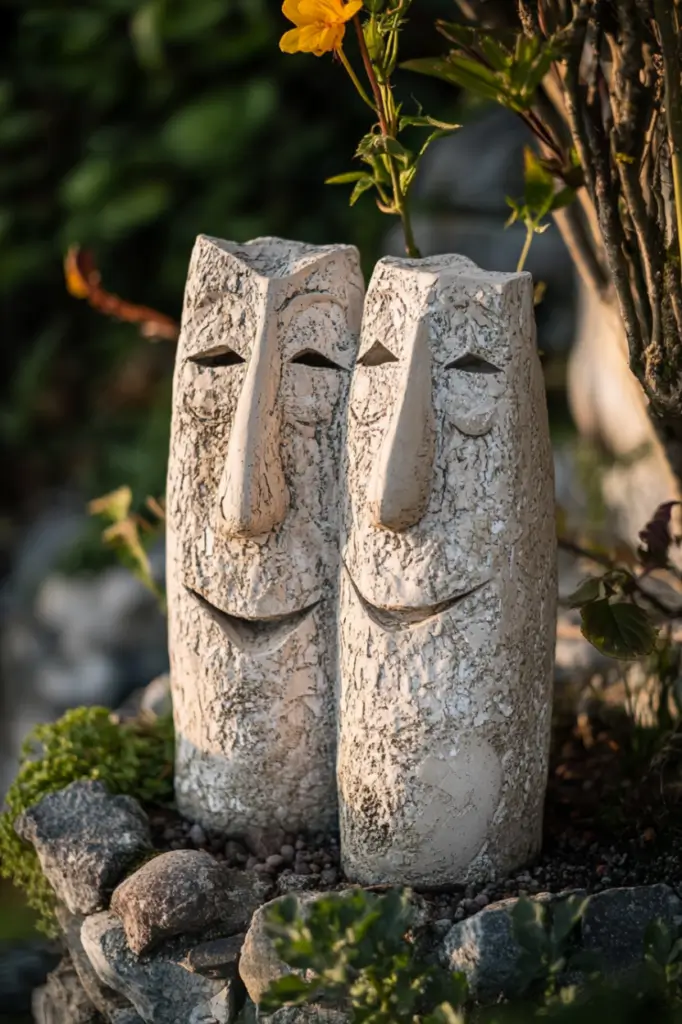
Concrete sculptures
Concrete is a popular choice for outdoor sculptures because it’s durable, weather-resistant, and easy to mold into various shapes.
It’s ideal for creating bold and permanent pieces that can withstand the elements.
- Read also: Eco-Friendly Gardening: DIY Planters from Plastic Containers
- Read also: A Beginner’s Guide: DIY Rainwater Collection for Plants
Metal sculptures
Metal sculptures, crafted from steel, copper, or aluminum, offer an industrial, modern look.
These sculptures develop character over time as they age and can be simple or complex depending on your design.
Some metals, like copper, naturally develop a patina, adding a vintage appeal to your garden.
Fiberglass sculptures
Fiberglass is a lightweight and flexible material that can be molded into intricate shapes.
It’s resistant to corrosion and won’t crack, making it perfect for outdoor pieces that need to be moved occasionally.
Papercrete sculptures
Papercrete is a lesser-known material made from a blend of paper, cement, and water.
It’s lightweight, versatile, and eco-friendly, providing an affordable alternative for garden sculptures.
With papercrete, you can create sculptures that look like stone but are much lighter to handle.
Step-by-Step Guide to Creating Garden Sculptures
Ready to get started?
Here’s a guide for creating garden sculptures with each type of material.
Concrete sculptures
Concrete sculptures are durable, simple to create, and allow for a variety of designs.
Materials needed
- Concrete mix
- Water
- A large mixing bucket
- Molds (such as silicone molds, cardboard boxes, or even sand)
- Wire mesh or chicken wire for reinforcement (optional)
- Concrete sealer (for added durability)
Step-by-step guide
- Prepare the mold: Decide on the shape of your sculpture and prepare a mold. Silicone molds work well for intricate designs, while cardboard or sand molds are great for larger shapes.
- Mix the concrete: In a mixing bucket, combine the concrete mix with water according to the package instructions until it reaches a smooth, pourable consistency.
- Add reinforcement (optional): If you’re creating a larger sculpture, add wire mesh or chicken wire to the mold for extra support.
- Pour the concrete: Slowly pour the concrete into your mold, tapping the sides to remove air bubbles. This will prevent holes and give the sculpture a smooth finish.
- Let it cure: Allow the concrete to set for 24-48 hours. Larger pieces may need more time.
- Remove and seal: Once dry, carefully remove your sculpture from the mold. Apply a concrete sealer to protect it from weather and extend its life.
Metal sculptures

Metal sculptures can be intricate or minimalistic and provide a bold contrast to greenery.
Materials needed
- Metal sheets or rods (steel, aluminum, or copper)
- Metal cutters or saw
- Welding equipment (if needed)
- Safety gloves and goggles
- Sandpaper or grinder (for finishing)
- Rust-resistant paint (optional for sealing)
Step-by-step guide
- Choose your design: Sketch your design on paper. Decide whether your sculpture will be a single metal sheet shape or a complex welded structure.
- Cut and shape the metal: Use metal cutters or a saw to cut the metal into your desired shape. You can bend and manipulate the metal to add dimension.
- Weld (optional): For more complex structures, use welding equipment to join multiple pieces together. Make sure to wear safety gear and follow all safety guidelines when welding.
- Sand and smooth edges: Use sandpaper or a grinder to smooth any rough edges.
- Apply finishing touches: Paint or seal your metal sculpture with rust-resistant paint, especially if it’s made of steel. Aluminum and copper are more weather-resistant but can still benefit from a protective coating.
Fiberglass sculptures
Fiberglass offers flexibility, allowing for intricate designs without the heavy weight of concrete.
Materials needed
- Fiberglass mat or cloth
- Resin and hardener
- Mixing container
- Gloves, goggles, and mask
- Mold (cardboard, foam, or silicone)
- Paint (optional for finishing)
Step-by-step guide
- Prepare the mold: Choose a mold that matches your desired shape. Cardboard or foam molds work well for fiberglass.
- Mix the resin: In a container, combine resin with the hardener according to package instructions.
- Layer fiberglass: Place the fiberglass mat or cloth in the mold. Pour resin over it, using a brush to distribute it evenly. Repeat this process to build up layers for strength.
- Cure and harden: Allow the resin to harden fully, which can take several hours depending on temperature and resin type.
- Remove and paint: Once cured, carefully remove the sculpture from the mold. Paint with weather-resistant paint if desired for added protection and color.
Papercrete sculptures
- Read also: Eco-Friendly Gardening: How to Make Your DIY Compost Barrel
- Read also: DIY Greenhouse Trellis: Transform Your Garden Space
Papercrete sculptures are eco-friendly, light, and perfect for smaller sculptures or intricate designs.
Materials needed
- Shredded paper
- Cement mix
- Water
- Mold (plastic, cardboard, or custom-made)
- Mixing container
Step-by-step guide
- Prepare paper pulp: Soak shredded paper in water overnight, then blend it until it becomes a thick pulp.
- Mix with cement: In a large mixing container, combine paper pulp with cement and add water until it reaches a clay-like consistency.
- Shape or mold: Place the mixture into your mold or shape it by hand. If you’re creating a free-form sculpture, work in small sections to prevent sagging.
- Let it dry: Allow your sculpture to dry slowly, which can take up to a week depending on thickness.
- Seal for durability: Apply a waterproof sealant to make your papercrete sculpture weather-resistant.
Final Thoughts
Creating garden sculptures is a fun and rewarding way to personalize your outdoor space.
Whether you choose concrete, metal, fiberglass, or papercrete, each material brings a unique charm to your garden.
Remember to work safely, wear protective gear, and allow adequate curing or drying time to ensure your sculptures are durable.
With a bit of creativity, you can transform your garden into an artful retreat.