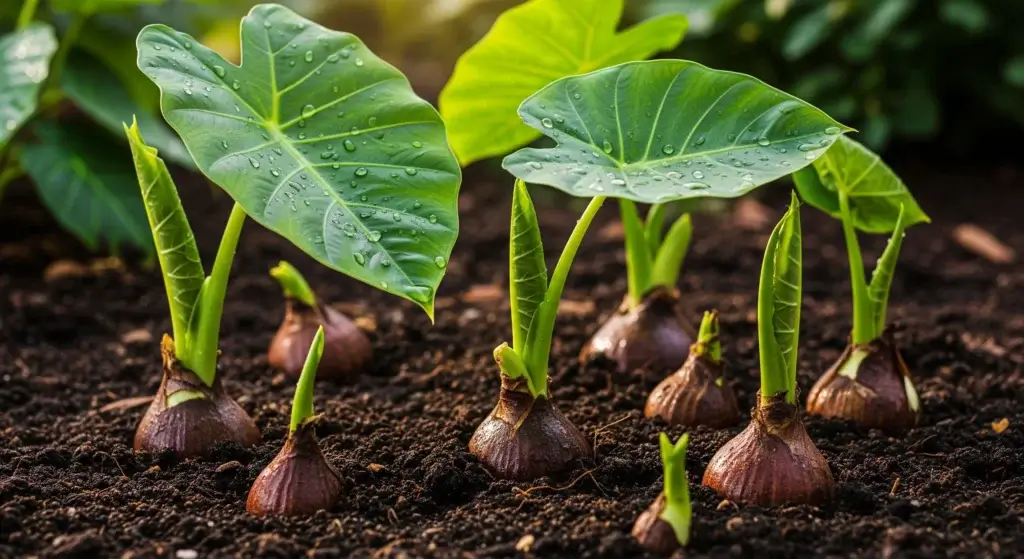
Elephant ears (Xanthosoma, Alocasia, and Colocasia) are garden flat-out–those enormous tropical leaves give your lawn the look of a miniature jungle.
But the catch is here: they detest cold weather.
First frost comes along, and they’re finished—unless you do something.
If your place has cold winters, you have two options: you can let them die or rescue their bulbs for next year.
The best news? Once you understand, it’s a piece of cake to keep them alive through winter.
Understanding Elephant Ear Bulbs and Their Cold Sensitivity
Before you can store your elephant ears for winter, you need to know what you have.
The plant grows on tubers—essentially underground batteries that save energy as the plant falls (literally) into winter sleep.
Being from tropical, hot places, cold is their worst enemy.
Most varieties will only thrive outdoors in zones 8–11, where winter is gentle.
If you have a cooler location—zone 7 and below—you’ll need to dig up the tubers and bring them in when temps fall below 40°F (4°C).
A light frost will kill the leaves, and frost? Game over.
The plus: If you care for them, they’ll return year after year—larger, bolder, and a heck of a lot more spectacular.
When to Dig Up Elephant Ear Bulbs
Timing is everything — get it right and your elephant ears come back next year looking epic; mess it up and you’re crying over soggy tubers.
The sweet spot is after a light frost has blackened the leaves (that’s the plant going “I’m done”), but before the soil freezes solid and nukes the tubers.
Picture this: one morning the leaves are crisped and dramatic — that’s your green light to act.
Key timing indicators include:
- After the first frost: Wait until leaves wilt and turn black or brown — that’s dormancy kicking in.
- Before hard freezes: Don’t dawdle; sustained freezing temps can kill the tubers underground.
- Typically mid-to-late fall: In most places this lands between late September and November.
- When soil is workable: Dig while the ground is dry enough to lift bulbs, but not frozen solid.
- Early frost areas: If frost hits early, dig them up sooner — but ideally let the plant go dormant naturally so tubers pack as much energy as possible for next season.
Step-by-Step Guide to Digging Up Elephant Ear Bulbs
Alright, here’s where things get hands-on.
Digging up your elephant ear tubers isn’t hard, but you’ve gotta treat them like treasure — because honestly, they are.
These tubers are the heart of your plant, storing all the energy it needs to rise again next spring. So, grab your tools and channel your inner plant surgeon.
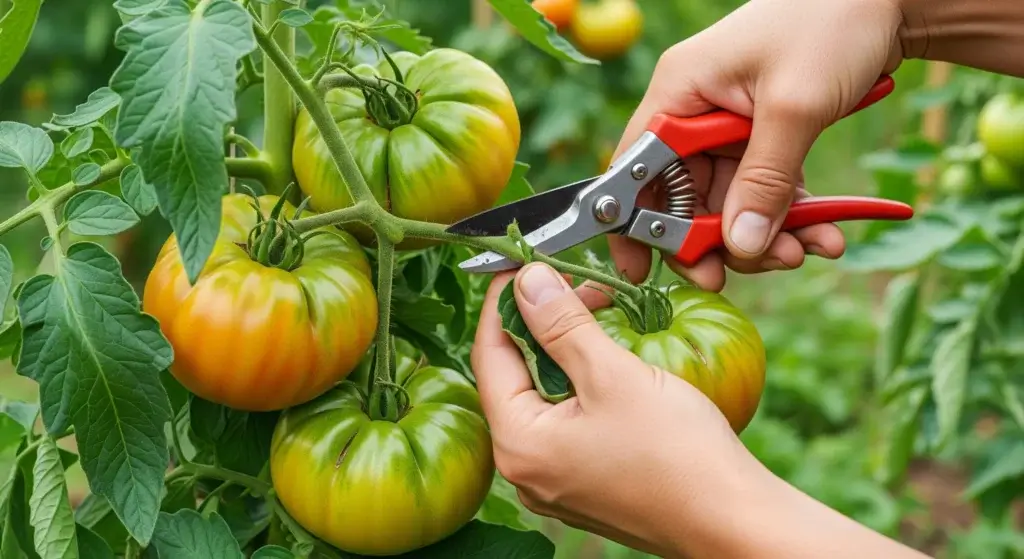
Cut Back the Foliage
Get some good sharp shears or gardening clippers and cut the stems back to around 2–3 inches or so from the ground.
Don’t worry, they will grow again next year. This pruning makes everything so much easier to manage and allow the bulbs to dry out afterwards.
Dig Carefully Around the Plant
Start digging in a wide circle — like 8–12 inches out from the base.
Elephant ear tubers love to sprawl underground, and they’re usually bigger than you think (surprise!).
Dig deep, around 8–10 inches, so you don’t accidentally stab or slice them.
Lift the Tubers Gently
Once you’ve loosened the soil, slide your hands underneath and lift the clump from below, nice and easy.
Feel around to make sure you’ve got all the tubers — it’s basically a treasure hunt for plant nerds.
- Read also: A Beginner’s Guide: Tips on How to Overwinter Begonias
- Read also: How to Overwinter Mandevilla: A Step-by-Step Guide
Shake off Excess Soil
Brush off the dirt with your hands or a soft brush.
Skip the hose — water and storage don’t mix. Too much moisture = rot city.
Inspect for Damage
Inspect each of the tubers. Discard any soft, slimy, or just plain gross ones.
A scratch or two is okay, but the tubers must be hard and firm. Be thinking “potato,” not “banana left in your backpack a week ago.”.
Curing and Preparing Bulbs for Storage
Okay, so you’ve dug up your elephant ear tubers — nice work! But before you toss them in a box and forget about them, they need a little “spa time.”
This curing step might sound extra, but it’s what keeps your tubers from turning into mushy disasters over winter. Think of it like letting them rest and toughen up before hibernation.
Drying Period
Lay your tubers out somewhere warm, dry, and breezy for about 7–10 days.
A garage, porch, or shed works great — as long as temps stay between 60–75°F (15–24°C).
Spread them in a single layer on newspaper, cardboard, or a wire rack so air can flow around them. No stacking — these guys need their personal space.
Monitor Daily
Check on them once a day.
The leftover soil should dry and flake off easily, and the cut stems will start to scab over (that’s good — it’s like a natural bandage).
This “callus” layer protects the tuber from bacteria and rot later.
Final Cleaning
Once they’ve been cured, shake off any crumbling residue that may still remain.
The tubers must be dry but not puckered — in the condition of having had a restful night, not a dehydration emergency.
If stems are still attached, ensure they’re well-dried and brown.
Optional Fungicide Treatment
If you’re a bit of a plant perfectionist, you can dust the tubers with sulfur or fungicide powder.
It’s like giving them armor against fungus.
Totally optional, though — if your tubers are healthy and your storage spot is solid, you can skip this step without guilt.
Best Storage Methods for Elephant Ear Bulbs
Here’s the part that separates the casual plant people from the true jungle guardians — storage.
Getting this right is what keeps your elephant ear tubers alive and thriving for next spring.
Your mission? Keep them asleep (dormant), not dried out or frozen solid. Basically, they need to hibernate like little tropical bears.
Optimal Storage Conditions
- Temperature: Keep them around 45–55°F (7–13°C). Too warm, and they’ll wake up early and start sprouting like overachievers. Too cold, and… yeah, frozen plant popsicles.
- Humidity: Aim for moderate humidity (50–60%). You don’t want them turning into potato chips, but you also don’t want mold. Balance is key.
- Darkness: Darkness tells the bulbs, “Stay asleep, it’s not summer yet.”
- Air circulation: Let them breathe! Good airflow stops mold and keeps moisture from building up.
Effective Storage Methods
Paper Bag Method
Pop the tubers into paper bags with slightly damp peat moss, vermiculite, or coconut coir.
The bag lets them breathe, and the filler keeps them cozy. Check on them monthly — if the mix feels dry as toast, give it a light mist.
Cardboard Box Method
Stack your tubers in layers with peat moss or wood shavings between each one (don’t let them touch — no tuber cuddles).
Perfect if you’ve got a ton of bulbs.
Mesh Bag Method
If your basement is cool and dry, mesh bags or even old pantyhose work like a charm.
Just keep an eye on them — they can shrivel faster in drier spots.
Pot Method
Feeling lazy? Totally fine. You can leave the tubers in their pots, stash them somewhere cool like a garage, and stop watering.
This trick works best in milder winters (zones 7–8) or if your plants live in containers already.
Monitoring Your Stored Bulbs Throughout Winter
Here’s the truth — overwintering elephant ear bulbs isn’t one of those “set it and forget it” deals.
You can’t just toss them in a box and ghost them for three months. These tubers need a little TLC check-in now and then to make sure nothing funky’s going on.
Monthly Inspection Routine
- Check for soft spots, mold, or rot: If a tuber feels squishy or looks gross, ditch it immediately before it spreads drama to the others.
- Test the moisture: The storage mix should feel barely damp — not wet, not Sahara Desert dry.
- Watch for early sprouts: Green shoots = your bulbs are waking up too soon. That’s your sign the spot’s too warm.
- Pest patrol: Make sure no mice or other freeloaders are turning your tuber stash into an Airbnb.
Addressing Common Storage Problems
- Shriveling: If your tubers look all wrinkly and sad, lightly mist the storage medium (not the tubers directly). Just enough to add a whisper of moisture — not a rainstorm.
- Mold or fungus: Toss out any infected bulbs ASAP, improve airflow, and double-check that your medium isn’t too damp. Mold loves soggy vibes.
- Premature sprouting: If you see shoots, your storage spot’s too toasty. Move them somewhere cooler, or lean into it.
Preparing Bulbs for Spring Planting
Alright, you made it through winter — your elephant ear tubers are still alive (legendary move).
Now it’s time to wake them up and get them hyped for spring. This part’s all about easing them out of dormancy without shocking them.
Think of it like helping someone wake up slowly instead of blasting them with an alarm at 6 a.m.
When to Start the Transition
Kick things off about 4–6 weeks before your last expected frost date.
That gives your tubers enough time to stretch, yawn, and start growing before they head back outside.
Steps to Wake up Your Bulbs
- Gradual warm-up: Move the tubers to a warmer spot (around 60–70°F) for about a week while they’re still in their storage mix.
- Inspection and division: Use a clean, sharp knife and make sure each chunk has at least one “eye” (that’s the growing point) and enough tuber mass to survive.
- Pre-sprouting (optional but smart): Plant your tubers in pots filled with quality potting mix, bury them 2–4 inches deep with the eyes facing up.
- Hardening off: Before moving your plants outside, toughen them up by giving them daily field trips.
- Final planting: Wait until the soil stays at 65°F (18°C) or warmer and there’s zero frost risk. Elephant ears are total divas about cold — rush it, and you’ll regret it.
Alternative Overwintering Methods
So yeah, most people dig up and store their elephant ear tubers for winter — but that’s not the only way to keep them alive.
Depending on where you live (and how much space or patience you’ve got), there are a few other tricks you can try.
Indoor Container Growing
Got good lighting and a little room to spare? You can totally keep your elephant ears as indoor plants all winter.
They’ll look way cooler than any fake plant, trust me.
Just ease up on the watering and fertilizer — you want them chilling, not growing like it’s July.
This method works especially well for smaller varieties that won’t turn your living room into a rainforest.
Basement Growing
If you’ve got an unheated basement that stays around 50–60°F, your elephant ears can hang out there too.
Keep them in their pots — they might keep a few leaves and sort of half-hibernate.
Water sparingly, just enough to stop the soil from going completely bone dry. It’s like putting them on airplane mode until spring.
In-Ground Protection (zones 7–8)
If you live somewhere that doesn’t get brutally cold, you might get away with leaving them in the ground.
After the first frost, pile on a thick layer (like 6–12 inches) of mulch — leaves, straw, whatever you’ve got.
It’s basically a warm blanket for their roots. Just know this method’s a bit of a gamble — some winters they’ll come back strong, other times they’ll ghost you completely.
It all depends on your microclimate and luck.
Troubleshooting Common Overwintering Problems
Even the best plant parents hit a few bumps when overwintering elephant ear bulbs — it’s not always smooth sailing.
But don’t stress — most of these issues are fixable if you catch them early. Here’s the lowdown on what can go wrong and how to fix it.
Problem: Tubers Rot During Storage
Solution: Yep, that gross, slimy mess? Usually caused by too much moisture or tubers that weren’t fully dried before storage.
Make sure you cure them properly first and store them in something barely damp — not soggy.
And if a tuber’s already soft or damaged, just toss it. You can’t save the squishy ones.
Problem: Tubers Shrivel and Dry Out Completely
Solution: If your tubers look like raisins instead of potatoes, your storage spot’s probably too warm or dry.
Lightly mist the storage mix (not the tubers themselves!) and move them somewhere cooler with a bit more humidity.
Basically, you’re rehydrating them without drowning them.
Problem: Stored Tubers Fail to Sprout in Spring
Solution: Ouch. It may indicate they froze, thawed, or simply lost their energy.
Gently squeeze them — tough ones are alive, soft or as firm as rocks dry ones are dead.
Unfortunately, the best bulbs will finally yield. Time to compost the duds and start anew.
Problem: Mold Develops on Stored Tubers
Solution: Mold = too much moisture or not enough airflow. Space your bulbs out, ease up on the water, and keep the area cooler.
If it’s a recurring issue, dust them with a little sulfur powder before storage — it’s like a fungal force field for your tubers.
- Read also: Blooms All Winter Long: Tips on How to Overwinter Hibiscus
- Read also: The Ultimate Guide: Tips on How to Overwinter Lemongrass
Conclusion: Preserving Your Investment for Years of Beauty
You don’t need to be a pro to keep elephant ears alive — a bit of careful digging, curing, smart storage, and monthly check-ins, and they’ll come back bigger each year.
Think of it like putting them on snooze: toughen them up, tuck them into a cool, slightly humid, dark spot, and peek in once a month.
Do this right and you’ll be dividing tubers and gifting plants to friends instead of rebuying them. It’s honestly easier than most people think, and the payoff — huge, tropical leaves all summer — is so worth the tiny effort.
Start this fall and your garden will glow next season.