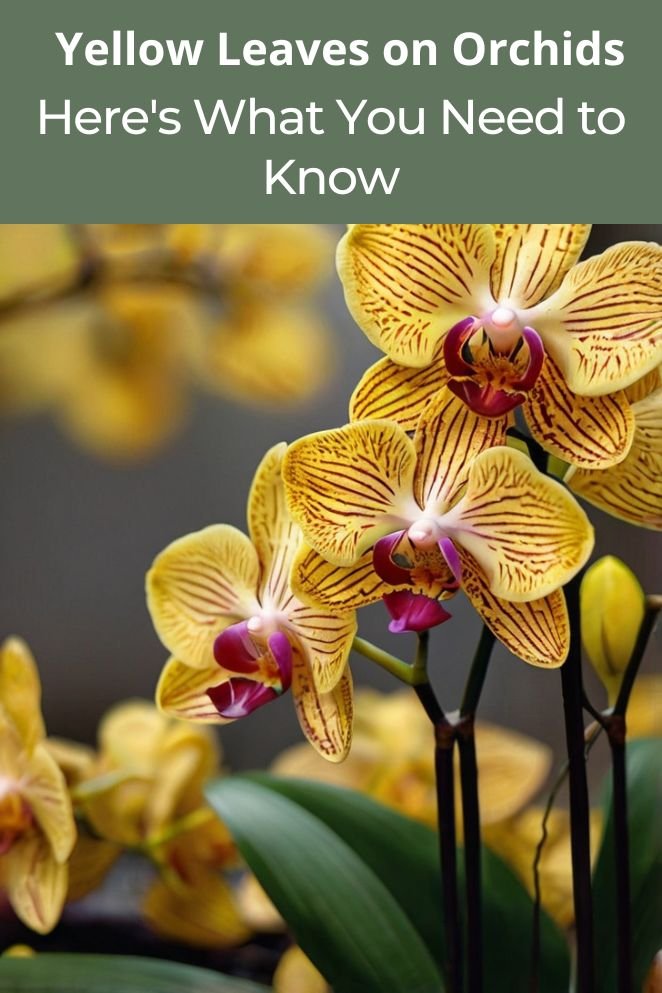
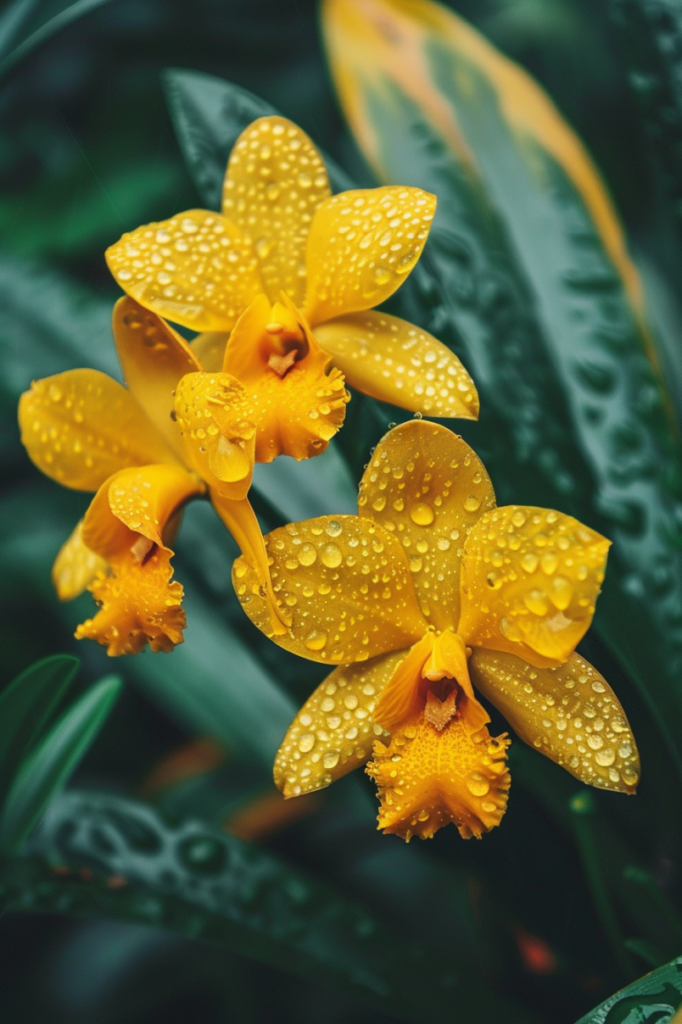
Orchids are one of the most popular and exotic flowers in the world, known for their delicate beauty and intricate patterns.
However, even the most experienced orchid enthusiasts can encounter a common problem: yellow leaves.
Yellow leaves on orchids can be a sign of various issues, from overwatering to nutrient deficiency.
In this article, we will explore the common causes of yellow leaves on orchids and provide practical solutions to address these problems.
Common Causes
Understanding the causes of this problem is crucial for maintaining the health and beauty of your orchids.
Here are some of the most common causes of yellow leaves on orchids and how to address them.
Overwatering
Overwatering is a frequent cause of yellow leaves on orchids.
Orchids need precise watering, as their roots are highly susceptible to rot if the soil remains too wet.
To check if your orchid needs water, insert your finger into the soil up to the first knuckle.
If the soil feels wet or damp, it is best to wait a few days before watering again. Proper watering habits can prevent root rot and keep your orchid healthy.
- Read also: Diagnosis and Solutions: Snake Plant Leaves Turning Yellow
- Read also: Saving Your Harvest: Solutions for Yellow Leaves on Tomato Plants
Lighting issues
Light is vital for the health of your orchid, but the type and amount of light are equally important.
Orchids require bright, indirect light to thrive. Direct sunlight can be too intense, causing the leaves to scorch and turn yellow.
If your orchid is exposed to direct sunlight, move it to a spot with filtered light, such as behind a sheer curtain or in a location with indirect light.
On the other hand, too little light can also cause yellow leaves, so finding the right balance is key.
Nutrient deficiency
Orchids need a specific balance of nutrients to grow properly.
A lack of essential nutrients like nitrogen, phosphorus, or potassium can lead to yellow leaves.
To ensure your orchid gets the necessary nutrients, use a balanced orchid fertilizer.
Fertilize your orchid according to the instructions on the fertilizer package, typically once a month during the growing season.
Over-fertilizing can also harm your plant, so it’s important to follow the recommended guidelines.
Other potential causes
Apart from the primary reasons above, there are several other potential causes of yellow leaves on orchids that you should consider:
Pests
Pests such as mealybugs, spider mites, and scale insects can infest your orchid and cause the leaves to turn yellow.
Regularly inspect your plant for signs of pests.
If you notice any, treat the infestation promptly with appropriate insecticides or natural remedies.
Diseases
Fungal diseases like root rot or leaf spot can cause yellowing leaves.
Ensure proper air circulation around your orchid and avoid water splashing on the leaves to prevent fungal infections.
If your orchid is affected, remove the diseased parts and treat with a fungicide.
Temperature fluctuations
Orchids are sensitive to sudden changes in temperature.
Rapid temperature fluctuations can stress the plant, leading to yellow leaves.
Maintain a stable temperature in the range suitable for your orchid species, typically between 60-80°F (15-27°C).
Treatment Options
When your orchid’s leaves start to turn yellow, it’s important to take immediate action to identify and address the underlying issues.
Here are detailed treatment options to help you restore your orchid’s health and vitality.
Watering
Proper watering is crucial for the health of your orchid. Here’s how to ensure your orchid gets the right amount of water:
Check soil moisture
Before watering, always check the soil moisture.
Insert your finger into the soil up to the first knuckle. If the soil feels wet, wait a few days before checking again.
Overwatering can lead to root rot, a common cause of yellow leaves.
Watering technique
When you do water, ensure you water the roots and not the leaves or crown of the orchid.
Water that accumulates in the crown (the area where the leaves meet the roots) can lead to crown rot, which is fatal for orchids.
Use proper potting medium
Ensure your orchid is planted in a well-draining potting medium, such as bark or a specialized orchid mix.
This allows excess water to drain away, preventing waterlogged roots.
Light adjustment
Light plays a significant role in the health of your orchid. Too much or too little light can cause yellow leaves.
Here’s how to manage light exposure:
Filtered light
Orchids thrive in bright, indirect light. Direct sunlight can scorch the leaves, turning them yellow.
Place your orchid in a location where it receives filtered light, such as behind a sheer curtain or in a spot where it gets bright but indirect sunlight.
Rotate the plant
To ensure even light distribution, rotate your orchid every few weeks.
This prevents one side from getting too much light while the other remains shaded.
Artificial lighting
If natural light is insufficient, consider using artificial grow lights designed for orchids.
Position the lights about 12 inches above the plant and use a timer to mimic natural daylight patterns.
Fertilizing
Providing the right nutrients is essential for your orchid’s growth and health.
Here’s how to properly fertilize your orchid:
Balanced fertilizer
Use a balanced orchid fertilizer with a ratio such as 20-20-20, which provides equal parts nitrogen, phosphorus, and potassium.
These nutrients are vital for healthy leaf growth, root development, and flower production.
Fertilizing schedule
Fertilize your orchid every two weeks during the growing season (spring and summer) and reduce to once a month during the dormant period (fall and winter).
Always dilute the fertilizer to half the recommended strength to avoid over-fertilizing, which can damage the roots.
Application method
Apply the fertilizer when the soil is moist to prevent root burn.
Water the orchid first, then follow with the diluted fertilizer solution.
Addressing other causes
Other potential issues, such as pests, diseases, and temperature fluctuations, can also cause yellow leaves.
Here’s how to address these problems:
Pest control
Regularly inspect your orchid for signs of pests like mealybugs, spider mites, and scale.
These pests can be treated with insecticidal soap or neem oil. For severe infestations, you may need to use a systemic insecticide.
Ensure you isolate affected plants to prevent the pests from spreading to other plants.
Disease management
Fungal diseases like root rot and leaf spot require immediate attention.
Remove affected leaves and roots with sterilized scissors.
Treat the plant with a fungicide and repot it in fresh, sterile potting medium. Improve air circulation around the plant to prevent future infections.
Temperature control
Maintain a stable temperature environment for your orchid.
Sudden temperature changes can stress the plant and cause yellow leaves. Most orchids prefer temperatures between 60-80°F (15-27°C).
Avoid placing your orchid near drafts, heaters, or air conditioners, which can cause temperature fluctuations.
Tips for Long-Term Orchid Care
Caring for orchids can be a rewarding experience, offering beautiful blooms and a sense of accomplishment.
To ensure your orchid thrives over the long term, here are some detailed tips to help you provide the best care possible.
Choose the right pot
Selecting the right pot is crucial for your orchid’s health. Here’s how to ensure you choose the best pot for your orchid:
Good drainage
Orchids require pots with excellent drainage to prevent waterlogged soil, which can lead to root rot.
Look for pots with multiple drainage holes at the bottom.
Plastic, clay, and ceramic pots can all work well as long as they have adequate drainage.
Pot size
The pot size should match the size of your orchid’s root system.
A pot that’s too large can hold too much moisture, while a pot that’s too small can restrict root growth.
Typically, a pot that allows about an inch of space around the roots is ideal.
Clear pots
Consider using clear pots, as they allow you to monitor the health of the roots.
Healthy orchid roots are typically green or white, while unhealthy roots may turn brown or black.
Clear pots can help you spot any issues early.
Provide good air circulation
Proper air circulation is essential for preventing fungal diseases and promoting healthy growth.
Here are some tips to ensure your orchid gets enough airflow:
Placement
Keep your orchid at least six inches away from walls, other plants, and any objects that could block airflow.
This space allows air to circulate freely around the plant, reducing the risk of fungal infections and promoting healthy respiration.
Fans
Using a small fan in the room where you keep your orchid can help improve air circulation.
Ensure the fan is set to a low setting to create gentle airflow, as strong winds can dry out the plant.
Ventilation
Ensure the room where your orchid is located has good ventilation.
Open windows or use an exhaust fan to remove stale air and bring in fresh air. This helps maintain a healthy environment for your orchid.
- Read also: Yellow Leaves on Hibiscus: Causes and Treatments Tips
- Read also: Gardening Hacks: Solving the Yellow Leaf on Pothos
Conclusion
Yellow leaves on orchids can be a sign of various issues, from overwatering to nutrient deficiency.
Understanding the causes and solutions to these issues can help you maintain the health and beauty of your orchids.
By following the tips outlined in this article, you can ensure the long-term health and well-being of your orchids.
FAQs
Orchid leaves can turn yellow due to various reasons such as overwatering, lighting issues, nutrient deficiency, pests, diseases, or temperature fluctuations.
To prevent yellow leaves on your orchid, ensure you are providing the right amount of water, light, and nutrients. Monitor your orchid for pests and diseases, and maintain a consistent temperature.
Yes, you can save your orchid with yellow leaves by addressing the underlying cause of the problem. Check the soil moisture, adjust the lighting, and fertilize your orchid accordingly.
Water your orchid when the soil feels dry to the touch. Avoid getting water on the leaves or crown of the orchid to prevent rot.
The best orchid fertilizers are those that are specifically formulated for orchids and contain the necessary nutrients for healthy growth. Look for fertilizers that contain nitrogen, phosphorus, and potassium.