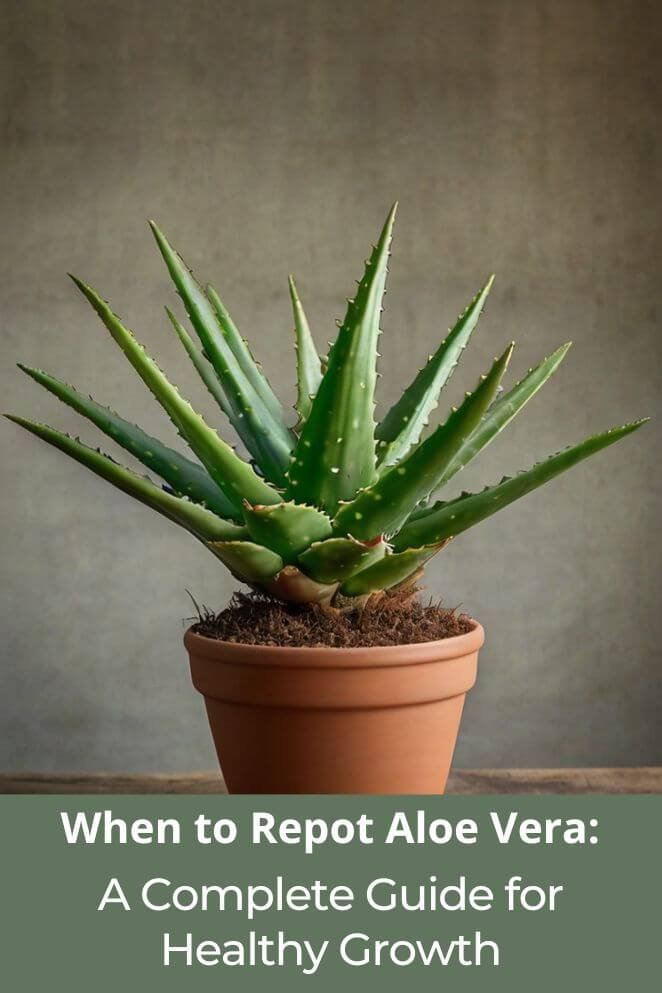
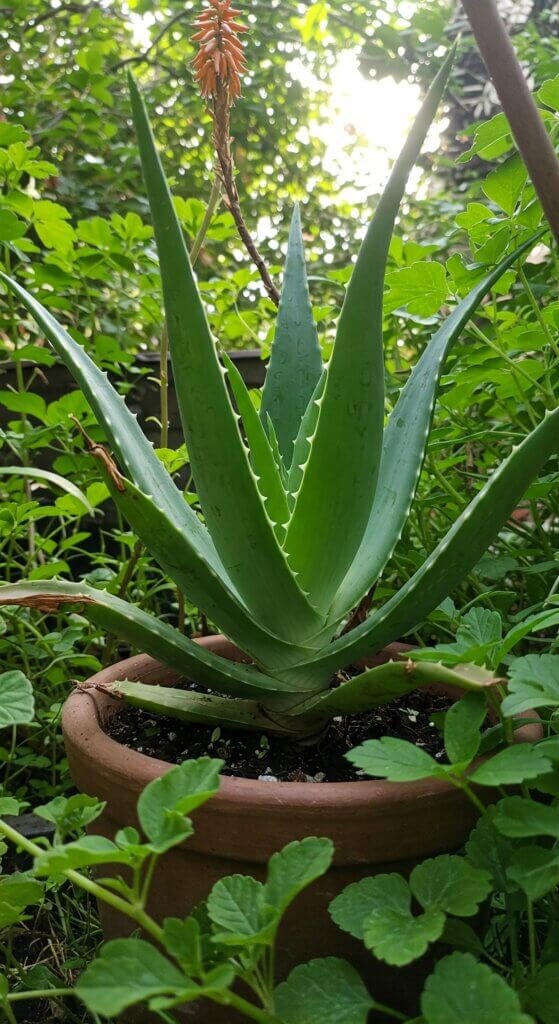
Aloe vera is more than just a stylish succulent—it’s like the Swiss Army knife of plants!
It’s low-maintenance, great for soothing burns, and even helps clean the air.
But like any plant that’s living its best life, aloe vera can eventually get too cozy in its pot.
Repotting it at the right time is key to keep it growing strong and healthy.
If your aloe is getting root-bound (think of it like your favorite sweater that’s too tight), it’s time for a new home.
Not to worry, though! With a few simple steps, you can give your aloe a spacious upgrade and keep it thriving.
Ready to help your aloe live its best life? Let’s dive into when and how to repot without any drama!
Why Repotting Aloe Vera Matters?
Repotting your aloe vera isn’t just about upgrading its “living space”—it’s like giving your plant a much-needed refresh.
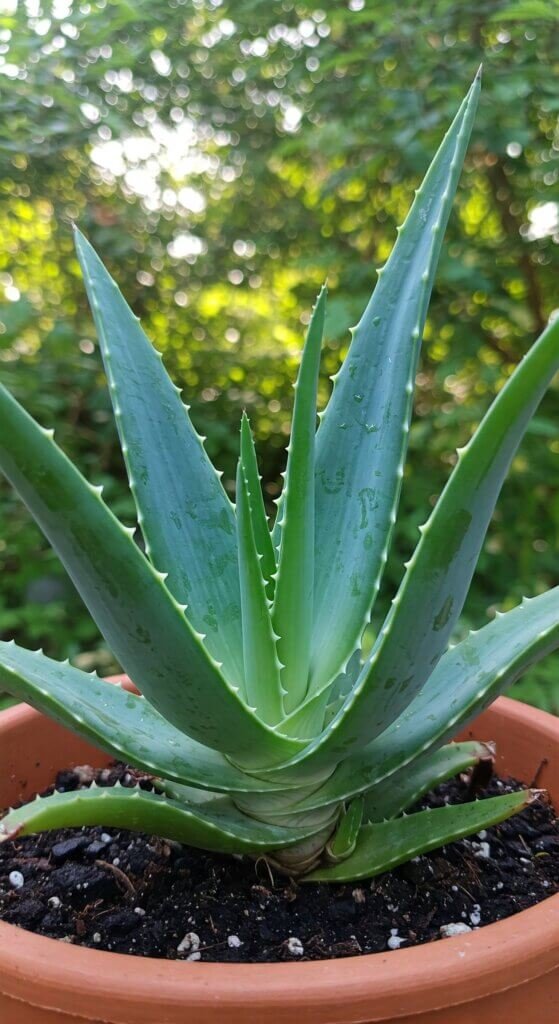
Aloe vera is a fast-growing succulent, and while it might look chill in its current pot, staying too long in the same container can seriously cramp its style.
Too much time in a tight pot means less room for roots, more moisture buildup, and even a risk of root rot (yikes!).
Here’s why repotting is a game-changer for your aloe:
- Healthy roots: More space means stronger, healthier roots that can absorb nutrients better.
- Better drainage: A fresh pot helps the soil drain better, preventing soggy situations.
- Bye-bye pups: You can remove those adorable aloe “pups” (baby plants) and give them their own homes.
- Less disease risk: Avoid overcrowding and disease by giving your aloe more room to breathe.
- Big, gorgeous leaves: A bigger pot = a happier aloe, which means larger, fuller leaves!
So, think of repotting as a VIP upgrade for your aloe.
It’s all about giving your plant the space and conditions it needs to truly thrive!
- Read also: Best Soil for Aloe Vera Plants: A Guide to Thriving Succulents
- Read also: How to Propagate Aloe Vera Pups: A Simple Step-by-Step Guide
When to Repot Aloe Vera: Key Indicators
It’s like knowing when to upgrade your phone—if you wait too long, things get glitchy.
Aloe vera usually needs a fresh pot every 1–2 years, depending on how fast it’s growing and how comfy it is in its current space.
But how can you tell when it’s time to make the move? Here are the top signs:
- Roots are escaping: If your aloe’s roots are like, “I’m outta here!” and growing through the drainage holes, it’s definitely time for a new pot.
- It’s top-heavy: If your aloe is leaning or tipping over like it’s had one too many drinks, it means it’s not balanced—and that’s a signal it needs more room.
- Soil dries too fast: If you’re watering like a pro and the soil still feels dry super quick, it’s probably because the roots are crowding up and don’t have space to drink.
- Pups are taking over: Aloe produces adorable little baby plants (called pups). If you’ve got a bunch of them squishing into the pot, it’s time to split them up.
- Mushy or smelly soil: If the soil feels compact, soggy, or has that “uh-oh” musty smell, it’s a sign of poor drainage and possible root rot. Definitely time for fresh soil.
Pro tip: Spring (around March to April) is the best time to repot—your aloe’s ready for action as it enters its active growth phase!
How to Repot Aloe Vera: Step-by-Step Instructions
Repotting aloe vera is like giving your plant a mini home makeover—it’s pretty easy, but you’ve got to handle it with care, or you might end up hurting its fragile roots and leaves.
Here’s how to do it without breaking a sweat (or the plant):
What you’ll need:
- New pot (1–2 inches bigger than the current one)
- Cactus or succulent soil mix
- Gardening gloves (because no one wants spiky fingers)
- Small trowel or butter knife (for gentle root digging)
- Clean scissors or pruning shears (for cutting any bad roots)
Step-by-step process:
Remove the aloe from its pot
Turn the pot sideways, grab the base of the plant, and wiggle it out gently—kind of like coaxing a stubborn cat out from under the couch.
Tap the pot if you need a little extra oomph.
Shake off the old soil
Give the roots a little shake and remove the old soil.
Look for any squishy, black, or rotting roots—those need to go.
Trim them with sterilized scissors (you don’t want to spread any plant germs).
Separate offsets (if you want)
If your aloe’s been making babies (called pups), carefully separate them.
Each pup should have a few roots attached to survive on its own, like sending your kid off to college.
Prepare the new pot
Add a layer of succulent soil at the bottom of the new pot.
Make sure it has drainage holes—because aloe hates wet feet (literally).
Position the plant
Place your aloe in the center of its new home and fill in with soil around the roots.
Leave about an inch at the top for watering space, so it doesn’t overflow like a bad cup of coffee.
Don’t water immediately
Give your aloe a few days to chill and adjust.
Don’t rush into watering—it’s like giving the plant a few days to “recover” after a move.
This helps the roots heal and keeps them from getting too soggy.
Best Soil and Pot Types for Aloe Vera
When it comes to keeping your aloe vera happy and healthy, choosing the right soil and pot is a big deal.
It’s like picking out the perfect shoes—if they don’t fit right, everything’s uncomfortable.
Best soil mix
Aloe vera’s roots love to breathe, so you need soil that drains fast.
Regular potting soil? Not for aloe—it’s too clingy with moisture, like that one friend who never knows when to leave the party.
Here’s a mix that’ll keep your aloe happy:
- 2 parts cactus soil or sandy loam (this is the comfy, breathable stuff)
- 1 part perlite or pumice (for extra drainage, so aloe’s roots don’t drown)
- Optional: Add a little coarse sand for some extra texture
If you’re feeling lazy (we get it), grab a pre-mixed succulent soil from your local garden center—it’s like buying premade cookies instead of baking from scratch.
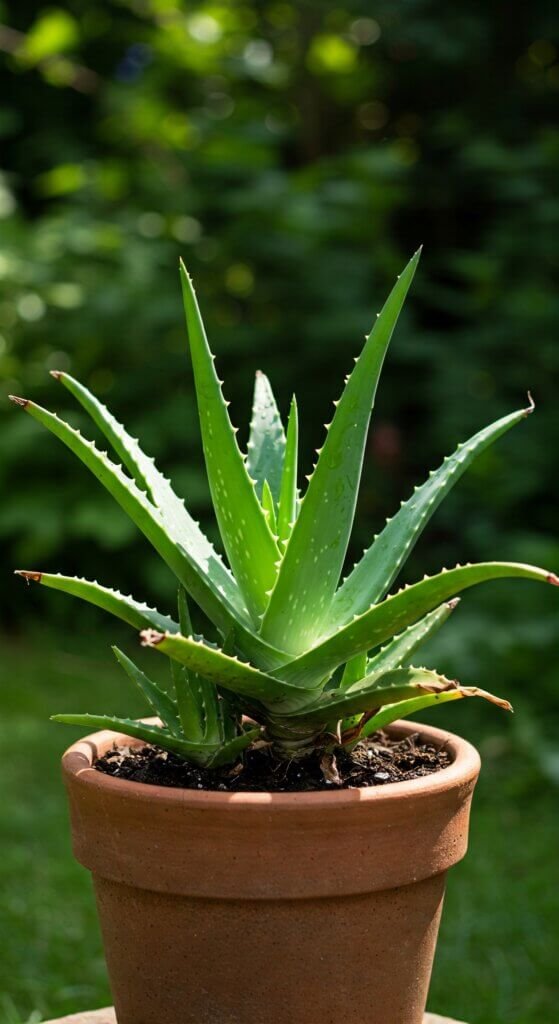
Best pot types:
Aloe’s not picky about its digs, but it does have preferences:
- Terracotta or unglazed clay pots: These guys let moisture escape, so aloe doesn’t end up with soggy roots. Think of it like a breathable jacket for your plant.
- Plastic pots: These are lighter and cheaper, but they hold more moisture, so you need to watch your watering like a hawk.
And don’t forget the golden rule: Make sure your pot has at least one drainage hole. Aloe’s not a fan of sitting in water like a plant version of “The Pool’s Closed” at your local splash park.
How Often Should You Repot Aloe Vera?
Aloe vera doesn’t need a makeover every year—this plant is chill, not high-maintenance.
Here’s the breakdown:
- Young aloe (0–2 years): Repot every 12–18 months. It’s like giving your plant a bigger room when it starts to feel cramped.
- Mature aloe (2+ years): Repot every 2–3 years or whenever it starts to look crowded. If it’s outgrowing its space, time to upgrade.
- After removing pups: If you’ve had to remove aloe babies (pups), give it a year before repotting again. Aloe’s a plant, not a drama queen—it needs a break too.
Note: Repot only when needed. Aloe doesn’t need a new house every year—too many moves can stress it out, like moving to a new school every semester.
Common Mistakes to Avoid
Repotting sounds easy, but there are a few rookie mistakes you can totally avoid to keep your aloe thriving:
- Using the wrong soil: Don’t use regular potting soil. It’s like giving your aloe a soggy, too-tight sweater. Stick with cactus or succulent mix to keep things breathable.
- Overwatering after repotting: Aloe’s roots need a little time to adjust. Wait a few days before watering. It’s like letting your hair cool down after a fresh cut. Don’t rush it!
- Choosing an oversized pot: Don’t go overboard with the pot size. Aloe’s not trying to move into a mansion—too much soil can suffocate the roots and hold too much moisture.
- Ignoring drainage: Drainage holes are non-negotiable. Aloe doesn’t do well in a waterlogged mess—it’s like trying to walk in shoes filled with water. No thanks!
Keep these tips in mind, and your aloe vera will be the happiest, healthiest plant on the block. Just remember, it’s all about balance, not overdoing it!
- Read also: The Beginner’s Guide: Aloe Vera Plant Care Indoors Tips
- Read also: How to Save a Dying Aloe Vera Plant: Expert Tips That Work
Caring for Aloe Vera After Repotting
So, you’ve just moved your aloe vera into its brand-new digs. Now it needs a little TLC to get settled in.
Post-repotting care tips:
- Light: Place it in bright, indirect light. Think cozy Netflix vibes, not blazing sun. For the first 2–3 days, keep it chill—no intense sunbathing just yet.
- Watering: Don’t rush in with the watering can. Give your aloe 3–5 days to relax and settle in before watering again. Aloe’s roots need some time to adjust to their new home.
- Fertilizing: No need for extra nutrients right after repotting. Let your aloe unpack its roots first—skip the fertilizer for about a month.
- Watch for stress: Keep an eye out for wilting or discoloration. If it starts to look like it’s throwing a tantrum, it might need a little more time to bounce back.
- Shriveled leaves: If the leaves look a little limp or shriveled, don’t freak out. It just means the roots haven’t fully settled yet. Aloe’s a chill plant, so it’ll bounce back with patience.
Conclusion: Set Your Aloe Vera Up for Success
Repotting your aloe vera is like giving it a VIP upgrade—it’s the key to making sure it stays healthy, happy, and looking sharp.
Whether you’re a succulent pro or a beginner plant parent, knowing when and how to repot means your aloe will thrive for years to come.
By spotting the signs that it needs more space, picking the right soil and pot, and taking care of it post-repot, you’ll set your aloe up for success.
It’s like giving your plant the best shot at becoming the next big thing in your plant collection—so go ahead and let your aloe shine!