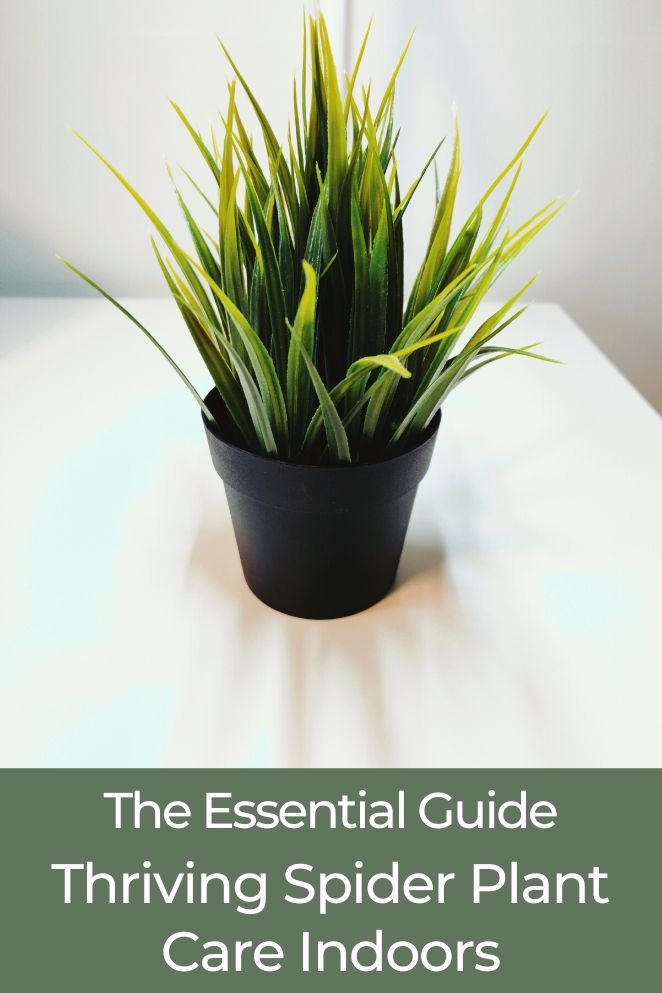
Discover the allure of spider plants in indoor gardening with their vibrant foliage and remarkable air-purifying abilities.
Whether you’re a beginner or an experienced plant lover, their effortless maintenance and visual charm make them a favorite.
This comprehensive guide covers essential insights for nurturing thriving spider plants indoors.
Explore their advantages, optimal growth conditions, and effective propagation methods.
Advantages of Cultivating Spider Plants Indoors
Air purification
Spider plants are exceptional at cleansing indoor air.
They’re renowned for their talent in eliminating toxins like formaldehyde, a common indoor pollutant emitted by various household items such as carpets, furniture, and certain cleaning products.
- Read also: Snake Plant Care Indoor for Thriving Bliss
- Read also: Snake Plant Leaves Turning Yellow
Low maintenance
For those seeking easy-care greenery, spider plants are a perfect choice.
They thrive with minimal attention, making them an ideal addition to any space, especially for those who are new to plant care or have busy schedules.
They require modest light, prefer average room temperatures, and can tolerate occasional neglect, bouncing back quickly even if you forget to water them occasionally.
Versatile decor
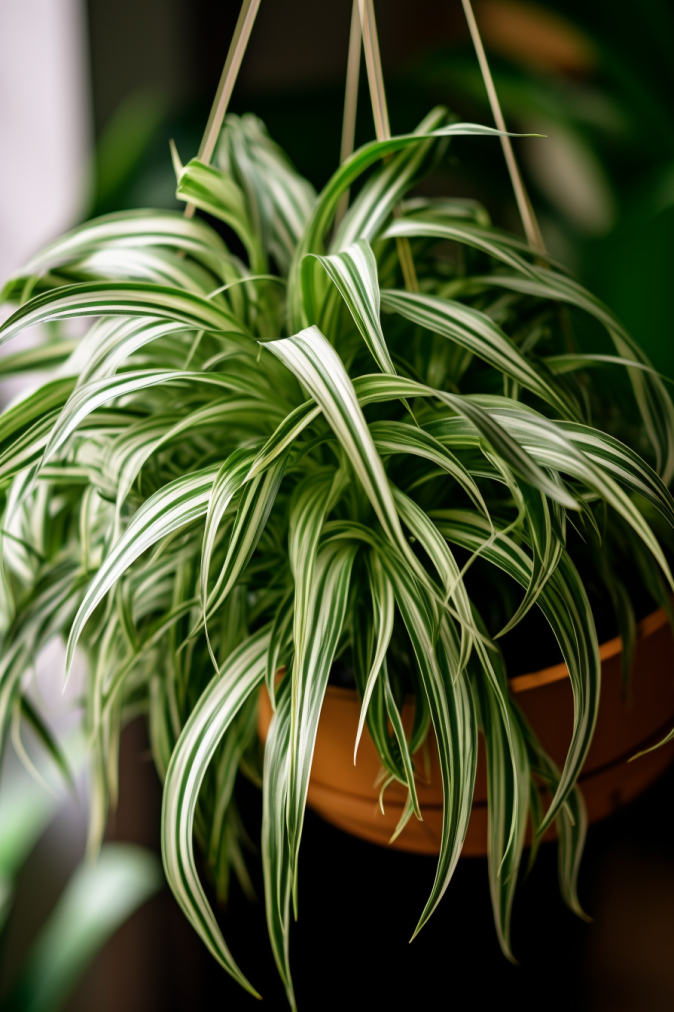
Beyond their air-purifying prowess, spider plants offer aesthetic value.
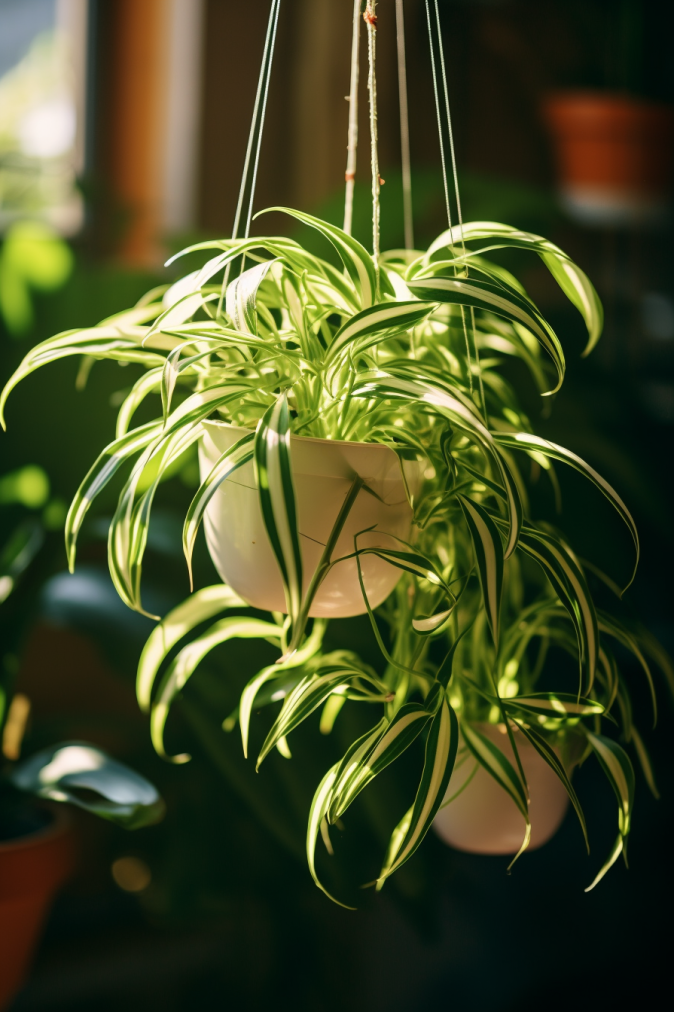
Their lush, arching foliage adds a touch of natural elegance to any room.
Whether suspended in a hanging basket, placed on a shelf, or as part of a mixed indoor garden, these plants elevate the ambiance with their graceful appearance.
Propagation ease
Another perk is their ease of propagation.
Spider plants readily produce “spiderettes” or offshoots that can be effortlessly rooted in water or soil, allowing you to expand your collection or share these lovely plants with friends and family.
Pet-friendly
Unlike many other houseplants, spider plants are non-toxic to pets and children.
This makes them a safe choice for homes with furry or feathered friends.
Humidity boosters
Spider plants release moisture into the air, which can help to increase humidity levels in your home.
This is especially beneficial during dry winter months when indoor air can become parched and irritating.
Increased humidity can also help to improve respiratory health, prevent dry skin, and even reduce the spread of airborne viruses.
Varieties of Spider Plant
Chlorophytum comosum (Classic spider plant)
This is the quintessential spider plant, characterized by its arching, narrow leaves that cascade gracefully.
It’s renowned for its resilience and air-purifying qualities, making it a popular choice for indoor cultivation.
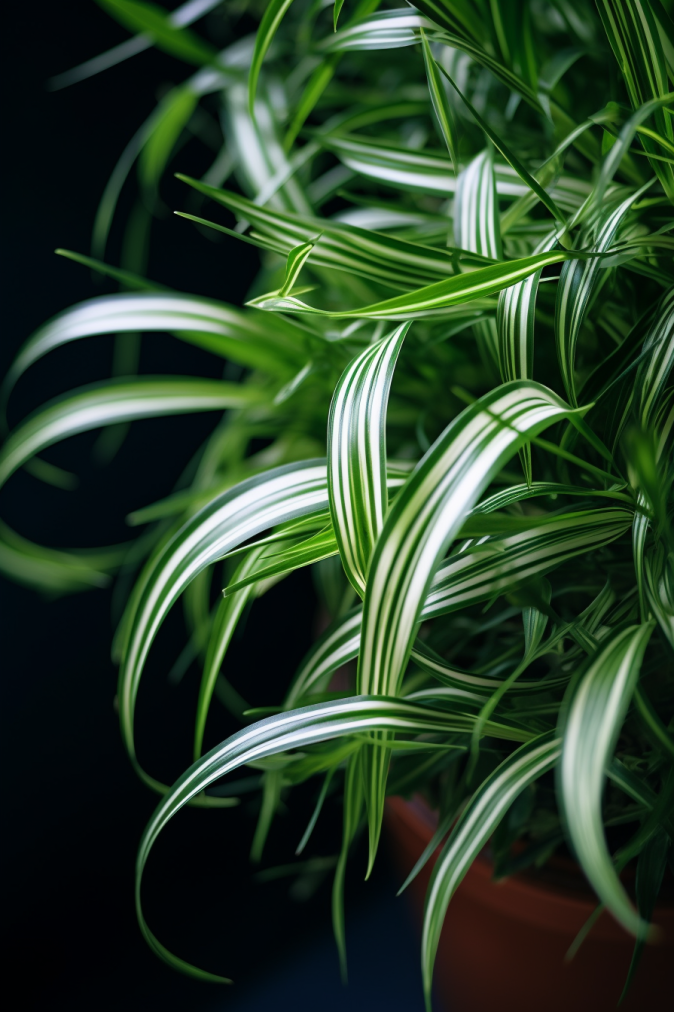
Variegated varieties
Within this category, spider plants showcase an assortment of striking patterns on their foliage.
Some feature creamy white stripes, while others display a blend of green and white, adding an extra layer of visual interest to these already charming plants.
Curly or twisted leaf varieties
Some spider plant cultivars have leaves that exhibit unique twists or curls, deviating from the traditional straight and narrow foliage.
These variations add a touch of whimsy to the overall appearance of the plant.
Compact or miniature varieties
For those seeking smaller-sized spider plants, compact or miniature versions are available.
These varieties maintain the signature features of the spider plant but in a more diminutive form, perfect for smaller spaces or as part of a collection.
Bonnie green and vittatum varieties
These specific cultivars offer slightly different leaf shapes or colorations.
The Bonnie Green variety, for instance, boasts broader leaves compared to the standard spider plant, while the Vittatum variety showcases a more pronounced white stripe along the center of each leaf.
Digging Deeper into Physical Characteristics of Spider Plant
Leaf structure
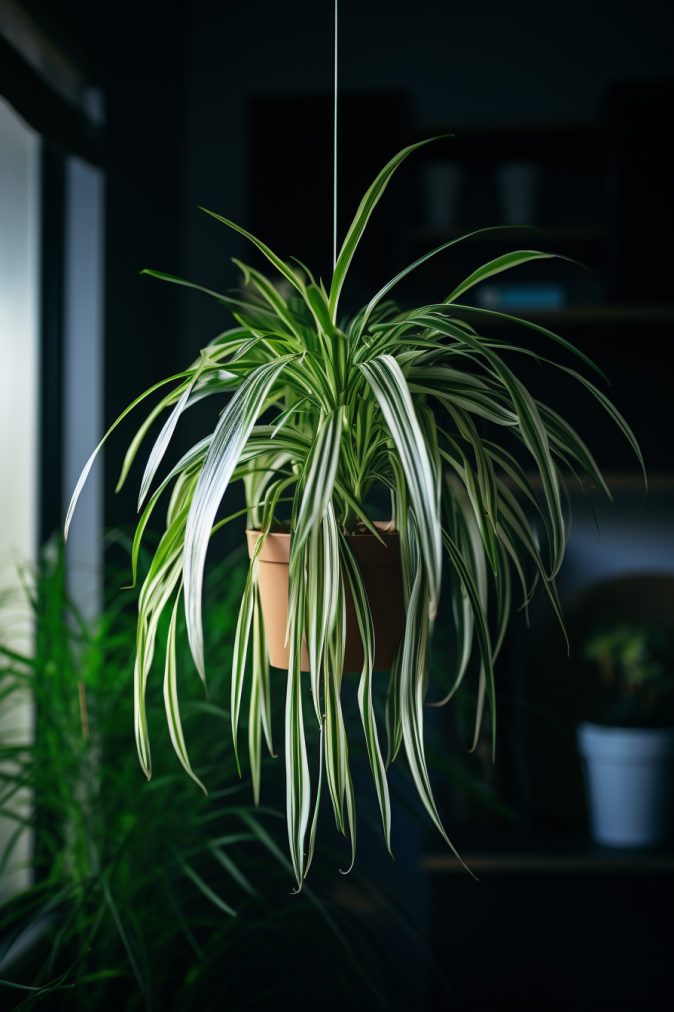
Spider plants are recognized by their long, slender leaves that typically grow in a fountain-like arrangement.
These leaves arch gracefully outward from the center of the plant, resembling spider legs, hence the name.
Plant size
Mature spider plants can reach varying sizes, with leaf lengths typically ranging from around 12 to 20 inches.
However, some compact or miniature varieties exist, presenting smaller dimensions while retaining the characteristic leaf shape.
Flowering and offshoots
Spider plants occasionally produce small, white flowers on long stalks.
Typically bloom in spring or summer with proper care. After flowering, they generate “spiderettes” or ‘baby’ plants, which grow from the main plant via thin stems and develop their own root systems, facilitating easy propagation.
Root structure
The roots of spider plants are typically fleshy and thick, often capable of storing water, aiding the plant’s resilience during periods of drought or irregular watering.
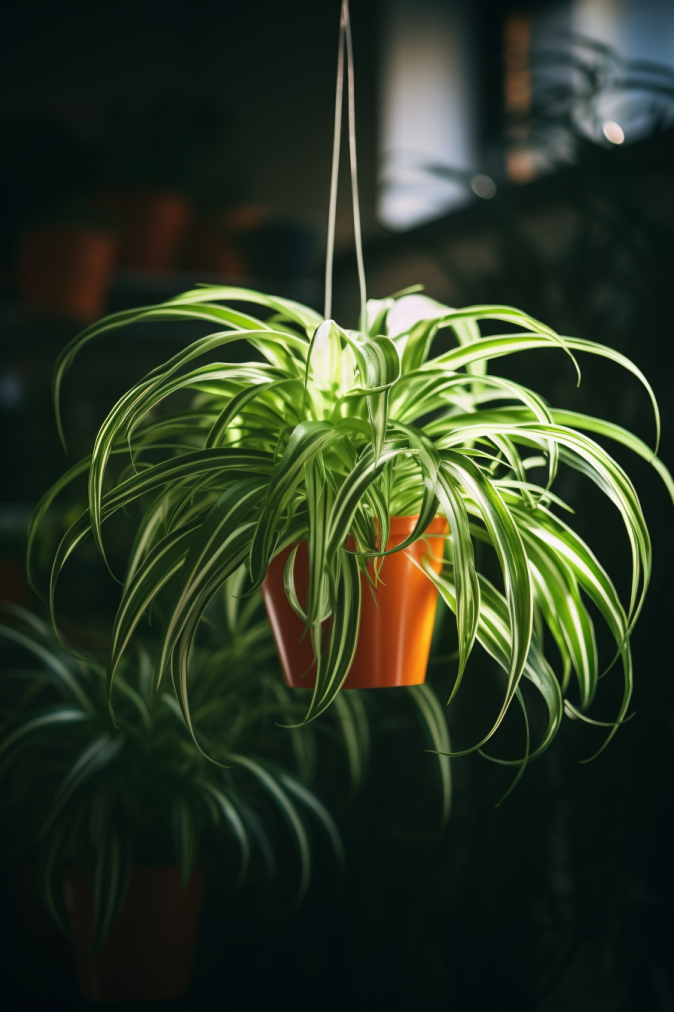
Growth habit
Spider plants have a clumping growth habit, often producing multiple stems that arise from a central point, creating a lush and full appearance, especially in well-cared-for specimens.
Ideal Indoor Conditions for Spider Plants to Grow
Lighting
Spider plants flourish in moderate, indirect light.
While they can tolerate some direct sunlight, excessive exposure may scorch their leaves.
Placing them near windows with sheer curtains or in areas with filtered light promotes robust growth without risking leaf damage.
A bit of morning sunlight can be beneficial, but avoid prolonged afternoon sun exposure.
Temperature
Spider plants thrive best when the temperature is kept between 55°F to 80°F (13°C to 27°C).
While they’re quite sturdy and can handle minor temperature changes, it’s best to shield them from extreme cold or heat.
Avoid placing them in areas prone to chilly drafts, especially close to windows or near air conditioning units.
Humidity
Aim for a moderate humidity level, ideally between 40% to 60%.
Spider plants can adapt to varying humidity levels, but they thrive best in this range.
If indoor air tends to be dry, occasional misting or using a room humidifier can provide the necessary moisture.
Soil and drainage
To keep spider plants healthy, it’s essential to use soil that drains well.
This helps prevent the roots from getting waterlogged, which can cause them to decay.
A balanced potting mix that allows for good drainage, like a combination of peat moss, perlite, and vermiculite, ensures the soil has enough air and controls moisture levels properly.
Watering
Spider plants prefer slightly moist soil but are susceptible to overwatering.
Allow the top inch of soil to dry out between watering sessions.
Adjust the frequency based on the environmental conditions and the moisture level of the soil.
Pot size
Ensure the pot provides ample room for root growth without being excessively large.
Spider plants enjoy a bit of snugness in their pots but appreciate occasional repotting to refresh the soil and provide space for growth.
How to Propagate Spider Plants
Here are two popular methods for propagating spider plants:
Method 1: Using soil
Gather your materials
You’ll need a sharp knife or pruners, a small pot with drainage holes, well-draining potting mix, and your spider plant with baby spiderettes.
Select and cut the spiderettes
Choose healthy, mature spiderettes with visible roots at the base. Gently cut them from the main plant, leaving a short section of stolon (the runner) attached.
Prepare the pot
Fill the pot with potting mix and make a small indentation in the center.
Plant the spiderettes
Place the spiderettes in the indentation with the roots buried in the soil. You can bury the stolon a little too, if it has roots.
Gently firm the soil around the base.
Water and care
Water the newly potted spiderettes thoroughly and allow the excess water to drain. Place them in bright indirect light and keep the soil moist but not soggy.
Patience is key
New roots will develop within a few weeks, and your baby spider plants will start putting out new growth. Once they’re established, you can treat them like mature spider plants.
Method 2: Using water
Gather your materials
You’ll need a glass container or jar, fresh water, and your spider plant with spiderettes.
Fill the container
Fill the container with lukewarm water to a depth that will almost reach the base of the leaves on the spiderettes.
Place the spiderettes in the water
Carefully separate the spiderettes from the main plant, leaving a short section of stolon attached. Place them in the water, ensuring the roots are submerged but the leaves are not.
Change the water regularly
Replace the water every 3-4 days to keep it fresh and prevent bacteria growth.
Watch for roots
Within a week or two, you should see small roots forming at the base of the spiderettes.
Planting time
Once the roots are about 1 inch long, you can plant the spiderettes in the soil as described in Method 1.
How to Use Fertilizer for Spider Plants
Choosing fertilizer
Choose a balanced fertilizer that dissolves in water and contains equal amounts of nitrogen, phosphorus, and potassium (usually labeled as N-P-K on the packaging).
A ratio like 10-10-10 or 20-20-20 is effective.
You can also use specialized fertilizers made specifically for houseplants.
Both liquid and granular fertilizers work well for spider plants. Liquids are easier to apply and control the amount, while granular types release nutrients slowly over time.
Frequency
During the active growing season, typically from spring to early fall, apply a diluted fertilizer solution approximately once a month.
Spider plants are not heavy feeders, so moderate feeding is sufficient to support their growth.
Dilution
Always dilute the fertilizer more than the recommended strength on the label, usually to half or a quarter of the suggested amount.
This prevents the risk of over-fertilizing, which can damage the plant.
Mixing the fertilizer weakens its potency, making it safer for the plant.
Application method
- Liquid: Mix the diluted fertilizer with your regular watering water and water the soil as usual.
- Granular: Sprinkle the granular fertilizer evenly on the soil surface and lightly water to dissolve it.
Observation and adjustments
Monitor the plant for any signs of nutrient deficiency or excess.
Yellowing leaves or browning leaf tips could indicate either too much or too little fertilizer.
Adjust the frequency or dilution accordingly based on the plant’s response.
Winter rest
During the dormant phase in winter, reduce or altogether stop fertilizing.
Spider plants tend to slow down their growth during this period, requiring fewer nutrients.
Avoiding salt build-up
Excessive fertilizing can cause salt to build up in the soil, potentially harming your plant.
To avoid this, use well-draining soil and from time to time, flush out any extra salts by thoroughly watering the soil.
This helps keep your spider plant healthy and happy.
- Read also: Why Your Snake Plant Leaves Are Curling
- Read also: Why Is My Snake Plant Drooping
Conclusion
Spider plants go beyond being mere decorative elements in your indoor environment; they are champions in purifying the air and demand minimal upkeep.
Grasping their requirements for light exposure, water, and occasional fertilization allows you to relish the presence of these resilient plants and their year-round benefits.
With their air-cleaning prowess and easy maintenance, spider plants stand as a delightful and practical choice for indoor greenery.
FAQs
While they prefer moderate light, spider plants can tolerate low-light conditions, although their growth may slow down.
Brown tips can result from over-fertilization, fluoride in water, or low humidity. Trim the brown parts and adjust care accordingly.
Water your spider plant when the top inch of soil feels dry, usually once a week or so. Adjust based on environmental conditions.