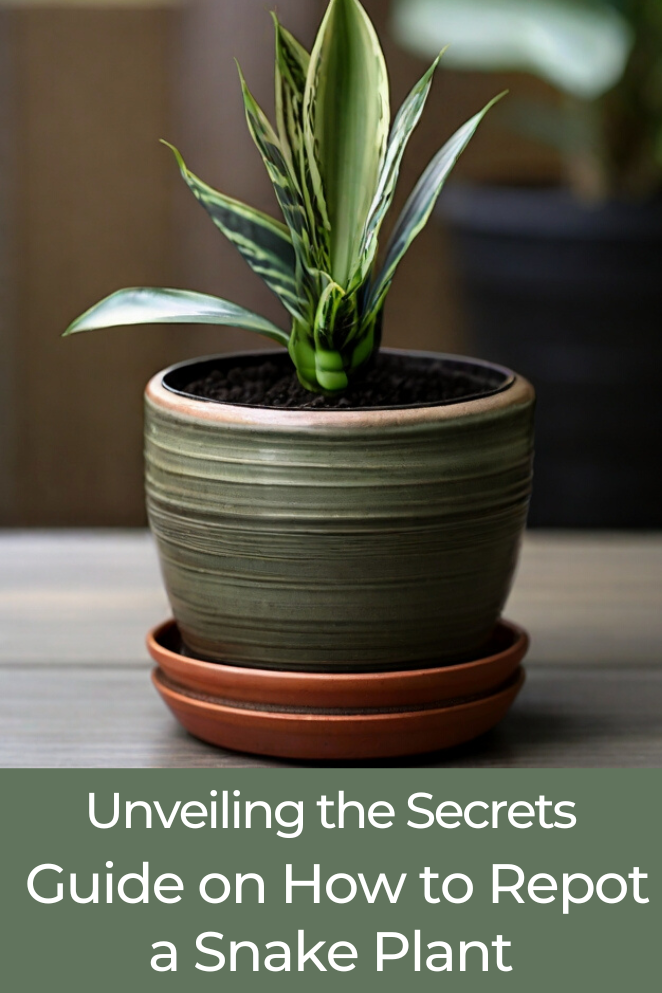
Greetings, fellow plant lover!
If you’re contemplating relocating your snake plant to a new home, you’re making a wise choice.
This guide is your ticket to understanding why repotting is crucial, recognizing when your plant yearns for it, and learning the straightforward steps to ensure your leafy companion flourishes in its updated space.
Let’s enhance your green thumb adventure and make your plant’s journey even more delightful!
Why You Should Repot Your Snake Plant?
Repotting serves two main purposes.
Providing more space
Think of your snake plant as a superhero. But even superheroes need space to spread their roots!
When your plant gets bigger, its roots can get all cramped in the pot.
That’s like trying to fit into your favorite shoes from three years ago – not comfy!
Repotting into a larger home gives those roots the room they need to stretch out and the plant a chance to grow big and strong.
- Read also: Why Your Snake Plant Leaves Are Curling
- Read also: Snake Plant Care Indoor for Thriving Bliss
Refreshing the soil
Imagine your plant’s soil is like its comfy bed.
Over time, that bed can get a bit worn out.
The soil in the pot breaks down and can’t do its job well anymore – it’s like a superhero losing their powers!
When you repot with fresh soil, it’s like giving your snake plant a brand-new, comfy bed.
Fresh soil helps with drainage (so your plant doesn’t get soggy feet) and holds onto nutrients, giving your plant the superhero strength it needs to thrive.
Signs Your Snake Plant Needs Repotting
If you’re curious about giving your plant a better home, keep an eye out for these signals:
- Roots going in circles: Imagine your plant’s roots as its arms try to stretch out. If they’re doing a circular dance in the pot, it’s like they’re saying, “We need more room!” That’s a big sign it’s time for a bigger home.
- Growth stuck in slow-mo: Is your plant not getting any taller? It might be feeling cramped and can’t stretch its legs. If your snake plant is stuck in slow-mo growth, it’s telling you, “I need more space to reach for the stars!”
- Soil turning into a desert: Touch the soil – if it feels like a desert that dries up super fast, your plant is thirsty for a change. Fresh soil will keep things moist and happy.
When Should You Repot a Snake Plant?
Choosing the right moment to repot your snake plant is super important. Here’s the lowdown:
Spring and early summer magic
Think of these seasons as your plant’s happy dance time.
That’s when it loves to grow and show off.
So, if you’re planning a repotting party, aim for spring or early summer.
Your snake plant will be in its natural groove, making the transition to a new pot a breeze.
Winter? not the best time
Winter is like a cozy nap time for your snake plant. It’s resting and recharging for the next growth spurt.
So, no repotting during winter – let your plant enjoy its chill time. Disturbing it during this season might stress it out.
Step-by-Step: How to Repot Your Snake Plant
Gather your supplies
Let’s get ready for the repotting adventure of your snake plant by gathering all the necessary supplies.
Ensure you have a larger pot, fresh well-draining soil, a pair of gloves to shield your hands, and a reliable trowel to assist with the transplanting process.
Prepare the new pot
With your supplies in hand, let’s prep the new pot for your snake plant’s new home.
Start by adding a layer of fresh soil to the bottom, creating a cozy and nutrient-rich foundation for your plant to thrive.
Remove the snake plant
Now, it’s time to delicately free your snake plant from its current pot.
Gently tilt the pot to the side, supporting the plant’s base with one hand while tapping the bottom and sides to loosen the soil.
Once you sense the plant is loosened, slide it out carefully, being cautious not to harm those lovely leaves.
Inspect the roots
Take a moment to inspect the roots of your snake plant.
Healthy roots are firm and white, while rotting or unhealthy roots may appear mushy or discolored.
Trim away any damaged roots with clean and sharp scissors or pruning shears.
Place in the new pot
Set your snake plant into the center of the new pot, ensuring that it sits at the same depth as it did in the old pot.
Adjust the amount of soil beneath the plant as needed.
Fill the remaining space around the plant with fresh soil, pressing it gently to eliminate air pockets.
Water thoroughly
Give your recently repotted snake plant a good drink of water.
This helps the soil settle around the roots and encourages the plant to acclimate to its new environment.
Allow any excess water to drain away, preventing waterlogged soil.
Find the right spot
After repotting, find a suitable spot for your snake plant.
Aim for a location with indirect sunlight, as snake plants generally thrive in low to moderate light conditions.
Allow the plant some time to adjust before exposing it to direct sunlight.
Monitor and enjoy
Keep an eye on your snake plant in the days and weeks following the repotting process.
If you notice any signs of stress, such as drooping or yellowing leaves, adjust the care accordingly.
With a bit of patience and attention, your snake plant should flourish in its new home.
How to Repot a Large Snake Plant
When it comes to repotting a big snake plant, the steps are quite similar, but the trick is to be super careful because it’s a larger plant.
You might need a buddy to help you out and make sure you’ve got a bigger pot to fit its growing roots.
Take your time with each step, and trust me, the payoff will be totally worth the effort!
First things first, gather all your tools. You’ll need a bigger pot this time, fresh soil that drains well (so your plant doesn’t get soggy), and it’s a good idea to have a friend with you to lend a hand.
Now, let’s get that new pot ready. Start by putting a layer of fresh soil at the bottom.
This is like giving your snake plant a cozy bed to settle into.
When it’s time to get the snake plant out of its old pot, tilt it gently on its side.
Have your friend help you with this part.
Hold the base of the plant steady with one hand, and tap the sides and bottom of the pot to loosen things up.
Once you feel it’s loose, slowly slide the plant out, making sure not to harm those beautiful leaves.
Now, check out the roots.
If they look healthy, that’s awesome!
They should be firm and white.
If you see any roots that look sad or mushy, trim them away with sharp scissors or pruning shears.
Place your snake plant into the center of the new, bigger pot.
Make sure it’s sitting at the same level it was in the old pot.
Fill in the gaps around the plant with fresh soil, and press it down a bit to get rid of any air pockets.
Time for a good drink! Water your snake plant generously.
This helps the soil settle in around the roots and gives your plant a warm welcome to its new home.
Let any extra water drain away, so your plant doesn’t get too soggy.
Now, find a nice spot for your snake plant.
It likes indirect sunlight, so a place with some shade is perfect.
Let your plant chill and adjust for a bit before putting it in direct sunlight.
Keep an eye on your snake plant over the next few days and weeks.
If it seems a bit unhappy with droopy or yellow leaves, tweak your care routine.
With a bit of patience and attention, your large snake plant will be thriving in its new home!
How to Repot Snake Plant with Root Rot
If your snake plant is suffering from root rot, a common issue caused by overwatering, follow these steps to revive it:
- Gather your supplies: Get a bigger pot, fresh soil, gloves, and a trowel.
- Prep the new pot: Add fresh soil to the bottom for a comfy space for your plant.
- Remove the snake plant: Gently take it out of its current pot, being careful not to damage the leaves.
- Address the root rot: Trim away any mushy or sad roots. Treat the healthy ones with a fungicide to combat root rot.
- Repot the plant: Place it in the new pot, maintaining the same depth as before. Fill in gaps with fresh soil.
- Water wisely: Give your plant a moderate drink, ensuring excess water drains away to prevent soggy soil.
- Find a suitable spot: Choose a location with indirect sunlight for your snake plant to settle in.
- Monitor and adjust: Keep an eye on your plant, adjusting your watering routine if you notice any signs of distress like drooping or yellow leaves.
Conclusion
Repotting might sound a bit tricky, but trust me, it’s totally worth it.
Your snake plant is going to be so happy with its fresh new home, and you’ll see it grow with more leaves and an overall cheerful vibe.
Now, it’s time to kick back, relax, and watch the magic happen as your plant turns even greener and healthier.
You’ve given it a new lease on life, and that’s something to feel proud about. Enjoy the green transformation – you and your snake plant deserve it!
- Read also: Potting Mix vs. Garden Soil
- Read also: Topsoil vs. Garden Soil
FAQs
Ideally, every 1-2 years, or when you notice signs of outgrowing its current pot.
It’s best to wait until spring or early summer when the plant is in its active growth phase.
Yellow leaves can indicate various issues. Repot if root rot is present; otherwise, address the underlying cause before considering repotting.