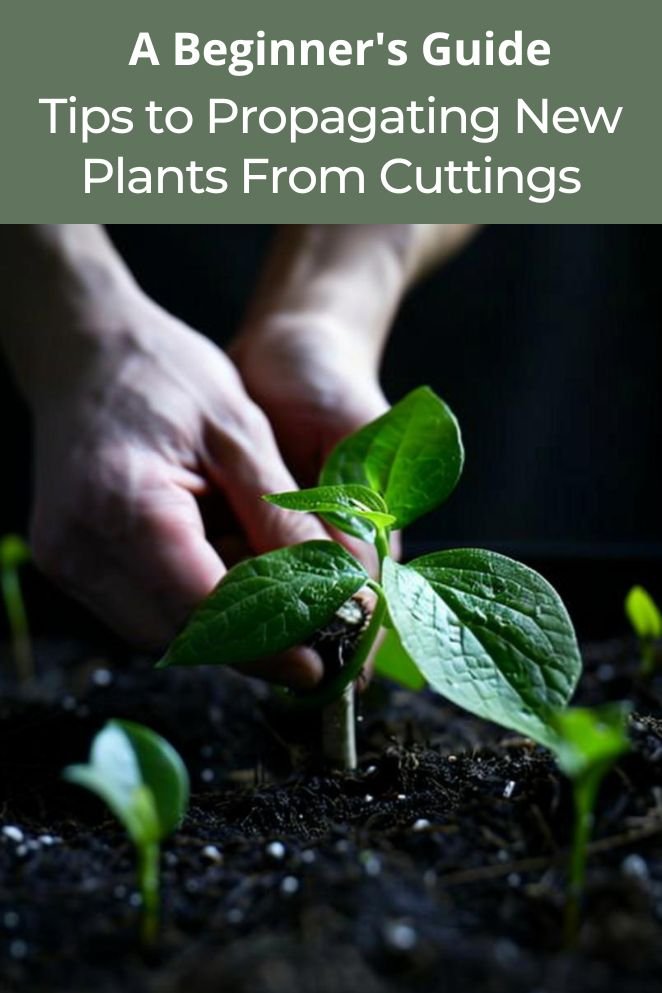
Are you looking to expand your garden without breaking the bank?
Propagating new plants from cuttings is a fun, cost-effective way to grow your plant collection.
This guide will take you through the basics of plant propagation, focusing on the techniques you need to successfully propagate plants from cuttings.
Understanding Plant Propagation
Plant propagation is the process by which new plants grow from various sources, including seeds, cuttings, and other plant parts.
It can refer to both man-made or natural dispersal of seeds.
Plant propagation is used to increase the population of plants and ensure their continuation.
There are two main types of plant propagation: sexual and asexual.
- Sexual propagation: Involves pollination, where pollen from a male plant fertilizes an egg from a female plant.
- Asexual propagation: It involves taking a vegetative part of a plant, such as a stem, leaf, or root, and causing it to grow into a new plant.
There are three main types of cuttings you can use to propagate plants: stem cuttings, leaf cuttings, and root cuttings.
Each type has its unique process and is suitable for different kinds of plants.
- Read also: How to Propagate Snake Plants in Water: Step-by-Step Guide
- Read also: A Step-By-Step Guide: How To Propagate Spider Plant In Water
Stem cuttings
This is the most common and versatile method. You’ll be taking a section of stem, typically with a few leaves attached, from the parent plant.
Different stem cutting types based on the maturity of the stem you choose:
- Softwood cuttings: Softwood cuttings are taken from the new, green shoots of woody plants in spring or early summer. These stems are soft and flexible, making them root readily.
- Semi-hardwood cuttings: As the name suggests, these cuttings come from stems that have started to mature and feel slightly woody.
- Hardwood cuttings: Hardwood cuttings come from mature, woody stems of shrubs and trees. These stems will be hard and feel quite firm.
Leaf cuttings
Leaf cuttings involve taking a whole leaf or a portion of a leaf from a plant and coaxing it to sprout roots and form a new plant.
While not all plants can be propagated this way, it works wonders for certain African violets, succulents like jade plant, and the beautiful Rex begonias known for their stunning foliage.
Root cuttings
This is a less common method, but it can be successful for some plants with thick, fleshy roots.
Here, you take a section of root and encourage it to grow new shoots. This method often works best with established, mature plants.
Root cuttings are commonly used for plants such as phlox, oriental poppies, and blackberries.

Propagation from Stem Cutting
Propagation from stem cuttings is a popular and effective method for reproducing many plants.
Here’s a step-by-step guide to propagating plants from stem cuttings. But first, here are the materials you will need:
- A clean, sharp knife or pruners
- Rooting hormone (optional but recommended)
- A pots with drainage holes
- Soil
- Rooting medium such as perlite, vermiculite, or a mixture of both
- Water
- Clear plastic bag or a propagation dome
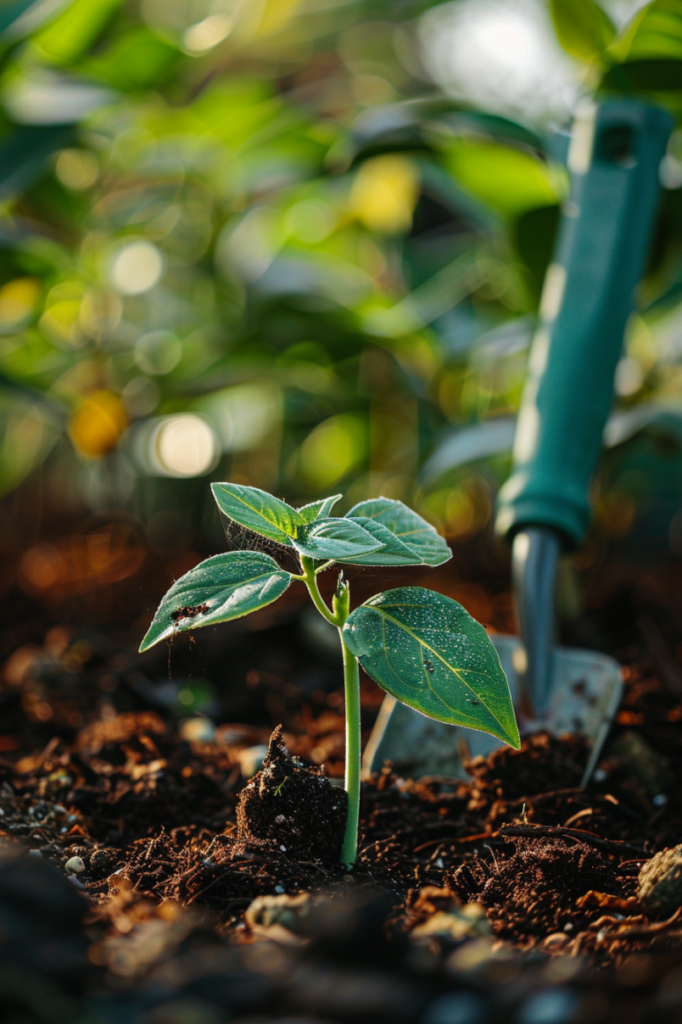
Step 1: Select the cutting
Ensure that the parent plant is healthy and free of any pests or diseases.
Select a vigorous, healthy stem.
For softwood and semi-hardwood cuttings, it is best to choose stems that are not flowering.
Cut a piece of the stem that is 4 to 6 inches long for most plants.
Use a sharp, sterilized knife or pruning shears to make a clean cut just below a node, which is where a leaf attaches to the stem.
Step 2: Prepare the cutting
Remove the lower leaves from the stem, leaving just two or three at the top. If you want, you can dip the cut end in rooting hormone powder or gel to help stimulate root growth.
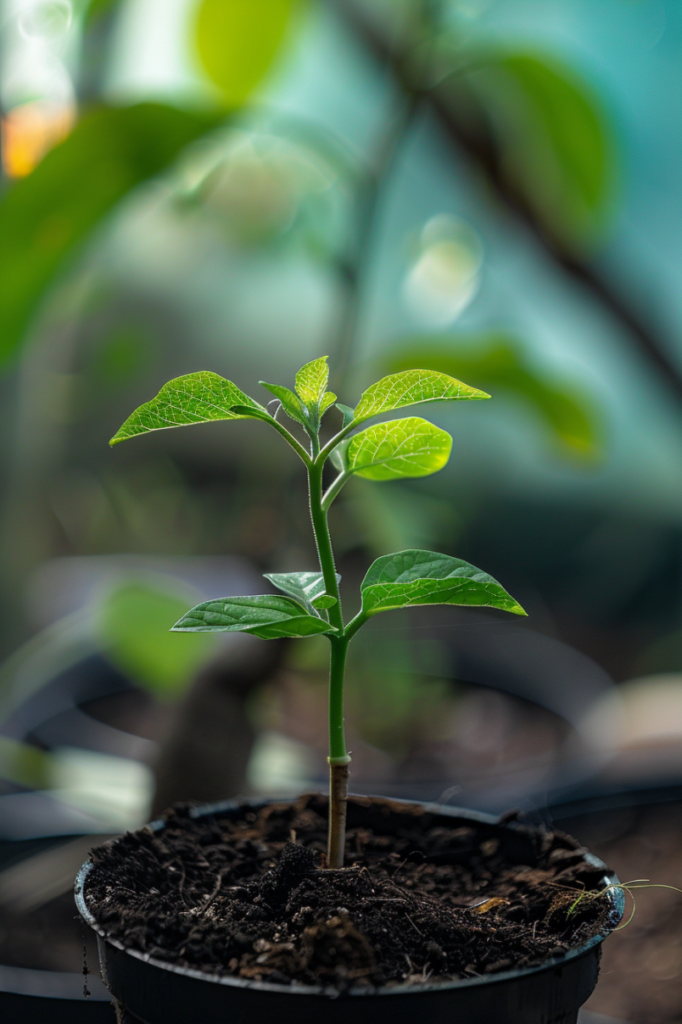
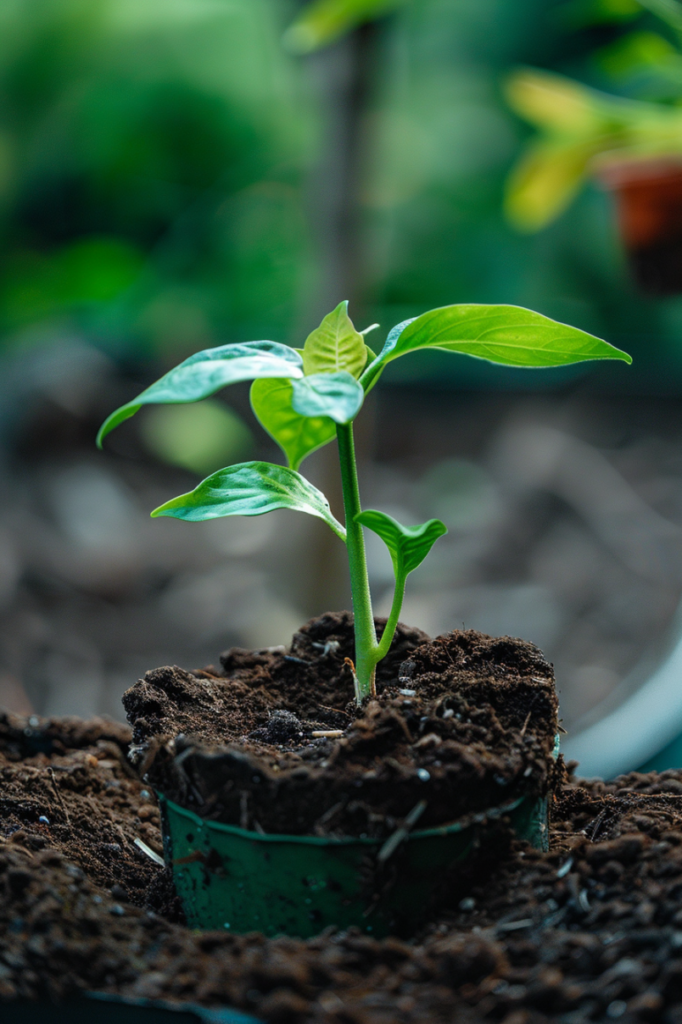
Step 3: Plant the cutting
Choose a well-draining mix like peat moss combined with perlite or vermiculite.
Place the cutting into the soil so that at least one node is buried.
Press the soil gently around the cutting to make sure it has good contact.
Step 4: Create a humid environment
Thoroughly water the cutting to help settle the soil around the stem.
To keep the humidity high, cover the cutting with a plastic bag or place it in a propagator.
Make sure there is some air circulation to prevent mold and rot.
Step 5: Placement and care
Put the cutting in a spot with bright, indirect light. Avoid direct sunlight to prevent scorching.
Keep the environment warm, between 65-75°F (18-24°C).
Ensure the soil stays consistently moist, but not soaked.
Step 6: Root development and transplanting
After a few weeks, which can vary from 2 to 8 weeks depending on the plant, gently pull on the cutting to see if there is resistance, indicating root development.
Once roots have grown, transfer the cutting into a pot filled with regular potting soil.
Then, gradually adjust the new plant to its surroundings by reducing humidity and increasing exposure to light.
Propagation from Leaf Cutting
Propagation from leaf cuttings is feasible for select plant varieties, though generally less reliable than stem cuttings.
It’s crucial to research if your plant species is suitable for this method, as not all plants can generate new growth from leaves.
Here’s a guide to leaf cutting propagation for plants that support this technique. Before you begin, gather the necessary materials:
- Healthy mother plant
- Clean, sharp knife or pruners
- Potting mix suitable for the mature plant
- Pot with drainage holes
- Clear plastic bag or propagator (optional, to maintain humidity)
Step 1: Choose a suitable leaf
Select a healthy, mature leaf from the mother plant. Avoid damaged or diseased leaves.
Step 2: Make the cut
Using your sterilized pruners or knife, carefully remove the leaf from the stem.
There are two main techniques for leaf propagation depending on the plant:
- Whole leaf propagation: Simply place the petiole (leaf stem) of the whole leaf into the potting mix, with at least half of it buried.
- Leaf section propagation (for some plants like Rex begonias): Cut the leaf blade across the main veins on the underside, creating wedges. Each wedge should ideally have a portion of the main vein. Gently lay these wedges flat on top of the potting mix with the cut side touching the medium.
Step 3: Potting
Fill your pot with a well-draining potting mix appropriate for the mature plant.
Moisten the mix lightly.
Step 3: Placement
Put the pot in a location with bright, indirect sunlight.
Avoid direct sunlight as it can scorch the leaves.
Step 4: Maintain humidity (optional)
Enclosing the pot loosely in a clear plastic bag or propagator can help maintain humidity around the leaf cutting, which is important for promoting root growth.
If using a plastic bag, create air holes to prevent excessive moisture buildup.
Step 5: Watering care
Keep the potting mix consistently moist but not soggy.
Water when the top inch of the medium feels dry to the touch.
Step 6: Transplanting
Propagating from leaves can take significantly longer than stem cuttings, sometimes several months.
Signs of success include the development of tiny plantlets or roots forming at the base of the petiole or along the cuts on the leaf.
Once the plantlets have developed a few healthy leaves and roots, you can carefully transplant them into individual pots with fresh potting mix.
Propagation from Root Cutting
Propagation from root cuttings is most effective for certain plant species capable of regenerating new growth from their roots.
Examples of such plants include raspberries, blackberries, roses, trumpet vine, phlox, crabapple, fig, lilac, and sumac.
Before attempting root cutting propagation, it’s important to research whether your specific plant species is suitable for this method.
Begin by gathering the necessary materials:
- Healthy mother plant
- Clean, sharp knife or pruners
- Potting mix suitable for the mature plant
- Pot with drainage holes
- Sand, peat moss, or sawdust (optional, for storing root cuttings)
Root propagation is most successful during the plant’s dormant period, which usually occurs in late winter or early spring.
During this time, the roots are rich in carbohydrates, which facilitates robust growth. Below is a guide to root cutting propagation:
Step 1: Digging and selecting the root
Carefully dig up a portion of the root system from the mother plant.
Choose healthy, firm, white roots that are pencil-thick or slightly thicker.
Avoid thin roots or any that show signs of disease or damage.
Step 2: Preparing the root cutting
Using your sterilized pruners, cut off a 2-3 inch section of the chosen root.
Make a clean cut at the end closest to the crown of the plant (the main stem base).
Discard the thin, tail-like end of the root.
You can also cut the thicker root section into smaller 1-2 inch pieces if desired.
Optional storage: If immediate planting isn’t possible, you can store the root cuttings for a few weeks to encourage callus formation (a hardened protective layer) at the cut ends.
Here’s how:
- Moisten some sand, peat moss, or sawdust.
- Place the root cuttings in the moistened material.
- Store the container in a cool location (around 40°F) for 2-3 weeks.
Step 3: Planting
Fill your pot with a well-draining potting mix suitable for the mature plant. Moisten the mix lightly.
- For thicker root cuttings: Lay the cuttings horizontally on the potting mix with the cut end closest to the crown positioned downwards. Cover the cuttings with about ½ inch of potting mix or sand.
- For smaller root pieces: You can plant them vertically with the cut end down, pushing them about 1-2 inches deep into the mix.
Step 4: Placement
Put the pot in a shaded location.
Direct sunlight can hinder root development.
Step 5: Watering care
Keep the potting mix consistently moist but not soggy.
Water when the top inch of the medium feels dry to the touch.
Step 6: Transplanting
It can take several weeks or even months for new shoots to emerge from the root cuttings.
Once you see new growth, you can gradually move the pot to a location with brighter indirect sunlight.
When the new shoots have developed a few sets of leaves and a healthy root system, you can transplant them into individual pots with fresh potting mix.
- Read also: Growing Your Own: How to Propagate Prickly Pear Cactus
- Read also: Tips for Growth: A Guide on How to Propagate Umbrella Plant
Conclusion
Propagating plants from cuttings is a rewarding way to expand your garden.
This is a great way to reproduce plants that are difficult to grow from seed, or to create clones of plants that you particularly like.
There are three main types of cuttings you can use: stem, leaf, and root.
Each has its own method and is best suited for certain plants.
With the correct approach and a little patience, you can effortlessly cultivate a diverse range of plants.
So, grab your scissors and enjoy propagating!
FAQs
Many plants can be propagated from cuttings, including herbs (like mint and basil), shrubs (like hydrangeas and roses), and houseplants (like pothos and succulents).
While not necessary, rooting hormone can significantly increase the chances of successful root development.
Yes, many plants, such as pothos and philodendrons, root well in water. Once roots have developed, transfer them to soil.
Your cutting is ready to transplant when it has developed a strong root system. Gently tug on the cutting; if you feel resistance, it’s ready.