Ever imagined baking a delicious pumpkin pie with ingredients fresh from your garden?
Growing pumpkins from seeds might seem daunting, but it’s a surprisingly rewarding experience, even for beginners.
This complete guide will take you through every step of the process, from choosing the right seeds to harvesting your plump, homegrown pumpkins.
Whether you dream of prize-winning giants or simply want to enjoy the fun of watching these amazing plants grow, this guide will equip you with the knowledge and confidence to cultivate your own pumpkin patch.
Get ready to get your hands dirty and discover the joy of growing these iconic fall fruits!
Choosing the Right Pumpkin Variety
When choosing a pumpkin variety, consider its intended use, such as decoration, carving, or cooking.
There are many different pumpkin varieties to choose from.
Pumpkin sizes and uses:
- Mini: Weighing 2 pounds or less, these are easy to grow and ideal for decorating. Some popular mini varieties include Baby Boo, Bumpkin, and Munchkin.
- Small: Ranging from 2 to 8 pounds, these pumpkins are suitable for pies, painting, or carving. Examples include Cannon Ball, Blanco, and Early Abundance.
- Midsize: Weighing 8 to 15 pounds, these pumpkins are also ideal for pies and great for painting or carving. Consider varieties like Autumn Gold, Bushkin, and Spirit.
- Big: At 15 to 25 pounds and up, these pumpkins are often good for pies and make impressive jack o’ lanterns. Popular choices are Aladdin, Dependable, and Full Moon.
- Giant: Weighing at least 50 pounds, these varieties tend to be tough and stringy and are usually grown for bragging rights.
Pumpkins are versatile and flavorful winter squash that are surprisingly easy to grow.
There are over 150 different varieties of pumpkins in the world today. If you like eating pumpkin seeds, you have to grow Pepitas.
The pale yellow flesh cooks up nicely, but the real prize with this variety is the hull-less seeds that, when roasted, make a wonderful snack.
Consider your available space, climate, and purpose when selecting your pumpkin variety.
When to Plant Pumpkins
Pumpkins need warm soil and plenty of sun.
The best time to plant them depends on your location.
You can follow general guidelines:
- Cool climates: Start seeds indoors in mid-spring (April-May) for transplanting later. Or, direct sow outdoors in late spring (May-June) when the soil is warm.
- Temperate climates: Plant pumpkins in mid-spring (May-June) after the last frost.
- Warm climates: Plant pumpkins in late spring or early summer (June-July) when the soil is warm.
Soil Preparation
Pumpkins thrive in well-draining, nutrient-rich soil with a slightly acidic to neutral pH (6.0-7.0).
Proper soil preparation ensures healthy roots, vigorous vines, and high-yielding plants. Here’s how to get your soil ready:
Choose a sunny spot
Pumpkins are sun-loving plants that require at least 6-8 hours of direct sunlight every day.
Select an area in your garden that receives unobstructed sunlight throughout the day.
Avoid planting near tall trees, large shrubs, or buildings that might cast shade and limit sun exposure.
Ample sunlight helps with photosynthesis, ensuring strong vine and fruit development.
Loosen the soil
Pumpkin roots grow deep, so it’s essential to prepare the soil properly.
Till or loosen the soil to a depth of at least 12 inches using a garden fork or rototiller.
Breaking up compacted soil improves aeration and root penetration, allowing the plant to absorb nutrients and water more efficiently.
Loose soil also prevents water from pooling on the surface, reducing the risk of fungal diseases.
Amend the soil
Pumpkins are heavy feeders and require nutrient-rich soil to thrive.
To enhance soil fertility, mix in organic matter such as compost, aged manure, or peat moss.
Compost improves soil structure, retains moisture, and provides essential nutrients like nitrogen, phosphorus, and potassium.
Well-rotted manure adds beneficial microorganisms that help break down organic materials, making nutrients more available to the plants.
If your soil is sandy, add organic matter to improve water retention.
If you have heavy clay soil, incorporating compost and sand will enhance drainage and prevent waterlogging.
Ensure good drainage
Pumpkins do not tolerate standing water or overly wet soil.
Poor drainage can cause root rot, leading to stunted growth and plant failure.
To improve drainage, plant pumpkins in raised beds or create mounds of soil about 12 inches high and 2-3 feet wide.
This elevates the root zone, allowing excess water to drain away and preventing roots from becoming waterlogged.
If you’re planting in an area with poor drainage, consider adding coarse sand or perlite to the soil mix.
These materials improve aeration and prevent water from accumulating around the roots.
Check soil pH and nutrient levels
Pumpkins prefer soil with a pH between 6.0 and 7.0.
If you’re unsure about your soil’s pH, perform a soil test using a pH meter or test kit available at garden centers.
If the pH is too low (acidic), add garden lime to raise it.
If it’s too high (alkaline), mix in sulfur or peat moss to lower the pH.
Additionally, a soil test can reveal nutrient deficiencies.
If your soil lacks phosphorus (important for root growth) or potassium (vital for fruit production), consider applying a balanced organic fertilizer (10-10-10) before planting.
Let the soil rest
After amending and testing the soil, let it settle for a week or two before planting.
This allows beneficial microbes to break down organic matter and nutrients to distribute evenly throughout the soil.
By taking the time to prepare your soil correctly, you create the best possible environment for pumpkin plants to thrive.
Healthy soil leads to strong vines, larger pumpkins, and a more successful harvest.
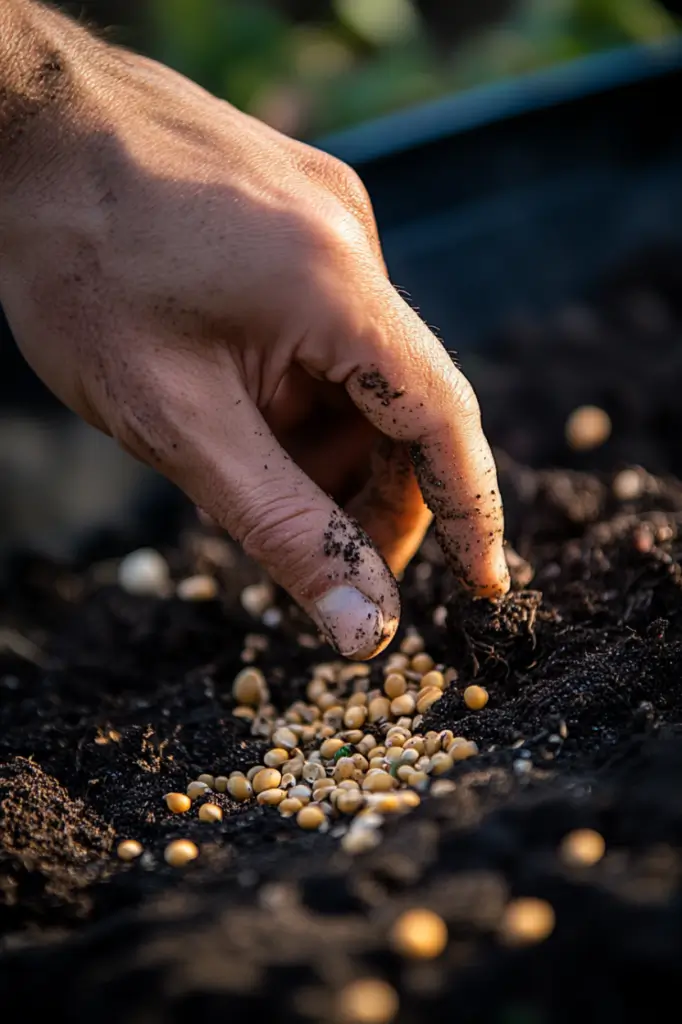
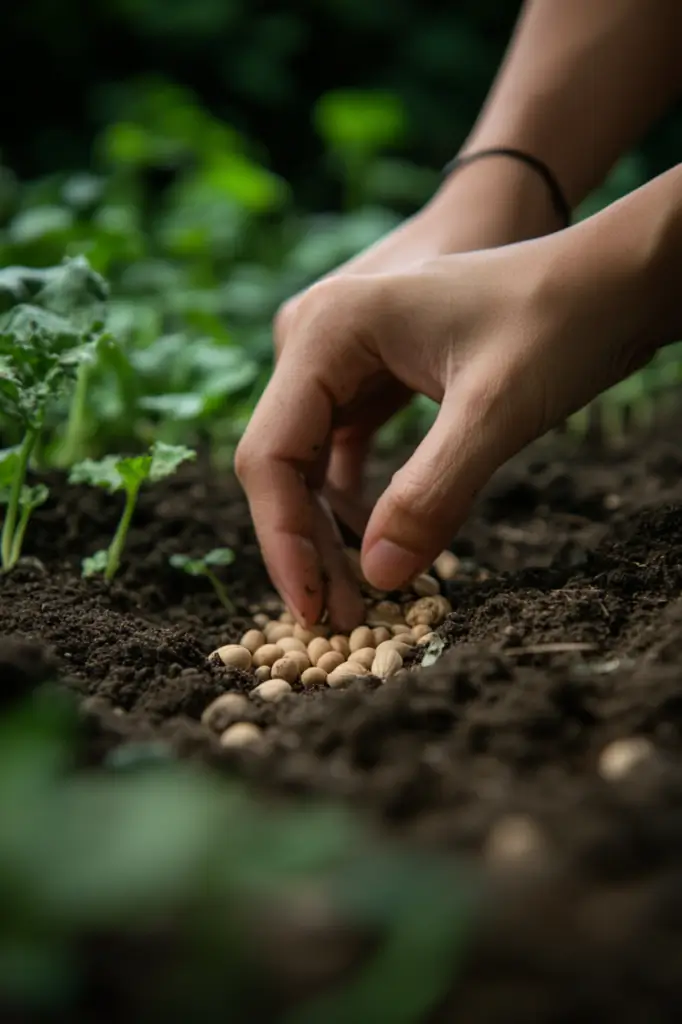
Plant Pumpkins from Seeds
Direct Sowing
Directly sowing seeds in the garden is the most common method. Follow these steps:
Step 1: Create mounds
Space mounds 4-6 feet apart to allow vines room to spread.
Step 2: Plant seeds
Sow 2-3 seeds per mound about 1 inch deep.
Step 3: Water well
Keep the soil consistently moist but not soggy.
Step 4: Thin seedlings
Once seedlings emerge, keep the strongest one per mound.
Transplanting Seedlings
If starting seeds indoors, follow these steps for transplanting:
Step 1: Starting seeds
Start seeds in biodegradable pots. This prevents root disturbance during transplanting.
Step 2: Harden off seedlings
Expose young plants to outdoor conditions gradually over 7-10 days.
Step 3: Plant in prepared mounds
Transplant seedlings at the same depth they were growing indoors.
Step 4: Water immediately
Ensure they receive adequate moisture after transplanting.

Caring for Pumpkin Plants
Once your pumpkin plants are growing, they need proper care:
Watering
Pumpkins need consistent moisture, especially during flowering and fruit development. Water deeply and regularly, aiming for about 1-2 inches of water per week.
Fertilizing
Pumpkins are heavy feeders and benefit from regular fertilization.
Start with a balanced fertilizer (like 10-10-10) when the plants are young.
Once the plants start to flower and set fruit, switch to a high-phosphorus fertilizer to encourage fruit development.
You can also side-dress your pumpkins with compost or aged manure throughout the growing season.
Pollination
Pumpkins rely on bees for pollination.
Avoid using pesticides that could harm bees.
Plant flowers that attract bees, such as lavender, borage, or sunflowers, near your pumpkin patch. I
f you’re not seeing many bees, you can hand-pollinate the flowers yourself.
Identify the male (no small pumpkin at the base) and female (small pumpkin at the base) flowers.
Use a small brush or cotton swab to transfer pollen from the male flower to the female flower in the morning.
Pest and disease control
- Squash vine borers: These pests can kill pumpkin vines. Look for small holes near the base of the stem and remove any borers you find. You can also wrap the base of the stems with foil to prevent them from entering.
- Squash bugs: These pests suck the sap from pumpkin leaves. Handpick them and their eggs (which are laid in clusters on the undersides of leaves) and destroy them.
- Powdery mildew: This fungal disease can cause white spots on the leaves. Improve air circulation, water at the base of the plant, and apply a fungicide if necessary.
- Other pests: Keep an eye out for other pests, such as aphids and cucumber beetles, and take appropriate action if necessary.

Harvesting Pumpkins
Knowing when and how to harvest pumpkins is essential for peak flavor and long storage life.
Signs your pumpkin is ready
- The skin is hard and resists puncture with a fingernail.
- The stem has turned brown and starts to dry out.
- The pumpkin has reached its full color, whether orange, green, or white.
How to harvest
Step 1: Use sharp pruners
Cut the stem 3-5 inches above the pumpkin to prevent rot.
Step 2: Cure the pumpkins
Place them in a sunny, dry location for 7-10 days to harden the skin.
Step 3: Store properly
Keep pumpkins in a cool, dry place to extend their shelf life.
Conclusion
Growing pumpkins from seeds is a fulfilling experience that requires the right variety, proper soil preparation, and consistent care.
With patience and attention, you’ll enjoy a bountiful harvest just in time for the fall season.
FAQs
Pumpkins typically take 90-120 days from seed to harvest, depending on the variety.
Yes, but choose compact or mini varieties and use a large container (at least 10-15 gallons) with good drainage.
This is common early in the season. Male flowers appear first, and female flowers develop later. Lack of pollination can also cause flowers to drop.