Picture this: A mushroom that looks like Chewbacca, tastes like lobster, and might actually make you smarter.
Meet Lion’s Mane – the shaggy white fungus that’s breaking the internet (and restaurant menus everywhere).
Here’s why growers are obsessed: While regular mushrooms sell for peanuts, Lion’s Mane commands $20+ per pound.
Restaurants can’t get enough, health nuts are throwing money at it, and you’re sitting on a goldmine if you know how to grow these fuzzy money-makers.
Ready to turn your green thumb into green cash? I’m about to spill every secret that pro growers use to cultivate these brain-boosting beauties.
Understanding Lion’s Mane Mushrooms
What makes lion’s mane special
Most mushrooms look boring – like tiny umbrellas that forgot to bring personality to the party.
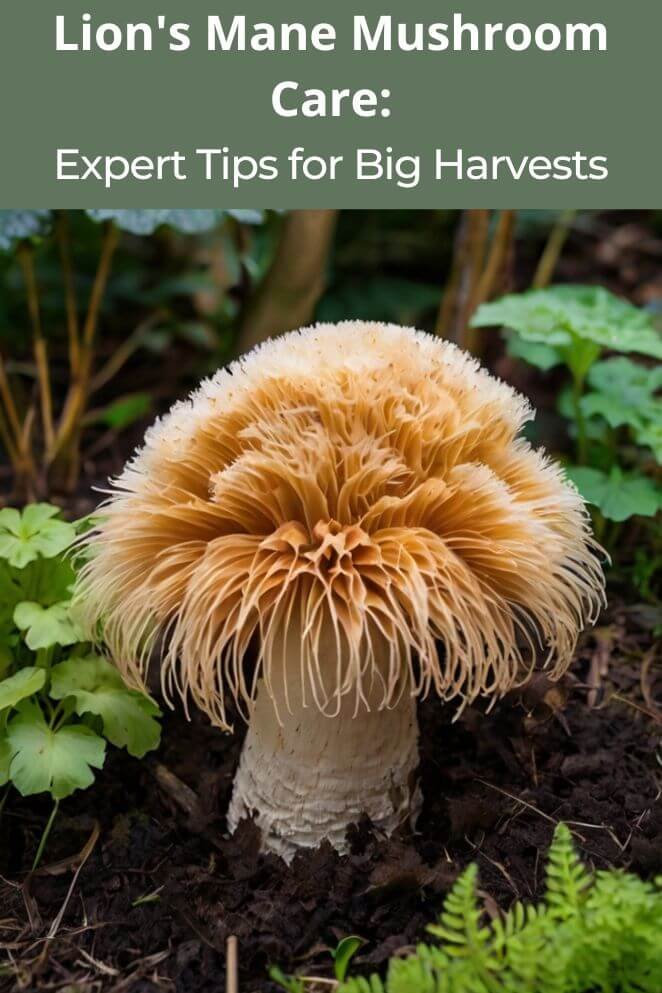
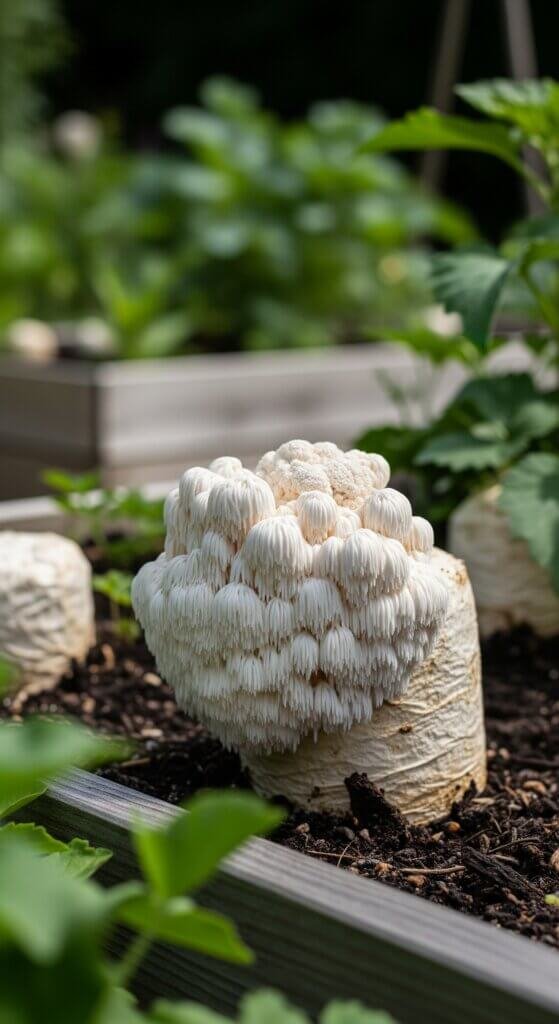
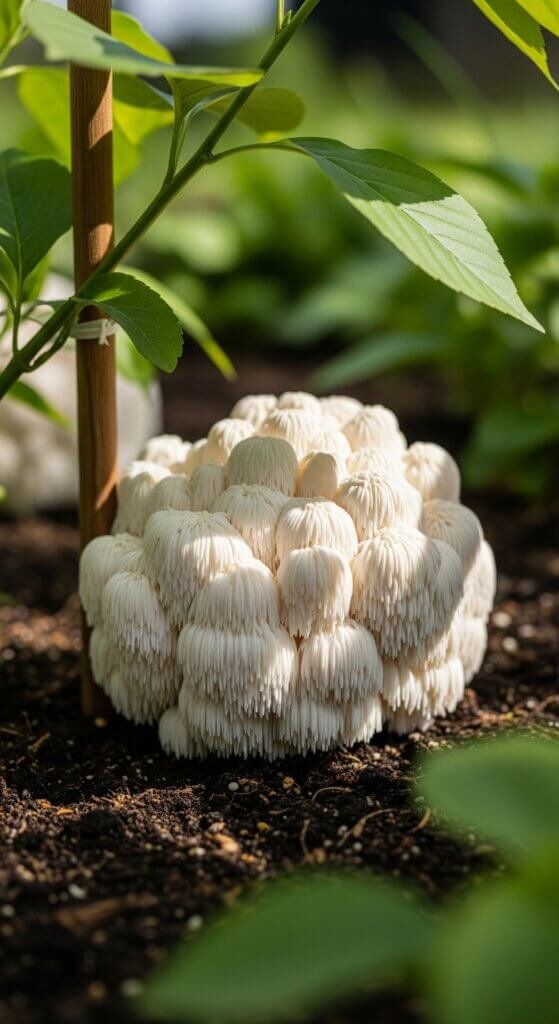
Lion’s Mane said “hold my beer” and showed up looking like a white pom-pom that escaped from a cheerleader convention.
Instead of a cap and stem, you get this fluffy ball covered in cascading spines that weighs more than your average mushroom and sells for way more cash.
But here’s where it gets wild: Lion’s Mane packs compounds called hericenones and erinacines (yeah, science words, but stick with me).
These bad boys might actually help your brain grow new connections.
We’re talking about nature’s version of brain fertilizer here.
That’s why chefs pay premium prices and supplement companies act like they struck gold.
- Read also: Best Conditions for Mushroom Growth: A Beginner’s Guide
- Read also: How to Grow Mushrooms at Home: A Beginner’s Guide
Growth characteristics and requirements
Lion’s Mane mushrooms are basically nature’s recyclers – they eat dead wood for breakfast, lunch, and dinner.
In the wild, they’re picky eaters who only hang out on hardwood trees like oak, beech, and maple.
Think of them as the food snobs of the mushroom world.
Here’s what they’re really demanding about:
- They want it cool (65-75°F)
- humid like a tropical vacation (85-95% humidity)
- and they hate direct sunlight more than vampires.
Oh, and patience? You’ll need it.
While some mushrooms pop up faster than TikTok trends, Lion’s Mane takes its sweet time – 2-4 weeks to fruit.
But trust me, the wait pays off when you’re counting those dollar bills.
Essential Equipment and Materials for Lion’s Mane Cultivation
Listen, growing Lion’s Mane isn’t rocket science, but you can’t just wing it like you’re making instant ramen.
You need the right gear, and no, that old yogurt container in your fridge won’t cut it.
Picking the perfect mushroom food
Your Lion’s Mane needs to eat well to grow those gorgeous white pom-poms that look like they belong in a Dr. Seuss book.
Think of substrate as their personal meal plan – get it wrong, and you’ll have sadder mushrooms than a wilted salad.
Hardwood sawdust is your MVP here.
Oak, maple, and beech are the Beyoncé of sawdust – they just perform better.
You want those wood chips sized between 1-3mm (basically, not dust but not chunky peanut butter either).
Stay away from pine and other softwoods – they’re like kryptonite to your fungal friends.
Want to level up? Add some wheat bran, rice bran, or soybean meal to your sawdust mix.
We’re talking 10-20% of your total substrate weight.
It’s like adding protein powder to your smoothie – commercial growers see 30-50% better yields when they supercharge their substrate this way.
Keeping things cleaner
Here’s where things get serious.
Contamination is the final boss of mushroom growing – it’ll destroy your crop faster than a Game of Thrones character gets killed off.
You need to channel your inner germaphobe.
Pressure cooking is your weapon of choice.
Crank that thing up to 15 PSI and let it run for 90-120 minutes (longer if you’re dealing with bigger batches).
Think of it as sending your substrate through a sterilization boot camp.
Step-by-Step Lion’s Mane Growing Process
Phase 1: Mushroom meal prep
Mix 80% hardwood sawdust with 20% wheat bran, add water until it feels like a wrung-out sponge.
Stuff into containers (leave space like foam on your latte), sterilize, then inoculate with spawn at 2-5% weight.
Mix like folding cookie dough.
Phase 2: Mushroom spa time
Stick containers somewhere dark at 70-75°F for 2-4 weeks.
Watch for contamination – healthy mycelium looks like white cotton candy.
Keep humidity at 80-85% but let them breathe.
Phase 3: Showtime
Once everything’s white and fluffy, drop temp to 65-70°F and crank humidity to 90-95%.
Add mood lighting for 10-12 hours daily. Cut small holes (fewer holes = bigger mushrooms).
Give them 4-6 air changes per hour or you’ll get funhouse mirror mushrooms instead of gorgeous pom-poms.
Advanced Techniques for Maximum Yields
Optimization Through Environmental Control
Ready to level up from mushroom hobbyist to fungi overlord? Time to get fancy with your setup.
Pro growers don’t just wing it – they track everything like they’re running mission control for NASA.
Install monitoring systems that watch temperature, humidity, and CO2 like a helicopter parent.
You want real-time data so you can make adjustments faster than Netflix drops new content.
No more guessing games – you’ll know exactly what’s happening in mushroom land 24/7.
Try temperature cycling
give your mushrooms a little nighttime chill (drop it 5-10°F) to trick them into thinking they’re in actual nature instead of your garage.
It’s like giving them seasonal depression, but in a good way that makes more mushrooms.
Humidity is your Goldilocks zone
Advanced growers use misting controllers paired with exhaust fans, basically creating a mushroom weather machine.
You’re controlling the climate like you’re Zeus, but for fungi.
Substrate enhancement strategies
Once you’ve mastered the basics, it’s time to start experimenting like a mad scientist.
Think of substrate additions as performance-enhancing supplements for your mushrooms (totally legal, though).
Calcium carbonate at 1-2% works like antacids for your substrate – it balances pH and feeds your mushrooms essential minerals.
Gypsum (calcium sulfate) at similar rates is like adding structural support and a water retention system rolled into one.
Harvesting Techniques for Premium Quality
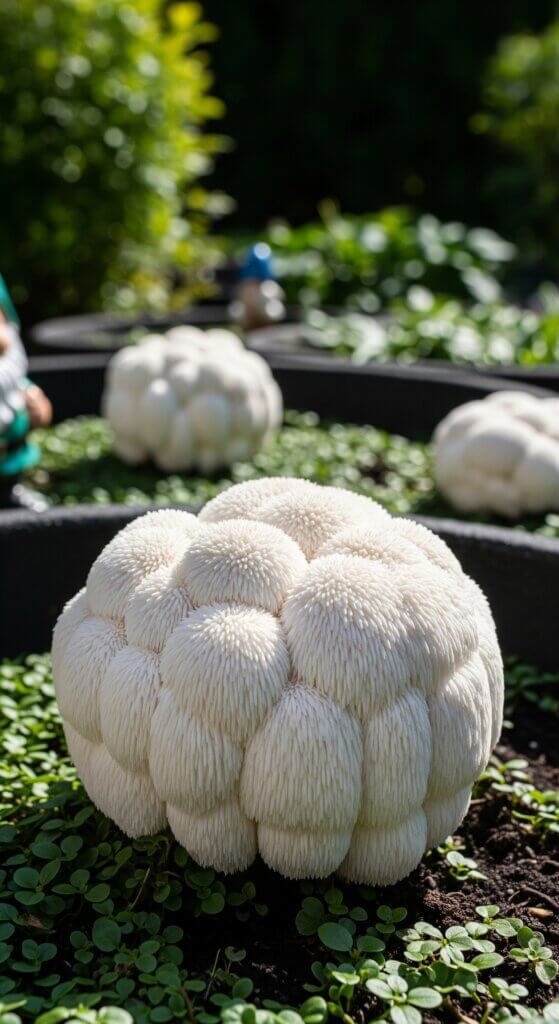
Don’t blow it at the finish line! Harvest at 4-6 inches diameter – think softball-sized white pom-poms.
Grab them before those spines start looking like they need hair dye (yellowing = too late).
Use a sharp, clean knife (surgeon-level, not your breakfast butter knife).
Cut at the base but leave a stem stub – you’re setting up for round two from the same spot.
Handle like you’re carrying your phone without a case. Those spines bruise easier than a peach.
Gentle hands = premium mushrooms that make chefs weep with joy.
Troubleshooting Common Lion’s Mane Growing Problems
Contamination prevention and management
Alright, let’s talk about the real boss battles in Lion’s Mane growing.
You’ve got three main villains trying to crash your mushroom party:
- Trichoderma (aka “The Green Goblin”) – This green mold spreads faster than gossip in a small town. It’s aggressive, territorial, and will absolutely wreck your substrate if you let it.
- Penicillium (the “Blue Meanie”) – Not the good kind that saves lives in hospitals. This blue-green troublemaker loves damp conditions and poor air flow.
- Bacteria – The invisible army that turns your substrate into a sour, smelly mess. Think of it as your substrate going through its rebellious phase.
Keep your setup cleaner than a Disney princess’s kitchen.
Use quality spawn (don’t cheap out here), nail your moisture levels, and treat sterile technique like it’s a sacred ritual.
When contamination hits, quarantine that container faster than a zombie bite victim.
Some light contamination responds to environmental tweaks – crank up the air flow and dial back the humidity.
Addressing poor mushroom formation
Your Lion’s Mane should look like a fluffy white pom-pom, not some alien creature from a B-horror flick.
Here’s what goes wrong:
- Too much CO2 – Your mushrooms stretch out like they’re doing yoga, getting all stringy with sad, wimpy spines. Give them some fresh air – they’re not houseplants that thrive in stuffy rooms.
- Humidity problems – Too little and your mushrooms shrivel up like raisins. Too much with poor air flow and you get mushroom rot that’s grosser than week-old sushi.
- Light Issues – Lion’s Mane isn’t picky about lighting, but total darkness makes them stretch like they’re reaching for the remote.
Maximizing Multiple Flushes
Think of your substrate like a good Netflix series – you want multiple seasons, not just a one-hit wonder.
After you harvest your first flush, give your substrate a little break.
Cut back on watering for a week or two (let it chill and process what just happened), then bring back the optimal conditions.
Your second and third flushes produce smaller mushrooms, but they’re still totally sellable – like the equally talented younger sibling who doesn’t get as much attention.
Some growers swear by giving their substrate a gentle drink between flushes, kind of like offering someone a Gatorade after a workout.
- Read also: Lettuce Care Failures: The Biggest Mistakes Gardeners Make
- Read also: Protecting Your Harvest: Essential Tips for Seasonal Pumpkin Care
The Bottom Line: You’ve Got This
Growing Lion’s Mane is like learning to ride a bike – intimidating at first, but once you nail the basics, you’re cruising.
Pay attention to details, stay patient (Rome wasn’t built in a day, and neither are perfect mushrooms), and stick to what works.
Think of it as half science, half art – like cooking without a recipe once you know what you’re doing.
Start with the proven methods, watch what happens, and tweak things based on your setup.
Every grower develops their own little tricks, like a secret sauce recipe.
The Lion’s Mane market is hotter than Taylor Swift concert tickets right now.
People are catching on to how amazing these fluffy brain-boosters taste and what they can do for your health.
Whether you’re growing a few pounds for the farmer’s market or planning your mushroom empire, you’re jumping into a field with serious potential.