Compost tea is like plant coffee—cheap, easy to make, and packed with nutrients.
Gardeners love it because it feeds your plants, helps fight disease, and keeps your soil alive and kicking—all without chemicals.
This guide breaks down what compost tea is, how it works, and the best ways to brew it, whether you’re a backyard grower or aiming for tomato plants worthy of a cooking show close-up.
What is Compost Tea and Why Should You Care?
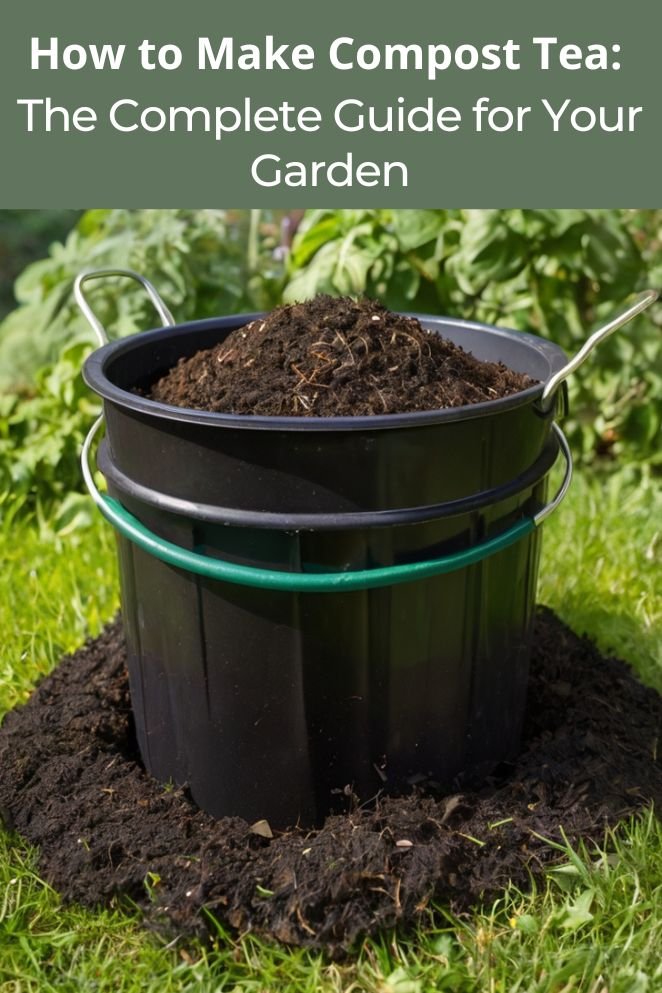
Compost tea is basically compost in liquid form—made by soaking finished compost in water.
But it’s more than just brown water.
It’s loaded with good bacteria, nutrients, and organic compounds that help your garden work like a well-run kitchen: less waste, more flavor, stronger roots.
Think of it like kombucha for plants.
The microbes in compost tea boost soil health, help plants absorb nutrients better, and build stronger immune systems—so they can resist diseases and grow like they’re on a training montage.
Why it works (and why it’s worth it)
Spraying compost tea on your plants isn’t just garden folklore.
Studies show it helps prevent leaf diseases, improves how plants take in nutrients, and even breaks down toxins faster.
Some research even found it can make veggies taste better and be more nutritious—kind of like switching from fast food to home-cooked meals.
And it’s not just about individual plants.
Compost tea helps the whole garden by reducing the need for chemical fertilizers and pesticides.
It supports healthier soil, which leads to better crops with less effort.
- Read also: Nourishing Naturally: How to Make Organic Fertilizers at Home
- Read also: The Ultimate Guide: Homemade DIY Plant Fertilizer Indoor
Understanding the Two Main Types of Compost Tea
Before we get into how to make compost tea, you’ve got two styles to choose from—and they’re pretty different.
1. Non-aerated compost tea (old school style)
This one’s as simple as it gets.
Toss some finished compost in a bucket of water, let it sit for a few days, and that’s it.
No pumps, no gear. It’s low-effort and perfect if you just want to give your plants a little boost without much fuss.
Think of it like sun tea for your garden—slow brew, mellow results.
You won’t get as many microbes as the fancy version, but it still helps your soil and plants stay healthy.
2. Aerated compost tea (the barista method)
This is the espresso version. You use an air pump (like for aquariums) to bubble oxygen into the water while the compost steeps.
That extra oxygen gives the good microbes a party—so they multiply fast and make a much stronger brew.
Aerated tea is what serious gardeners go for because it’s more consistent, more concentrated, and way less likely to grow the wrong kind of bacteria.
It’s a little more work, but the results are worth it—like upgrading from instant ramen to homemade pho.
Essential Equipment and Ingredients
You don’t need a lab setup—just a few basic tools and the right ingredients.
Here’s the lowdown, whether you’re keeping it simple or going all in.
For non-aerated compost tea (the chill method):
- A 5-gallon food-safe bucket
- Cheesecloth or a fine mesh bag (to hold the compost)
- A stick or anything to stir with
- A strainer (for when you’re ready to use it)
For aerated compost tea (the nerdy-but-worth-it version):
- Same 5-gallon bucket
- Aquarium pump or a compost tea brewer
- Air stones or diffusers (they bubble the air in)
- Tubing (to connect pump to air stones)
- Mesh bag for your compost
- pH strips (optional, but nice to have if you want to geek out)
The good stuff (ingredients):
- Compost: Go for mature, earthy-smelling compost that’s dark and crumbly—like rich chocolate cake. If it smells sour or like ammonia, skip it.
- Water: Use dechlorinated water. If your tap water smells like a pool, let it sit out overnight or use filtered water. Chlorine kills the good microbes you’re trying to grow.
- Microbe Snacks (a.k.a. what feeds the bacteria and fungi):
- Unsulfured molasses – for bacteria
- Fish hydrolysate or fish emulsion – gross smell, great food
- Kelp meal or liquid kelp – seaweed power for fungi
- Humic acid – optional, but gives microbes a boost
That’s it. Simple gear, solid ingredients, and you’re on your way to brewing your plants their favorite drink.
Think of it as crafting a super smoothie for your soil.
Step-by-Step Brewing Instructions
Here’s the breakdown—whether you’re going old-school or going full nerd with air pumps.
Both work. Pick what fits your style and tools.
Method 1: Non-aerated compost tea
What you need:
- 1–2 cups of good compost
- 1 gallon of dechlorinated water
- 1 tbsp unsulfured molasses (optional)
How to make it:
- Water first: Fill your bucket with water. Leave some room at the top. Let it sit overnight to get rid of chlorine.
- Bag your compost: Scoop your compost into a mesh bag or cheesecloth. Tie it up like a giant tea bag.
- Steep it: Drop the bag in the water. Add molasses if you want to feed the microbes.
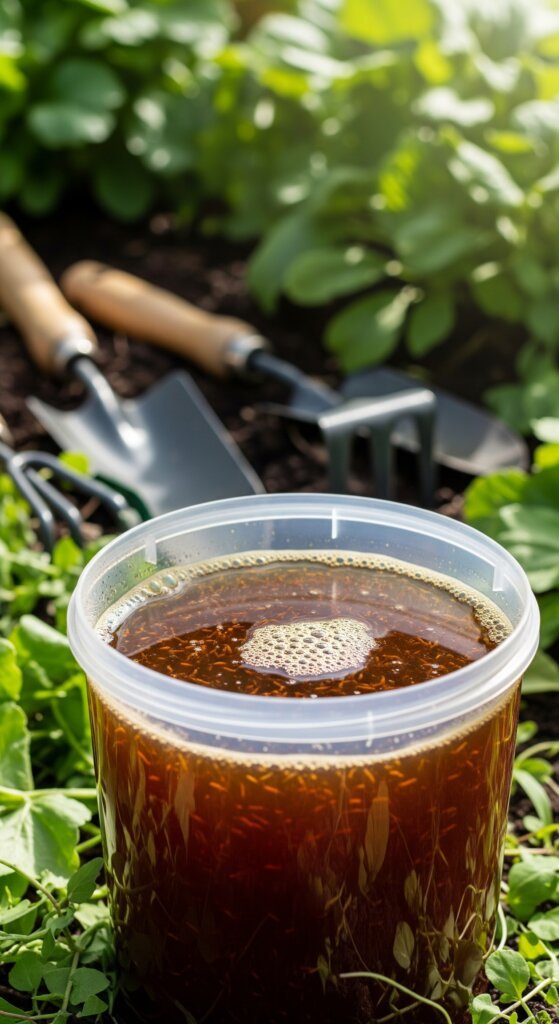
- Stir daily: Let it sit for 3–7 days. Stir it once a day. It should smell like healthy soil—not like something died.
- Strain and use: Pull out the bag and strain the liquid. Use it right away—within a day is best.
Method 2: Aerated compost tea (ACT)
What you need:
- 1–2 cups compost
- 4–5 gallons dechlorinated water
- 2–3 tbsp molasses
- 1 tbsp fish hydrolysate
- 1 tbsp liquid kelp
- 1 tsp humic acid (optional)
- Air pump, air stones, tubing, and a mesh compost bag
How to make it:
- Set it up: Fill your bucket with water. Let it match room temperature—it helps the microbes grow like they’re at home.
- Add the good stuff: Put compost in the mesh bag and drop it in. Pour in molasses, fish, kelp, and humic acid (if using).
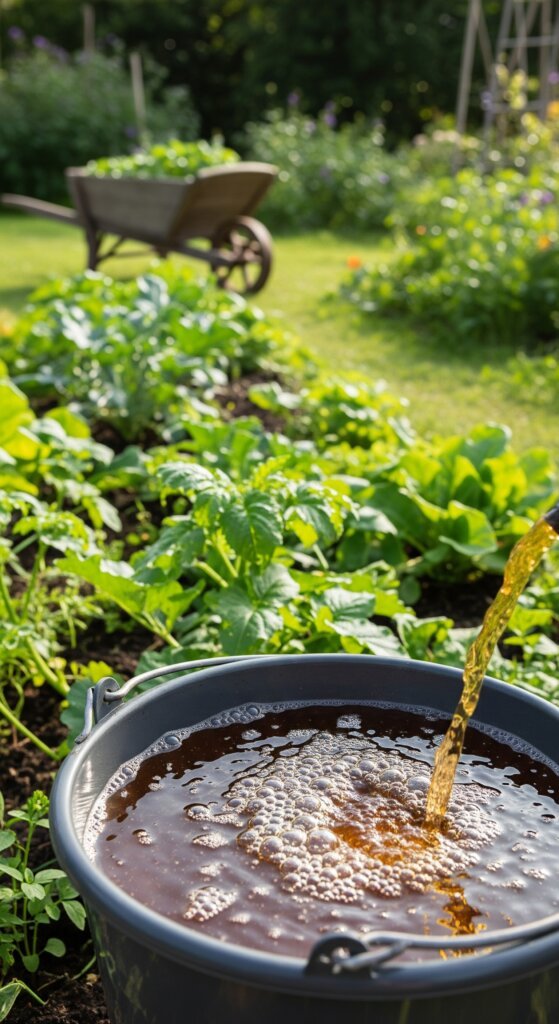
- Start bubbling: Turn on the pump. You want a steady stream of bubbles—not just a lazy fizz.
- Let it brew: Let it aerate for 24 hours. If it’s foamy on top and smells like good soil, it’s done.
- Quality check: If it smells sour or funky, toss it. Something went wrong—probably not enough oxygen.
Application Methods and Best Practices
Soil application
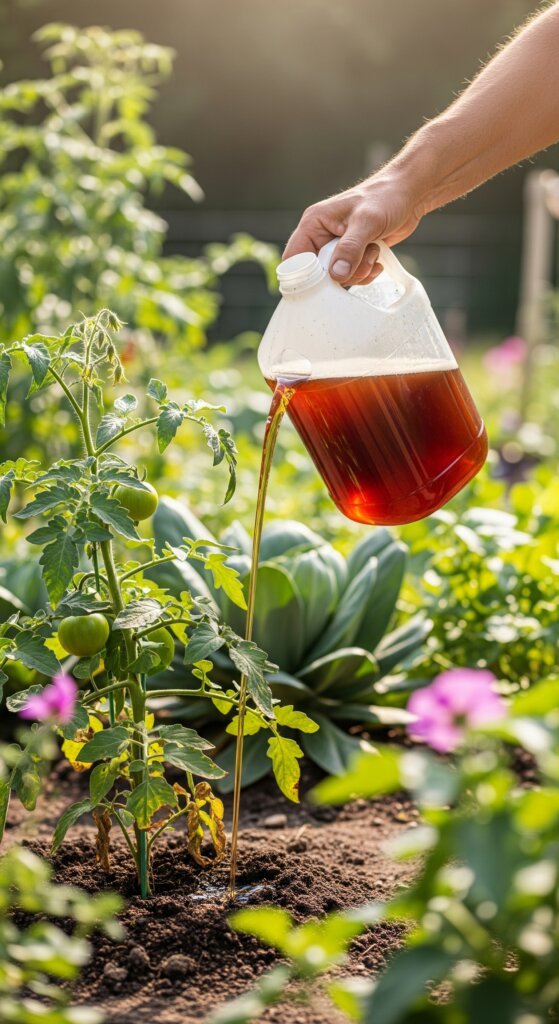
Mix your tea 1:1 with water. Pour it right onto the soil around your plants.
That’s where the roots are hanging out, and they’ll soak up the nutrients and microbes.
Do it in the early morning or evening—not at high noon when the sun’s out like it’s starring in Mad Max.
Cooler times = less evaporation, better absorption.
Foliar application
Spraying tea on leaves helps fight off pests and diseases—it’s like giving your plants a microbial bodyguard.
Dilute it 1 part tea to 3 parts water. Use a backpack sprayer or pump sprayer and aim for the underside of the leaves too.
Always spray when it’s cool—early morning or late afternoon—to avoid burning the leaves.
Frequency and timing
- Every 2–3 weeks during the growing season is perfect
- Always use it the same day you brew it—microbes don’t last
- Don’t store it. After 24 hours, it’s basically dead tea
- Read also: Natural Plant Food: DIY Fertilizers from Household Items
- Read also: Eco-Friendly Fertilizing: How to Use Coffee Grounds as Fertilizer
Troubleshooting Common Issues
Even good brews can flop. Here’s how to spot what went wrong—and what to do about it.
Bad smell
If your tea smells sour, rotten, or like a dead thing in a puddle, it’s gone anaerobic.
That means bad bacteria took over. Don’t use it—just dump it (away from your plants) and start fresh.
Weak tea
If your tea is pale, flat, or just not pulling its weight:
- Use better compost—dark, crumbly, earthy stuff
- Add more microbe food (molasses, kelp, fish)
- Make sure your aerator is actually pumping well
- Brew a little longer (but not past 36 hours)
Clogged sprayers
If your sprayer chokes every time, it’s probably your straining game.
- Strain through cheesecloth or a coffee filter
- Don’t rush it—get every little chunk out
- Clean your sprayer after each use
Sprayers hate chunky tea. Keep it smooth and your gear will love you back.
Compost Tea: The Low-Key MVP of Your Garden
Compost tea does a lot with very little. It feeds your plants, boosts soil life, helps fight disease, and keeps things thriving—all without synthetic fertilizers.
Whether you go with the low-effort soak or the full bubbling setup, you’re giving your garden something real.
Start small, pay attention to how your plants respond, and tweak as you go.
The key? Good compost and clean brewing. That’s it.
You’re not just watering plants—you’re feeding the whole underground crew that makes your garden work.


