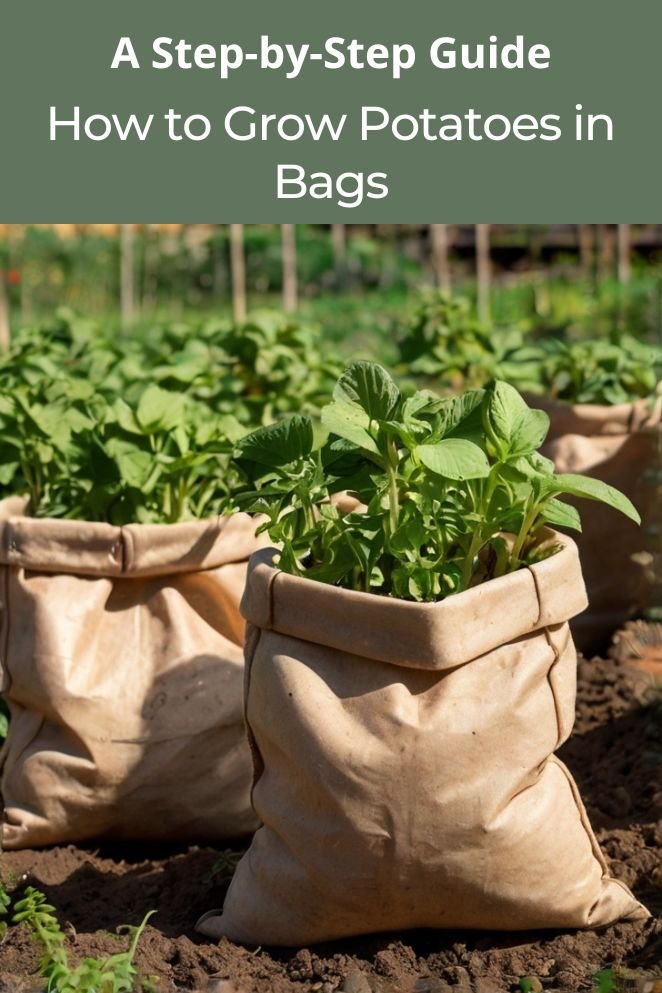
For those with limited gardening space but a desire to cultivate their own food, growing potatoes in bags presents a practical and rewarding solution.
This method allows home gardeners to enjoy the satisfaction of harvesting fresh, homegrown potatoes without the need for a large plot.
By simply planting seed potatoes in a container filled with soil, individuals can cultivate a healthy crop in a confined area.
This approach is particularly beneficial for those living in apartments, condos, or homes with small yards.
Not only does it maximize space efficiency, but it also offers a sense of accomplishment and the joy of reaping the rewards of one’s labor.
Preparing for Planting
Proper preparation is key to a successful potato harvest when growing in bags.
Before you start planting, take some time to plan out your approach.
Here’s a detailed guide to help you get started.
- Read also: The Ultimate Guide to Companion Plant for Luscious Potatoes
- Read also: Protect Your Harvest: Understanding Potato Blight Disease
Potato variety
Selecting the right potato variety is crucial, as not all potatoes are equally suited for growing in bags. Here are a few factors to consider:
- Maturity time: Early-season potatoes, such as ‘Yukon Gold’ and ‘Red Norland,’ are ideal for bag growing. These varieties mature in about 70 to 90 days, allowing for a quicker harvest compared to late-season varieties, which can take up to 120 days.
- Size and yield: Consider the size of the potatoes you prefer. Early varieties tend to produce medium-sized tubers, which are perfect for bag cultivation. If you’re looking for larger potatoes, you might need to opt for a variety known for bigger yields.
Number of bags
Once you’ve settled on a potato variety, the next step is figuring out how many grow bags you’ll need.
This depends on a few factors: available space, desired harvest, and bag size.
If you’re limited to a balcony or small patio, you’ll probably want to start with just a couple of bags.
For those with more room, multiple bags can produce a larger yield.
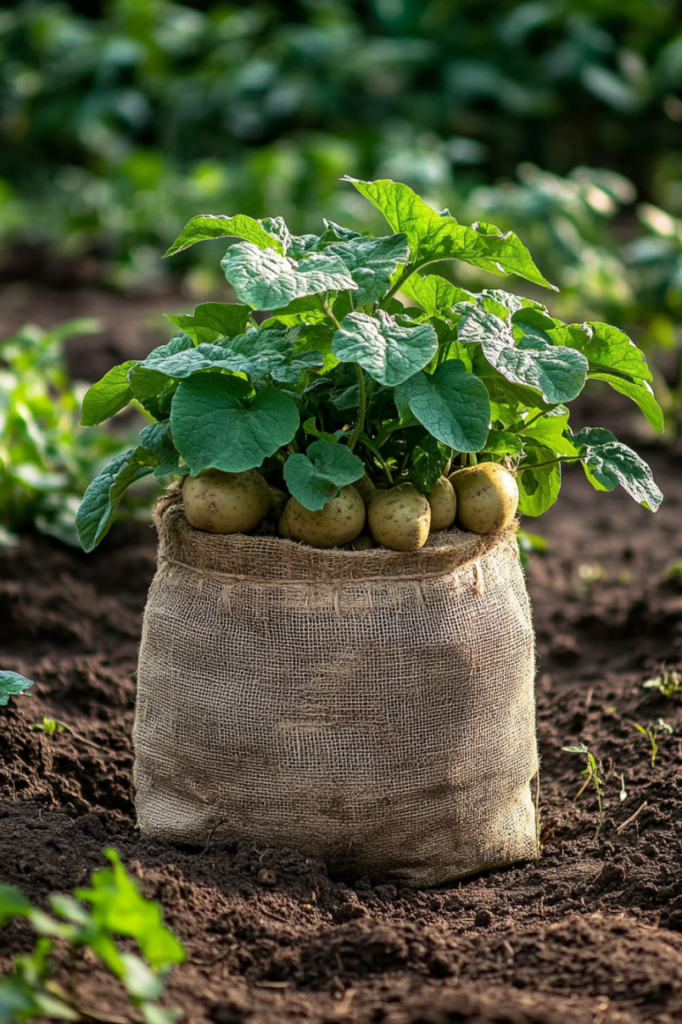
Keep in mind that each bag can typically produce between 5 and 10 pounds of potatoes, depending on its size and how well you care for the plants.
The size of the grow bag also matters.
Larger bags (around 15-20 gallons) can hold more seed potatoes and produce a bigger harvest, while smaller bags (10 gallons or less) are better for tight spaces but will yield fewer potatoes.
Growing conditions
Understanding your growing conditions will help you make informed decisions when preparing to plant:
- Sunlight: Potatoes need plenty of sunlight to thrive. Ensure that the location where you’ll place your bags receives at least 6 hours of direct sunlight daily. If sunlight is limited, consider using smaller bags that can be easily moved to follow the sun throughout the day.
- Climate: The climate in your area will also affect your planting strategy. In cooler regions, early-season varieties are ideal as they mature before the first frost. In warmer climates, you might need to provide some shade during the hottest part of the day to prevent the soil in the bags from overheating.
- Growing season: Plan your planting around the growing season in your area. If you live in a region with a short growing season, starting with early-season potatoes will help ensure you have enough time for a successful harvest. You can also stagger your plantings to extend the harvest period.
Gather necessary supplies
Once you’ve made your decisions, gather all the necessary supplies:
- Seed potatoes: Purchase certified seed potatoes from a reputable supplier. These are disease-free and specifically bred for planting. Avoid using grocery store potatoes, as they might be treated with chemicals to prevent sprouting.
- Potato bags: Choose bags that are durable and have good drainage. Look for specialized potato growing bags, which are often made from breathable fabric that promotes healthy root development.
- Potting mix: Use a high-quality, well-draining potting mix. Avoid garden soil, as it can be too dense and may not provide the necessary nutrients. Mixing in compost or organic matter will enrich the soil and support healthy growth.
- Fertilizer: A balanced fertilizer with a higher phosphorus content (such as 5-10-10) will encourage strong root development and tuber formation.
Create a planting schedule
Creating a planting schedule will help you stay organized and ensure your potatoes receive the care they need throughout the growing season:
- Planting date: Mark your calendar for the best time to plant, based on your local climate and the maturity time of your chosen potato variety.
- Hilling schedule: Plan to hill your potatoes (add more soil to the bag) every few weeks as the plants grow. This will help you keep track of when to add more soil to encourage tuber production.
- Watering routine: Establish a regular watering routine to keep the soil consistently moist. Potatoes in bags can dry out quickly, so daily checks are recommended, especially during hot weather.
Step by Step: Planting Potatoes in Bags
Step 1: Prepare the seed potatoes
Chitting: This process involves exposing seed potatoes to light to encourage sprouting. Place them in egg cartons or trays with the eyes facing upwards.
Cutting: Once sprouts are about an inch long, cut the potatoes into sections, ensuring each piece has at least one eye. Let the cut surfaces dry for a few hours to prevent rot.
Step 2: Fill the bags
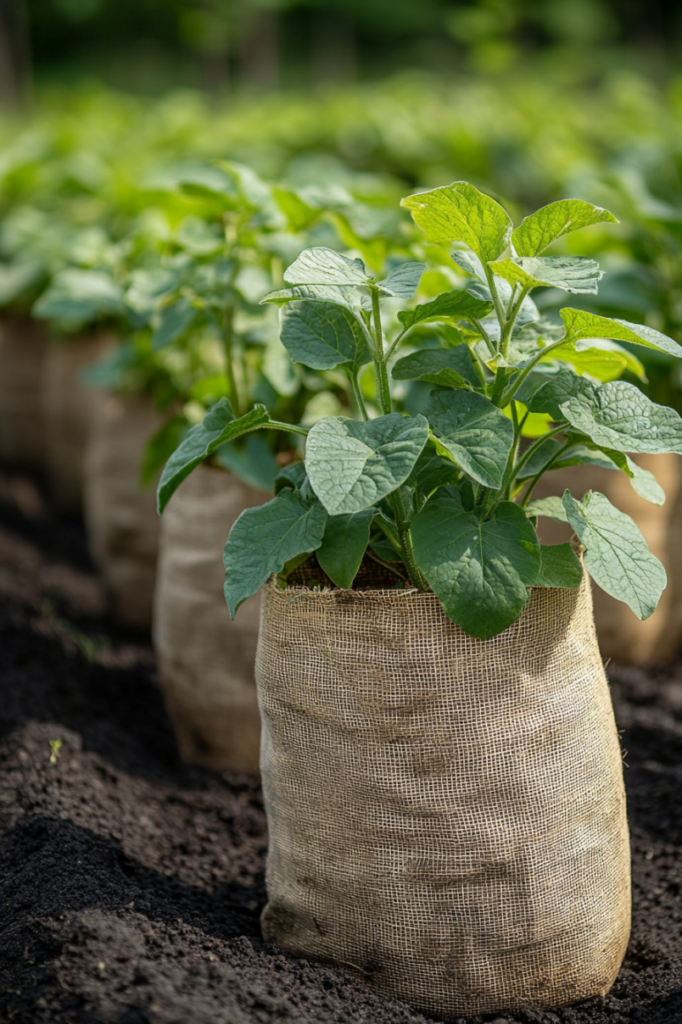
Start by filling the bottom of your bag with about 4-6 inches of potting mix. This creates a base for your potatoes to grow.
Step 3: Plant the seed potatoes
Place your seed potato chunks on top of the soil, spacing them about 6 inches apart. Cover them with another 4-6 inches of potting mix.
Step 4: Water thoroughly
After planting, water the soil until it’s moist but not soggy. Consistent moisture is key for potato growth.
Aftercare
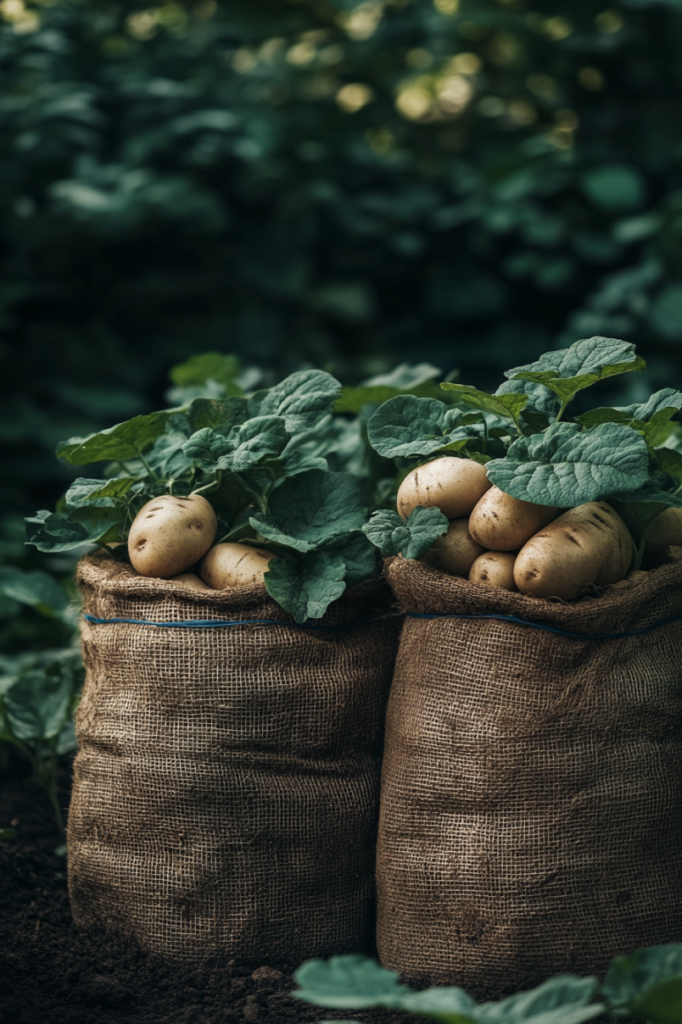
Once your potatoes are planted, there are a few key steps to ensure a bountiful harvest and healthy plants.
Pest and disease control
Keep a close eye on your potato plants for signs of pests like aphids, Colorado potato beetles, or diseases such as late blight.
If you notice pests, try natural methods like insecticidal soap or neem oil.
For diseases, proper spacing and good air circulation can help prevent issues.
Hilling the potatoes
As your potato plants grow, you’ll need to add more soil to the bags in a process known as hilling.
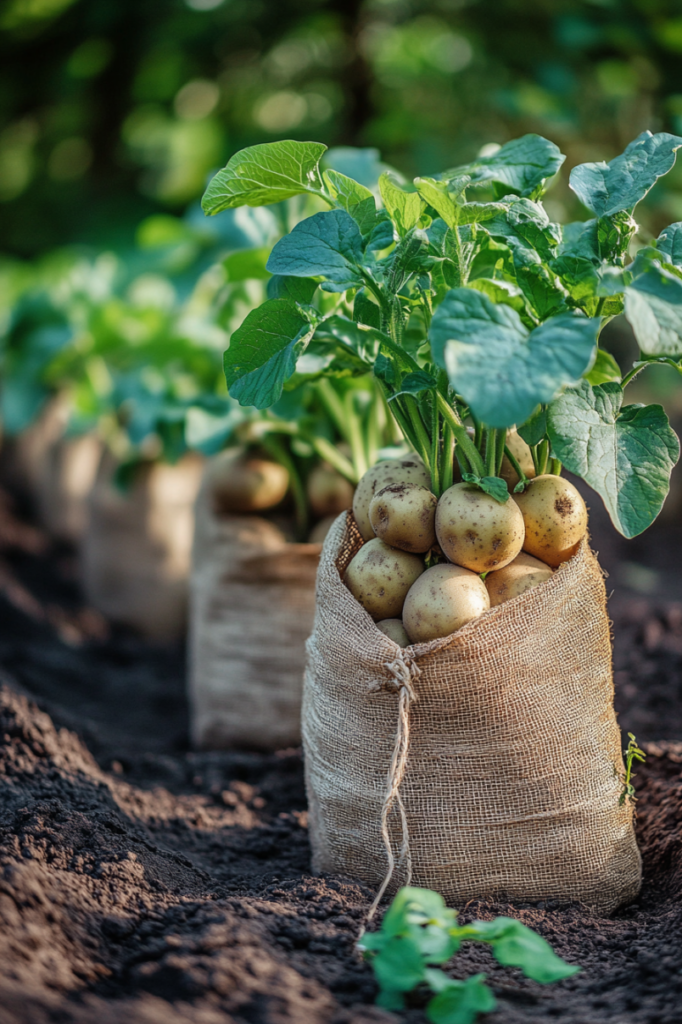
Hilling involves adding more potting mix or compost to the bag as the plants grow taller.
This encourages the development of more tubers along the buried stems.
When your plants reach about 6-8 inches in height, add enough soil to cover the stems, leaving just the top few leaves exposed.
Repeat this process every couple of weeks or whenever the plants grow another 6 inches, until the bag is full or nearly full.
Staking the plants
As potato plants grow taller, they may become top-heavy, especially if they are growing in a windy area.
To prevent your plants from tipping over, consider staking them.
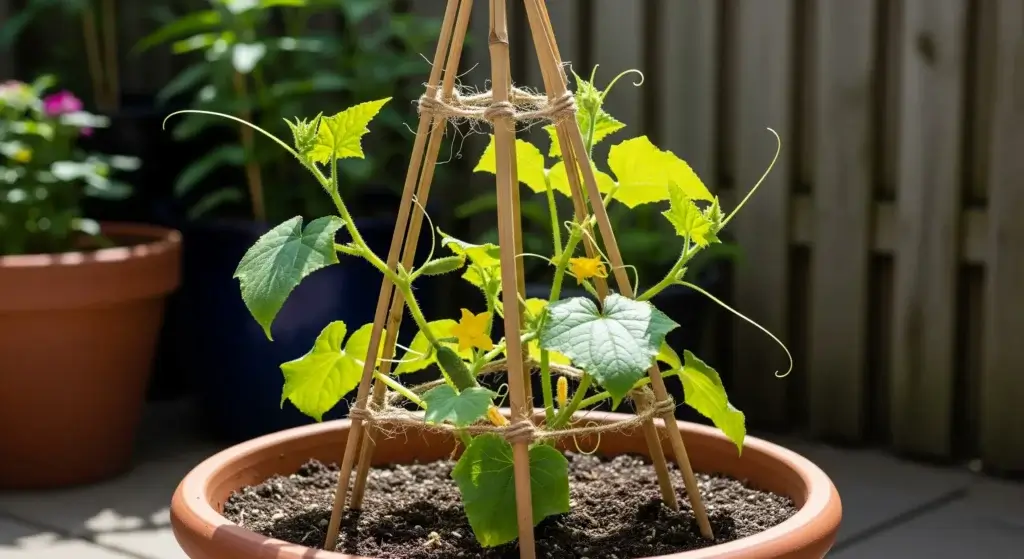
You can use bamboo stakes or any other sturdy support to keep the plants upright.
Simply insert the stakes into the soil around the edges of the bag and gently tie the plants to the stakes with soft garden twine.
Staking not only keeps the plants upright but also prevents damage to the stems, which can occur if they fall over and become exposed to the sun or pests.
Watering and fertilizing
Maintain moist soil but avoid overwatering.
Check the soil regularly and water as needed.
If you experience heavy rainfall, ensure your bags have adequate drainage to prevent water from pooling at the bottom.
Elevating the bags slightly off the ground can also help excess water drain more effectively.
While not essential, a balanced fertilizer can boost growth.
Apply it sparingly to avoid excessive nitrogen.
- Read also: Spudtacular Sprouts: Build Your Own DIY Potato Tower Planter
- Read also: DIY Potato Planter Box: A Step-by-Step Guide to Growing Spuds
Conclusion
Growing potatoes in bags is a rewarding and accessible way to enjoy fresh, homegrown produce.
With proper care and attention, you can successfully cultivate a delicious potato harvest even in limited spaces.
By following the steps outlined in this guide, you’ll be well-equipped to embark on your potato-growing journey and savor the fruits of your labor.
FAQs
It’s not recommended to reuse the soil for potatoes, as it can harbor diseases. Instead, use it for other non-related crops.
Flowering is normal and indicates that tubers are forming below the soil. You can leave the flowers or pinch them off to redirect energy to the tubers.
Store your potatoes in a cool, dark place with good ventilation. Avoid washing them until you’re ready to use them, as moisture can cause them to spoil.

