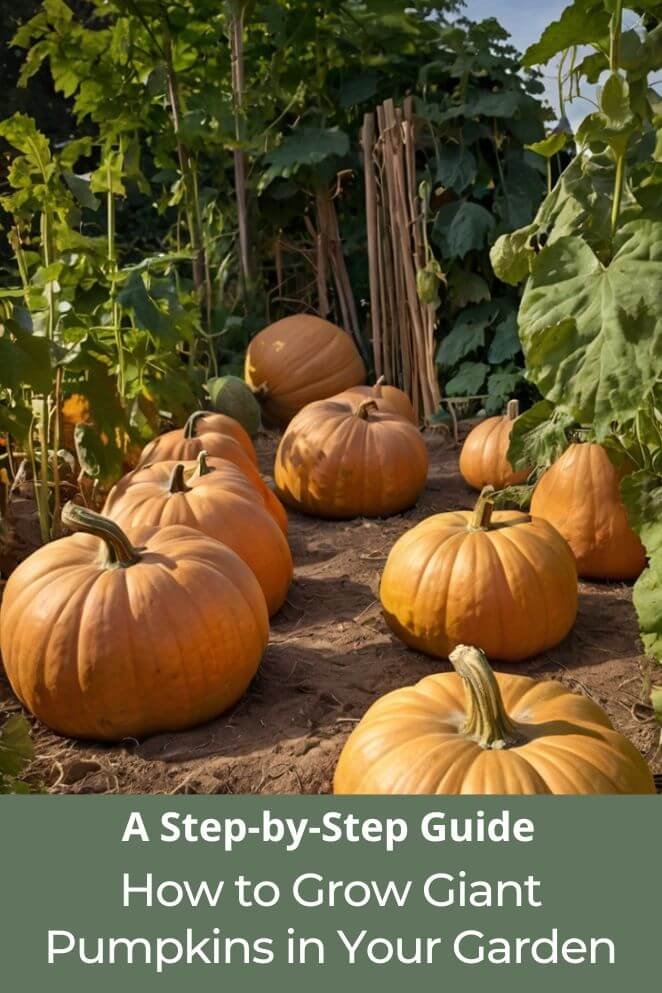
Have you ever come across those gigantic pumpkins and wondering how on earth someone managed to grow something so huge?
Giant pumpkins, especially the variety known as Cucurbita maxima ‘Atlantic Giant,’ are famous for their incredible size.
These pumpkins can weigh anywhere from 150 pounds to over 2,600 pounds—yes, you read that right!
To give you an idea of just how big that is, the heaviest pumpkin ever recorded, grown in 2016, weighed a staggering 2,624.6 pounds.
That’s more than the weight of a small car!
Choosing the Right Pumpkin Variety
The first step to growing a giant pumpkin is choosing the right variety.
Not all pumpkins grow to massive sizes.
You need a variety known for producing large fruits.
Here are some popular choices:
- Dill’s atlantic giant: Renowned for its potential to exceed 2,000 pounds. Specifically bred for size and a favorite among competitive growers.
- Big max: Known for reaching sizes up to 300 pounds.
- Big moose: Known for robust growth and bright colors. Suitable for roadside displays and competitions.
- Wallace’s whoppers: This variety is known for its elongated shape and can also reach impressive sizes.
- Paton twins giant: This variety is a cross between Atlantic Giant and another large pumpkin, resulting in a pumpkin with a unique shape and size.
Selecting high-quality seeds from reputable suppliers increases your chances of growing a record-breaking pumpkin.
Preparing the Soil
Giant pumpkins need rich, fertile soil to grow their best.
Start by choosing a sunny spot with at least 8 to 10 hours of direct sunlight daily.
Steps to prepare your soil:
- Clear the area of weeds and debris.
- Loosen the soil about 12 to 18 inches deep.
- Mix in compost or well-rotted manure to improve soil fertility.
- Test the soil pH. Pumpkins prefer a pH level between 6.0 and 7.0.
- Add balanced fertilizer or organic amendments as needed.
Starting Seeds Indoors
Getting a head start on your pumpkin-growing season can give your plants the extra time they need to produce giant fruits.
Starting seeds indoors is a great way to protect young plants from cold spring weather while giving them a strong, healthy beginning.
Timing is everything when it comes to starting pumpkin seeds indoors.
Begin 3 to 4 weeks before your last expected frost date.
Check your local frost calendar to find out when the last frost is expected in your area.
Starting too early can lead to plants becoming root-bound in pots, while starting too late may shorten your growing season.
Having the right materials on hand will make the process smooth.
Before you start to seedling indoors, gather your supplies:
- Seed-starting pots: Use small pots, about 4 to 6 inches wide, or biodegradable peat pots that can be planted directly into the ground.
- Potting mix: Choose a light, nutrient-rich potting mix made for starting seeds. Avoid heavy garden soil, as it can become compacted and stunt root growth.
- Pumpkin seeds: Select high-quality seeds, especially varieties bred for giant pumpkins, such as Atlantic Giant.
- Watering can: Use one with a gentle spout to avoid disturbing the soil.
- Plastic wrap or humidity dome: Optional, but helps retain moisture and warmth.
Follow this step-by-step guide to successfully start your giant pumpkin seeds indoors.
Step 1: Fill the pots with soil
Once your materials are ready, it’s time to prepare the pots.
Fill each pot with a potting mix.
Leave about half an inch of space from the top to prevent soil from spilling when you water.
Lightly water the soil before planting to moisten the soil.
It should feel damp but not soggy.
Properly prepared soil helps seeds germinate faster and prevents dry spots.
Step 2: Plant the pumpkin seeds
Correct planting is key to ensuring your seeds sprout successfully
Make a hole, use your finger to create a hole about 1 inch deep in the center of each pot.
Place the seed in the hole with the pointed end facing down.
This is where the root will emerge.
Gently cover the seed with soil and press down lightly to ensure good contact between the seed and soil.
Planting the seed the right way up helps the sprout emerge more easily.
Care Seedling After Planting
Provide the right temperature
Pumpkin seeds need warmth to sprout quickly. Keep pots in a warm spot.
The ideal temperature range is 70°F to 85°F.
If your home is cool, a seedling heat mat under the pots can speed up germination.
Avoid cold window sills. Cold drafts can delay germination or prevent it altogether.
Warmth encourages faster sprouting, often within 5 to 10 days.
Maintain moisture
Keeping the soil consistently moist is vital for germination.
Check the soil daily. It should always feel damp, but never waterlogged.
Use a spray bottle or watering can with a fine spout to avoid disturbing the seed.
Cover with plastic (optional), wrapping the pots loosely with plastic wrap or placing a humidity dome on top traps moisture and keeps the soil warm.
Too much water can rot the seed, while dry soil can prevent sprouting.
Balance is key.
Give the seedlings light
Once your pumpkin seedlings begin to sprout, light becomes their top requirement.
Move seedlings to a bright location.
A south-facing window is best, where they can get at least 8 to 10 hours of sunlight per day.
If natural light is limited, place seedlings under grow lights for 12 to 14 hours daily.
Position grow lights about 2 to 3 inches above the seedlings.
Raise the lights as the plants grow.
Without enough light, seedlings can grow tall and weak, making them more likely to break later.
Rotate seedlings daily
Seedlings naturally lean toward light, which can lead to uneven growth.
Turn the pots slightly every day. This helps your plants grow straight and strong.
If seedlings appear long and spindly, they likely need more light.
Strong seedlings develop sturdy stems that can support the large leaves and vines to come.
Avoid overcrowding
If you’re growing multiple seeds in one pot or tray, thin the seedlings.
Once the first true leaves (not the small round seed leaves) appear, select the strongest seedling.
Clip the weaker seedlings. Use scissors to cut them at the base.
Don’t pull them out, as this could disturb the roots of the healthy one.
Focusing on the healthiest seedling ensures it gets all the nutrients and space it needs.
Planting Seedling
Prepare for transplanting
As the seedlings grow, it’s important to get them ready for life outdoors.
Harden off the seedlings, about a week before transplanting, gradually expose the seedlings to outdoor conditions.
Start with 1 to 2 hours in a shaded spot.
Increase outdoor time each day, gradually introducing them to more sunlight.
If roots begin circling the inside of the pot, it’s a sign they’re ready to be transplanted into the garden.
Proper hardening off prevents shock when moving seedlings from the indoors to the garden.
Transplanting seedlings
Ensure the last frost date for your area has passed. Frost can damage or kill young seedlings.
Seedlings should have at least 2-4 true leaves (not just the initial seed leaves) before transplanting.
This indicates they are strong enough to handle the move.
Step 1: Transplant seedlings carefully
Water the seedlings a few hours before transplanting.
This reduces stress and helps the roots hold onto soil during the move.
Make holes in the prepared soil that are slightly larger than the root ball of each seedling.
Gently remove seedlings from their containers.
Avoid pulling on the stems, as this can damage them.
Instead, squeeze the container or use a small tool to lift the seedling out.
Set the seedling in the hole at the same depth it was growing in its container.
Firm the soil around the base to eliminate air pockets.
Step 2: Space plants appropriately
Space plants 8-10 feet apart if they are vining varieties (like pumpkins or melons).
This gives them ample space to spread and grow.
Check the recommended spacing for the specific plants you are growing.
Overcrowding can lead to poor air circulation and disease.
Step 3: Protect young plants
If temperatures are still cool, cover the seedlings with row covers or cloths to protect them from cold snaps.
Remove the covers during the day to allow sunlight and air flow.
Apply a layer of mulch (like straw or wood chips) around the base of the plants.
This helps retain moisture, regulate soil temperature, and prevent weeds.
After transplanting, water the seedlings thoroughly but gently.
Avoid overwatering, as this can lead to root rot.
Post Planting Care
Watering and fertilizing
Consistent watering is essential for giant pumpkins.
They need plenty of moisture, but soggy soil can lead to rot.
Tips for watering:
- Water deeply, about 1 to 2 inches per week.
- Water early in the day to allow foliage to dry before night.
- Avoid wetting the leaves to prevent diseases.
Fertilizing is equally important.
Use a balanced fertilizer early in the season, then switch to a high-phosphorus fertilizer to promote flowering.
Later, use potassium-rich fertilizer to encourage fruit development.
Pruning and training the vine
Pruning and training your pumpkin vine helps direct energy to growing a larger pumpkin.
Allow the main vine to grow about 10 feet before letting side vines develop.
Prune small or weak vines to focus nutrients on the healthiest ones.
Remove excess flowers and fruits, keeping only one or two pumpkins per plant.
Guide the vines gently to prevent overcrowding.
Pollination and selecting the best pumpkin
Pumpkins rely on bees for pollination, but you can assist the process for better results.
Identify male flowers (with thin stems) and female flowers (with a small pumpkin at the base).
Use a brush to transfer pollen from male flowers to female flowers.
Once fruits start developing, choose the healthiest, fastest-growing pumpkin.
Remove other developing pumpkins to direct resources to the chosen one.
Protecting the pumpkin
Giant pumpkins are vulnerable to pests, diseases, and weather damage.
Place a piece of cardboard or wood under the pumpkin to prevent rot.
Cover the pumpkin with a cloth during extreme heat.
Monitor for common pests like squash bugs and aphids.
Apply organic insecticides if necessary.
Monitoring growth and weight
Giant pumpkins grow rapidly, sometimes gaining 20 to 30 pounds per day.
Measure your pumpkin regularly using a soft tape measure.
Growth estimation formula:
- Measure the circumference of the pumpkin.
- Use online pumpkin weight charts to estimate its weight.
Harvesting Giant Pumpkins
Knowing when to harvest is crucial to avoid losing your prize pumpkin.
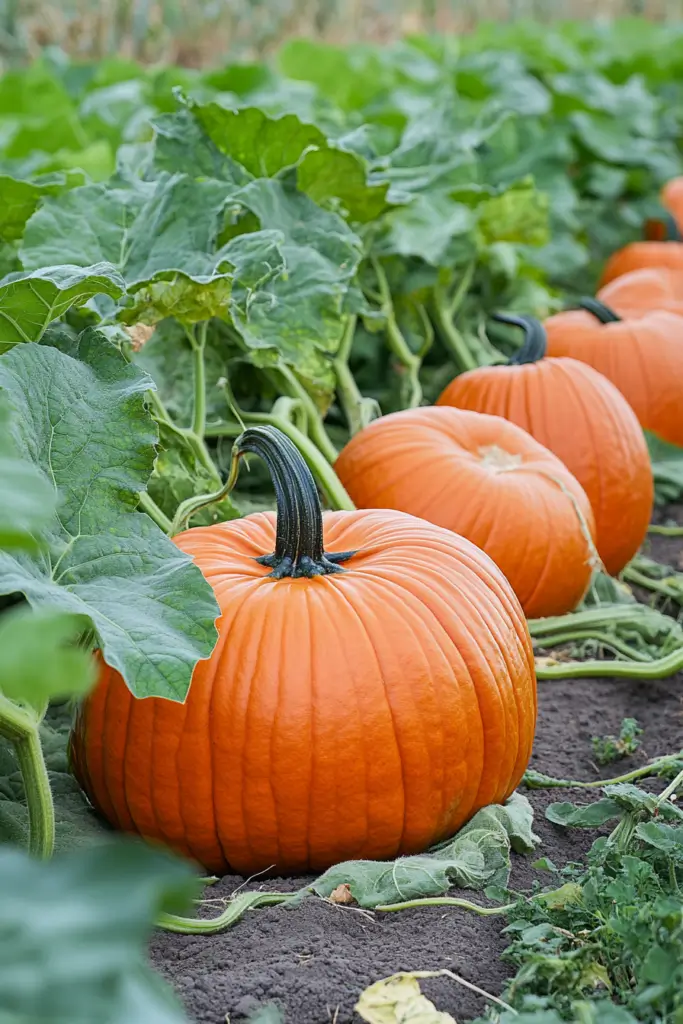
The best time to harvest is when the pumpkin’s skin has turned a deep, uniform orange, and the stem has become brown and dry.
This indicates that the pumpkin is mature and ready for harvesting.
Look for a woody stem and check that the vines are starting to die off. A hollow sound when tapped is also a good sign of ripeness.
Use sharp secateurs or a knife to cut the pumpkin from the vine, leaving several inches of stem attached. This helps prevent bacteria from entering the fruit.
Handle the pumpkins carefully during harvesting to avoid bruising or damaging the skin, which can lead to rot later on.
Conclusion
Growing a giant pumpkin is an exciting challenge. With the right variety, proper soil preparation, and attentive care, you can grow a pumpkin that will turn heads and maybe even win a contest.
The key is patience, observation, and consistent effort throughout the growing season.
FAQs
Growing a giant pumpkin typically takes 120 to 150 days from seed to harvest.
Giant pumpkins need plenty of space. If your garden is small, consider growing a smaller variety instead.
Pumpkin growth can stall due to poor soil, inadequate water, lack of nutrients, or insufficient pollination.
Special scales are needed for weighing giant pumpkins. Many growers use a sling and a crane or hoist.
This is often due to a lack of pollination. Try hand-pollinating the flowers. It could also be related to stress (water, nutrients).