Welcome to the world of blackcurrants!
Whether you’re a seasoned gardener or just starting out, growing blackcurrants can be a rewarding experience.
In this guide, we’ll walk you through everything you need to know to grow your own delicious and nutritious blackcurrants right in your backyard.
Blackcurrant Variety Available
There are several varieties of blackcurrants available, each with its own unique flavor profile and growing requirements.
Here are some common varieties of blackcurrant:
- Read also: A Comprehensive Guide to Growing Cordyline Red Sister Plants
- Read also: A Guide to Growing Croton Mammy
Ben connan
The Ben Connan blackcurrant is a popular variety known for its large, sweet fruits, high yields, and good disease resistance.
This variety is very good for frost tolerance, making it suitable for colder climates.
It grows compact and bushy, reaching around 1.2 meters (4 feet) tall and wide.
This makes it ideal for smaller gardens or container growing.
- Size: Exceptionally large, up to 18 mm in diameter, making them some of the biggest blackcurrants available.
- Harvest time: Early to mid-season, typically starting in early July and continuing for an extended period.
Ben hope
Another disease-resistant variety with large, sweet fruits.
High resistance to gall mite, good resistance to mildew, leaf spot, and big bud.
Ben-hope grows vigorous and upright, reaching around 1.5 meters (5 feet) tall and 1 meter (3 feet) wide. Ben-hope is suitable for moderate climates.
- Size: Medium-sized, glossy black berries.
- Harvest time: Late season, typically ripening in late July to early August, extending the fresh berry season.
Blackcap
The Blackcap blackcurrant is a popular choice for home gardeners due to its many desirable qualities.
Blackcap grows upright, and bushy, reaching about 5-6 feet tall and 3-4 feet wide. Good resistance to mildew and big bud mites.
- Size: Medium-sized, glossy black berries.
- Harvest time: Early season, typically ripening in mid-July.
Ben Lomond
Known for its robust flavor and resistance to frost.
Ben Lomond is a favorite among blackcurrant enthusiasts. It thrives in cooler climates and is suitable for regions with harsh winters.
Ben Lomond grows vigorous and upright, reaching about 1.5-2 meters (5-6 feet) tall and 1-1.5 meters (3-5 feet) wide.
Moderate resistance to mildew and leaf spot, but may be susceptible to big bud mites in some regions.
- Size: Large, glossy blackberries
- Harvest time: Mid-season, typically ripening in mid-July to early August
Ben Sarek
If you have limited space in your garden, Ben Sarek could be the perfect choice.
This compact variety is ideal for smaller gardens or even container growing. These bushes typically reach a height of around 3 to 4 feet.
Ben Sarek blackcurrants are adaptable to a range of climates, making them suitable for gardeners in different regions.
While they perform best in cooler climates, they can also tolerate warmer temperatures.
- Size: Medium-sized
- Harvest time: It is early fruit ripening time, earlier in the season. This early ripening trait is particularly beneficial in regions with shorter growing seasons or unpredictable weather patterns.
Titania
Titania is prized for its disease resistance and high yields.
Good resistance to powdery mildew and white pine blister rust, common blackcurrant diseases.
Titania is susceptible to late spring frosts, so consider your local climate and planting location.
Titania grows vigorous and upright, reaching around 1.5 meters (5 feet) tall and about 1 meter (3 feet) wide.
- Size: Very large, glossy black berries, often exceeding 18mm in diameter, exceeding the size of many other varieties.
- Harvest time: Mid-season, typically ripening in early July and continuing until early August, providing a longer harvest period than some other varieties.
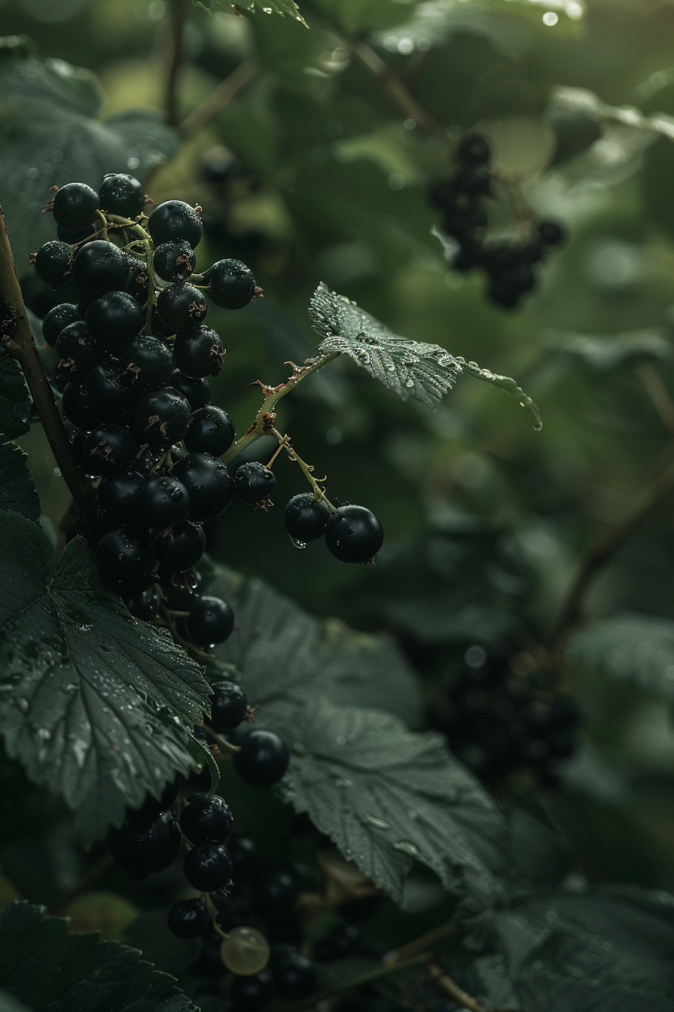
How to Choosing The Right Blackcurrant Variety
When selecting the right blackcurrant variety for your garden, it’s essential to consider several factors to ensure optimal growth and fruit production.
Climate
Different blackcurrant varieties have varying temperature requirements.
Some thrive in cooler climates, while others can tolerate warmer temperatures.
By choosing a variety that matches your local climate, you can ensure that your blackcurrants will grow vigorously and produce plentiful fruit.
For example, if you live in a region with cold winters, you might opt for a variety like Ben Lomond, known for its frost resistance.
Conversely, if you reside in a warmer area, you might choose a variety like Titania, which can adapt to a wider range of temperatures.
Soil type
Blackcurrants prefer well-drained soil that is rich in organic matter.
However, they can tolerate a variety of soil types, including sandy, loamy, and clay soils.
Before selecting a variety, consider the composition and pH level of your soil.
Some varieties may perform better in acidic soils, while others prefer slightly alkaline conditions.
For example, if you have acidic soil, you might choose a variety like Titania, which is known for its adaptability to different soil conditions.
Conduct a soil test or consult with a local gardening expert to determine the most suitable variety for your soil type.
Space constraints
If you have limited space in your garden, it’s essential to choose a blackcurrant variety that fits your available area.
Some varieties, such as Ben Sarek, are more compact and suitable for smaller gardens or even container growing.
These compact varieties still produce ample fruit but require less space than larger varieties like Ben Lomond.
Consider the size of your garden or the space available in your containers when selecting a variety to ensure that you can maximize your harvest without overcrowding your garden beds or pots.
Pest resistant
Look for varieties that are resistant to pests. For example, blackcurrants are resistant to mildew and big bud mites, such as Ben Connan, Ben Hope, and Blackcap.
This can save you time and effort managing pests.
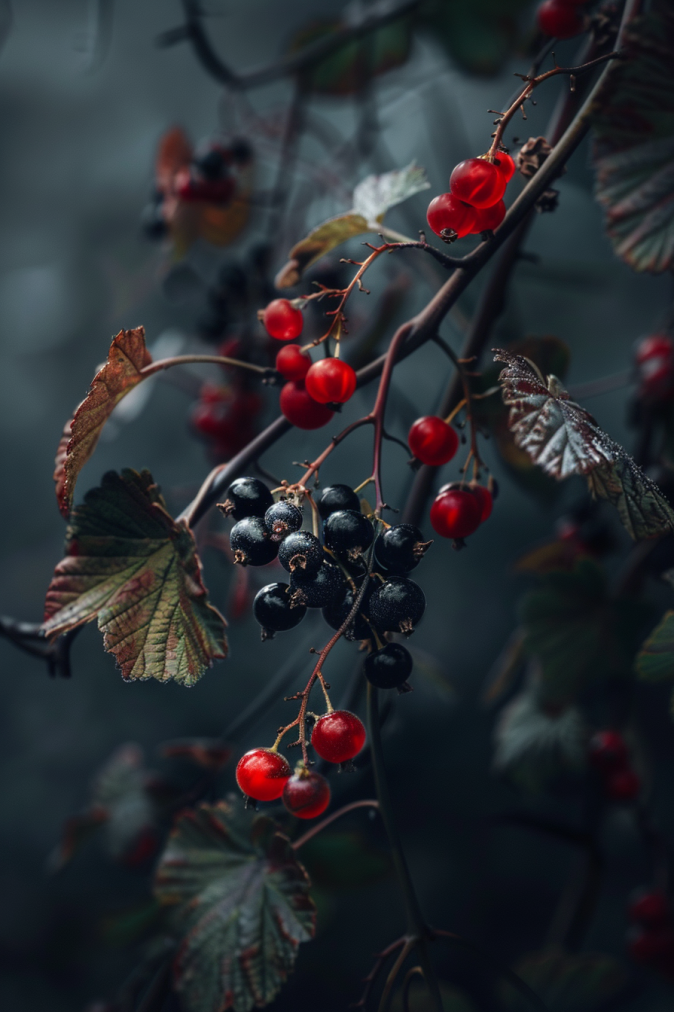
When to Grow Blackcurrant Plants
While the exact timing might vary depending on your specific location and climate, there are two main options for growing blackcurrants: planting in autumn/winter and planting in spring/summer.
Planting in autumn/winter (October to March)
Avoid planting when the ground is still frozen or waterlogged.
Planting in autumn/winter is generally considered the best time to plant blackcurrants. Here are the reasons:
- Cooler temperatures and moist soil favor root development before spring growth.
- Plants establish well over winter, ready for spring and summer growth.
- Less watering is required compared to spring/summer planting.
- Less competition from weeds.
Planting in spring/summer (late spring to late summer)
Planting in spring/summer can be done if autumn/winter planting isn’t possible. There are some considerations to watch for:
- Requires more watering to keep the soil moist, especially during hot spells.
- Plants may experience slower growth and be more susceptible to stress in hot weather.
- Weed competition might be higher.
Another factor to consider is your local climate. If you live in a particularly cold climate, planting in late winter or early spring might be safer than autumn.
How to Get Blackcurrant Plants
There are two main ways to get blackcurrant plants: buying them from a nursery or garden center or propagating them yourself.
Buying blackcurrant plants
Buying blackcurrant plants from nurseries and garden centers. This is the easiest and most common way to get blackcurrant plants.
They will typically have a variety of cultivars to choose from, and the staff can help you select the right one for your climate and growing conditions.
Propagating blackcurrant plants
Cuttings
You can propagate blackcurrant plants from hardwood cuttings taken in late autumn or winter.
Simply cut a 6-8 inch length of stem from a healthy plant, remove the lower leaves, and insert it into a pot of potting mix.
Keep the pot moist and in a cool, sheltered location until the cutting roots.
Layering
This is another method of propagation that is relatively easy to do.
Simply bend a low-growing branch down to the ground and bury the tip in the soil.
Secure it in place with a stone or peg.
The buried portion of the branch will eventually root, and you can then sever it from the parent plant and transplant it to its own location.
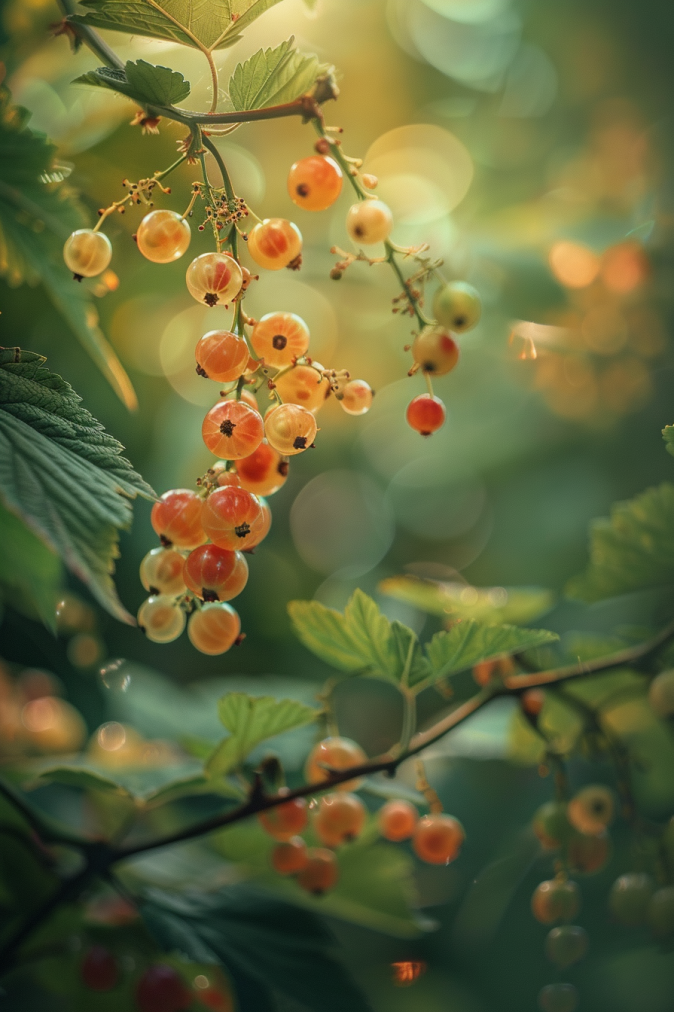
How to Plant Blackcurrants
Here’s a step-by-step guide on how to plant blackcurrants, both in the ground and in containers:
Planting in the ground
Step 1: Soil preparation
- Before planting, prepare the soil by loosening it to a depth of about 12 inches (30 cm) and removing any weeds, rocks, or debris.
- Incorporate plenty of compost or well-rotted manure into the soil to improve its fertility, drainage, and moisture retention.
Step 2: Digging the hole
- Dig a hole slightly larger than the root ball of the blackcurrant plant, typically around 18-24 inches (45-60 cm) wide and deep.
- Ensure that the hole is deep enough to accommodate the roots without bending or crowding.
Step 3: Planting the blackcurrant bush
- Gently remove the blackcurrant plant from its nursery container, being careful not to disturb the roots excessively.
- Place the plant in the center of the hole, ensuring that the roots are spread out evenly and not twisted or compacted.
- Backfill the hole with soil, gently firming it around the base of the plant to eliminate air pockets.
Step 4: Watering
- Water the newly planted blackcurrant bush thoroughly to settle the soil and ensure good root-to-soil contact.
- Provide supplemental irrigation as needed, especially during dry periods, to keep the soil consistently moist but not waterlogged.
Planting in containers
Step 1: Choosing a container
- Select a large container with drainage holes at the bottom to prevent waterlogging.
- The container should be at least 18 inches (45 cm) in diameter to provide ample space for root growth.
Step 2: Filling the container
- Fill the container with a well-draining potting mix, preferably one formulated for fruit-bearing plants.
- Leave enough space at the top of the container to accommodate the blackcurrant plant without crowding.
Step 3: Planting the blackcurrant bush
- Carefully remove the blackcurrant plant from its nursery container and place it in the center of the pot.
- Plant the blackcurrant bush at the same depth it was growing in its nursery container, ensuring that the soil level is just below the top of the root ball.
- Fill in any gaps around the plant with additional potting mix, pressing it gently to secure the plant in place.
Step 4: Placement and watering
- Place the container in a sunny location with at least six to eight hours of direct sunlight each day.
- Water the blackcurrant bush thoroughly after planting to settle the soil and provide moisture to the roots.
- Check the soil moisture regularly and water as needed to keep it consistently moist, especially during hot weather or when the top inch of soil feels dry to the touch.
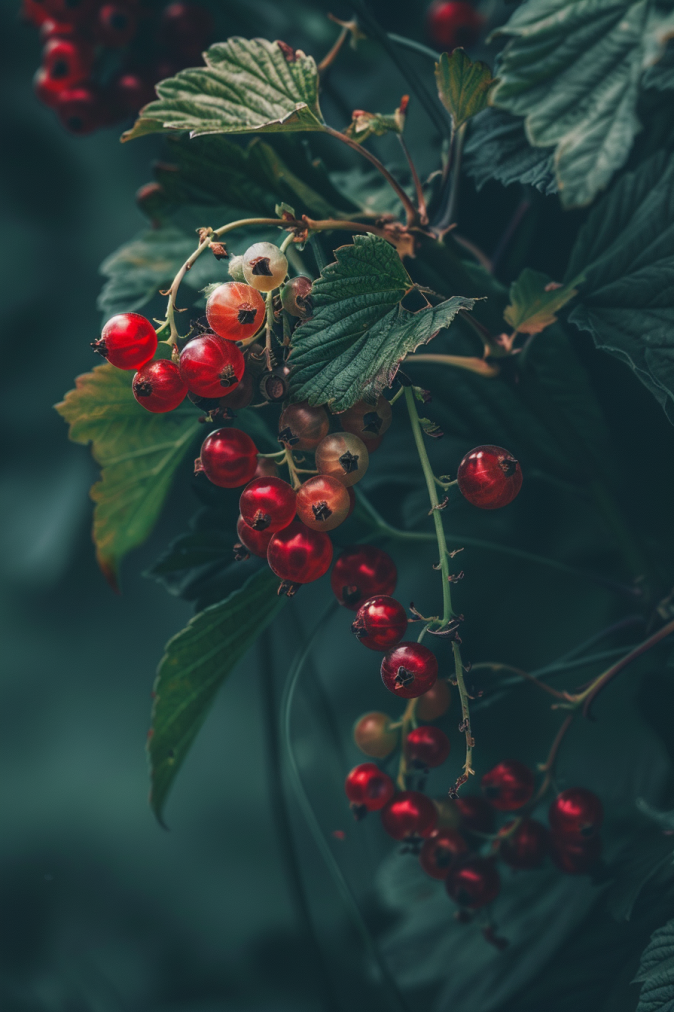
Blackcurrant Plant Care
Watering
Water newly planted bushes regularly, especially during dry spells.
Once established, they generally only need watering during prolonged droughts.
Avoid heavy watering when fruits are ripening, as this can split the skins.
Plants in containers need more frequent watering as the compost dries out quickly.
Feeding
Apply a general fertilizer in late autumn or early spring, following package instructions.
Alternatively, use organic matter like composted manure as a mulch.
Avoid excessive nitrogen-rich fertilizers, as this can promote vigorous shoot growth at the expense of fruit production.
Mulching
Mulch around the base of the plant with organic matter like bark chips or straw.
This helps suppress weeds, retain moisture, and regulate soil temperature.
Training and Pruning of Blackcurrant Plants
Training and pruning are essential aspects of caring for blackcurrant plants to ensure healthy growth and bountiful harvests.
Here’s a breakdown of the key points:
Training
Young plants (first 3 years)
When planting bare-root currants, cut all stems back to around 2 inches from the base after planting.
This encourages strong basal growth in the following year.
For container-grown plants, you can either prune them similarly after planting or wait until winter and prune lightly, encouraging bushiness.
Standard-trained varieties
These need permanent support like a bamboo cane. Tie the trunk and central stem to the cane for stability.
Pruning
The best time to prune is when the plant is dormant, ideally between late autumn and late winter.
Established bushes (4+ years)
- Aim to remove around 30-40% of the oldest, darkest-colored stems annually. These stems are less productive.
- Cut them back close to the ground, ideally just above an outward-facing bud.
- Also remove weak, diseased, or poorly placed stems.
- Aim for an open structure with 6-10 upright stems.
Young plants (3 years or younger)
In the first three years, prune lightly. Remove weak or low-lying shoots, but avoid heavy pruning unless growth is weak. In that case, prune harder to stimulate new growth.
Common Pests and Diseases
Blackcurrants are generally pest and disease-resistant.
However, be vigilant for common problems like aphids, gall mites, and mildew.
Use organic methods like insecticidal soap, neem oil, or good airflow to manage pests.
For diseases, remove infected leaves and practice good hygiene.
- Read also: Tips on How to grow Lemon balm
- Read also: A Comprehensive Guide: How To Grow Brussels Sprouts
Conclusion
Growing blackcurrants can be a rewarding and enjoyable experience for gardeners of all skill levels.
With the right care and attention, you can enjoy a bountiful harvest of delicious and nutritious berries right in your own backyard.
Remember to choose the right variety for your climate and soil conditions, and don’t be afraid to experiment with different planting methods to find what works best for you. Happy gardening!
FAQs
Yes, blackcurrants can be grown in containers as long as you choose a large pot with good drainage and provide adequate sunlight and water.
Blackcurrant bushes typically start producing fruit within 2-3 years of planting, with full production reached after 3-4 years.
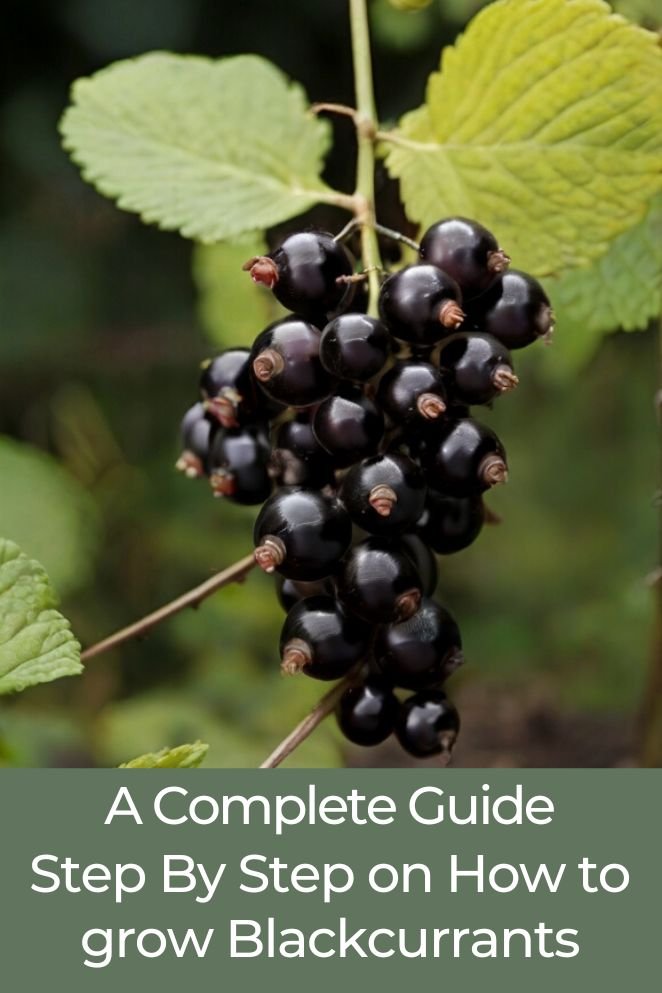
Blackcurrants are ripe when they are fully colored and slightly soft to the touch. They should also have a strong, sweet aroma. Harvest the berries by gently pulling them from the stem, being careful not to crush them.

