Hilling potatoes is an age-old agricultural practice that involves piling soil around the base of potato plants as they grow.
This technique is particularly beneficial when growing potatoes in raised beds, where space and soil conditions can be carefully managed.
By hilling, you can increase your potato yield, protect your plants, and ensure healthier tubers.
Why Hilling Potatoes is Essential?
Hilling potatoes is a crucial practice for successful potato cultivation.
Here’s why it’s so important:
Increased yield
Hilling creates more soil around the base of the potato plants.
This extra soil provides additional space for the tubers to grow.
As a result, you can harvest more potatoes from each plant.
In fact, studies have shown that proper hilling can boost potato yields by up to 20%.
- Read also: Tips and Tricks: Essential Tips for Hilling Potatoes in Grow Bags
- Read also: The Ultimate Guide to Hilling Potatoes in Containers
Protection from sunlight
Potatoes that are exposed to sunlight can turn green due to chlorophyll production.
While green potatoes aren’t harmful in small amounts, they can become toxic if consumed in large quantities.
This is because the green coloration is a sign of solanine, a natural toxin.
Weed control
Weeds compete with your potato plants for essential nutrients and water.
By piling soil around the plants, you help smother and suppress weeds, reducing their growth.
This means your potatoes get more of the resources they need to thrive, rather than having to compete with unwanted plants.
Support for stems
Potato plants can become tall and leggy as they grow, and hilling provides added support.
By covering the base of the plants with soil, you help stabilize the stems, making them less likely to fall over or break, especially during windy conditions.
When to Start Hilling?
You should begin hilling your potato plants when they are about 6 to 8 inches tall.
This height is a good indication that the plants are well-established and growing vigorously.
Starting the process at this stage allows you to build up the soil around the plants, encouraging tuber development and protecting the potatoes from sunlight.
Hilling Potatoes Techniques in Raised Beds
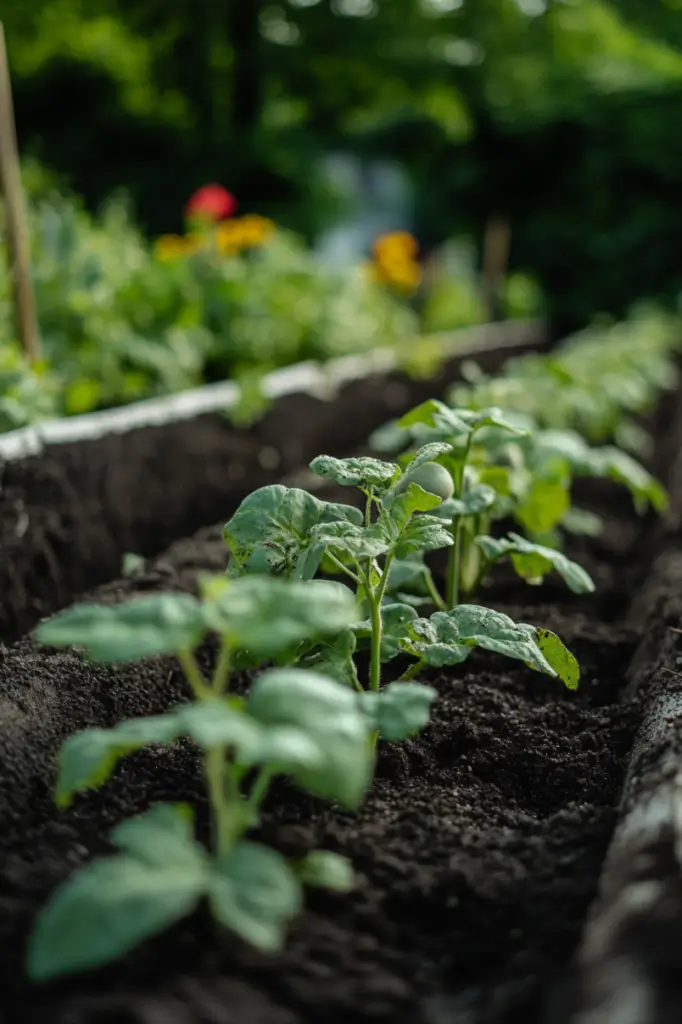
When it comes to hilling potatoes in raised beds, you have several techniques to choose from.
Each has its benefits and can be adapted to your gardening preferences.
Here’s a detailed look at each method:
Traditional hilling
Step 1: Initial hilling
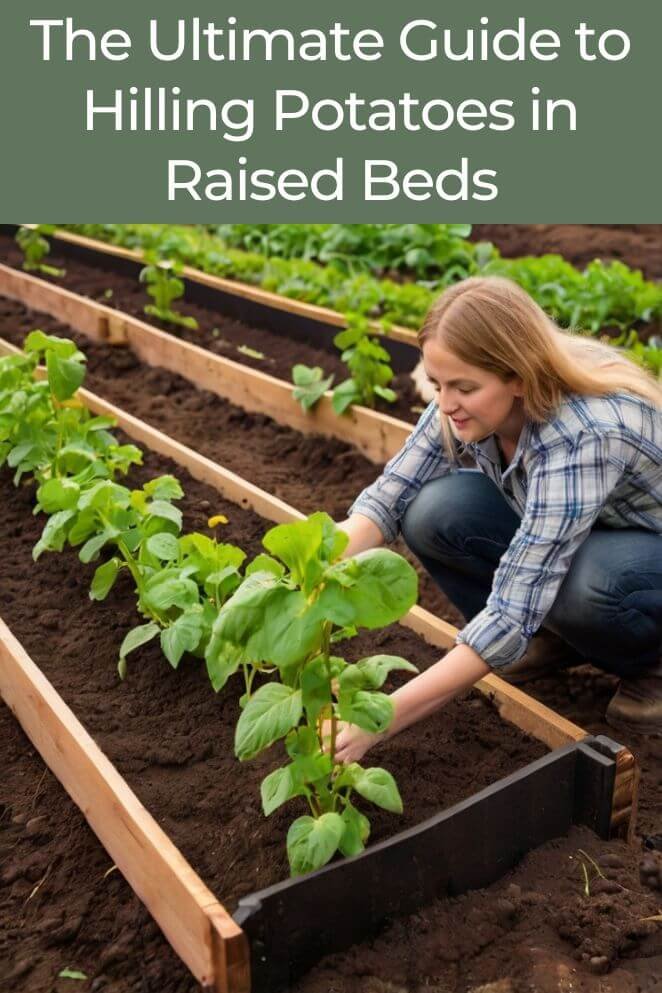
Once your potato plants are about 6 to 8 inches tall, start by mounding soil around their base.
Use a hoe or garden fork to gently push soil up around the plants.
This helps support the stems and cover the lower parts of the plants.
Step 2: Add soil
Create a mound of 3 to 4 inches of soil around the plants.
Make sure you cover the lower stems but leave the top leaves exposed.
This layer of soil provides space for the tubers to grow and protects them from sunlight.
Step 3: Repeat
Every two to three weeks, add more soil around the plants.
Gradually build up the mound until the plants start to flower.
This continued hilling encourages tuber development and prevents weeds from growing.
Straw hilling
Step 1: Initial hilling
Start with the same initial steps as you would with traditional hilling.
Mound the soil around the base of the plants to get them started.
Step 2: Apply straw
Instead of adding more soil, use straw to cover the plants.
Straw helps retain soil moisture and adds organic matter as it decomposes, enriching the soil.
It also helps keep weeds at bay and can be easier to manage than soil.
Step 3: Add more straw
As the plants grow, continue adding more straw every few weeks.
Keep the straw layer thick enough to cover the soil and protect the developing tubers.
Combination Hilling
Step 1: Start with soil
Begin with traditional soil hilling for the first two mounds.
This provides initial support and coverage for the tubers.
Step 2: Switch to straw
For the subsequent hilling, switch to using straw.
This combines the benefits of soil hilling with the advantages of straw, such as improved moisture retention and reduced weed growth.
Common Hilling Mistakes
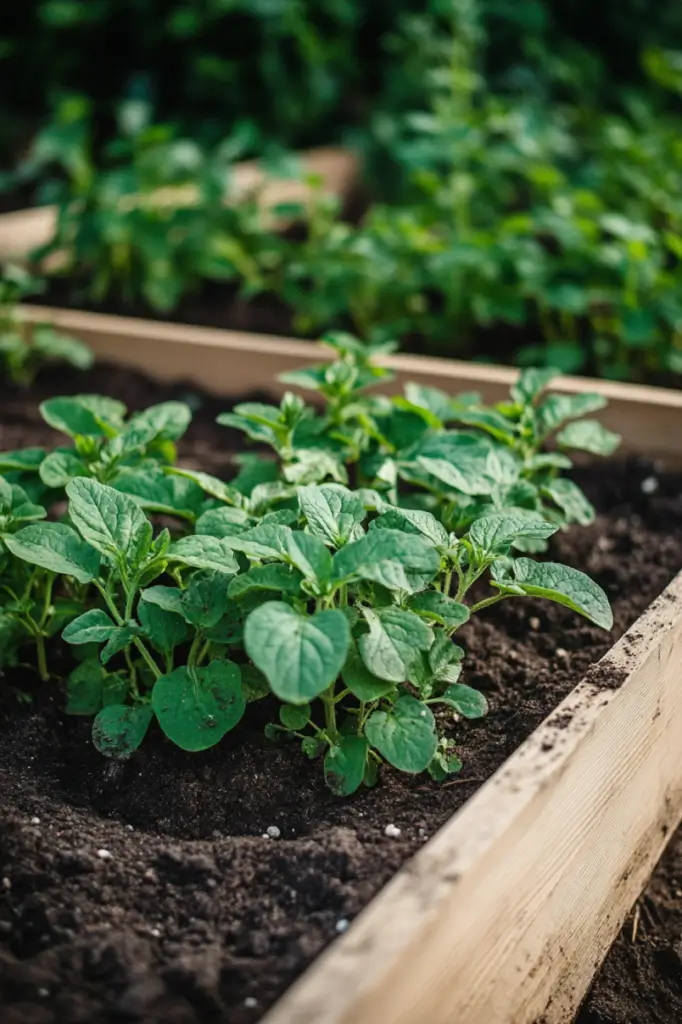
When hilling potatoes, avoiding common mistakes is crucial for a successful harvest.
Here’s a breakdown of frequent errors and how to avoid them:
Hilling too early or too late
Hilling too early
If you start hilling before the potato plants are ready—typically when they’re around 6 to 8 inches tall—you risk burying the young plants too deeply.
This can prevent them from getting enough sunlight and air, potentially stunting their growth.
To avoid this, make sure your plants are at the right height before adding soil or straw.
Hilling too late
On the flip side, waiting too long to hill can leave the developing tubers exposed.
If tubers are not covered in time, they can turn green due to exposure to sunlight.
This green color indicates the production of solanine, a toxic substance.
Stick to the recommended timing and regularly add soil or straw to ensure your tubers remain protected.
Using poor-quality soil
The quality of the soil you use for hilling is important.
Soil that contains rocks, debris, or is overly sandy can harm the potato plants.
It can cause physical damage to the stems and tubers or lead to poor growth.
For the best results, use well-draining, fertile soil that is free from large particles and other contaminants.
This type of soil supports healthy plant development and helps the potatoes grow properly.
Inadequate hilling
If you don’t add enough soil or straw during the hilling process, the tubers might remain exposed to sunlight.
This exposure can cause the tubers to turn green and develop solanine, which is harmful if ingested.
Ensure you build up the soil or straw sufficiently around the plants to cover all the tubers.
Proper coverage protects them and promotes better yields.
Hilling Potatoes for Different Potato Varieties
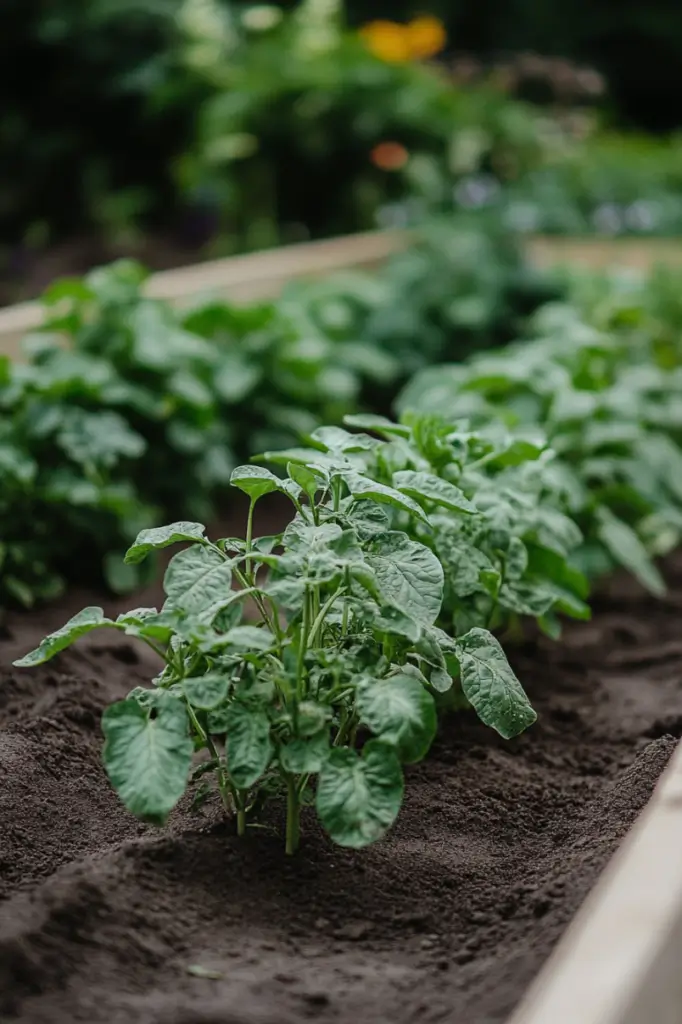
When hilling potatoes, it’s important to tailor your approach based on the type of potato variety you’re growing.
Here’s a detailed look at how to adapt hilling techniques for different potato varieties:
Early varieties
Early potato varieties, like ‘Red Norland’ and ‘Yukon Gold,’ are known for their shorter growing seasons.
Because these varieties mature more quickly, it’s crucial to start hilling as soon as the plants reach about 6 inches in height.
Hilling should continue until the plants start to flower.
This early and consistent hilling helps these varieties maximize their yield within their shorter growing period.
Maincrop varieties
Maincrop potatoes, such as ‘Russet Burbank’ and ‘Kennebec,’ are larger and have a longer growing season.
These varieties benefit from deeper hilling because they have more time to develop larger tubers.
Start hilling when the plants are around 6-8 inches tall and add soil or straw gradually as the plants grow.
Continue this process until the plants flower.
Deeper hilling helps protect the developing tubers and can lead to a more substantial harvest.
Fingerling varieties
Fingerling potatoes, like ‘Russian Banana’ and ‘French Fingerling,’ have delicate, more fragile stems.
For these varieties, use a gentler hilling technique to avoid damaging the plants.
Instead of mounding heavy soil, you might use lighter soil or straw.
Start hilling when the plants are 6-8 inches tall but be careful to avoid burying the plants too deeply or applying too much pressure.
Gentle hilling helps protect the fragile stems and encourages healthy tuber development.
- Read also: The Ultimate Guide to Companion Plant for Luscious Potatoes
- Read also: Spudtacular Sprouts: The Ultimate DIY Potato Grow Bag Guide
Conclusion
Hilling potatoes in raised beds is a tried-and-true method to boost your harvest and maintain healthy plants.
By following the proper techniques and avoiding common mistakes, you can enjoy a bountiful potato crop from your raised bed garden.

