In today’s world, sustainability and saving money are on everyone’s minds.
One fantastic way to achieve both is by regrowing vegetables from kitchen scraps.
Not only does this practice reduce waste, but it also provides a continuous supply of fresh produce right in your home.
This blog post will guide you through the process of growing vegetables from scraps, and provide you with practical tips to get started.
Pros and Cons of Growing Vegetables from Kitchen Scraps
Pros
- Cost savings: Regrowing vegetables from scraps can significantly reduce your grocery bills. Instead of purchasing new produce, you can have a continuous supply of certain vegetables by regrowing them from leftovers.
- Environmental impact: This practice reduces food waste by utilizing parts of vegetables that would otherwise be discarded. It also decreases the need for packaging and transportation, contributing to a lower carbon footprint.
- Convenience and accessibility: Having fresh vegetables readily available at home is convenient and saves time. You don’t need to make frequent trips to the grocery store, and you always have fresh produce on hand.
- Educational: Regrowing vegetables is a great way to learn about plant growth and botany. It’s an excellent hands-on educational activity for children, teaching them about sustainability and responsibility.
- Health benefits: Growing your own vegetables ensures they are free from pesticides and preservatives. You can enjoy fresh, organic produce that is healthier and more nutritious.
Cons
- Limited variety: Not all vegetables can be regrown from scraps. While many common vegetables like green onions, lettuce, and celery are easy to regrow, others are not as suitable for this method.
- Time and patience required: Regrowing vegetables from scraps requires time and patience. It can take several weeks or even months for some vegetables to reach a stage where they can be harvested and consumed.
- Initial effort and maintenance: The initial effort to set up and maintain regrowing systems can be a deterrent for some. Regular watering, proper lighting, and pest management are essential for healthy growth.
- Potential for failure: Not all attempts to regrow vegetables from scraps will be successful. Some scraps may not sprout, or plants might fail to thrive due to various factors like poor light, inadequate water, or disease.
- Yield limitations: The yield from regrown vegetables might not be as large or consistent as those grown from seeds or purchased from stores. This could limit the amount of produce you can harvest.
- Read also: Grow Anywhere: DIY Container Ideas For Vegetables
- Read also: DIY Vegetable Garden Box: Build Your Own Veggie Oasis
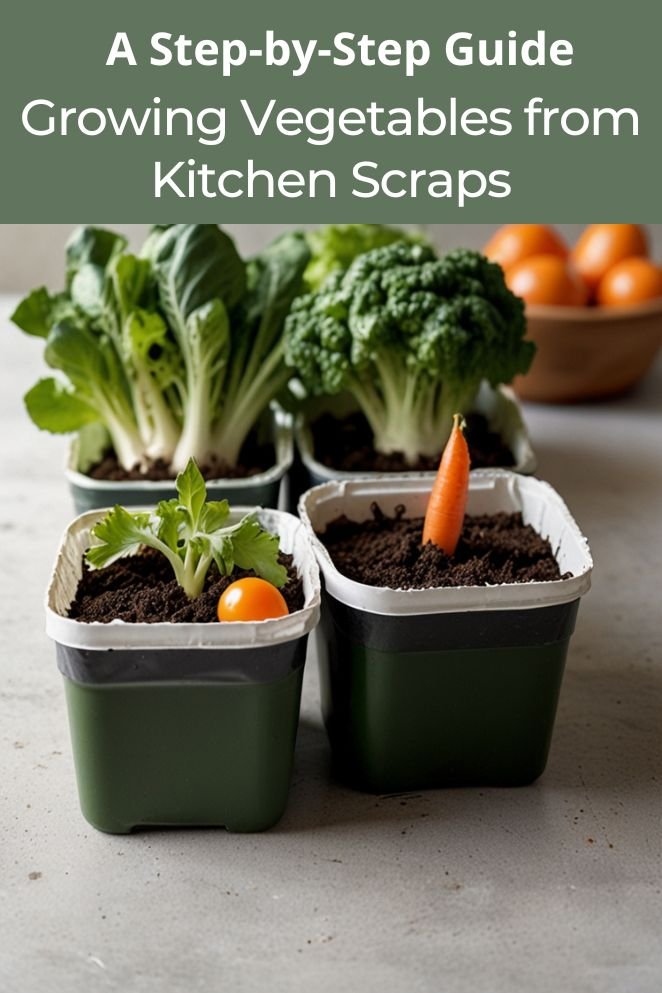
Growing Vegetables from Kitchen Scraps
Regrowing vegetables from scraps involves using parts of the vegetable that would normally be discarded.
With a little patience and care, these scraps can sprout new life.
Here’s more detail you need to know about growing vegetables from kitchen scraps:
Which scraps to regrow
- For tops: Carrots, Beets, Turnip, Radishes, Daikon.
- For roots/ends: Green onion, Garlic, Fennel, Celery, Romaine lettuce, Bok Choy, Leeks, Onions, Lemongrass.
Planting methods
There are two main methods planting vegetables from scraps:
- Water rooting: Ideal for vegetables with a hollow core or root base, like green onions, celery, or romaine lettuce. Place the scrap in a shallow container with enough water to cover the base.
- Soil planting: Works well for vegetables with a stronger stem or root base, like potatoes, ginger, or herbs. Use a pot with drainage holes and well-draining potting mix. Plant the scrap according to the specific vegetable’s needs (e.g., ginger needs to be planted shallow with the “eyes” facing upwards).
How to Grow Vegetables from Kitchen Scraps
General steps
Step 1: Choose your scraps
Select the vegetable scraps you want to regrow. Ensure they are healthy and not too old or damaged.
Step 2: Prepare your containers
Use shallow dishes for initial water rooting and pots with soil for planting. Ensure proper drainage.
Step 3: Water rooting
Place the scraps in water, ensuring the roots or bases are submerged. Keep the water clean by changing it every few days.
Step 4: Sunlight
Place the containers in a sunny spot, as most vegetables need plenty of light to grow.
Step 5: Transplanting
Once the scraps start sprouting roots or leaves, transfer them to soil. Make sure the soil is rich and well-draining.
Step 6: Care and maintenance
Water the plants regularly and provide them with the necessary nutrients. Keep an eye out for pests and diseases.
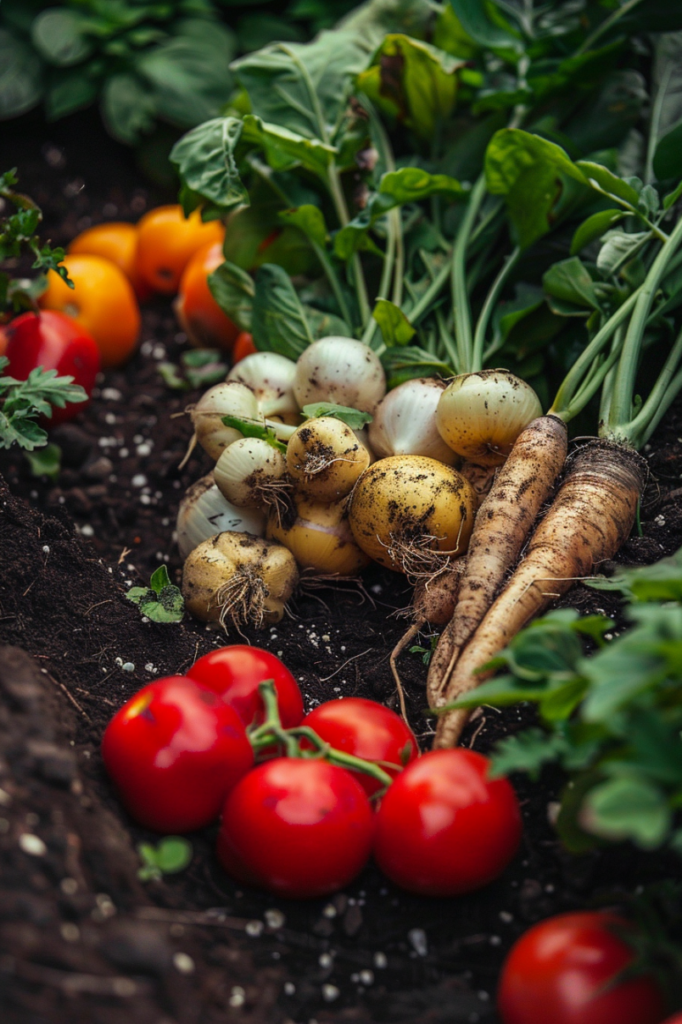
Common vegetables from kitchen scrap
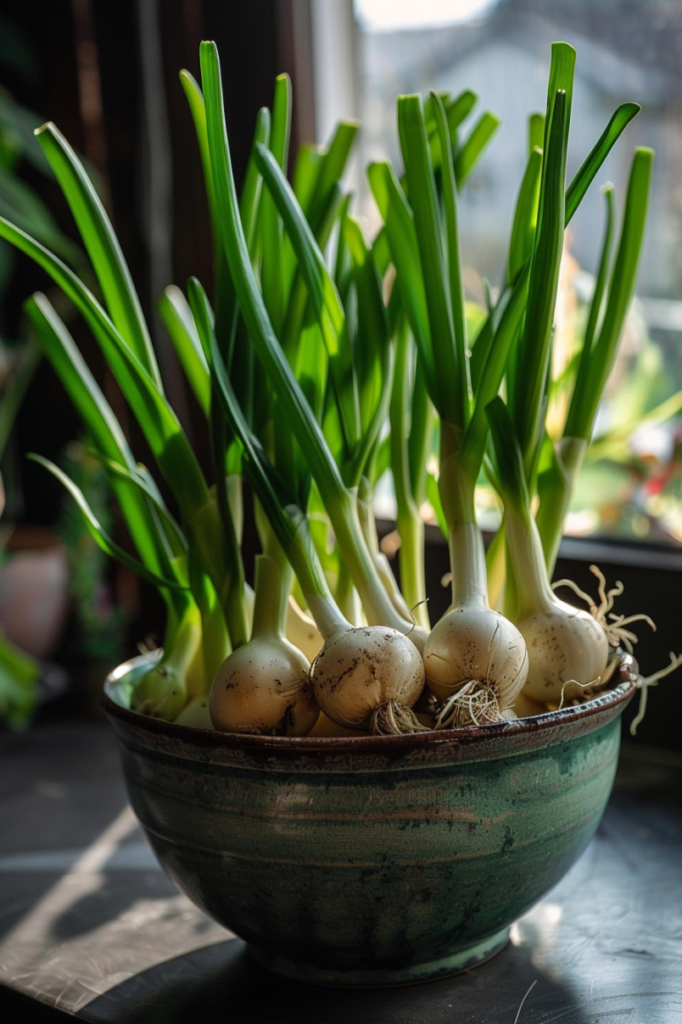
Green onions
Green onions are perhaps the easiest vegetable to regrow.
Simply place the white root ends in a glass of water, ensuring the roots are submerged.
Place the glass on a sunny windowsill and change the water every few days.
In about a week, you’ll notice new green shoots emerging.
Lettuce
For lettuce, cut the leaves about an inch from the bottom. Place the stump in a shallow dish with a little water.
Keep the dish in a sunny spot and change the water every couple of days.
New leaves will start to grow from the center of the stump within a week.
Celery
Regrowing celery follows a similar process to lettuce.
Cut the base of the celery stalks and place it in a shallow dish with water.
Place the dish in a sunny location and refresh the water regularly.
New celery stalks will begin to sprout from the center.
Potatoes
For potatoes, cut them into pieces, making sure each piece has at least one eye.
Allow the pieces to dry out for a day or two to prevent rotting.
Then, plant them in soil with the eyes facing up. Water them regularly, and soon, new potato plants will start to grow.
Garlic
Garlic can be regrown by planting a single clove, root side down, in soil.
Keep the soil moist and place the pot in a sunny spot.
New shoots will emerge from the clove, eventually growing into a full garlic bulb.
Carrot
While regrowing carrots from scraps is possible, it’s more about growing the carrot greens than the actual root vegetable.
Select fresh, green carrot tops with at least 2-3 inches of stem.
Fill a shallow dish with about an inch of water.
Place the carrot tops with the stem submerged.
Position the dish in a sunny windowsill with indirect sunlight.
Keep the water level consistent, refreshing it every few days.
Within a couple of weeks, you should see new leaves sprouting from the stem.
Ginger
Select a firm ginger piece with visible eyes, at least one or two “eyes” (the little bumps where new shoots emerge). Partially fill a pot with a well-draining potting mix.
Plant the ginger knob with the eyes facing upwards, keeping about half of it above the soil.
Place the pot in a warm location with indirect sunlight. Water regularly, keeping the soil moist but not soggy.
It can take several weeks for new shoots to appear. You can harvest the ginger once the stalks reach about 6-8 inches tall, but be mindful not to remove the entire plant.
You can carefully harvest some of the rhizome (the underground stem) as needed, and the ginger plant will continue to produce over time.
Lemongrass
Select a firm, white stalk of lemongrass with at least one node.
Cut off the leafy green top part. Partially fill a jar or pot with warm water. Submerge the bottom part of the stalk, keeping the node just above the water line.
Place the jar in a warm location with bright, indirect sunlight.
Refresh the water every few days. After a few weeks, roots should start to develop from the node.
Once the roots reach about an inch long, you can transplant the lemongrass stalk into a pot with a well-draining potting mix.
Keep the soil moist but not soggy.
It can take several months for the lemongrass to mature.
You can harvest stalks when they reach a desirable thickness, cutting them just above the base of the plant.
Lemongrass will continue to produce new stalks over time.
- Read also: DIY Vegetable Garden on a Balcony
- Read also: Build DIY Hydroponic Vegetable Garden
Conclusion
You might be surprised to learn that many vegetables can be regrown from kitchen scraps!
This is a simple and effective way to cut down on food waste, save on grocery bills, and enjoy fresh produce from your own home.
By regrowing vegetables from scraps, you’ll not only help the environment but also reap the benefits of cost savings and healthier food options.
Get started with some easy-to-regrow vegetables, and before you know it, you’ll have a flourishing mini-garden right from your kitchen leftovers.
FAQs
Not all vegetables can be regrown from scraps, but many common ones can, such as green onions, lettuce, celery, potatoes, and garlic. Research specific vegetables to see if they can be regrown.
No special equipment is needed. Basic items like shallow dishes, pots, soil, and water are sufficient to get started.
Yes, many vegetables can be regrown indoors, especially those that don’t require a lot of space or direct sunlight. A sunny windowsill is often enough.
Ensure they are getting enough light, water, and nutrients. Check for pests and diseases. If problems persist, consider researching specific care requirements for the vegetable you’re regrowing.

