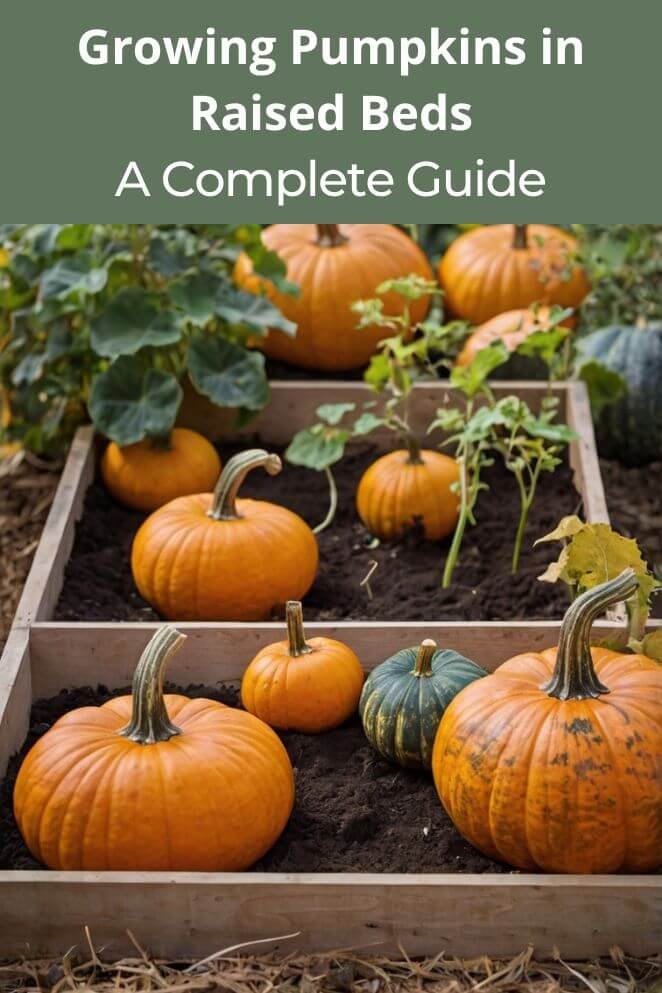
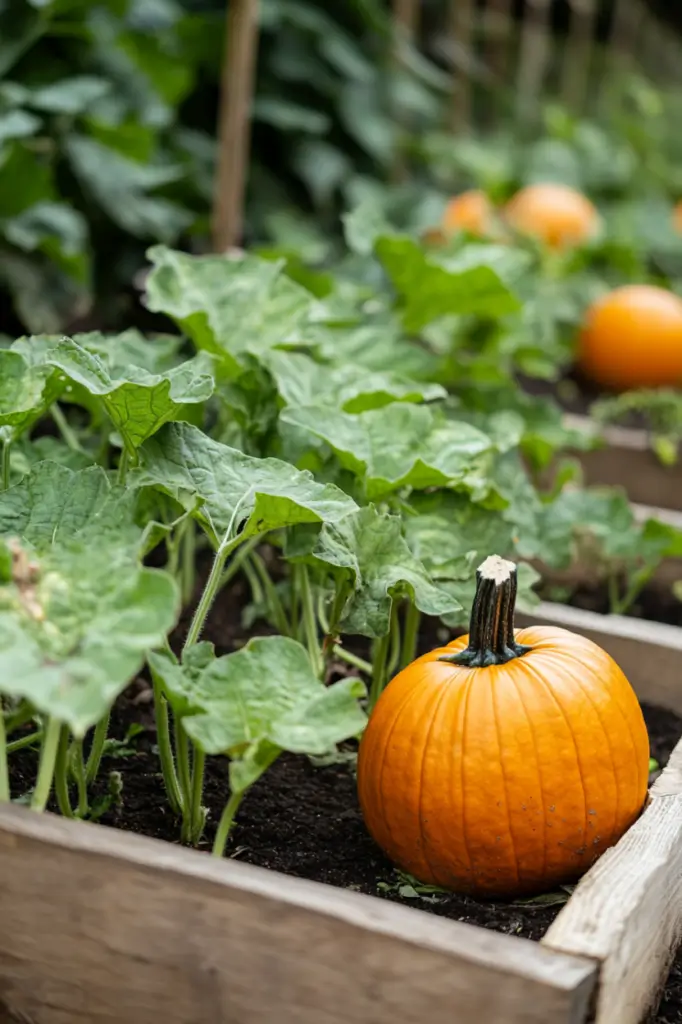
Growing pumpkins in raised beds is a fantastic option, especially for urban and suburban gardeners.
Raised beds are compact, easy to manage, and don’t require tilling, making them a neat and efficient way to grow plants.
They allow you to create rich, well-draining soil, even if your natural ground isn’t ideal.
Plus, they require less upfront work and ongoing maintenance, helping to maintain healthier soil over time.
Get ready to learn the secrets to a bountiful harvest and enjoy the satisfaction of growing your own pumpkins!
Choosing the Right Pumpkin Variety
Before planting, it’s essential to select a pumpkin variety that fits your space and purpose.
Some great options include:
- Small varieties: Varieties like Back be Little and Baby Boo are perfect for limited spaces and decorative use.
- Medium varieties: Varieties like Sugar Pie and Autumn Gold are great for baking and carving.
- Large varieties: Varieties like Howden and Big Max are best for Jack-o’-lanterns and competitions.
- Giant varieties: Varieties like Atlantic Giant ideal for growers aiming for massive pumpkins.
Consider the space you have in your raised bed and your goals for the pumpkins.
Smaller varieties like Jack Be Little or Baby Boo pumpkins are better suited for raised beds, while Atlantic Giant may require more room to sprawl.
Maximizing Space With Vertical Growing
Vertical growing techniques for pumpkins are great for saving space, improving airflow, and reducing pest issues.
Here are some effective methods:
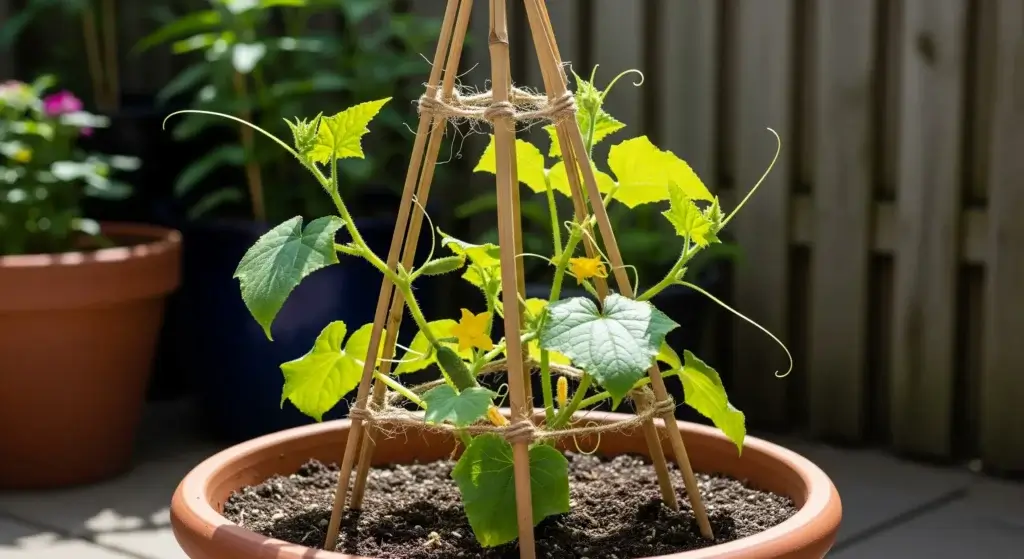
Trellising
- Use sturdy trellises made of metal, wood, or cattle panels.
- Train vines upward and secure them with soft ties.
- Best for small to medium varieties (e.g., Sugar Pie, Jack Be Little).
Arbor or archway growing
- Use an arched trellis or PVC pipe to create an overhead tunnel.
- Allows vines to climb naturally while pumpkins hang down.
- Works well for ornamental and lightweight varieties.
A-Frame Support
- Construct a foldable A-frame using wooden beams or PVC pipes.
- Place pumpkins on slings or netting to prevent vine stress.
- Suitable for medium-sized pumpkins.
Fence or Wall Training
- Grow vines along an existing fence or wall with support wires.
- Helps keep pumpkins off the ground and prevents rot.
- Ideal for urban or small gardens.
Hanging Planters or Bags
- Use hanging grow bags or containers for compact varieties.
- Provides excellent drainage and air circulation.
- Best for miniature pumpkins like Baby Boo.
Netting or Hammock Support
- As pumpkins grow, place hammocks or netting under them.
- Prevents pumpkins from detaching due to weight.
- Works well for medium to large pumpkins.
Pumpkin Growth Stages
Understanding the growth stages will help you care for your pumpkins efficiently:
Stage 1: Germination
Seeds sprout and develop first leaves (5-10 days).
Stage 2: Seedling
True leaves form and vines start growing (2-3 weeks).
Stage 3: Vegetative stage
Rapid vine expansion and large leaves appear (4-6 weeks).
Stage 4: Flowering stage
Male flowers emerge first, followed by female flowers (6-8 weeks).
Stage 5: Fruit development
Pollinated flowers develop into pumpkins (8-12 weeks).
Stage 6: Maturation
Pumpkins reach full size and start hardening (12-16 weeks).
When to Plant
Pumpkins are warm-season crops, so timing is crucial.
The best time to plant depends on your region and growing conditions:
Cooler climates
If you live in an area with shorter growing seasons and cooler temperatures, it’s best to start your pumpkin seeds indoors.
Follow these steps:
- Start indoors: Begin 2-3 weeks before the last expected frost date.
- Use seed trays or pots: Fill small pots or trays with high-quality seed-starting mix.
- Warmth is key: Keep the seedlings in a warm location (around 70°F (21°C)) to encourage germination.
- Transplant outdoors: Once nighttime temperatures remain above 60°F (15°C) and there’s no risk of frost, move them to your raised bed.
- Harden off plants: Acclimate seedlings by gradually exposing them to outdoor conditions for a week before transplanting.
Warmer climates
For those in warmer regions, direct sowing is the best option:
- Wait for the right soil temperature: The soil should be at least 65°F (18°C) before planting.
- Choose a sunny spot: Ensure the raised bed receives 6-8 hours of sunlight daily.
- Sow seeds directly: Plant 2-3 seeds per hole, spacing them 2-3 feet apart.
- Water consistently: Keep the soil moist but avoid overwatering, which can cause rot.
Preparing Your Raised Bed
A well-prepared raised bed is the foundation for healthy pumpkin plants.
Here’s how to get your bed ready:
- Soil quality: Pumpkins prefer rich, well-draining soil. Mix in plenty of organic matter like compost or aged manure to boost fertility.
- Soil pH: Aim for a slightly acidic to neutral pH (6.0-7.0). You can test your soil with a kit from your local garden center.
- Spacing: Ensure your raised bed is large enough to accommodate the pumpkin variety you’ve chosen. Smaller varieties need about 4-6 square feet per plant, while larger ones may need up to 10 square feet.
Planting Your Pumpkins
Once your bed is ready, follow these steps to plant your pumpkins:
Step 1: Sow seeds
Plant 2-3 seeds per hole, 1 inch deep, and 2-3 feet apart.
Step 2: water gently
Keep the soil consistently moist but not soggy.
Step 3: Thin seedlings
Once seedlings emerge, keep the strongest one per spot.
Caring for Your Pumpkins
Pumpkins need regular care to thrive. Follow these essential tips:
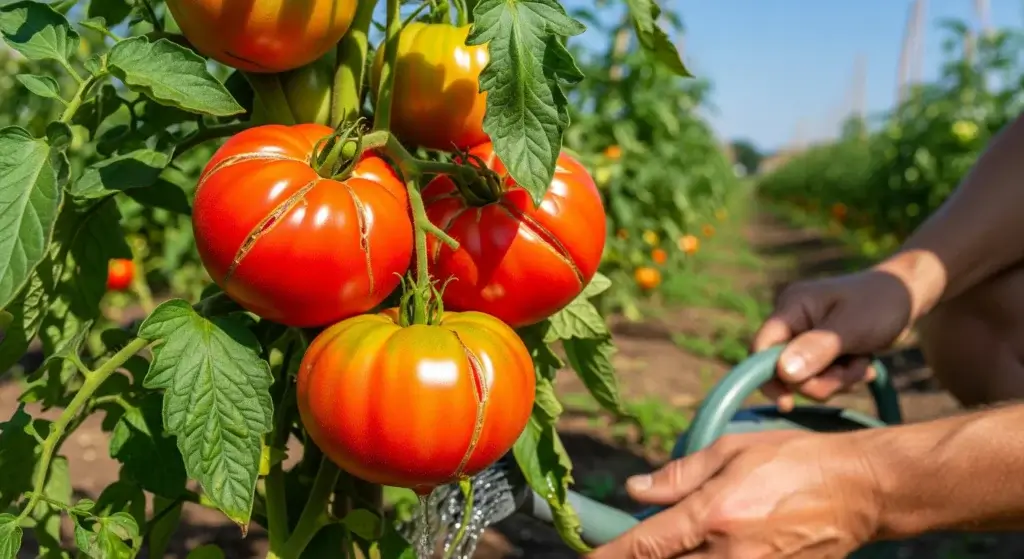
Watering
Water deeply, 1-2 inches per week, focusing on the roots.
Water in the morning to allow moisture to absorb before the heat of the day.
Avoid overhead watering to reduce the risk of fungal diseases.
Fertilizing
Start with a high-nitrogen fertilizer in early growth to encourage strong vines.
Once flowering begins, switch to a high-phosphorus and potassium fertilizer to support fruit development.
Apply compost or organic fertilizers for slow, steady nutrient release.
Weeding
Regularly remove weeds to prevent nutrient competition.
Pumpkins are big eaters, and if weeds are also drawing nutrients from the soil, it can really impact how well your pumpkins grow.
They won’t get the food they need.
Use mulch to suppress weeds and retain soil moisture.
Pest and disease control
Watch for common pests like squash bugs, aphids, and cucumber beetles.
Use neem oil or insecticidal soap to manage infestations.
Prevent powdery mildew by ensuring proper air circulation and avoiding wet leaves.
Pollination
Pumpkins rely on bees for pollination, but you can hand-pollinate if needed.
Transfer pollen from male flowers to female flowers using a small brush.
Do this in the morning when flowers are open for best results.
Harvesting Pumpkins
Knowing when and how to harvest your pumpkins is essential to ensure they last long and maintain the best quality.
Here’s what you need to know:
Ready for harvest
To check if your pumpkin is ready to harvest, press your fingernail against the skin.
If it feels tough and doesn’t puncture easily, the pumpkin is mature.
Look at the color as well—it should be deep and consistent, whether it’s orange, green, white, or another variety-specific shade.
Another sign of maturity is the stem, which will harden and turn brown as the pumpkin stops growing.
You can also tap on the pumpkin; if it makes a hollow sound, it’s likely ripe.
Lastly, check the vine—if it’s drying out or withering, that’s a good indication that your pumpkin is fully matured and ready to be picked.
Harvesting Pumpkins Properly
Step 1: Choose the right tools
Use sharp pruning shears, garden scissors, or a knife to cut the pumpkin from the vine cleanly.
Step 2: Leave a stem
Cut the pumpkin off the vine, leaving 2-4 inches of stem attached. A longer stem helps prevent rot and extends shelf life.
Avoid carrying pumpkins by the stem, as it can break off and expose the pumpkin to bacteria and moisture.
Also, be careful not to drop or stack pumpkins too heavily, as bruising can lead to early decay.
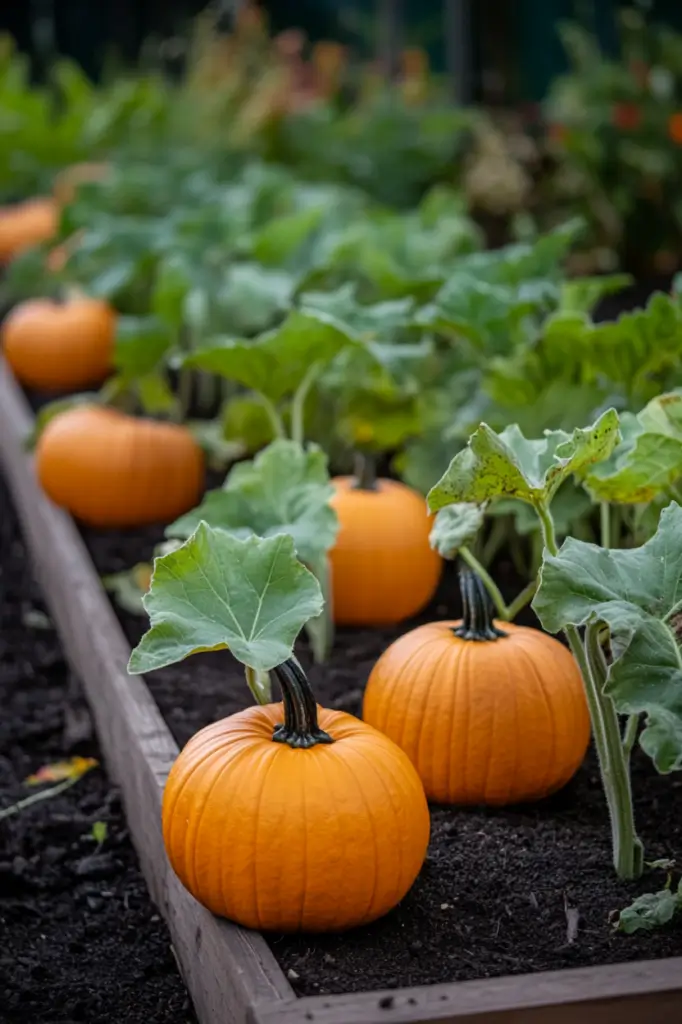
Conclusion
Growing pumpkins in raised beds can be a really satisfying experience.
It gives you more control over the soil, makes taking care of the plants easier, and often leads to healthier pumpkins.
Choose the type of your pumpkin, get your raised bed ready properly, and give your plants consistent attention, you’ll likely have a great harvest.
Whether you’re growing pumpkins for fun decorations, delicious cooking, or even trying to grow a giant one, raised beds can make the whole process simpler and more successful.