Welcome to the wonderful world of Croton Mammy!
Whether you’re a plant enthusiast with experience or just starting out and hoping to brighten up your indoor or outdoor area, this guide has got you covered.
Throughout this article, we’ll explore everything you need to know about taking care of Croton Mammy, from its special traits to keeping it healthy and dealing with any pests or diseases it might encounter.
Let’s get started!
About Croton Mammy
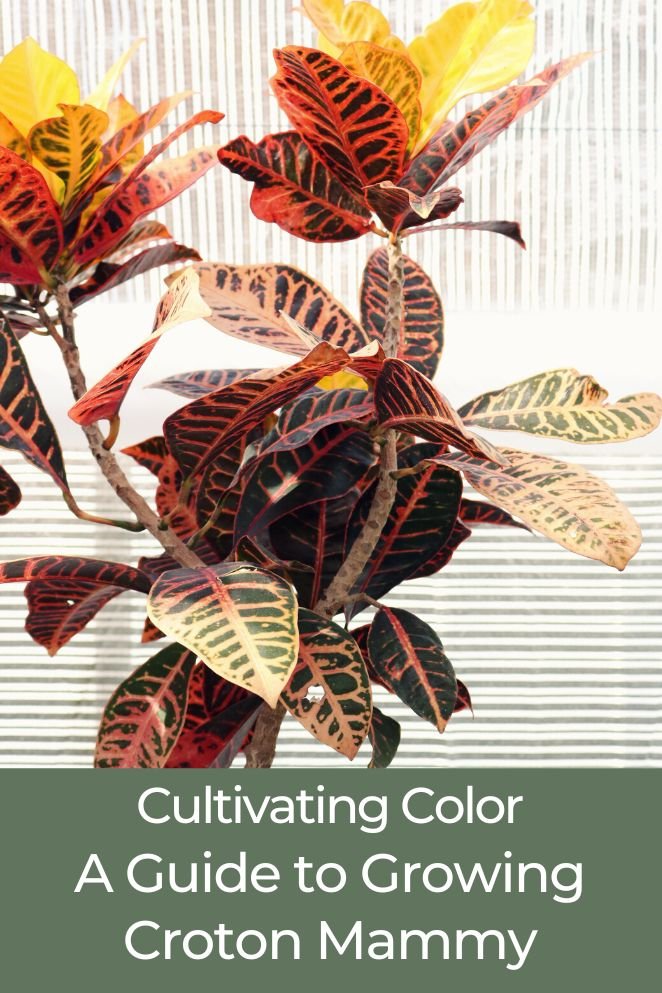
The Croton Mammy, scientifically known as Codiaeum variegatum, is a striking tropical plant prized for its dazzling foliage.
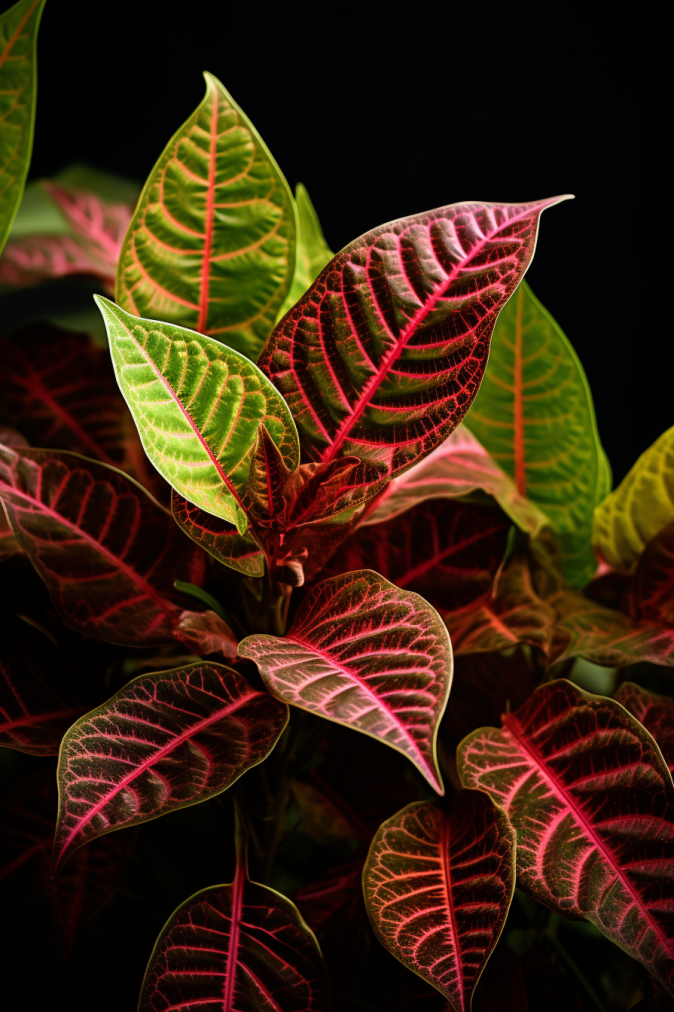
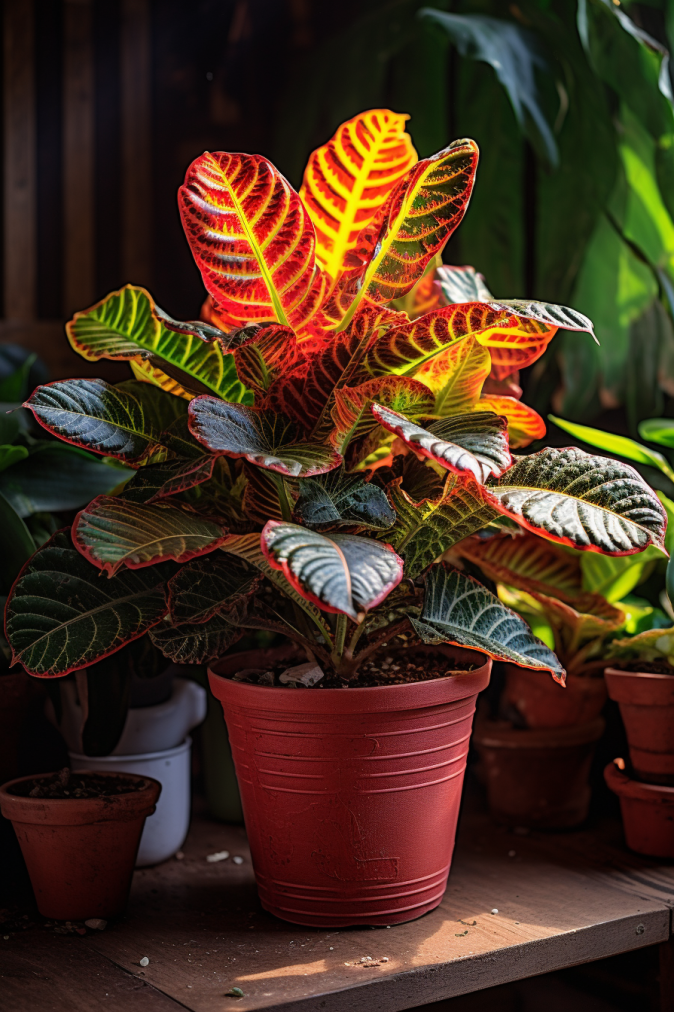
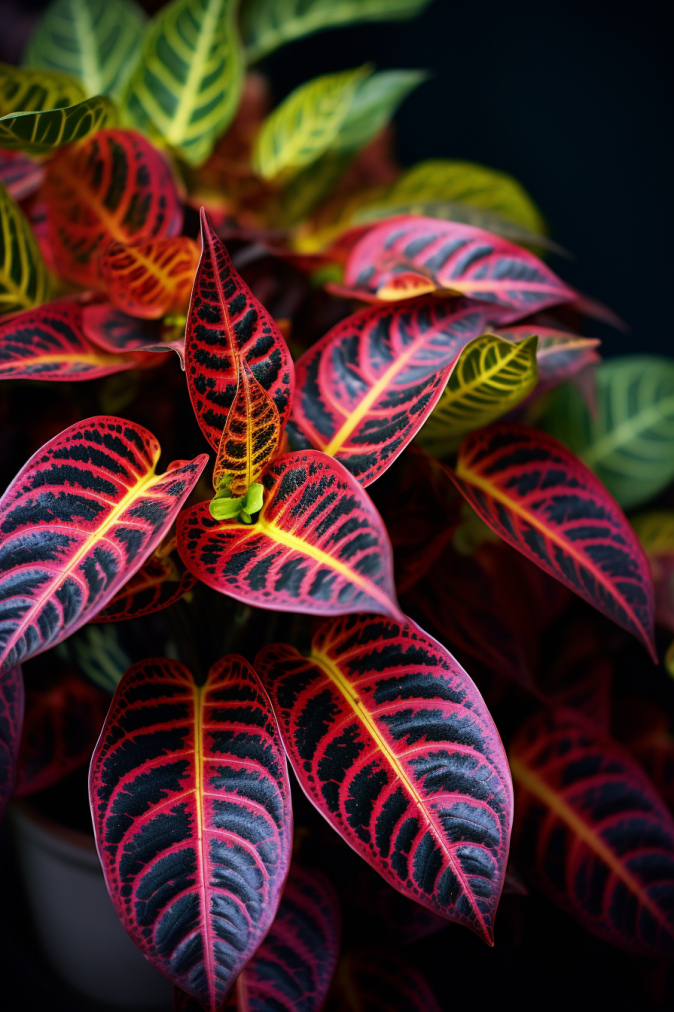
With its glossy, multicolored leaves boasting shades of red, orange, yellow, and green, this plant instantly elevates the aesthetics of any environment.
Besides its beauty, the Croton Mammy also acts as a natural air purifier, adding another dimension of value to its already impressive allure.
- Read also: How to Grow Spider Plants in Water
- Read also: A Guide on How to Repot a Snake Plant
Appearance
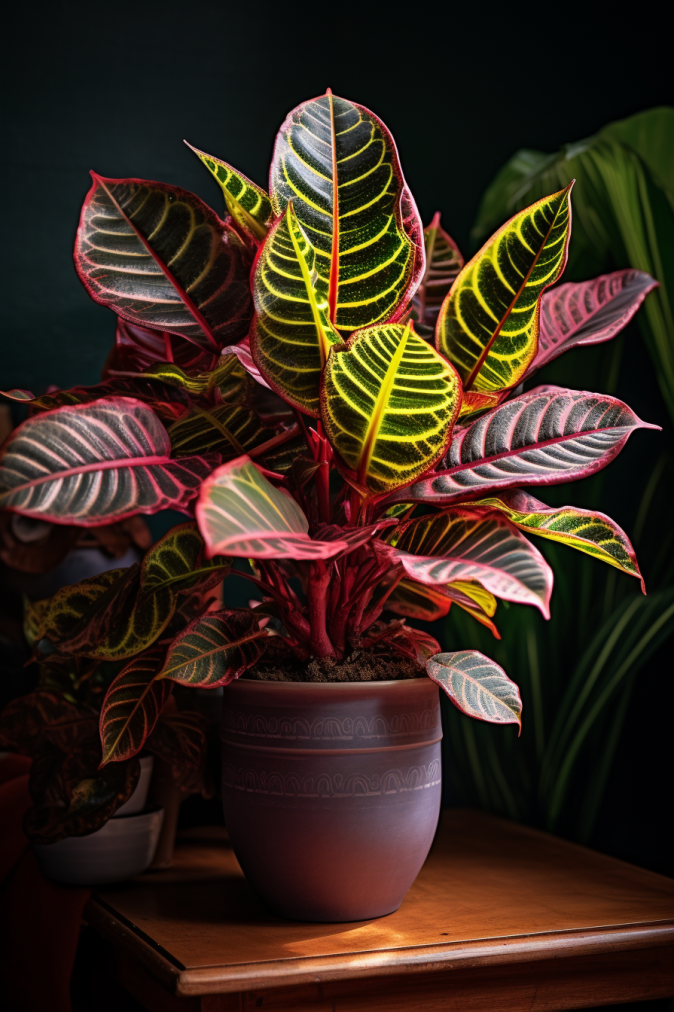
Look at the striking Croton Mammy—it flaunts large, sturdy leaves that gracefully twist and unfurl while growing.
These leaves paint a magnificent picture with a blend of vibrant colors like yellow, pink, red, orange, and green.
Origin
Originally hailing from Indonesia, Malaysia, Australia, and islands in the western Pacific Ocean, the Croton Mammy has traveled far and wide to capture hearts with its stunning appearance.
Size
Sizing up to about 3 feet tall and 2 feet wide, the Croton Mammy is a versatile plant—ideal for adding a pop of color indoors or as a decorative shrub in tropical settings.
What are the optimal conditions for a Croton Mammy to thrive?
Warmth
Croton Mammy thrives in warmth. Maintain temperatures between 60-80°F (15-27°C) for optimal growth.
Avoid sudden temperature fluctuations or cold drafts, as they can stress the plant.
Indirect sunlight
Bright, indirect sunlight is ideal.
Place your Croton Mammy near a window where it receives plenty of filtered light.
Avoid direct sun exposure, especially during the hottest parts of the day, to prevent leaf burn.
Humidity
These plants adore high humidity levels.
If the air in your home is dry, consider increasing humidity by misting the leaves regularly or using a humidifier nearby.
Alternatively, place the pot on a tray of pebbles filled with water to create a humid microenvironment around the plant.
Well-draining soil
Use well-draining soil to prevent waterlogging.
A mix of potting soil, perlite, or sand ensures proper drainage, keeping the roots healthy and happy.
Consistent moisture
Keep the soil consistently moist but not waterlogged.
Allow the top inch of soil to dry out before watering again.
Overwatering can lead to root rot, while underwatering can cause stress and leaf drop.
Regular feeding
During the growing season (spring and summer), provide a balanced liquid fertilizer every few weeks to support healthy growth.
Reduce feeding in the colder months when growth slows down.
Pruning and maintenance for Croton mammy
Regular pruning
Pruning is like giving your plant a haircut. It helps maintain its shape and encourages new growth.
Use clean, sharp pruning shears to trim away any overgrown or straggly branches.
Cut just above a leaf node to encourage bushier growth.
Pruning to remove dead or damaged leaves
Check your plant regularly for any leaves that are yellowing, browning, or damaged.
These can sap energy from the rest of the plant.
Gently remove these leaves by hand or with pruning shears to keep your Croton Mammy looking its best.
Pruning frequency
Aim to prune your Croton Mammy every few months, especially during the growing season in spring and summer.
Don’t over-prune; only trim as needed to maintain its shape and remove dead or unhealthy parts.
How to Propagate Croton Mammy
Stem cutting method
Step 1: Selecting the cutting
Look for a healthy stem on your Croton Mammy that’s about 4-6 inches long.
The stem should have a few leaves but avoid those that are too young or too old.
Step 2: Preparing the cutting
Use clean, sharp scissors or pruning shears to make a clean cut just below a leaf node.
A leaf node is where a leaf meets the stem.
Remove any leaves from the lower part of the cutting.
Leave a few leaves at the top to aid in photosynthesis.
Step 3: Potting medium
Fill a small pot with well-draining soil.
A mix of potting soil and perlite or sand works well.
Moisten the soil lightly before inserting the cutting to ensure it’s slightly damp.
Step 4: Planting the cutting
Make a small hole in the soil with a pencil or your finger.
Gently place the cut end of the stem into the hole and press the soil around it to hold it in place.
Step 5: Rooting environment
Provide a warm and humid environment for the cutting to root.
You can create a mini greenhouse effect by covering the pot with a clear plastic bag or a plastic dome.
Place the pot in a spot with indirect sunlight. Too much direct sunlight can stress the cutting.
Step 6: Maintaining moisture
Check the soil regularly to ensure it remains consistently moist but not waterlogged. Mist the cutting and soil lightly if needed to maintain humidity.
Step 7: Root development
After a few weeks, gently tug the cutting to check for resistance, indicating root growth.
Once roots have developed sufficiently, you can transplant the cutting into a larger pot.
Air layering method
Step 1: Choose a branch
To start, pick out a healthy branch that’s around 6 inches long and sturdy enough for a cut.
Step 2: Make an incision
Next, make a careful vertical incision about 1-2 inches below a leaf node.
The cut should be around 1 inch long, ensuring it penetrates the bark without harming the inner wood.
Step 3: Apply rooting hormone
Afterward, use rooting hormone powder within the cut and then wrap the area with moist sphagnum moss.
Secure it all in place with plastic wrap and tape, but keep the top part of the moss open.
Step 4: Maintain moisture
Remember to keep the moss damp by misting it regularly.
Step 5: Wait and monitor
Patience is key here—it might take a few weeks for roots to form.
Keep an eye on the moss; if it dries out, give it a spritz.
Once you spot roots peeking through the moss, you’re ready to trim the branch below the roots and transfer it into a new pot for your fresh Croton Mammy plant.
Croton Mammy Pests and Diseases
Pests on croton mammy
Mealybugs
Mealybugs are these fuzzy, white insects that gather beneath leaves and on stems, causing harm by sucking sap and leaving a sticky substance called honeydew behind.
To tackle them, you can gently wipe them away using a cotton swab dipped in rubbing alcohol or use a spray made of insecticidal soap.
Another effective remedy is a spray made from neem oil.
Spider mites
Spider mites are tiny creatures that spin webs and cause leaves to yellow and develop speckled patterns.
A useful remedy for them involves misting the plant regularly and applying either insecticidal soap spray or a diluted solution of neem oil.
Thrips insects
Thrips are small flying insects that bring about silvery streaks and twisted leaves.
Combat them by using insecticidal soap or neem oil spray.
Alternatively, a blue sticky trap can attract and catch these pests.
Scale insects
Scale insects are armored critters that feed on sap, leaving brown bumps on the plant’s leaves and stems.
You can remove them individually by scraping them off with your fingernail or use a cotton swab dipped in rubbing alcohol.
Another effective method involves using horticultural oil spray.
Diseases on croton mammy
Fungal diseases
Fungal diseases like Botrytis and powdery mildew tend to appear in humid conditions.
They show up as leaf spots, wilting, and a powdery white coating on the leaves.
To manage these issues, it’s essential to enhance air circulation around the plant.
Adjust your watering routine to prevent overwatering, as excess moisture contributes to these fungal problems. Using a fungicide such as neem oil or a copper-based solution can also help combat these diseases effectively.
Root rot
Root rot occurs due to excessive watering, resulting in yellowing leaves, wilting, and roots turning mushy.
If you suspect root rot, act promptly.
Re-pot the plant immediately using fresh, well-draining soil.
During repotting, remove any affected or diseased roots.
Adjust your watering habits to prevent further waterlogging, ensuring the soil dries out appropriately between waterings.
This adjustment in watering frequency can aid in preventing future instances of root rot.
- Read also: The Ultimate Aloe Plant Watering Care Guide
- Read also: Mint Plant Watering for Explosive Growth
Conclusion
Bringing the vibrant Croton Mammy into your living space infuses it with life and a burst of color.
To ensure its enduring splendor, devote careful attention to its unique needs, provide the necessary care, and proactively address any potential pest issues.
By embracing this approach, you can savor the beauty of the Croton Mammy for an extended period.
So, embark on the journey of exploration, stay attuned to its requirements, and witness your gardening expertise flourish!
Frequently Ask Questions
Indeed, the Croton Mammy flourishes best outdoors in warm climates with some sunlight.
If you notice brown leaves, it might signal that the plant needs more water or protection from cold drafts. Make sure to water it adequately and shield it from chilly winds.
Though not harmful to humans when touched, consuming the Croton Mammy can cause mild irritation. It’s wise to keep it out of reach from inquisitive pets.

