You know those coffee grounds you toss every morning? Plot twist: they’re basically mushroom gold.
We dump 6 million tons of this stuff yearly – enough growing power to feed half of Westeros.
Time to channel your inner sustainability superhero.
Turn your daily coffee habit into a mushroom farm that’ll make your prepper friends jealous.
Your trash is about to become your dinner.
Why Coffee Grounds Make Perfect Mushroom Growing Medium
Here’s why coffee grounds are basically the VIP suite for mushrooms.
When you brew coffee, that boiling water kills off all the bad guys – think of it as nature’s own sterilization system.
No sketchy bacteria crashing the mushroom party.
Coffee grounds nail the Goldilocks zone for moisture.
They’re not too wet (nobody likes soggy mushrooms), not too dry (mushrooms need their hydration), but just right.
Traditional growing stuff either drowns your fungi or leaves them parched like they’re stuck in the desert without a camel.
Plus, these grounds pack a nutritional punch that mushrooms go crazy for.
We’re talking nitrogen, phosphorus, and minerals – basically a superfood smoothie for fungi.
The slightly acidic vibe? Mushrooms dig it.
It’s like creating the perfect pH playlist that gets them growing faster than a TikTok trend.
- Read also: Best Conditions for Mushroom Growth: A Beginner’s Guide
- Read also: How to Grow Mushrooms at Home: A Beginner’s Guide
Environmental Impact: Turning Waste into Food
This isn’t just about saving the planet one coffee ground at a time (though that’s pretty cool).
You’re basically becoming a hyperlocal food ninja.
While store-bought mushrooms travel more miles than a frequent flyer, yours grow right where you drink your coffee.
Zero food miles, zero packaging drama, zero carbon footprint guilt.
Regular mushroom farms need fancy logs and expensive substrates that cost more than your monthly Netflix subscription.
Coffee grounds? They’re free and already sitting in your kitchen.
It’s like finding out your leftover pizza makes the perfect phone stand – suddenly everything clicks.
Here’s the real kicker: You’re turning city living into a mini agricultural empire.
No backyard? No problem.
No farming degree? Who cares.
You’re growing gourmet food in your apartment like some kind of urban homesteading wizard.
It’s the ultimate “stick it to the man” move – growing your own food while reducing waste faster than you can say “climate change.”
Best Mushroom Varieties for Coffee Ground Cultivation
Not all mushroom species adapt equally well to coffee ground substrates, but several varieties excel in this environment and are perfect for beginners.
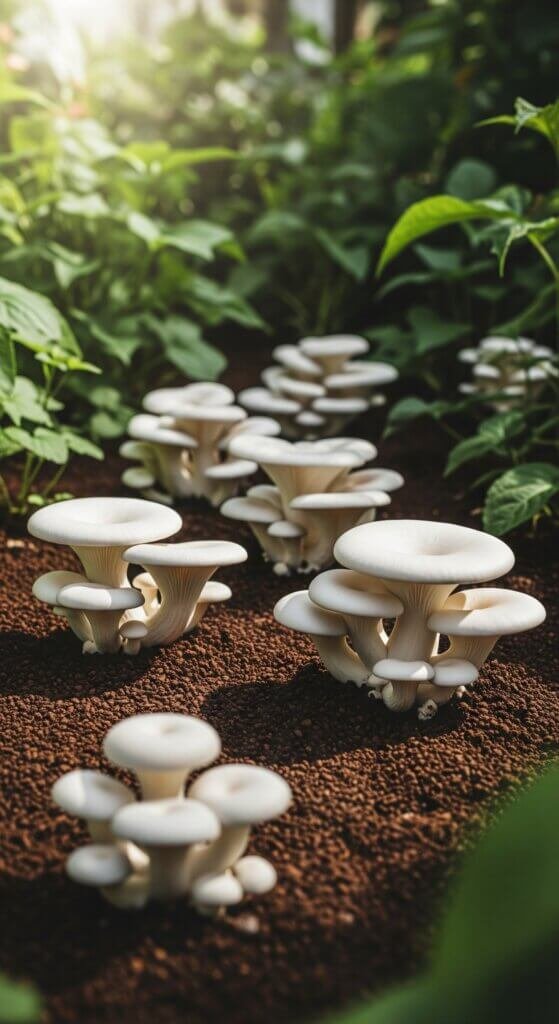
Oyster mushroom
Oyster mushrooms stand out as the most reliable choice for coffee ground cultivation.
These fast-growing fungi are remarkably adaptable and forgiving, making them ideal for first-time growers.
Oyster mushrooms typically produce their first harvest within 2-3 weeks and can continue producing multiple flushes from the same substrate.
Their mild, slightly sweet flavor makes them versatile for cooking applications.
Shiitake mushroom
Shiitake mushrooms also perform well in coffee grounds, though they require slightly more patience and attention to detail.
These prized mushrooms offer exceptional flavor and numerous health benefits, including immune system support and cardiovascular benefits.
Shiitake cultivation in coffee grounds typically takes 4-6 weeks for the first harvest but rewards growers with premium-quality mushrooms.
Wine cap mushroom
Wine cap mushrooms represent another excellent option for coffee ground cultivation.
These robust mushrooms are particularly forgiving and can tolerate a wider range of conditions than more delicate species.
They produce substantial yields and offer a rich, wine-like flavor that’s highly prized by gourmet cooks.
Essential Materials and Equipment
Success in coffee ground mushroom cultivation starts with gathering the right materials and equipment.
Fortunately, this method requires minimal investment and most items can be found around your home or purchased inexpensively.
Coffee grounds
Fresh coffee grounds form the foundation of your growing medium.
Timing is crucial here – you’ll want to use coffee grounds within 24 hours of brewing for best results.
The grounds should still be moist but not dripping wet.
If you don’t drink enough coffee to generate sufficient grounds, many local coffee shops are happy to save their used grounds for gardeners and mushroom cultivators.
Mushroom spawn
Mushroom spawn is your next essential component.
This consists of sterilized substrate material that’s been inoculated with mushroom mycelium.
You can purchase spawn from specialized suppliers or online retailers.
Choose spawn that’s specifically designed for coffee ground cultivation and matches your chosen mushroom variety.
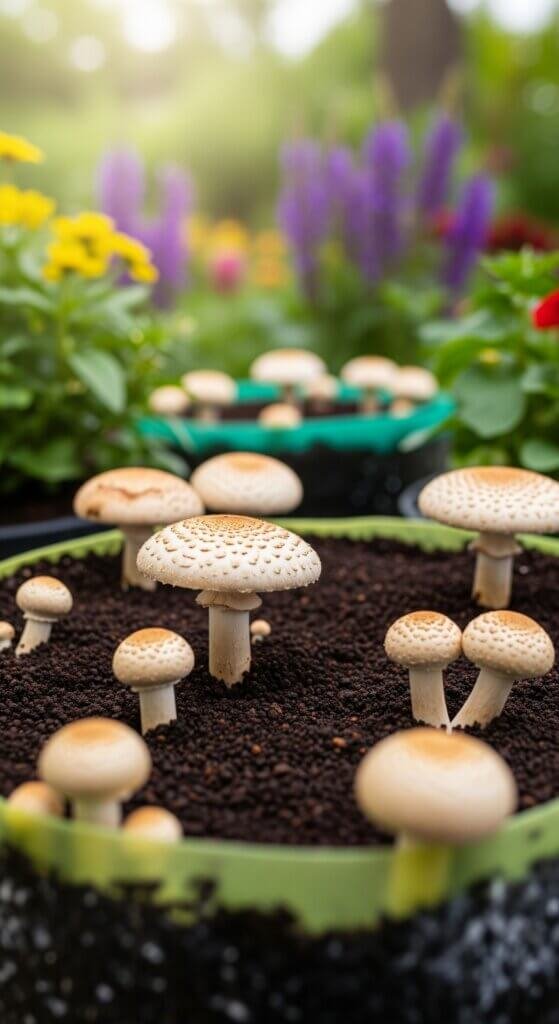
Container
Growing containers can range from simple plastic buckets to specialized growing bags.
Food-grade plastic containers work well, but ensure they have drainage holes to prevent waterlogging.
Some growers prefer clear containers that allow them to monitor mycelium development visually.
Cardboard
Cardboard or newspaper serves as an additional substrate component that improves the growing medium’s structure.
These materials provide fiber that helps mycelium spread more effectively throughout the coffee grounds.
Avoid glossy or heavily printed materials that might contain harmful chemicals.
Step-by-Step Growing Process
The actual cultivation process is surprisingly straightforward and can be broken down into manageable steps that even complete beginners can follow successfully.
Preparation phase
Start by collecting fresh coffee grounds from your daily brewing or local coffee shops.
Aim for about 2-3 pounds of grounds for your first attempt.
Allow the grounds to cool completely if they’re still warm from brewing.
Meanwhile, prepare your growing containers by drilling several small drainage holes in the bottom and sides.
Substrate mixing
Mix 70% coffee grounds with 25% pasteurized straw and 5% gypsum for optimal results, as this combination can nearly double yields compared to coffee grounds alone.
If straw isn’t available, shredded cardboard or newspaper can substitute effectively.
Mix these materials thoroughly in a large bowl or container.
Inoculation
This step involves introducing mushroom spawn to your prepared substrate.
Break up the spawn into small pieces and distribute them evenly throughout the coffee ground mixture.
Use approximately 10-20% spawn relative to your substrate volume.
Mix gently but thoroughly to ensure even distribution without damaging the delicate mycelium.
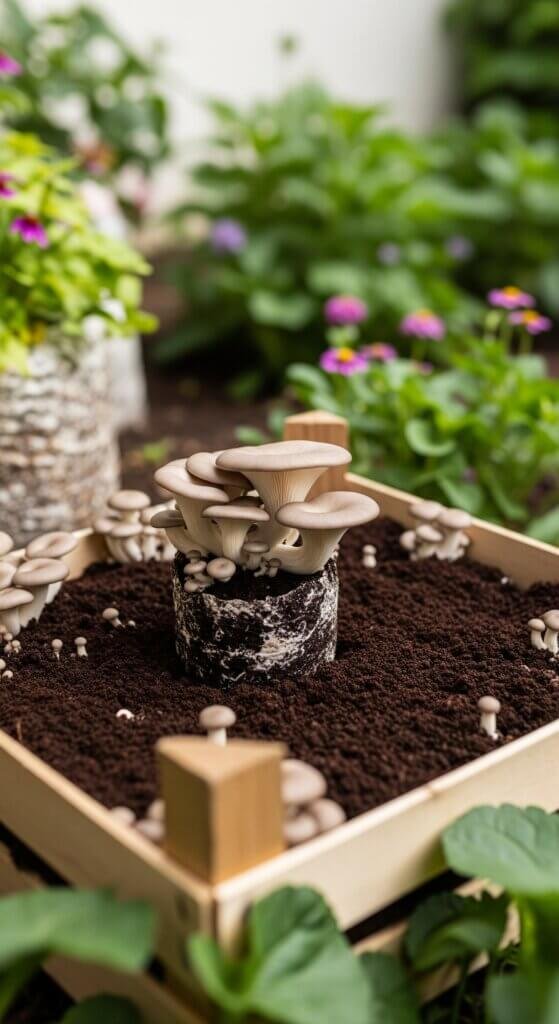
Container setup
Fill your prepared containers with the inoculated mixture, leaving about 2 inches of space at the top.
Pack the mixture lightly – you want it firm enough to hold together but loose enough for air circulation.
Cover the containers with damp cloth or breathable material rather than solid lids.
Incubation period
Place your containers in a dark, stable environment with temperatures between 65-75°F (18-24°C).
A basement, closet, or unused room works well.
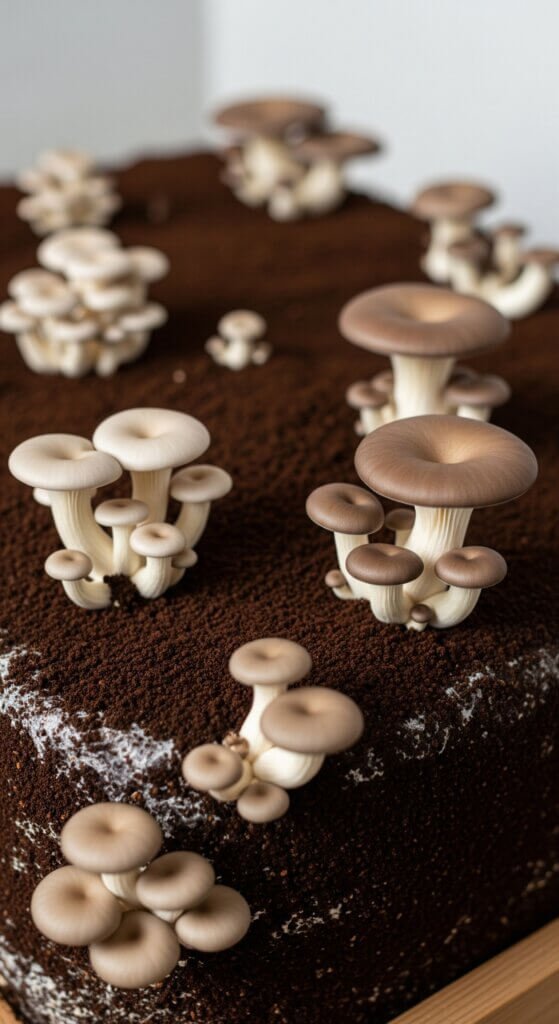
During this phase, the mycelium will colonize the coffee grounds, creating a white, web-like network throughout the substrate.
This process typically takes 2-4 weeks depending on temperature and mushroom variety.
Optimal Growing Conditions and Environment
Creating the right environment dramatically impacts your mushroom cultivation success.
Understanding and maintaining proper conditions ensures healthy mycelium development and robust mushroom production.
Temperature
Temperature control plays a crucial role in successful cultivation.
Most mushroom varieties prefer consistent temperatures between 65-75°F during the incubation phase.
Avoid areas with dramatic temperature fluctuations, such as near heating vents, windows, or exterior walls.
A basement or interior closet often provides the most stable temperature environment.
Humidity
Humidity management requires careful attention throughout the growing process.
During incubation, maintain humidity levels around 80-90% by covering containers with damp cloths or placing them in plastic bags with small ventilation holes.
Once mushrooms begin appearing, spray them with water once daily to prevent drying out.
Air circulation
Air circulation prevents contamination while providing fresh oxygen that mushrooms need for healthy development.
Avoid completely sealed environments, but also prevent excessive air movement that could dry out your substrate.
A gentle fan in the room, positioned to avoid direct airflow on containers, can provide adequate circulation.
Light
Light considerations vary depending on your cultivation phase.
During initial colonization, mushrooms prefer complete darkness.
Once pinning (initial mushroom formation) begins, provide indirect light for 8-12 hours daily.
A standard room light or fluorescent fixture works perfectly – mushrooms don’t require intense illumination.
Troubleshooting Common Problems
Even seasoned mushroom nerds hit a few bumps in the fungal road.
The good news? Most grow problems are totally fixable (and won’t require a hazmat suit).
Contamination
If you see weird green, black, or ew-smelling fuzz invading your mycelium, congrats—you’ve got mold.
It’s the party crasher of mushroom cultivation.
Prevention is key: always use fresh coffee grounds, keep things clean like you’re prepping for a health inspection, and let your grow get some fresh air.
If contamination shows up, don’t freak—just scoop it out and boost airflow around the healthy parts.
Poor mushroom development
Tiny, shriveled mushrooms or zero action at all? It’s probably your setup.
Mushrooms are basically moody houseplants with a flair for humidity.
Too dry? You’ll get crusty little sad caps.
Too wet? They’ll just sit there like they’re on strike.
Check your temp, humidity, and light.
Adjust like you’re tuning a vintage radio—find that sweet spot for your mushroom type.
Slow or no growth
If your mushrooms are ghosting you, the culprit might be old or low-quality spawn, the wrong moisture level, or extreme temps.
Good spawn is like good gossip—fresh and from a reliable source.
And your substrate? It should feel like a wrung-out sponge—not bone dry or dripping like a soaked dishcloth.
Maximizing Your Zero-Waste Impact
You’re already growing mushrooms—high five!
Now let’s take it one step further and turn your grow-op into an eco-legend.
Zero-waste isn’t just a buzzword—it’s a lifestyle, and mushrooms?
They’re basically the composting kings of the fungi world.
Don’t toss that substrate
When your mushrooms have done their thing, don’t toss the spent coffee and mycelium in the trash.
That stuff is plant gold. It’s already halfway to compost, and your garden or houseplants will love the slow-release nutrients.
Just mix it into your soil and let nature do its thing. It’s like giving your plants a fungal power-up.
Clone your shrooms like a fungi jedi
Save those mushroom stem butts (yep, the chunky base part with a bit of white fuzz still on it).
Layer them between wet cardboard in a container—boom, you’re building a living, breathing mycelium lasagna.
Keep adding more as you harvest, and before you know it, you’ve got free spawn for your next batch.
It’s basically the sourdough starter of the mushroom world.
Share the spores
Want to be a mycelium influencer without the ring light? Get your neighborhood involved.
Ask local cafés to save their coffee grounds (most are happy to!).
Start a little mushroom-growing swap group or co-op.
Share equipment, buy spawn in bulk, or just trade mushroom memes and growing tips.
It saves money, reduces waste, and honestly? It’s way more fun than going it alone.
- Read also: Composting for Pepper Plants: Building Nutrient-Rich Soil
- Read also: Should You Quit Growing Lettuce in Certain Climates?
Final Thoughts
Growing mushrooms in coffee grounds is a total win—for your health, your wallet, and the planet.
You’re basically turning yesterday’s latte into tomorrow’s lunch.
Captain Planet would approve.
No backyard? No problem.
All you need is a container, old coffee grounds, and some mushroom spawn.
It’s beginner-friendly, low-waste, and surprisingly fun to watch your little fungi squad grow.
Bonus: You’re not just growing food—you’re joining a movement for local eats, less waste, and more eco-awesome living.