Wildflowers are a delight to behold, adding a splash of color and vibrancy to any landscape.
But did you know that these beautiful blooms can be easily cultivated using a simple and eco-friendly method called seed bombs?
In this article, we’ll explore the world of seed bombs, discussing their benefits, how to make them, and how to plant them for a stunning display of wildflowers.
What are Seed Bombs?
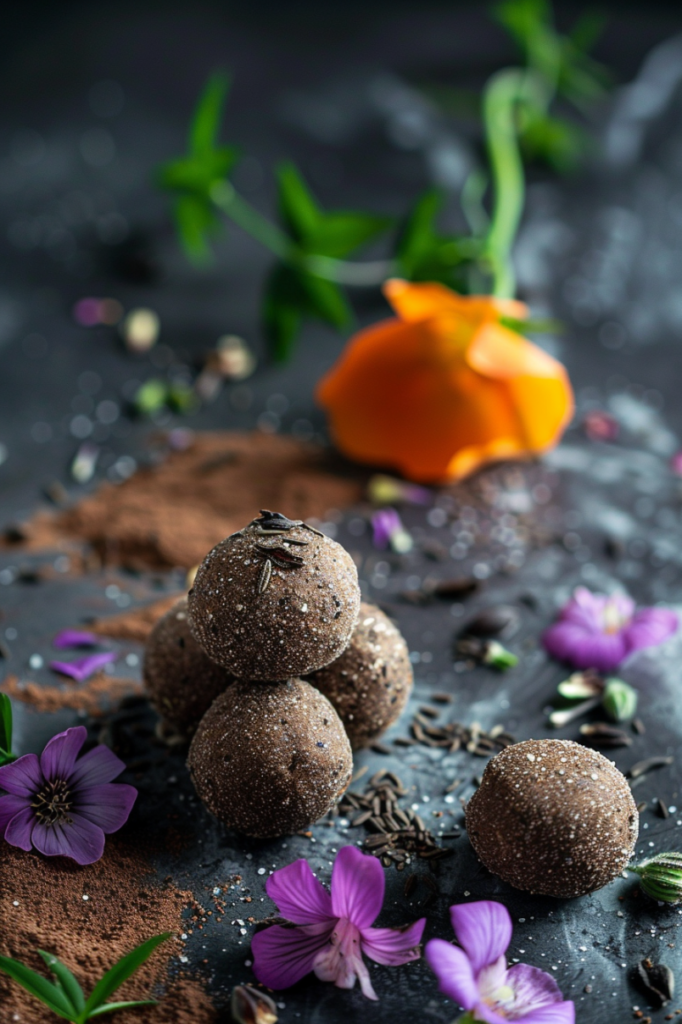
Seed bombs are small balls made from a mixture of clay, soil, and wildflower seeds.
They are designed to be thrown or placed in an area where you’d like to see wildflowers grow, and as they break down, the seeds germinate and bloom.
This method of seed dispersal is not only effective but also environmentally friendly, as it eliminates the need for pesticides and other chemicals.
- Read also: Effective DIY Traps for Garden Pests
- Read also: DIY Plant Humidifier: Simple Solutions for Healthy Indoor Greenery
Benefits of Seed Bombs
Seed bombs are not just handy little balls of potential—they offer a range of advantages that make them a fantastic choice for anyone looking to add a splash of nature to their surroundings.
Let’s delve into why seed bombs are so great:
Easy to use
Seed bombs are as simple as can be.
With just a few basic ingredients like clay, compost, and seeds, you can whip up your own batch in no time.
No green thumb required—just toss them into the desired area, and let Mother Nature do her thing.
Eco-friendly
If you’re passionate about the environment, seed bombs are right up your alley.
Unlike chemical-laden fertilizers or pesticides, seed bombs are a natural and chemical-free way to cultivate wildflowers.
They’re gentle on the earth and won’t harm the delicate balance of ecosystems.
Diverse selection
One of the best things about seed bombs is the wide variety of wildflower species you can choose from. Whether you’re into vibrant poppies, delicate daisies, or majestic sunflowers, there’s a seed bomb recipe out there for you. Mix and match to create your own personalized explosion of color.
Long-lasting
Seed bombs may be small, but they pack a punch that lasts for years.
Thanks to their clever design, seed bombs can remain viable for several years, patiently biding their time until the conditions are just right for germination.
Plant them now, and enjoy a steady stream of wildflowers for seasons to come.
How to Make Seed Bombs
Materials needed
Making seed bombs is a fun and easy process that requires just a few simple materials. Here’s what you’ll need:
- Air dry clay: This is the base material that will hold the seed bomb together. You can use air dry clay or terra cotta clay, which can be sourced from a local garden center or online.
- Potting soil: This adds nutrients and helps the seeds germinate. You can use any type of potting soil, but it’s best to choose one that is well-draining and free of contaminants.
- Wildflower seeds: Choose seeds that are native to your area and suitable for your local climate. You can use a mix of different wildflower species or focus on a specific type.
- Water: This is used to mix the ingredients together and help the clay bind. You can use a hose, watering can, or squirt bottle to add water.
- Optional materials: Depending on your desired level of customization, you can also add other materials like compost, topsoil, or even edible plants like lettuce or herbs.
Step-by-step instructions
Making your own wildflower seed bombs is not only fun but also a great way to add a burst of color to your surroundings while supporting local pollinators.
Follow these simple steps to create your own eco-friendly seed bombs:
Gather your materials
You’ll need:
- Clay: Acts as a binder to hold everything together.
- Soil: Provides nutrients for the seeds to grow.
- Wildflower seeds: Choose a mix of native wildflowers suited to your region.
Mix the ingredients
In a bowl, combine the clay, soil, and wildflower seeds.
Start with a small amount of clay and gradually add more until the mixture reaches a consistency similar to playdough.
This may take a bit of trial and error, but aim for a texture that holds together well.
Knead the mixture
Once your ingredients are mixed, it’s time to get your hands dirty.
Knead the mixture until it forms a cohesive ball.
You can do this by hand or use a rolling pin to help flatten and smooth out the mixture.
Shape the bombs
Now comes the fun part—shaping your seed bombs! Use your hands to roll the mixture into small balls, roughly the size of a golf ball. Feel free to get creative with the shapes and sizes, but aim for consistency to ensure even distribution of seeds.
Let them dry
Once your seed bombs are shaped, place them on a tray or baking sheet to air dry.
Depending on the humidity in your area, this may take several days or even weeks.
Be patient—the drier they are, the better they’ll hold together when planted.
Plant the bombs
Once your seed bombs are completely dry, it’s time to plant them!
Choose an area where you’d like to see wildflowers grow—a sunny spot with well-drained soil is ideal.
Dig a small hole, place the seed bomb inside, and cover it with a thin layer of soil.
Water and maintain
After planting, water your seed bombs gently but thoroughly to help them break down and germinate.
Keep the area moist, but not waterlogged, and free of weeds to give your seeds the best chance of sprouting and thriving.
Planting Your Seed Bombs
Now that your seed bombs are dry and ready to go, it’s time to bring a splash of color to your surroundings.
Follow these simple tips for planting your seed bombs and watching your wildflowers bloom:
Choose the right spot
Picking the perfect spot for your seed bombs is crucial for their success.
Look for an area with plenty of sunlight—ideally, full sun to partial shade—and soil that drains well.
Avoid areas prone to waterlogging, as this can drown your seeds before they have a chance to grow.
Throw or place
Once you’ve found the ideal location, it’s time to get planting.
You have two options: throwing or placing the seed bombs.
If you’re feeling adventurous, toss them into the air and let them scatter naturally.
Alternatively, you can gently place them on the ground, spacing them about 6-8 inches apart for even coverage.
Water
After planting your seed bombs, give them a good drink of water to kickstart the germination process.
Use a gentle spray or watering can to moisten the soil without disturbing the seeds.
Keep the area consistently moist in the days and weeks following planting to give your seeds the best chance of sprouting.
- Read also: DIY Drip Irrigation For Herb Garden
- Read also: Create Your Own DIY Hydroponic Herb Garden
Conclusion
Seed bombs are a simple and effective way to cultivate wildflowers, offering a range of benefits from ease of use to eco-friendliness.
By following the steps outlined in this article, you can create your own seed bombs and enjoy a stunning display of wildflowers in your garden or local park.
FAQs
The time it takes for seed bombs to germinate varies depending on factors like climate and soil quality, but typically ranges from several weeks to several months.
Yes, seed bombs can be used in areas with poor soil quality, as they are designed to break down and release the seeds into the soil.
No, seed bombs are best used outdoors, as they require specific environmental conditions to germinate and grow.
Yes, seed bombs can be made with other types of seeds, such as herbs or vegetables, but it’s essential to ensure the seeds are suitable for your local climate and soil conditions.


