
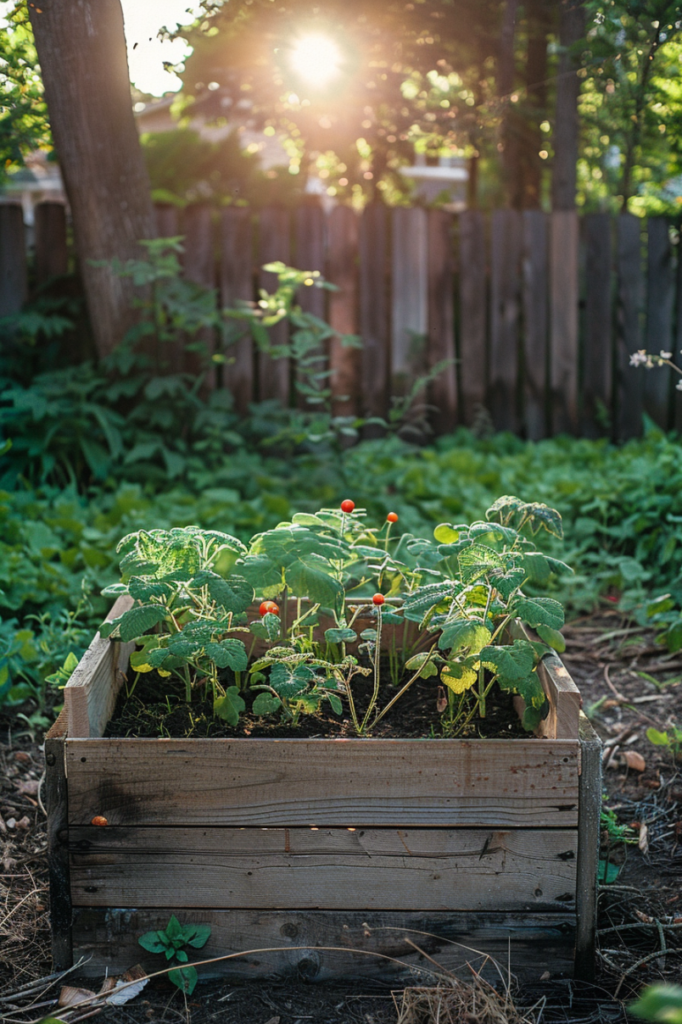
Growing your own vegetables in a DIY vegetable garden box is a rewarding and enjoyable experience.
In this blog post, we will guide you through the process of planning, building, and caring for your own vegetable garden box.
Planning Your Garden Box
Planning your garden box is the crucial first step in creating your own vegetable haven.
Deciding on size
Consider the available space in your yard or balcony. Think about how many plants you want to grow and the height at which you prefer to work.
This will help you determine the ideal size for your garden box.
Choosing your materials
There are various options for materials, each with its advantages.
Wood, such as cedar or redwood, is popular for its durability and aesthetic appeal.
Recycled materials like pallets offer an eco-friendly option, while metal provides durability and resistance to pests and weather.
Choose materials that suit your preferences and budget while ensuring they are easy to work with and will withstand outdoor conditions.
Tools required
Gathering the necessary tools is essential for a smooth construction process.
Basic tools like saws, drills, hammers, and measuring tape will be indispensable for building your garden box.
Make sure you have everything you need before you begin.
Building Your Vegetable Garden Box (Step-by-Step Guide)
Building your vegetable garden box is an exciting project that requires careful attention to detail.
Follow these step-by-step instructions to create your own:
Cutting your materials
Refer to your plan and use a saw to cut the lumber to the specified lengths.
Accuracy is key to ensure that your garden box fits together properly.
Assembling the box
Once you have all the pieces cut to size, it’s time to assemble the box.
Connect the sides using screws, nails, or brackets, ensuring that the structure is sturdy and level.
Take your time to align the pieces properly to avoid any misalignment.
Lining the box (optional)
While not necessary, lining the bottom of the box with a weed barrier and hardware cloth can provide additional protection against pests and weeds.
This extra step can help keep your plants healthy and thriving.
Adding drainage holes
To prevent waterlogging and root rot, it’s essential to drill drainage holes in the bottom of the box.
These holes will allow excess water to drain away, ensuring that your plants’ roots remain healthy and well-aerated.
Preparing Your Garden Box for Planting
Preparing your garden box for planting is an essential step to ensure the success of your vegetable garden.
Here’s how to get started:
Choosing the right soil
The key to healthy plants is starting with the right soil.
Select a well-draining, organic potting mix or garden soil that is rich in nutrients.
This will provide your plants with the necessary nutrients to thrive and grow.
Filling the box
Once you’ve chosen your soil, fill the garden box with it, leaving a few inches of space from the top for settling.
Use a shovel or trowel to evenly distribute the soil and ensure that it reaches all corners of the box.
Pat down the soil gently to remove any air pockets and create a firm planting surface.
Now that your garden box is filled and ready, it’s time to start planting your vegetables:
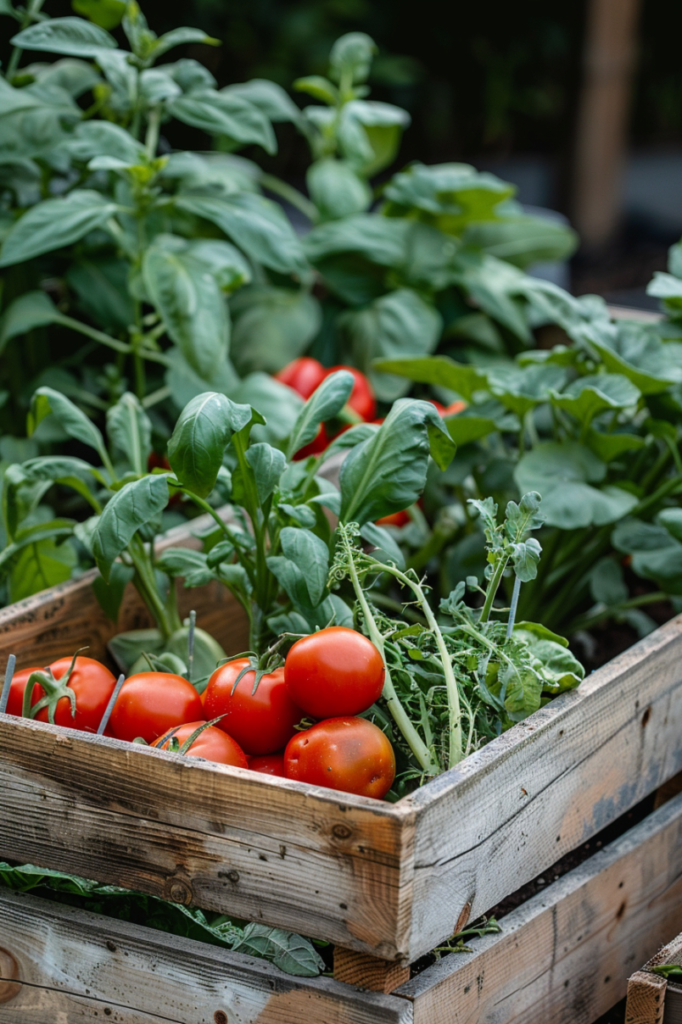
Selecting your vegetables
When choosing which vegetables to plant, opt for beginner-friendly options like tomatoes, peppers, lettuce, and herbs.
These varieties are relatively easy to grow and maintain, making them perfect for novice gardeners.
Spacing considerations
Proper plant spacing is crucial for ensuring that your vegetables have enough room to grow and develop.
Refer to the planting instructions for each vegetable to determine the appropriate spacing requirements.
This will help prevent overcrowding and competition for nutrients, resulting in healthier plants and higher yields.
Planting techniques
Depending on the vegetable you’re planting, you’ll either sow seeds directly into the soil or transplant seedlings.
Follow the recommended depth and spacing guidelines for each vegetable to ensure optimal growth.
Use a small trowel or your fingers to make holes in the soil, place the seeds or seedlings in the holes, and cover them with soil.
Gently pat down the soil around each plant to secure them in place.
Taking Care of Your Vegetable Garden Box
Taking care of your vegetable garden box is essential to ensure that your plants thrive and produce a bountiful harvest.
Here’s how you can maintain your garden effectively:
Watering
Proper watering is crucial for the health and growth of your vegetables.
Water your plants regularly, making sure to avoid overwatering, which can lead to root rot.
Check the moisture level of the soil regularly and water when the top inch feels dry.
Aim to keep the soil consistently moist but not waterlogged to support healthy root development and nutrient uptake.
Sunlight requirements
Most vegetables require ample sunlight to grow and produce healthy crops.
Ensure that your garden box receives at least 6-8 hours of direct sunlight daily.
Position your box in a sunny spot in your yard or balcony where it can receive maximum sunlight exposure throughout the day.
Adequate sunlight promotes photosynthesis, which is essential for plant growth, flowering, and fruiting.
Weeding and pest control
Regular weeding is necessary to prevent weeds from competing with your vegetables for nutrients, water, and sunlight.
Remove weeds promptly by hand or using a garden tool to prevent them from establishing and spreading in your garden box.
Additionally, practice organic pest control methods to manage common garden pests like aphids, caterpillars, and beetles.
Consider using natural solutions such as neem oil, insecticidal soap, or introducing beneficial insects to control pest populations effectively.
Fertilizing (optional)
While your soil may contain some nutrients, providing additional fertilization can help promote healthy plant growth and enhance crop yields.
Consider using organic fertilizers to avoid chemical additives and support soil health.
Apply fertilizer according to the instructions on the product label, and avoid over-fertilizing, which can lead to nutrient imbalances and environmental pollution.
Organic fertilizers like compost, aged manure, or fish emulsion can enrich the soil with essential nutrients and improve soil structure, moisture retention, and microbial activity.
Conclusion
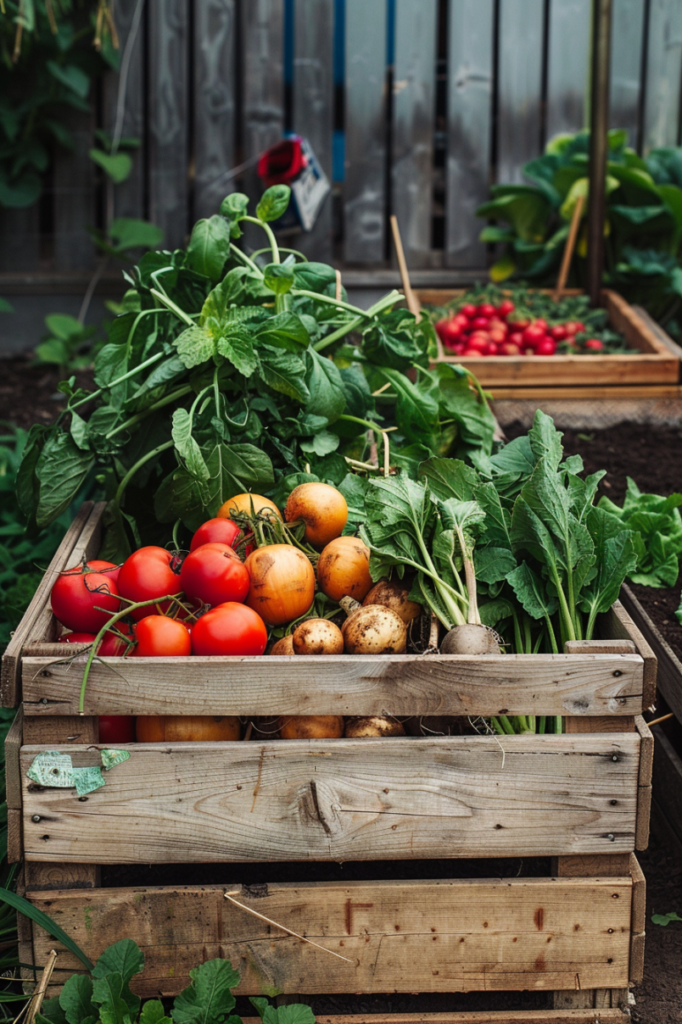
Creating a DIY vegetable garden box is a fun and rewarding project that can yield fresh, homegrown produce.
By following these steps, you’ll be on your way to enjoying the benefits of a thriving vegetable garden.
FAQs
Common options include wood (cedar, redwood), recycled materials (pallets), or metal. Choose materials that are durable, easy to work with, and resistant to pests and weather conditions.
Consider the available space in your yard or balcony, the desired number of plants, and your preferred working height when deciding on the size of your garden box.
Basic tools like saws, drills, hammers, and measuring tape will be needed for construction.
Lining the bottom with a weed barrier and hardware cloth can help prevent pests and weeds from entering your garden box.
Water your vegetables regularly, avoiding overwatering, and ensuring the soil remains moist but not waterlogged.


