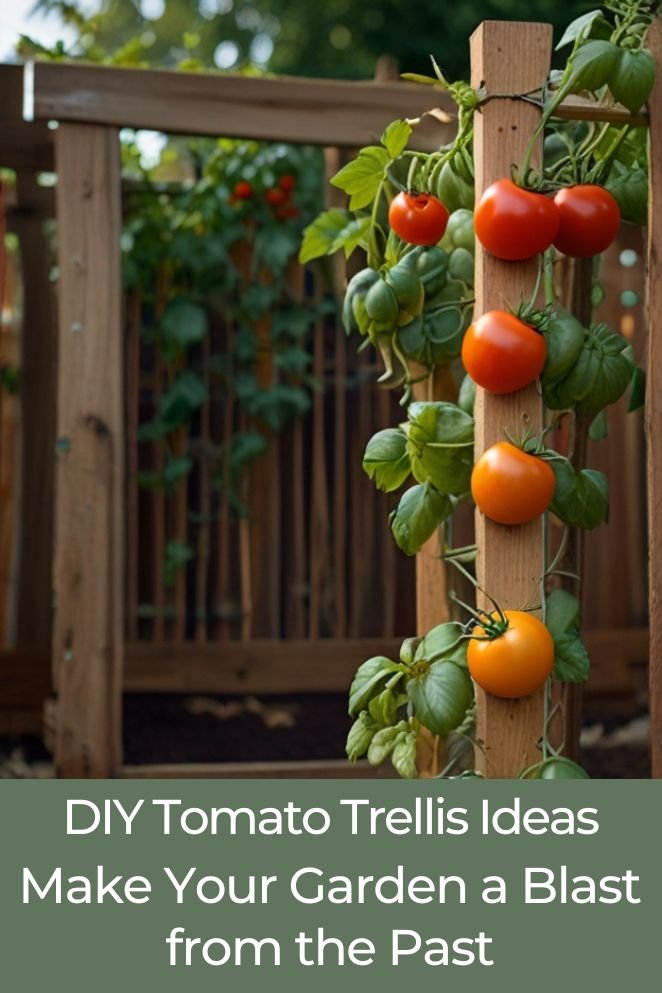
Tomatoes are a beloved garden staple, but they can be challenging to grow without proper support.
DIY tomato trellises are an excellent solution for providing structure and stability to your plants while saving money.
In this article, we will explore different DIY tomato trellis ideas and the benefits of using them
Benefits of DIY Tomato Trellises
Utilizing DIY tomato trellises offers a multitude of advantages that cater to both the health of your plants and the efficiency of your gardening efforts.
- Read also: Tomato Plant Watering Schedule
- Read also: Mastering the Art of Drip Irrigation for Tomatoes
Let’s delve into these benefits in detail:
- Improved plant health: Trellises provide support for the tomato plants, preventing them from touching the ground. This helps prevent diseases and pests that can affect the plants.
- Easier harvesting: Trellises make it easier to harvest tomatoes, as they are accessible and less likely to be damaged by the ground.
- Space-saving: Trellises allow you to grow more tomatoes in a smaller space, as they take up less room than traditional in-ground planting.
- Cost-effective: DIY tomato trellises are often less expensive than buying pre-made trellises, especially if you use recycled materials.
- Aesthetic appeal: Tomatoes growing on a trellis can look attractive and add to the overall appearance of your garden.
DIY Tomato Trellis Ideas
The simple stake trellis
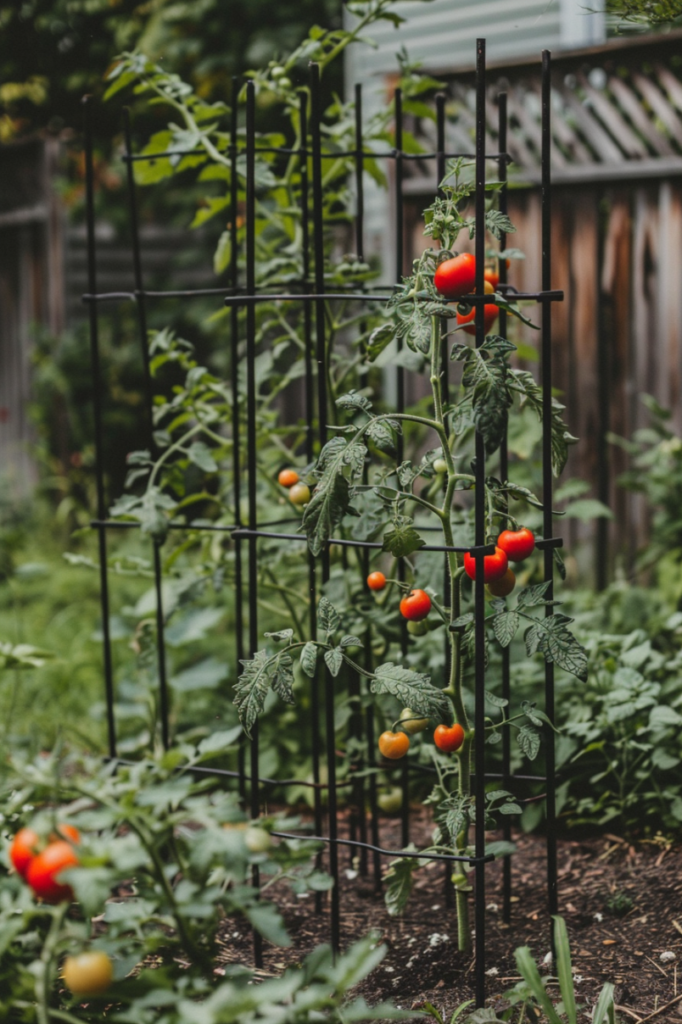
Creating a simple stake trellis for your tomato plants is an easy and effective way to provide support as they grow.
Let’s break down the process step by step:
Materials you’ll need
- Sturdy stake: Choose a wooden or metal stake that is tall enough to accommodate the expected height of your tomato plant.
- Twine/rope: Select a strong and weather-resistant twine or rope to use for tying the tomato plant to the stake.
- Optional tomato clips: Tomato clips are small plastic clips designed to secure tomato branches to the trellis.
Instructions
Secure the stake
Begin by firmly inserting the stake into the ground next to the base of the tomato plant.
Position the stake on the side of the plant where you want to encourage vertical growth.
Ensure that the stake is driven deep enough into the soil to provide stability and support as the plant grows.
Tie the twine
Once the stake is securely in place, tie one end of the twine loosely to the stake near the ground level.
Be gentle to avoid damaging the stem or roots of the plant.
Next, loosely wrap the twine around the base of the tomato plant, taking care not to constrict its growth.
Leave some slack in the twine to allow room for the plant to expand as it grows.
Wrap the twine
As the tomato plant continues to grow, periodically wrap the twine around the stake in a spiral pattern.
This will provide additional support for the stem and help guide the plant upwards.
Be sure to maintain a loose tension to avoid restricting the plant’s growth or causing damage.
Use tomato clips (optional)
If desired, you can use tomato clips to further secure the branches of the plant to the trellis.
Simply clip the branches to the twine or stake at regular intervals as needed. This can help prevent the branches from sagging or bending under the weight of the fruit.
The A-frame trellis
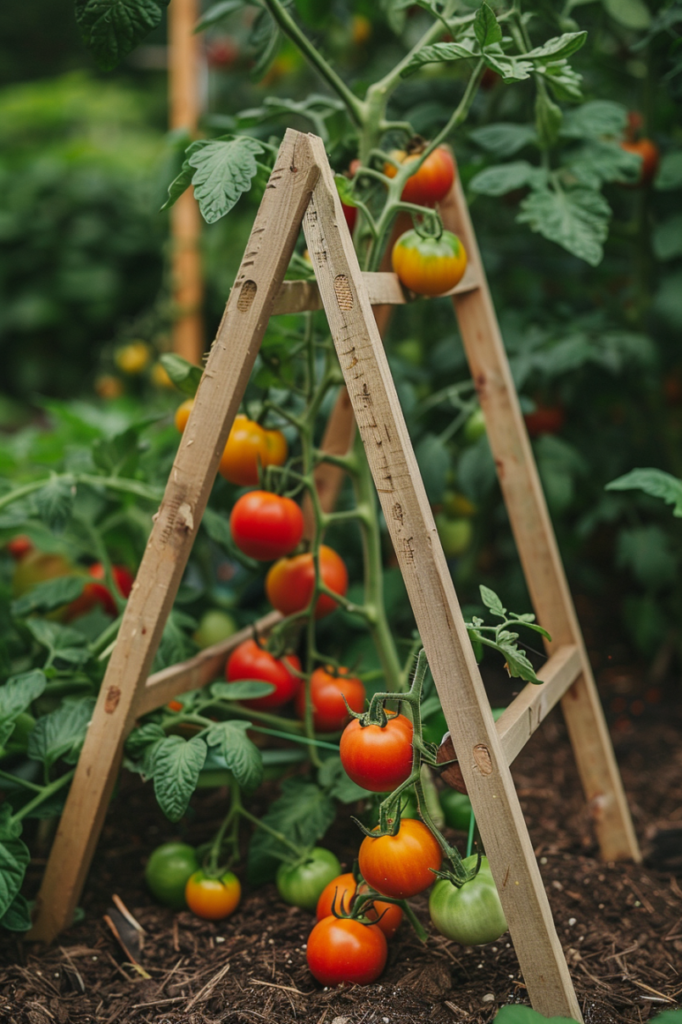
Crafting an A-frame trellis for your tomato plants is a practical and straightforward way to provide robust support for vertical growth.
Let’s walk through the process step by step:
Materials you’ll need
- Two wooden poles or metal pipes: Select two sturdy poles or pipes of equal length to serve as the vertical supports for your A-frame trellis.
- Twine/rope: Choose a strong and weather-resistant twine or rope to create horizontal lines for supporting the tomato plants.
- Connecting hardware (brackets, screws): Gather the necessary hardware to join the tops of the poles or pipes and secure them firmly in place.
Instructions
Create the A-frame structure
Begin by positioning the two poles or pipes parallel to each other, with their bottoms firmly planted in the ground at the desired location in your garden.
The distance between the poles will depend on the size of your tomato plants and the amount of space you have available.
Ensure that the poles are spaced evenly and are straight to create a stable structure.
Join the tops of the poles
Using the connecting hardware, secure the tops of the poles together to form an A-frame shape.
This can be achieved by attaching brackets or screws at the point where the poles meet, ensuring a secure connection.
The angle of the A-frame should be wide enough to provide ample space for the tomato plants to grow upwards.
Secure the A-frame in the ground
Once the A-frame structure is assembled, ensure that it is firmly anchored in the ground to prevent it from toppling over as the tomato plants grow.
You can achieve this by digging holes around the base of each pole and filling them with soil or using stakes to reinforce the structure.
Run horizontal lines of twine
With the A-frame securely in place, run horizontal lines of twine between the poles at regular intervals.
This creates a grid-like support system for the tomato plants to climb as they grow.
Start at the bottom of one side of the A-frame and weave the twine back and forth between the poles, spacing the lines evenly apart to provide adequate support for the plants.
The florida weave trellis

Constructing a Florida Weave trellis is an effective method for supporting tomato plants as they grow and produce fruit.
Below are detailed instructions on how to create this type of trellis:
Materials you’ll need
- T-posts (metal fence posts): These sturdy metal posts will serve as the vertical supports for the trellis.
- Rebar (metal rods): Horizontal rebar sections will be used to create rows between the T-posts, providing a framework for weaving the twine.
- Twine/rope: Choose a strong and weather-resistant twine or rope to weave vertically between the horizontal rebar sections.
Instructions
Drive T-posts into the ground
Begin by driving two T-posts into the ground at each end of your tomato row.
Use a post driver or hammer to firmly plant the T-posts at a depth that provides stability and support for the trellis structure.
Space the T-posts evenly along the length of the tomato row to ensure uniform support for the plants.
Install horizontal rebar
Once the T-posts are securely in place, hammer rebar horizontally between the tops of the T-posts to create a row.
The rebar sections should be positioned parallel to the ground and spaced evenly apart along the length of the tomato row.
This horizontal framework will serve as the foundation for the trellis structure and provide support for the tomato plants as they grow.
Weave twine vertically
With the horizontal rebar sections in place, begin weaving twine vertically between the rows of rebar.
Start at one end of the trellis and weave the twine in a zigzag pattern, alternating between rows of rebar to create a net-like structure.
Ensure that the twine is pulled taut and securely fastened to each row of rebar to provide ample support for the tomato plants as they climb.
Continue weaving as plants grow
As the tomato plants grow, continue weaving twine vertically between the rows of rebar to provide additional support.
Adjust the tension of the twine as needed to accommodate the increasing weight of the plants and ensure they remain upright and well-supported throughout the growing season.
The upcycled tomato cage trellis
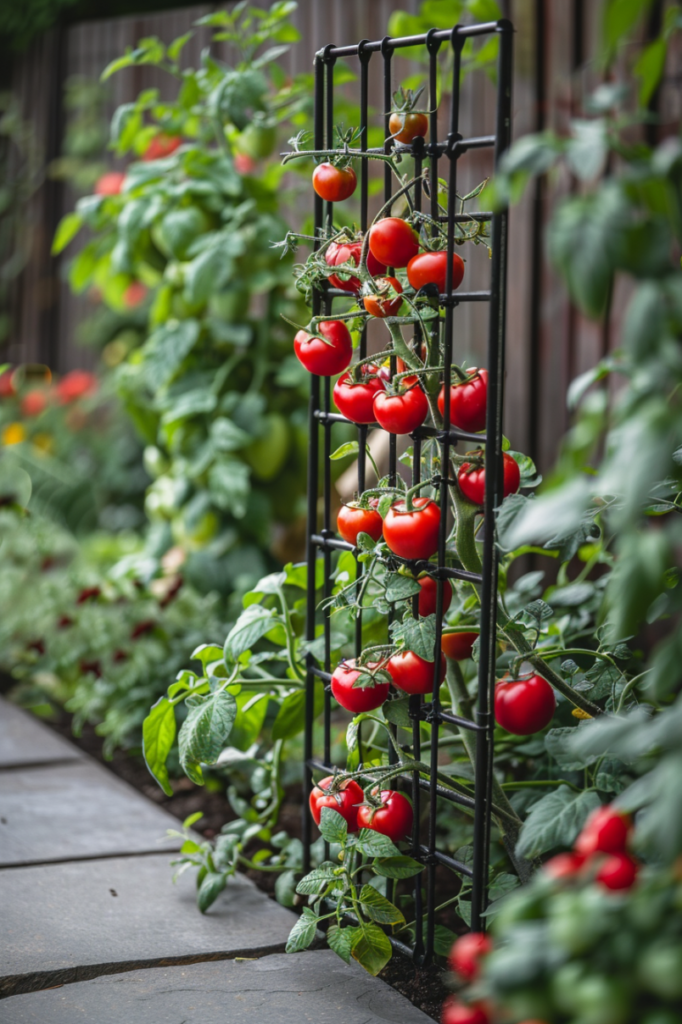
Crafting an upcycled tomato cage trellis is a sustainable and cost-effective way to provide sturdy support for your tomato plants, especially larger varieties that require extra reinforcement.
Let’s delve into the step-by-step instructions for creating this DIY trellis:
Materials you’ll need
- Old tomato cages: Gather any old or unused tomato cages you have on hand. These cages will serve as the foundational framework for your trellis.
- Zip ties or sturdy wire: Choose either zip ties or sturdy wire to connect the tomato cages together.
Instructions
Inspect and prepare the tomato cages
Before assembling the trellis, inspect each tomato cage to ensure it is sturdy and free of any damage.
Repair any broken or bent wires as needed to ensure the cages provide adequate support for the tomato plants.
Connect the tomato cages
Once the tomato cages are ready, begin connecting them together to create a larger, interconnected support structure.
Place the cages next to each other, aligning them to form a continuous row or grid, depending on your garden layout and the number of tomato plants you intend to support.
Secure with zip ties or wire
Use zip ties or sturdy wire to securely fasten the tomato cages together at their junction points.
Wrap the zip ties or wire around the intersecting wires of adjacent cages, ensuring a tight and secure connection.
Be sure to space the connections evenly along the length of the trellis to distribute the weight of the plants evenly.
Stabilize the trellis
To enhance the stability of the trellis, consider anchoring it to the ground using stakes or additional supports.
This will prevent the trellis from tipping over or shifting as the tomato plants grow and exert pressure on the structure.
Place and support tomato plants
Once the trellis is assembled and stabilized, it’s time to plant your tomato seedlings or transplants.
Position the tomato plants inside the cages, ensuring they are securely supported by the trellis framework.
As the plants grow, guide their stems through the openings in the cages and provide additional support as needed using twine or clips.
- Read also: A Guide to Building Your Own Tomato Plant Watering System
- Read also: A Guide to Natural Pesticides for Tomatoes
Additional Tips for Building Your Trellis
- Choose materials strong enough to support the weight of mature tomato plants.
- Consider the height of your trellis based on the tomato variety you’re growing (determinate vs. indeterminate).
- Space your trellis appropriately to allow for proper plant growth and air circulation.
- Secure the trellis firmly in the ground to prevent wind damage.
- Regularly monitor your trellis and make adjustments as needed throughout the growing season.
Conclusion
Creating your own tomato trellises is both practical and budget-friendly, offering a simple way to bolster your plants and boost your tomato yield.
With a range of options at your disposal, you can select the one that aligns best with your gardening preferences and financial constraints.


