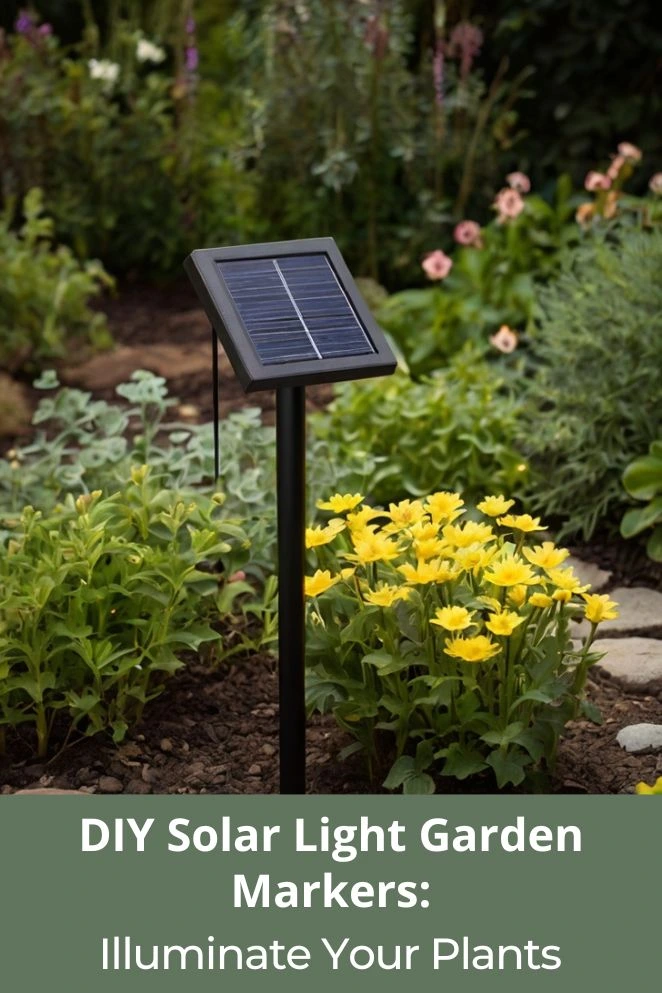
Turn your garden into a nighttime hangout spot and keep your plants in check with DIY solar light garden markers.
They pull double duty—telling you what’s planted where and lighting up your yard after dark.
It’s like giving your garden name tags that also glow, kind of like a VIP pass for your tomatoes.
Why Solar Light Garden Markers Are the Perfect Garden Upgrade
Solar light garden markers are basically the multitasking heroes of garden gear.
They label your plants by day and light up your garden by night—kind of like Batman, but with plants instead of Gotham.
In 2025, clean, simple garden designs are in, and anything that saves electricity is a win.
Solar markers tick both boxes. No wires, no electric bill spike, and they still work if the power goes out.
You just stick them in the dirt, and the sun does the rest.
Daytime? They make sure you know which plant is basil and which one is mint (because no one wants mint in their pasta).
Nighttime? They flip on automatically and light your paths, making your garden look like a scene from a Studio Ghibli movie.
They’re also budget-friendly in the long run.
No cords, no batteries to keep buying, no extra electricity bill—just sunlight.
If your plants could talk, they’d probably say, “Yeah, we’re cool with that.”
- Read also: Garden Lighting: Easy and Affordable DIY Garden Lighting Ideas
- Read also: Tips and Tricks: Budget-Friendly DIY Garden Shed
Essential Materials for Your Solar Garden Marker Project
If you want solar garden markers that actually last and don’t look like a rushed school project, you’ve got to start with the right stuff.
Here’s your no-nonsense shopping list:
Solar parts
- Small solar LED lights (2–4 inches wide is the sweet spot)
- Rechargeable AA or AAA batteries (grab these if your lights don’t come with them)
- Waterproof LED strips (only if you want to go “pro mode” with extra glow)
Marker parts
- Stakes or boards made from weather-tough stuff like cedar, polymer clay, or marine-grade acrylic
- Waterproof markers or an engraving tool so your plant names don’t fade faster than TikTok trends
- Clear sealant or marine varnish to lock in the labels
- Reflective tape if you want them to pop even without the lights on
Assembly tools
- Drill with a few different bit sizes (yes, you’ll use them all)
- Waterproof glue or marine-grade epoxy (because regular glue will tap out in the rain)
- Sandpaper (120 grit to smooth, 220 grit to finish)
- Measuring tape and a pencil for clean layout
- Wire cutters and electrical tape for any wiring tweaks
Optional style upgrades
- Glow-in-the-dark paint for that “glow stick at a concert” vibe
- Colored see-through materials to soften the light
- Decorative stones or mosaics if you want to flex your artsy side
Step-by-Step Construction Guide
Alright, let’s turn a pile of materials into garden markers that look good, survive the weather, and glow like a low-key garden rave.
Project 1: Classic wooden solar stakes
Step 1: Cut and smooth the stakes
Grab cedar or treated pine. Cut into 12–18 inch lengths.
Point one end so it’s easy to stick in the dirt—think giant pencil.
Sand the whole thing: start with 120-grit, finish with 220-grit so you don’t get splinters.
Step 2: Make a spot for the solar light
Measure your solar light’s base. Drill a hole about 2–3 inches from the top.
The hole should fit snug, keep the panel exposed, and not wobble like a loose tooth.
Step 3: Label the stake
Burn the plant name into the wood, use waterproof markers, or engrave it.
You can even add planting dates or “Don’t eat me” warnings.
Vinyl lettering works if you want it extra neat.
Step 4: Weatherproof it
Brush on two coats of marine varnish or outdoor stain. Let it dry between coats.
This stops your stake from turning into driftwood after one rainy season.
Step 5: Add the solar light
Attach the light with waterproof glue or small screws. Keep the panel facing up and away from shadows.
If your plant name ends up hidden under the light—yeah, you measured wrong.
Project 2: Decorative Clay Solar Markers
Step 1: Shape the base
Roll polymer clay into rectangles or ovals about 4″ wide and 6″ tall. Point the bottom so it slides into soil easily.
Leave room at the top for the solar light.
Step 2: Add labels and designs
Before baking, stamp or carve plant names and designs. Alphabet stamps make it look clean.
Add patterns if you want it to double as garden art.
Step 3: Make space for the light
Press a shallow dip at the top for the solar light.
It should be snug, but not so tight it cracks when the weather changes.
Step 4: Bake and seal
Follow the baking instructions on the clay package.
Once cool, coat with outdoor sealant so the sun and rain don’t wreck your hard work.
Step 5: Install the light
Glue the solar light in place with clear, waterproof silicone.
Test the light first—you don’t want to realize it’s dead after you’ve glued it in forever.
Maximizing Solar Performance and Longevity
You’ve built your solar garden markers—now keep them working like champs. Here’s how:
Place them where the sun actually hits
Put markers where they get 6–8 hours of direct sunlight.
Watch how the sun moves in different seasons so they don’t end up in shade half the year.
Swap batteries before they quit on you
Rechargeable batteries don’t last forever.
Change them every 2–3 years, or sooner if the lights fade faster than your phone battery at 10%.
Use good NiMH batteries—they’re built for this.
Keep panels clean
Once a month, wipe solar panels with a soft cloth and mild soap.
Dirt, leaves, and bird “gifts” block sunlight, so keep them clear.
Protect them from bad weather
They’re tough, but not hurricane-proof. If storms are coming, pull them out or cover them.
It’s better than watching them turn into lawn darts.
Troubleshooting Common Issues
Even the best solar garden markers have off days.
Here’s how to get them back in shape without losing your cool.
Lights are dim or dead
Nine times out of ten, it’s something simple:
- Wipe the solar panel—it’s probably dirty.
- Swap the rechargeable batteries if they’re old or drained.
- Check the connections; a loose wire can kill the light faster than forgetting to pay your Wi-Fi bill.
Wooden markers are falling apart
Wood can rot or crack if the weather’s been rough.
Sand down the damage, then slap on another coat of outdoor sealant.
Think of it as sunscreen for your garden markers.
Clay markers have chips or cracks
Small chips? No need to panic. Fill them in with outdoor-grade epoxy.
Once it’s cured, your marker’s back in action.
Lights aren’t charging right
If your markers are suddenly lazy at charging, they might be stuck in the shade.
Plants grow fast—trim back anything blocking sunlight.
A little haircut for your basil might save your lighting setup.
Advanced Customization Techniques
Add smart tech
You can keep the same solar charging setup but make it smarter.
Add markers that connect to an app for plant care reminders, weather alerts, or even growth tracking.
It’s like giving your basil its own Fitbit.
Make it art
Team up with local artists, or rope in family and friends, to design one-of-a-kind markers.
Suddenly, you’re not just labeling plants—you’re building mini art pieces that make your garden feel like an outdoor gallery.
Use them in community gardens
Take these ideas bigger. In shared gardens, solar markers help everyone know what’s planted where, even at night.
Matching designs across the space make it look organized and add a little wow factor for visitors
- Read also: Transform Your Yard: Build a DIY Garden Water Feature
- Read also: DIY Garden Cleanup Checklist: A Seasonal Guide for a Thriving Yard
Wrapping It Up
DIY solar garden markers aren’t just plant labels—they’re a mix of sustainability, function, and style.
They save energy, last for years, and make your garden look good day and night.
Start simple, learn the basics, then level up with custom designs and extra features.
In short—your plants stay labeled, your garden stays lit, and you get to brag about doing it yourself.


