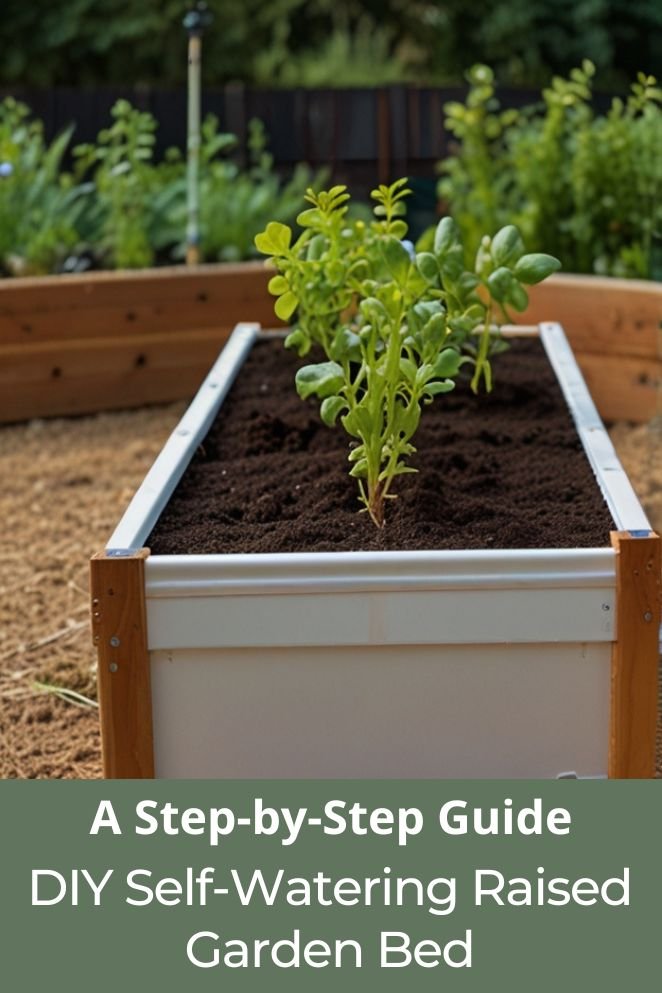
Self-watering raised beds are a game-changer for gardeners who want to enjoy the benefits of gardening without the hassle of constant watering.
By incorporating a self-watering system into your raised bed, you can ensure that your plants receive the right amount of water, reducing the risk of overwatering and underwatering.
In this article, we’ll explore the benefits of DIY self-watering raised beds and provide a step-by-step guide on how to build one.
Benefits of DIY Self-Watering Beds
There are numerous advantages to building your own self-watering raised garden bed, extending beyond the joy of cultivating your own garden oasis.
Let’s explore the key benefits:
Convenience
Self-watering beds simplify gardening by eliminating the need to constantly monitor soil moisture or haul around heavy watering cans.
With a built-in reservoir providing a steady water supply, you can spend less time worrying about hydration and more time enjoying your flourishing garden.
- Related post: Crafting Green Havens: DIY Garden Bed Ideas for Every Gardener
- Related post: The Ultimate Guide: Raised Beds vs In-Ground Cauliflower Planting
Water conservation
These systems are champions of water conservation, delivering moisture directly to plant roots and minimizing wastage.
This is especially valuable in regions prone to drought or for eco-conscious individuals aiming to reduce their environmental footprint.
Healthier plants
Self-watering beds maintain optimal moisture levels, safeguarding plants from both drought stress and overwatering.
By ensuring consistent hydration, plants are better equipped to thrive, yielding healthier growth and potentially higher yields while fortifying themselves against pests and diseases.
Cost-effectiveness
Crafting your own self-watering raised bed can be notably more economical than purchasing a pre-made option.
You have the freedom to tailor the size and materials to fit your budget, allowing for a personalized garden solution without breaking the bank.
Versatility
DIY raised beds offer versatility in both design and functionality.
You have the liberty to select the size and shape that best complements your available space, and customize the self-watering system to suit your preferences, whether it’s through wicking or a reservoir setup.
Sense of accomplishment
Embarking on a DIY raised bed project brings a sense of achievement.
As you witness your creation come to life, you’ll experience the satisfaction of not only cultivating a functional garden element but also nurturing your green thumb skills with your own hands.
Planning Your Project
Before diving into your self-watering raised bed project, it’s essential to consider a few key factors:
Materials list
Gather the necessary materials for your project:
- Lumber: Choose weather-resistant wood like cedar, redwood, or pressure-treated lumber.
- Drill and fasteners: Screws appropriate for your chosen lumber.
- Pond liner: A heavy-duty, fish-safe pond liner to create a water reservoir within the raised bed frame.
- Landscape fabric: A breathable fabric to separate the soil from the reservoir and prevent clogging.
- Hardware cloth (optional): Consider adding a layer of hardware cloth around the base of the bed to deter burrowing animals.
- Gravel (optional): For use in the wicking system (alternative to a reservoir).
For the self-watering system (choose one):
- Wicking system: Perforated drainpipe (optional, for better water distribution) and a coupling to connect it to a standpipe (optional, for easier refilling).
- Reservoir system: A large plastic container (or build a separate reservoir from wood) and tubing/hose to connect it to the soil layer.
Size considerations
Determine the size of your raised bed based on available space and the types of plants you intend to grow.
A general recommendation is to ensure the bed is at least 6 inches deep to accommodate healthy root growth.
Take into account the dimensions of your space and the requirements of your chosen plants to create an optimal environment for growth and productivity.
Building Your Bed (Step-by-Step)
Building your DIY self-watering raised bed is a rewarding project that can yield bountiful results in your garden.
Here’s a step-by-step guide to help you through the process:
Step 1: Assemble the raised bed frame
- Pre-drill holes: To prevent splitting, pre-drill holes in the lumber pieces that will form the frame of your raised bed.
- Assemble: Screw the lumber pieces together to create the desired size and shape of your raised bed frame. Consider using corner braces for added stability.
- Optional: If you’re concerned about burrowing animals, attach hardware cloth to the outside of the frame at the base to provide extra protection.
Step 2: Install the pond liner
- Cut to size: Measure and cut the pond liner to fit the inside of your raised bed frame, leaving enough excess to fold over the top edge.
- Line the frame: Carefully line the inside of the raised bed frame with the pond liner, ensuring it fits snugly and smoothly.
- Secure: Fold the excess liner over the top edge of the frame and secure it in place with staples or another secure method to create a watertight seal.
Step 3: Create the self-watering system
Option A: Wicking system (simpler)
- Landscape fabric and gravel: Lay down a layer of landscape fabric on top of the liner to separate the soil from the reservoir. If using gravel for a thicker reservoir, place it on top of the landscape fabric.
- Perforated drainpipe: For even water distribution, lay a perforated drainpipe along the bottom of the bed with one end connected to a standpipe for easy refilling (optional).
Option B: Reservoir system (more involved)
- Reservoir placement: Position your chosen reservoir container (such as a plastic tote or custom-built wood box) inside the raised bed frame on one side, ensuring it’s tall enough to reach above the desired soil level.
- Water inlet: Create a small hole in the upper part of the reservoir for refilling.
- Water outlet: Drill a hole near the bottom of the reservoir and connect it to a hose or pipe that leads to the bottom of the soil layer within the raised bed frame. Make sure the hose end is positioned above the desired water level to prevent overfilling.
Step 4: Finishing touches
To complete your self-watering raised bed, add a layer of landscape fabric to the bottom of the bed frame.
This additional barrier sits atop the liner and reservoir or gravel layer, if you’ve incorporated them, and serves to prevent soil from clogging the system.
By covering the bottom with landscape fabric, you ensure that water can flow freely through the bed while keeping the soil contained and the drainage channels clear.
This step helps maintain the functionality and longevity of your self-watering raised bed, ensuring optimal conditions for your plants to thrive.
Planting and Maintenance
Selecting the ideal soil
Opt for a well-draining potting mix when filling your self-watering raised beds.
This choice helps prevent waterlogging, ensuring that your plants’ roots have the perfect environment for healthy growth.
Planting tips
When planting in your raised bed, make sure to give your chosen plants ample space to spread their roots and allow for proper air circulation.
This encourages strong, vigorous growth and reduces the risk of overcrowding.
Bed maintenance
Keep your self-watering raised bed in top condition with regular maintenance.
Check the water reservoir periodically and refill it as needed to ensure your plants have a consistent water supply.
Additionally, take time to weed the bed occasionally to keep it free from debris and unwanted vegetation, promoting a clean and healthy environment for your plants to thrive.
- Related post: Nurturing Greenery: A DIY Potted Plant Watering System Guide
- Related post: Nurturing Greenery: A Guide to DIY Plant Watering Globes
Conclusion
Building a DIY self-watering raised garden bed is a fun and rewarding project that can provide years of low-maintenance gardening enjoyment.
By incorporating a self-watering system into your raised bed, you can ensure that your plants receive the right amount of water, reducing the risk of overwatering and underwatering.
With these simple steps and tips, you can create a thriving and sustainable gardening oasis in your own backyard.


