Are you tired of constantly watering your herbs, only to find them still parched and wilted?
Do you wish you had a more efficient and sustainable way to keep your herbs thriving?
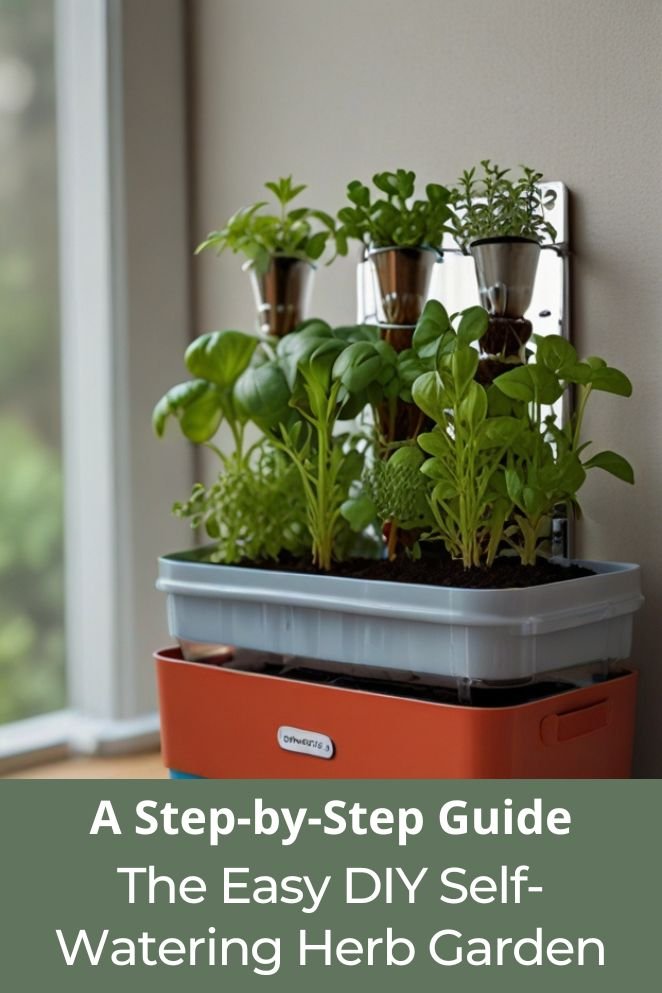
Look no further than a DIY self-watering herb garden.
In this article, we’ll explore the benefits of self-watering herb gardens and provide you with three easy and creative methods to create your own using recycled materials.
Benefits of a Self-Watering Herb Garden
A self-watering herb garden offers numerous benefits that make it an attractive option for busy gardeners or those who want to reduce their water consumption.
Here are just a few of the advantages:
Convenience
Picture yourself coming home after a long day at work.
You’re tired, and the last thing you want to do is remember to water your herbs.
With a self-watering herb garden, that stress melts away.
You can relax knowing that your herbs are getting the hydration they need, even if you forget to water them for a day or two.
It’s like having a reliable friend who’s always there to lend a helping hand.
- Read also: Nurturing Greenery: A DIY Potted Plant Watering System Guide
- Read also: A Guide to DIY Plant Watering Globes
Healthy herbs
Imagine the joy of stepping out into your garden and seeing vibrant, thriving herbs.
With a self-watering system, you can achieve just that.
By maintaining consistent moisture levels, your herbs are less likely to suffer from the common pitfalls of underwatering or overwatering.
This means they’re healthier, stronger, and better equipped to resist diseases and pesky pests.
It’s like giving your herbs their own little oasis, where they can flourish and thrive.
Cost-effective
Let’s face it, gardening can sometimes put a strain on the wallet.
But with a self-watering herb garden, you can save both money and resources.
These clever systems often use recycled materials and eliminate the need for expensive planters or fancy irrigation systems.
So not only are you being kind to the environment, but you’re also being savvy with your spending.
It’s like getting all the benefits of a lush herb garden without breaking the bank.
Easy maintenance
Now, not everyone has a green thumb, and that’s perfectly okay.
With a self-watering herb garden, you don’t need to be a gardening expert to enjoy fresh herbs at your fingertips.
These gardens are tailor-made for beginners or those who simply prefer a low-maintenance approach.
Just set it up, fill the reservoir, and let the system do the rest.
It’s like having your own personal gardener, minus the fuss and hassle.
Choosing Your DIY Method
There are several DIY methods to create a self-watering herb garden, each with its own unique benefits and challenges.
Here are three easy and creative methods to get you started:
The Classic Wick System (Using String or Fabric)

The classic wick system is like giving your herbs their very own water supply, ensuring they stay hydrated and healthy without you having to constantly check on them.
It’s a simple yet ingenious method that anyone can set up with just a few basic materials.
Here’s a more detailed guide to help you create your self-watering herb garden:
Materials needed
- A plastic bottle or container with a wide mouth: Think of this as the reservoir for your water supply. It’s where the magic happens!
- A piece of string or fabric: This is the wick that will draw water from the reservoir to your herbs, ensuring they get just the right amount of hydration.
- A small amount of water: The lifeblood of your herb garden, this will keep your plants happy and thriving.
- Your choice of herbs: The stars of the show! Choose your favorite herbs to grow and enjoy in your culinary adventures.
Step-by-step guide
Prepare the reservoir
Start by cutting off the top of the plastic bottle, leaving a small opening.
This will serve as your water reservoir, so make sure it’s large enough to hold an ample amount of water to sustain your herbs.
Cut the wick
Next, cut a piece of string or fabric to the desired length.
This will act as the wick that transports water from the reservoir to the soil of your herbs.
Make sure the wick is long enough to reach from the bottom of the reservoir to the soil of your herbs.
Tie the wick
Now, tie one end of the string or fabric to the inside of the bottle, ensuring it hangs down into the reservoir.
Then, tie the other end of the wick to the soil of your herbs, making sure it’s securely anchored and can easily absorb water.
Fill the reservoir
Fill the plastic bottle with water, leaving about an inch of space at the top.
This will ensure there’s enough room for air circulation and prevent overflow.
Plant your herbs
Finally, plant your choice of herbs in the soil, making sure they’re nestled comfortably around the wick.
As your herbs grow, you can water them as needed, and the wick will do the rest, ensuring they receive a steady supply of water from the reservoir.
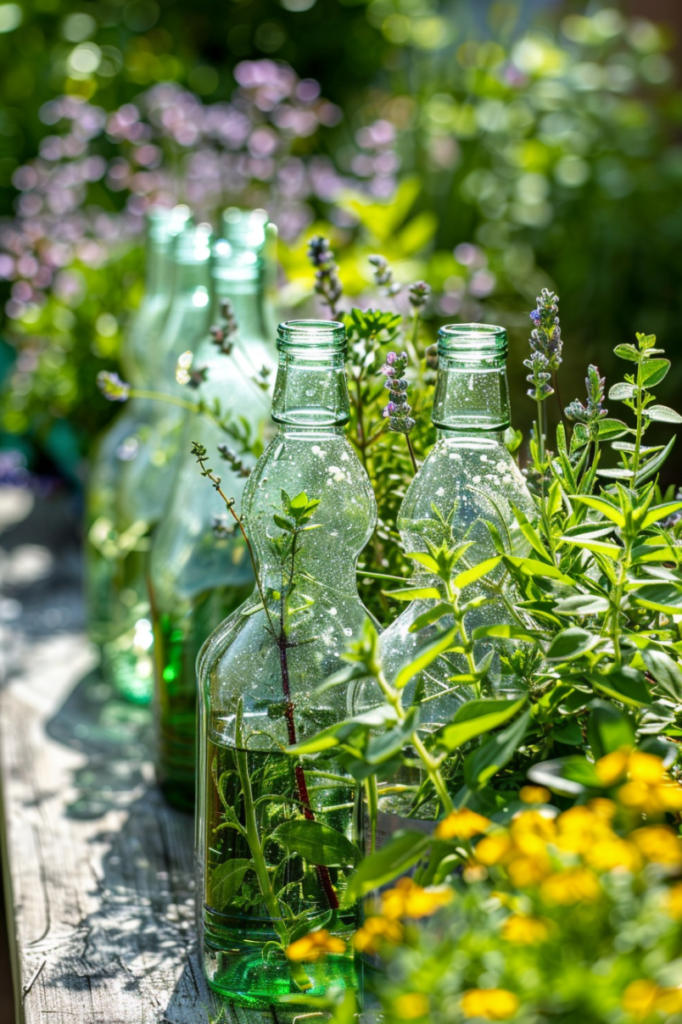
The Upcycled Bottle Reservoir

Let’s dive into the classic wick system, a neat way to keep your herb garden hydrated without constant watering.
Materials you’ll need
- Plastic bottle or container: Find a plastic bottle or container with a wide opening. This will serve as the reservoir for your water.
- String or fabric: Choose a piece of string or fabric that can act as a wick to draw water from the reservoir to your plants.
- Water: You’ll need a small amount of water to fill the reservoir.
- Herbs: Pick out the herbs you want to grow in your self-watering garden.
Step-by-step guide
Prepare the container
Start by cutting the top off the plastic bottle.
You want to create an opening wide enough to hold your herbs and allow for easy watering.
Cut the wick
Measure and cut a piece of string or fabric to the desired length.
This will depend on the size of your container and how far down you want the water to reach.
Attach the wick
Tie one end of the string or fabric to the inside of the bottle, near the bottom.
Make sure it’s secure.
Then, extend the other end down into the soil of your herb pot. This will act as the channel for water to travel from the reservoir to the roots of your plants.
Fill the reservoir
Pour water into the plastic bottle, leaving about an inch of space at the top.
This will prevent overflow and ensure a steady supply of moisture to your herbs.
Plant your herbs
Now it’s time to plant your herbs in the soil. Make sure they’re securely nestled in the potting mix and positioned near the wick for easy water uptake.
Water as needed
Keep an eye on your herb garden and water as needed.
The wick system will help maintain moisture levels, but you may still need to top up the reservoir from time to time, especially during hot weather.
The Terracotta Trickle System (Using a Clay Pot)

The terracotta trickle system, utilizing a humble clay pot, is a sophisticated yet straightforward method to create a self-watering herb garden.
Let’s delve deeper into the process:
Materials needed
- Clay pot: Opt for a medium-sized clay pot with good drainage properties. The porous nature of terracotta allows for gradual water seepage, crucial for maintaining optimal soil moisture levels.
- Water: A small quantity of water is all that’s required to kickstart the self-watering mechanism.
- Herbs: Choose your favorite herbs to plant in the pot. Popular choices include basil, parsley, thyme, and rosemary.
- String or fabric: You’ll need a piece of string or fabric to facilitate the water transfer from the pot to the soil.
Step-by-step guide
Prepare the clay pot
Take your clay pot and carefully cut a small hole in the bottom.
This hole acts as the entry point for water to gradually seep into the soil.
Be gentle to avoid damaging the pot, as it’s essential for the proper functioning of the trickle system.
Fill the pot with water
Once your pot is ready, pour a modest amount of water into it.
You want to ensure that the water covers the bottom of the pot and rises to about an inch below the rim.
The beauty of using a clay pot is that its porous terracotta material will slowly release the water, providing a continuous supply of moisture to the roots of your herbs.
This slow-release mechanism helps prevent overwatering and ensures that your herbs receive just the right amount of hydration.
Plant the herbs
With your pot adequately filled with water, it’s time to plant your chosen herbs.
Gently place the herb seedlings or seeds into the soil, making sure they’re evenly spaced and adequately covered with soil.
Take care to handle the delicate roots of the seedlings with care, ensuring they have enough room to grow and thrive.
Secure the pot
To prevent the clay pot from shifting or toppling over, it’s a good idea to secure it to the surrounding soil.
You can do this by using a piece of string or fabric to tie the pot securely in place.
This ensures stability and allows for seamless water distribution throughout the soil. Plus, it adds a charming rustic touch to your herb garden!
- Read also: A Comprehensive Guide: Hanging Plant Watering System
- Read also: No Yard Needed! DIY Herb Garden for Small Apartment
Conclusion
Creating a DIY self-watering herb garden is a fun and rewarding project that offers numerous benefits for busy gardeners or those who want to reduce their water consumption.
With these three easy and creative methods, you can create a self-watering herb garden that is both functional and visually appealing.
Whether you choose the classic wick system, the upcycled bottle reservoir, or the terracotta trickle system, you’ll be able to enjoy fresh, healthy herbs with minimal maintenance and upkeep.


