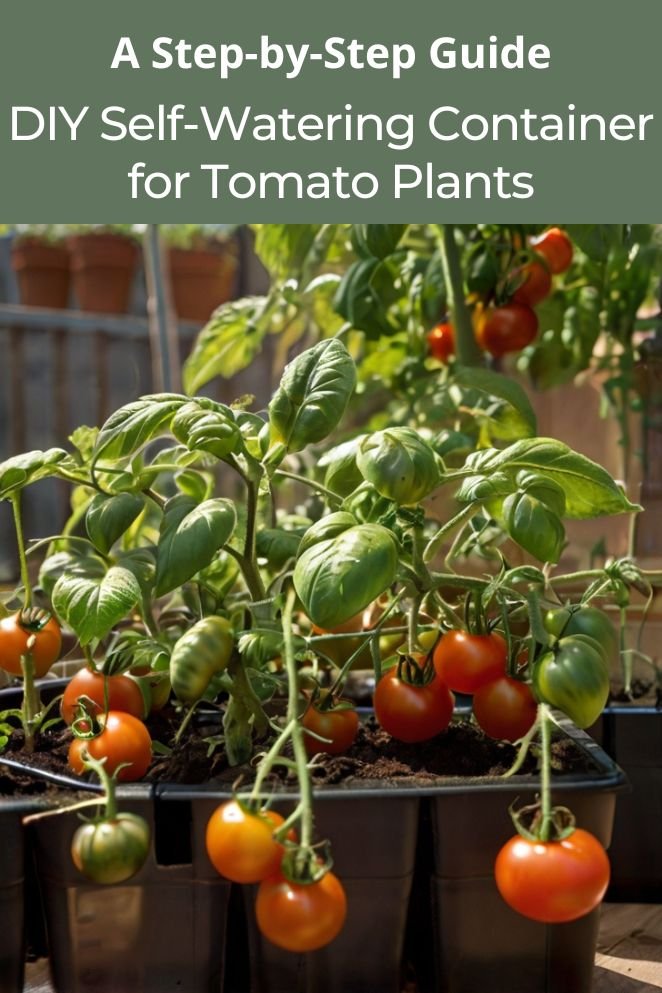
Growing your own tomatoes is one of the most rewarding gardening experiences.
However, maintaining consistent moisture levels is key to producing juicy, flavorful tomatoes, and this can be a challenge, especially during the hot summer months.
That’s where a self-watering container comes in handy.
Not only does it ensure your tomato plants get the water they need, but it also makes gardening easier by reducing the frequency of watering.
In this blog post, we’ll guide you through creating your own DIY self-watering container for tomato plants.
Whether you’re a seasoned gardener or a newbie, this project is both practical and budget friendly.
Materials Needed
Before you get started, gather all the materials you’ll need for this DIY project. Most of these items are easy to find and affordable:
- Large plastic container (20-30 gallons): This will serve as the main body of your self-watering container.
- Smaller plastic container (2-3 gallons): This will act as the water reservoir.
- PVC Pipe (1-2 inches in diameter, 2-3 feet long): This pipe will be used to add water to the reservoir without disturbing the soil.
- Potting soil: Use a high-quality potting mix suitable for growing vegetables.
- Perlite or vermiculite: These will be mixed into the soil to improve aeration and water retention.
- Landscape fabric or a perforated lid: To separate the soil from the water reservoir while allowing moisture to wick upwards.
- Drill and drill bits: To create holes for water drainage and airflow.
- Tomato cage or stakes: For supporting your growing tomato plants.
- Fertilizer: Use an organic fertilizer to give your tomatoes the nutrients they need.
- Read also: DIY: A Guide to Building Your Own Tomato Plant Watering System
- Read also: A Guide: Mastering the Art of Drip Irrigation for Tomatoes
Step-by-Step Guide
Step 1: Prepare the water reservoir
Start by taking the smaller plastic container and drilling several holes in the bottom.
These holes will allow water to move from the reservoir into the soil above.
Next, place this container at the bottom of the larger plastic container.
This setup will ensure that your tomato plants always have access to water, even if you forget to water them for a day or two.
Step 2: Insert the PVC pipe
The PVC pipe will be used to fill the reservoir with water.
Cut the pipe at an angle at one end and place it into the large container, with the angled end resting on the bottom near the smaller container.
This design helps the water flow smoothly into the reservoir.
Ensure the top of the pipe is slightly above the soil level for easy access.
Step 3: Add the landscape fabric or perforated lid
Place a layer of landscape fabric over the top of the smaller container.
Alternatively, you can use a perforated lid with holes small enough to keep soil out but big enough to allow water to pass through.
This layer is crucial as it prevents soil from clogging the water reservoir while still enabling the wicking action that keeps the soil moist.
Step 4: Prepare the potting mix
Mix the potting soil with perlite or vermiculite in a 3:1 ratio.
This mixture ensures that the soil retains moisture without becoming waterlogged, which can lead to root rot.
Fill the larger container with this soil mixture, ensuring it covers the landscape fabric or perforated lid and reaches the desired planting depth.
Step 5: Plant your tomatoes
Now it’s time to plant your tomato seedlings.
Dig a small hole in the center of the container and place the seedling in it, covering the roots with soil.
Be sure to press the soil gently around the plant to provide stability.
If you’re planting more than one tomato plant, make sure to space them out according to the recommended distance on the seedling label.
Step 6: Water and fertilize
Fill the PVC pipe with water until the reservoir is full.
You’ll notice that the soil will start to absorb water from the bottom up.
Add fertilizer according to the instructions on the package to give your plants a strong start.
Organic fertilizers are a great choice as they release nutrients slowly, promoting healthy, steady growth.

Care and Maintenance
Regular watering
Even though the container is self-watering, you still need to refill the reservoir periodically.
During hot, dry periods, this may be as often as every few days, depending on the size of your container and the thirstiness of your plants.
Always check the water level by peeking into the PVC pipe or by gently probing the soil.
Monitoring for pests and diseases
Tomato plants are susceptible to pests like aphids and diseases like blight.
Keep an eye out for any signs of trouble, such as discolored leaves or wilting.
Early intervention is key to keeping your plants healthy. Neem oil is an effective and natural way to manage many common pests.
Pruning and staking
As your tomato plants grow, they may need support to keep them upright and prevent branches from breaking under the weight of the fruit.
Use tomato cages or stakes to provide this support.
Additionally, pruning the lower leaves and side shoots can help improve air circulation, reduce the risk of disease, and direct more energy into fruit production.
Additional Tips and Ideas
Use a float valve
To make your self-watering container even more efficient, consider adding a float valve to the water reservoir.
This simple device will automatically maintain the water level, ensuring your plants never run dry.
Mulching
Adding a layer of mulch on top of the soil can help reduce evaporation, keep the soil temperature stable, and prevent weed growth.
Organic mulch, such as straw or wood chips, is ideal for tomato plants.
Winterizing
If you live in an area with harsh winters, consider bringing your container indoors or protecting it with insulation to prevent the soil and water from freezing, which could damage the container and kill the plants.
Companion planting
Consider planting herbs like basil or marigolds in the same container as your tomatoes.
These companions can help deter pests and improve the flavor of your tomatoes.
- Read also: A Step-by-Step Guide: DIY Self-Watering Raised Garden Bed
- Read also: A Step-by-Step Guide: The Easy DIY Self-Watering Herb Garden
Conclusion
Creating a DIY self-watering container for tomato plants is a practical and rewarding project that can significantly improve the health and yield of your plants.
With just a few simple materials and steps, you can ensure that your tomatoes receive consistent moisture, reducing the stress of watering and increasing your chances of a bountiful harvest.
Plus, this method is highly adaptable, making it suitable for both novice and experienced gardeners.
FAQs
The frequency depends on the weather and the size of your container. During hot periods, you may need to refill the reservoir every few days. Always check the water level regularly.
Yes, self-watering containers are suitable for a variety of plants, especially those that require consistent moisture, such as peppers, cucumbers, and herbs.
A container with a capacity of 20-30 gallons is ideal for growing tomatoes, as it provides enough space for root development and adequate water storage.
While not strictly necessary, the PVC pipe makes it much easier to fill the water reservoir without disturbing the soil or plants.
It’s better to mix fertilizer into the soil or apply it as a top dressing. Some fertilizers can be added to the water, but always follow the instructions on the fertilizer package.


