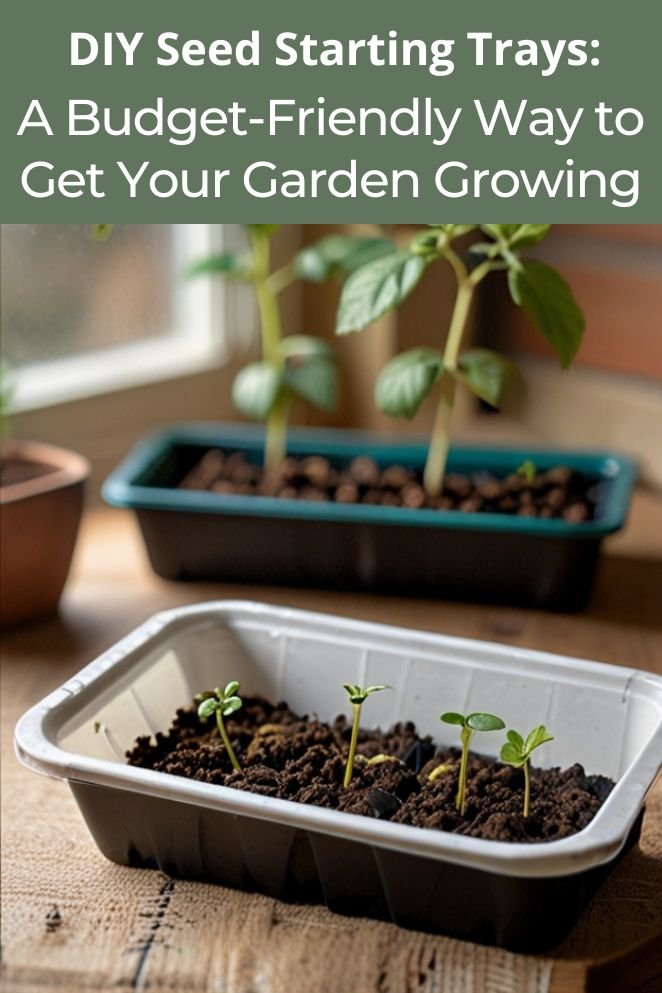
Starting seeds indoors can be a daunting task, especially for beginners.
However, with the right tools and techniques, it can be a fun and rewarding experience.
One of the most effective ways to start your seeds is by using DIY seed starting trays.
In this article, we will explore the benefits of DIY seed starting trays, the materials you’ll need, and a step-by-step guide to creating your own trays.
We will also provide some bonus tips for success and answer some frequently asked questions.
The Benefits of DIY Seed Starting Trays
DIY seed starting trays offer several benefits over traditional seed starting methods.
Here are a few of the most significant advantages:
- Read also: Grow Your Own Greens: DIY Alfalfa Sprouts at Home
- Read also: Elevate Your Green Haven: DIY Plant Stands Indoor for Every Style
Cost effective
DIY seed starting trays offer a wallet-friendly solution compared to commercial options.
By repurposing materials or opting for low-cost supplies, you can kickstart your seeds without breaking the bank.
This savvy approach frees up funds for other gardening essentials, ensuring you get the most out of your budget.
Environmentally friendly
Embracing DIY seed starting trays aligns with environmentally conscious values.
By reusing materials and minimizing reliance on disposable alternatives, you actively reduce waste and lessen your environmental footprint.
By nurturing a greener approach, you contribute to the preservation of our planet’s resources for future generations.
Customizable
One of the standout features of DIY seed starting trays is their adaptability to your gardening style.
You have the creative freedom to design trays that cater specifically to your preferences and requirements.
Whether you prioritize space-saving designs or prefer durable materials for long-term use, DIY trays can be tailored to fit your unique gardening setup.
Improved seed germination
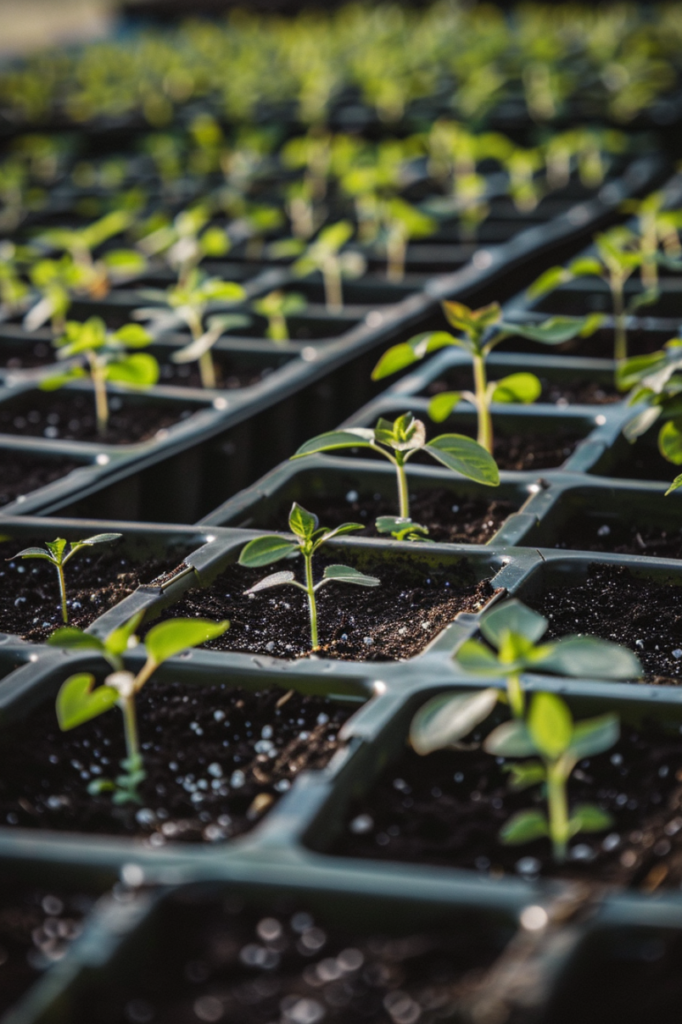
DIY seed starting trays provide an optimal environment for seed germination and growth.
With careful attention to factors like moisture, warmth, and drainage, these trays significantly enhance seedling success rates.
By nurturing a nurturing environment, you set the stage for healthy growth and a bountiful harvest come planting season.
Materials You’ll Need
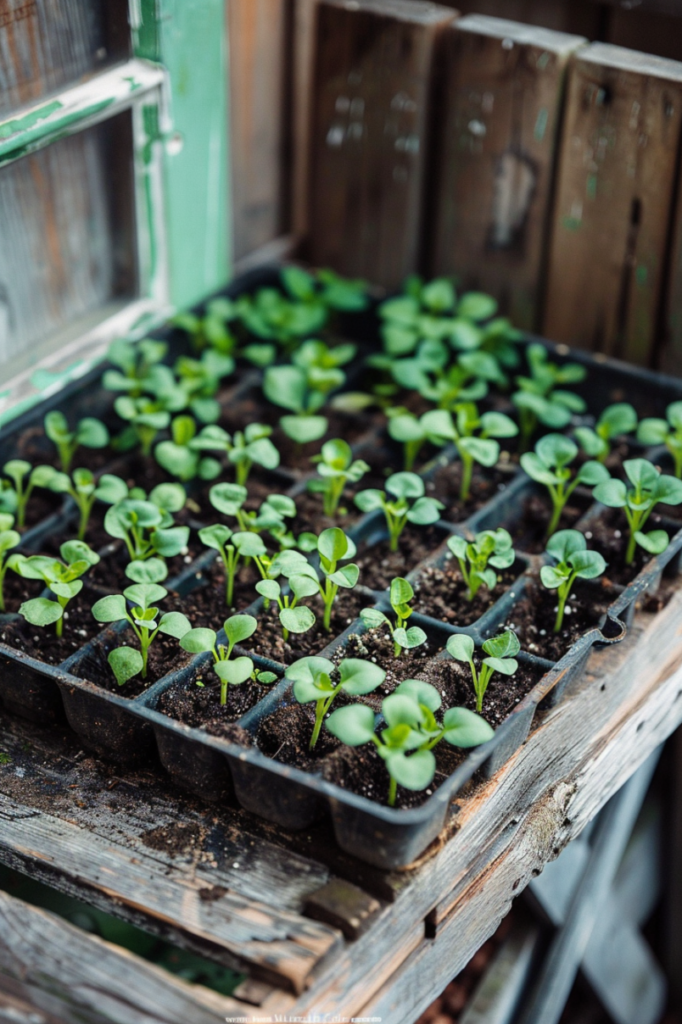
To create your DIY seed starting trays, you will need the following materials:
- Recycled containers: You can use recycled containers such as plastic cups, cardboard tubes, or wooden crates to create your seed starting trays.
- Soil: You will need a high-quality seed starting soil that is specifically designed for indoor seed starting.
- Seeds: Choose the seeds you want to start indoors and make sure they are suitable for indoor seed starting.
- Water: You will need water to moisten the soil and keep it consistently moist during the germination process.
- Heat source: You will need a heat source such as a heating mat or a warm location to provide the optimal temperature for seed germination.
- Light source: You will need a light source such as a grow light or a sunny window to provide the optimal light for seed germination.
Step-by-Step Guide to Creating Your DIY Trays
Embarking on the journey of creating DIY seed starting trays is an exciting endeavor that puts you in control of nurturing your garden right from the start.
Follow these straightforward steps to create your own trays and kickstart your gardening adventure:
Choose your containers
Begin by selecting containers that will serve as your DIY seed starting trays.
Look around your home for recycled materials such as egg cartons, yogurt cups, or shallow plastic trays. Ensure they are clean to provide a healthy environment for your seeds.
Prepare the soil
Fill your chosen containers with high-quality seed starting soil.
Opt for soil specifically formulated for seeds, providing essential nutrients and structure for healthy growth.
Keep the soil moist, but avoid saturating it to prevent waterlogged conditions.
Plant the seeds
Following the instructions on the seed packets, carefully plant your seeds in the prepared soil.
Space them evenly to allow room for growth and gently press them into the soil at the recommended depth.
Cover them lightly with additional soil.
Water the soil
Give your seeds a gentle watering to ensure the soil is evenly moist.
Avoid overwatering, which can lead to issues like damping-off disease.
Use a watering can with a fine nozzle or a spray bottle to water evenly without disturbing the seeds.
Provide heat and light
Place your DIY seed starting trays in a warm location to encourage germination.
Consider using a heating mat designed for seed starting to maintain consistent warmth.
Ensure your seeds receive adequate light by placing trays near a sunny window or using a grow light.
Monitor and maintain
Keep a close watch on your seeds as they germinate and grow.
Check soil moisture regularly and adjust watering as needed to maintain consistency.
Monitor temperature levels to ensure they remain optimal for germination.
With care and attention, your seeds will soon sprout and thrive, ready to be transplanted into your garden.
Bonus Tips for Success
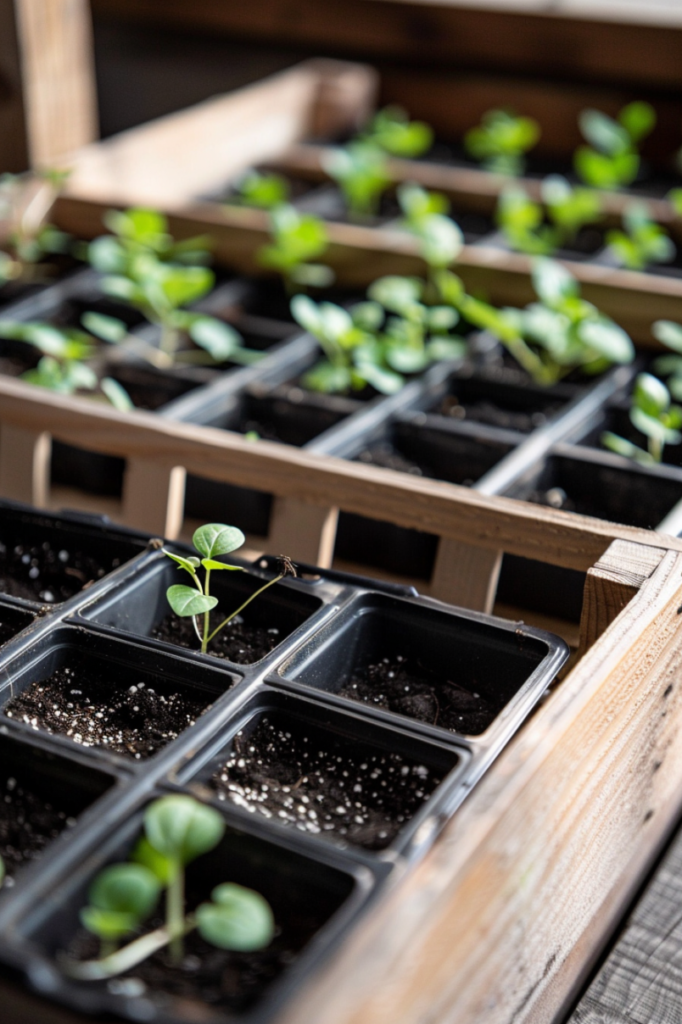
Achieving success with DIY seed starting trays is within reach with these bonus tips to enhance your gardening endeavors:
Choose a seed starting mix
Opt for a seed starting mix specifically designed for indoor seed starting.
These mixes are lightweight and sterile, providing the ideal environment for seed germination.
They also contain the optimal balance of nutrients and pH levels to support healthy seedling growth.
Maintain consistent soil moisture
Keep the soil in your DIY seed starting trays consistently moist throughout the germination process.
Avoid letting the soil dry out completely, as this can hinder seed germination.
Use a misting bottle or watering can with a fine nozzle to water gently and evenly.
Provide optimal temperature
Ensure your seeds are exposed to the optimal temperature for germination, typically between 65°F and 75°F (18°C and 24°C).
Consider using a heating mat to maintain consistent warmth, especially if your indoor environment tends to be cooler.
Consistent temperature is key to successful seed germination.
Monitor for pests
Keep a close eye on your seeds daily for signs of pests such as fungus gnats or spider mites.
These pests can damage seedlings and disrupt the germination process if left unchecked.
If you notice any pests, take immediate action to address the issue and prevent further infestation.
Provide adequate light
Once your seeds have germinated, ensure they receive adequate light for healthy growth.
Place your DIY seed starting trays near a sunny window where they can receive natural sunlight, or use a grow light to supplement light levels.
Proper lighting is essential for strong, vigorous seedling development.
- Read also: Crafting Your Urban Oasis: DIY Plant Shelf Indoor Ideas
- Read also: Creating Green Harmony: A Guide to DIY Plant Wall Indoor
Conclusion
DIY seed starting trays are a cost-effective and environmentally friendly way to start your seeds indoors.
By following the steps outlined in this article, you can create your own DIY seed starting trays and enjoy the benefits of successful seed germination.
Remember to use high-quality seed starting soil, provide optimal conditions for germination, and monitor the seeds daily for pests.
With these tips and techniques, you can successfully start your seeds indoors and enjoy a bountiful harvest.


