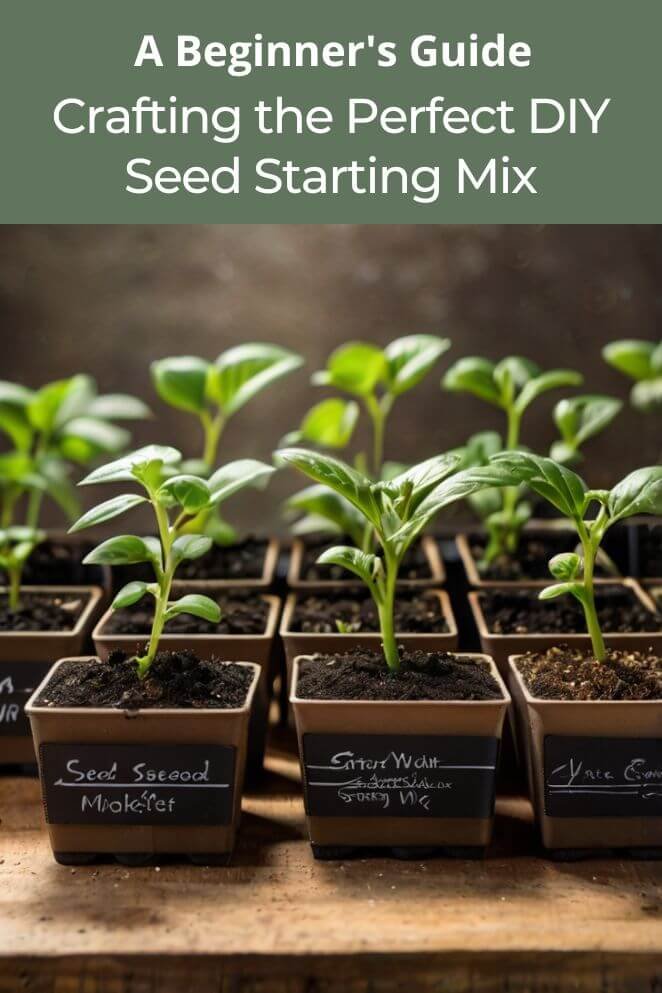
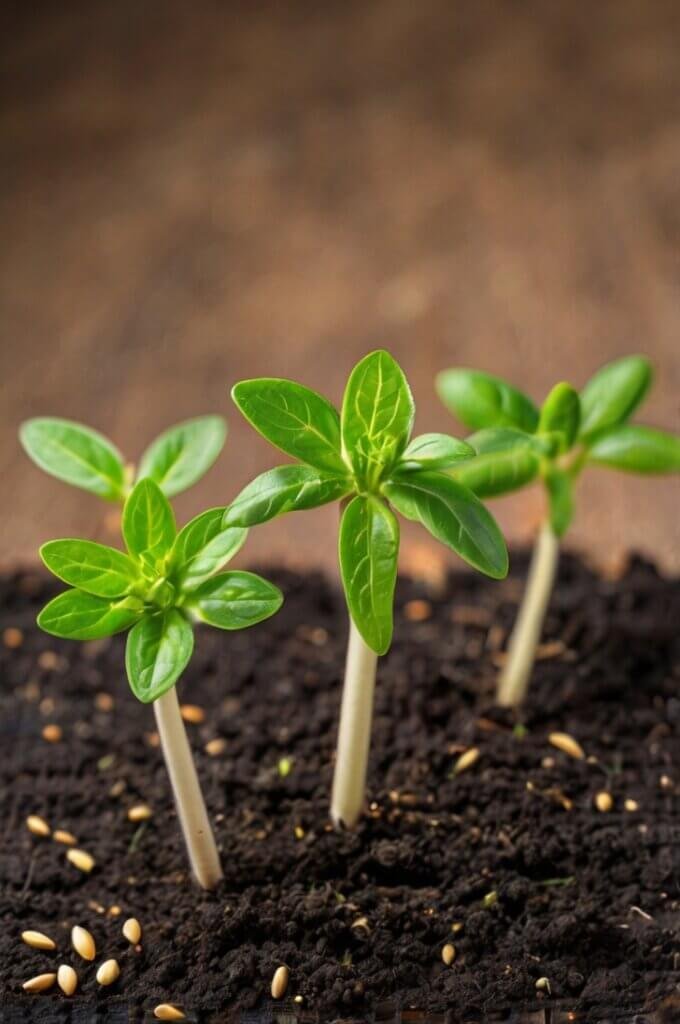
Starting seeds at home is a rewarding and cost-effective way to grow a garden.
Using a homemade seed starting mix can give your seeds the best start, ensuring they get the nutrients and structure they need to thrive.
In this article, we will explore the benefits of using a homemade seed starting mix, provide various recipes tailored to different types of plants, offer tips for successful seed starting, and discuss safety considerations.
Benefits of Using a Homemade Seed Starting Mix
Using a homemade seed starting mix offers several valuable benefits, making it a practical choice for many gardeners.
Cost-effective
One of the main benefits of making your own seed starting mix is that it can save you money.
Pre-made mixes can be expensive, but by purchasing the ingredients in bulk and mixing them yourself, you can significantly reduce costs.
This allows you to invest in high-quality ingredients without the added expense of commercial mixes.
- Read also: Spudtacular Sprouts: Build Your Own DIY Potato Tower Planter
- Read also: Fresh Salads All Year Round: DIY Salad Bowl Garden Ideas
Customizable
When you create your own seed starting mix, you have the flexibility to adjust the composition based on the needs of different plants.
This customization ensures that each type of seed receives the specific conditions it needs to thrive.
For example, some seeds might require a mix with more drainage, while others may benefit from a mix with higher nutrient content.
Control over ingredients
Making your own mix gives you full control over the ingredients you use.
This is particularly important if you want to avoid harmful chemicals or synthetic additives that can be found in some commercial mixes.
By choosing organic or natural materials, you ensure a healthier growing environment for your seeds and contribute to more sustainable gardening practices.
Improved seedling health
A well-crafted homemade seed starting mix enhances seedling health in several ways.
It provides better aeration and drainage, which prevents waterlogged soil and root rot.
Additionally, a good mix offers optimal nutrient availability, promoting stronger and more vigorous seedling growth.
This leads to healthier plants that are more likely to thrive once transplanted into their final growing locations.
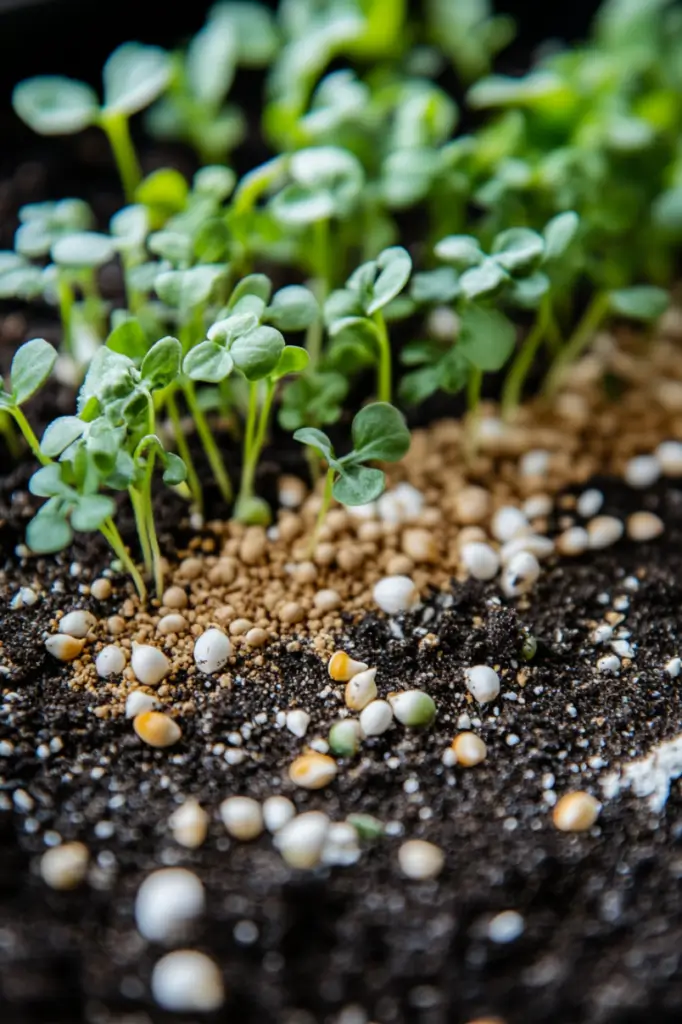
DIY Seed Starting Mix Recipes
Basic recipe
Creating a basic seed starting mix is straightforward and can be customized for various types of plants.
Here’s how to make a simple, effective mix:
Ingredients
- 2 parts peat moss or coir (coconut fiber)
- 1 part vermiculite:
- 1 part perlite:
Instructions
Combine the ingredients
Start by adding the peat moss or coir, vermiculite, and perlite into a large container.
The container should be big enough to hold and mix all the ingredients comfortably.
Mix thoroughly
Stir the ingredients together thoroughly.
The goal is to achieve an even distribution of all materials, ensuring that the mix has consistent properties throughout.
This will provide uniform growing conditions for your seeds.
Moisten the mix
Before using the mix, lightly moisten it.
This helps make the mix easier to handle and reduces the risk of seeds being displaced.
Be careful not to add too much water; the mix should be damp but not soggy.
Recipe for specific plant types
Vegetables
Vegetable seeds often require a bit more nutrition than other seeds.
Here’s a recipe tailored for them:
Ingredients
- 2 parts peat moss or coir
- 1 part compost
- 1 part vermiculite
- 1 part perlite
Instructions
Mix thoroughly
Combine the peat moss or coir, compost, vermiculite, and perlite in a large container.
Stir the ingredients well to ensure they are evenly distributed.
This helps create a consistent mix with balanced properties for your vegetable seeds.
Moisten the mix
Lightly dampen the mix before using it.
This makes it easier to handle and ensures that seeds are planted in a consistently moist environment, which promotes better germination.
Be careful not to overwater; the mix should be damp but not soggy.
Flowers
Flower seeds usually prefer a light, well-draining mix. Here’s a suitable recipe:
Ingredients
- 2 parts peat moss or coir
- 1 part perlite
- 1 part vermiculite
Instructions
Combine the ingredients
Place the peat moss or coir, perlite, and vermiculite into a large container.
Make sure the container is large enough to mix everything thoroughly without spilling.
Mix thoroughly
Stir the ingredients together until they are evenly distributed.
This ensures that the mix has a consistent texture and balanced properties, providing a suitable growing environment for your flower seeds.
Moisten slightly
Before using the mix, lightly moisten it.
This helps make the mix easier to handle and creates a suitable environment for seeds to germinate.
The mix should be damp but not soaked—just enough to make it easier to work with and keep the seeds from drying out.
Herbs
Herbs generally thrive in a mix that offers good drainage and some added nutrition:
Ingredients
- 2 parts peat moss or coir
- 1 part compost
- 1 part perlite
Instructions
Mix thoroughly
Combine the peat moss or coir, compost, and perlite in a large container.
Ensure the container is big enough to mix all the ingredients comfortably.
Stir the mixture well to distribute each component evenly, which creates a balanced growing environment for your herb seeds.
Moisten the mix
Lightly moisten the mix before using it.
This helps make the mix easier to handle and ensures that the seeds are planted in a consistently moist environment.
Be careful not to add too much water; the mix should be damp but not soggy.
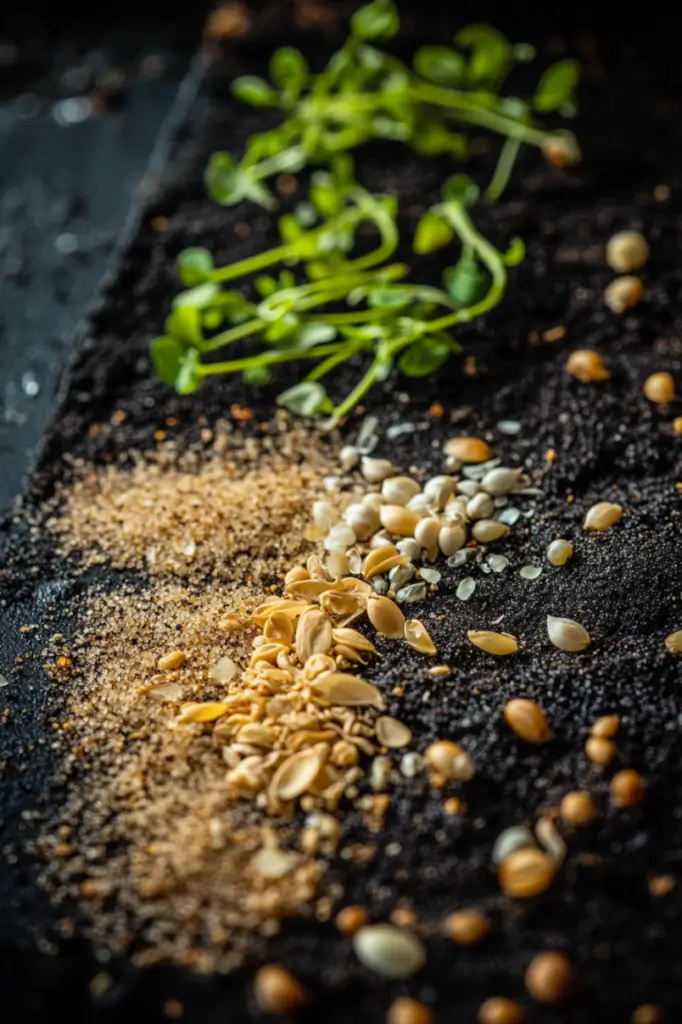
Adjusting the Mix for Different Seed Germination Needs
When starting seeds, it’s important to adjust your seed starting mix to meet the specific needs of different plants.
Here’s how you can tweak your mix to better support various types of seeds:
Adjusting the mix
Moisture-loving plants
For seeds that need a lot of moisture, you should increase the amount of peat moss or coir in your mix.
These materials help retain moisture, ensuring that the soil remains consistently damp, which is crucial for seeds that thrive in moist conditions.
Dry-loving plants
If you’re planting seeds that prefer drier conditions, you’ll need to boost the amount of perlite in your mix.
Perlite improves drainage and prevents the mix from becoming too wet, which helps keep the soil from staying overly moist and supports the needs of plants that do well in drier soil.
Nutrient-demanding plants
Some plants require more nutrients to get started.
For these, add extra compost to your mix.
Compost provides essential nutrients that help seeds grow into strong, healthy seedlings.
This adjustment ensures that nutrient-demanding plants get the support they need right from the start.
Instructions
Mixing
Use a large container, such as a wheelbarrow or a big tub, to combine your adjusted ingredients.
Stir them thoroughly to ensure that everything is evenly distributed.
This step is crucial for creating a consistent growing environment for your seeds.
Moistening
Gradually add water to the mix while you stir.
You want the mix to be evenly moist but not soggy.
Adding water slowly helps you control the moisture level, ensuring that the mix is just right for seed germination.
Filling containers
Once the mix is prepared, fill your seed trays or pots with it.
Gently firm the mix down but be careful not to compact it too much.
The goal is to create a stable base for the seeds without making the soil too dense.
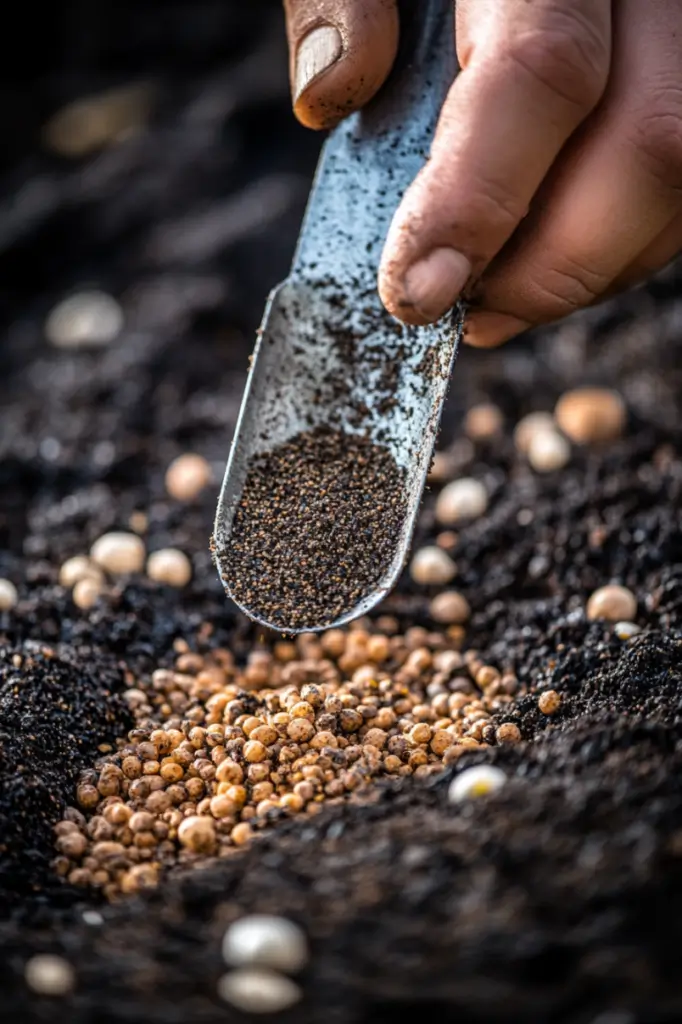
Sowing seeds
Sow your seeds according to their specific depth requirements.
Different seeds have different needs, so follow the guidelines for each type.
After sowing, lightly cover the seeds with the mix and water gently.
This helps ensure good seed-to-soil contact and provides the moisture needed for germination.
Tips for Successful Seed Starting
Starting seeds successfully involves a few key practices to ensure your plants get off to a strong start.
Here’s a detailed look at some important tips:
Labeling
It’s crucial to label your containers with the seed variety and the date you planted them.
This helps you keep track of what’s growing and when you can expect to see results.
Labels prevent confusion and make it easier to manage multiple types of seeds, especially if you’re growing a variety of plants.
Light
Seedlings need plenty of light to grow strong and healthy.
If your natural light is limited, consider using grow lights to supplement it.
Place the lights close to the seedlings, adjusting as they grow to ensure they receive adequate light.
This helps prevent leggy, weak seedlings and promotes even growth.
Watering
Consistent moisture is key but be careful not to overwater.
The mix should be kept moist, but not soggy.
Using a spray bottle can be helpful for gently watering the seedlings without disturbing the soil or causing waterlogging.
Regular monitoring will help you find the right balance.
Temperature
Most seeds germinate best in a warm environment.
Aim for a temperature range between 65-75°F (18-24°C).
You can use a heat mat if your room is cooler to provide a consistent warmth that encourages germination and promotes healthy growth.
Thinning
As your seedlings grow, they may become crowded.
Thinning them out helps ensure that each plant has enough space to develop properly.
Remove the weaker seedlings, leaving the strongest ones with adequate room to grow.
This reduces competition for light, water, and nutrients, leading to healthier plants.

Safety Considerations
When working with seed starting mixes and gardening materials, keeping safety in mind is essential.
Here’s a detailed look at some important safety considerations:
Wear gloves
Handling materials like peat moss or compost can sometimes irritate your skin.
To protect yourself, wear gloves.
They help prevent direct contact with these materials, reducing the risk of skin irritation or allergies.
Dust mask
Some of the components in seed starting mixes, such as peat moss, vermiculite, or perlite, can release fine dust particles into the air.
Inhaling these particles can be harmful.
To avoid respiratory issues, use a dust mask while mixing or handling these materials.
This simple precaution helps protect your lungs and overall health.
Clean workspace
Keeping your workspace clean is crucial for preventing contamination.
A tidy area reduces the risk of spreading diseases or pests to your seedlings.
Make sure to clean up spills and store materials properly.
This helps maintain a healthy environment for your plants and keeps your gardening activities organized.
Storage
If you have leftover seed starting mix, store it in a sealed container.
This keeps the mix fresh and prevents pests from getting into it.
Proper storage ensures that the mix remains effective and ready for future use, preserving its quality and preventing any potential contamination.
- Read also: DIY Seed Starting Trays: A Budget-Friendly Way to Get Your Garden Growing
- Read also: Eco-Friendly Fun: Easy DIY Wildflower Seed Bombs
Conclusion
Creating your own seed starting mix is a simple and effective way to give your garden a healthy start.
By understanding the needs of different plants and customizing your mix accordingly, you can ensure strong, vibrant seedlings ready for transplanting.
Remember to follow safety precautions, and use the tips provided to enhance your seed starting success.
FAQs
Garden soil is not recommended as it can be too heavy and may contain pests or diseases.
Keep the mix consistently moist, but not waterlogged. Water when the surface starts to dry out.
Sterilizing is not always necessary, but it can help prevent fungal diseases. You can bake the mix at 180°F (82°C) for 30 minutes to sterilize it.
Transplant seedlings once they have at least two sets of true leaves and the weather conditions are suitable for planting outdoors.


