In today’s world, water conservation has become more important than ever.
With droughts, increasing water costs, and environmental concerns, rainwater harvesting offers a sustainable way to water your garden while reducing your reliance on municipal water.
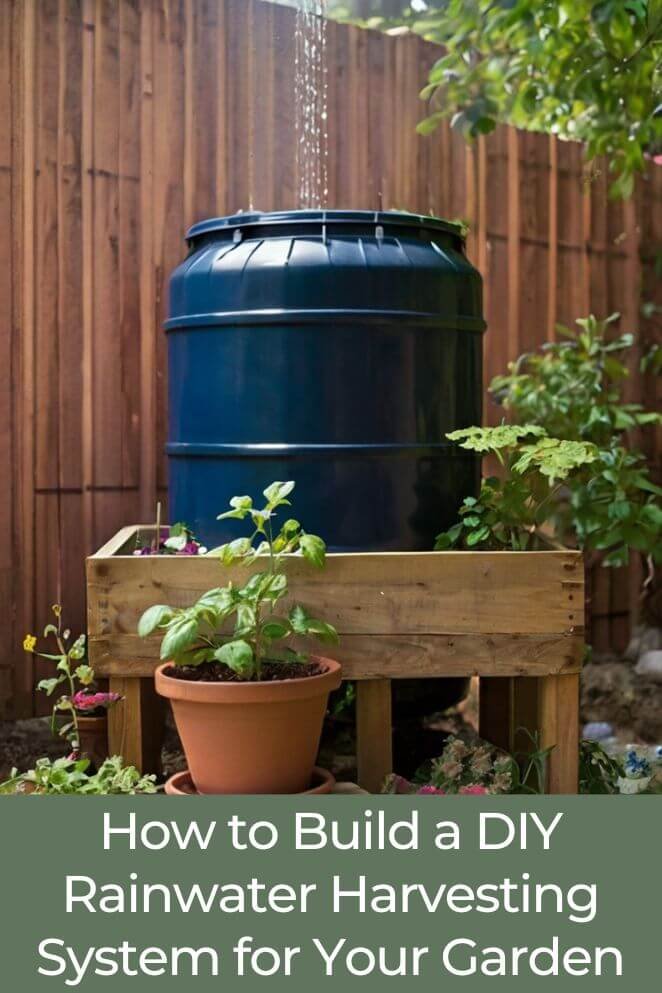
Imagine collecting free rainwater right from your roof and using it to nurture your plants—this DIY project is both practical and eco-friendly.
In fact, studies have shown that residential rainwater harvesting systems can reduce household water consumption by up to 30%.
In this post, we’ll walk you through how to build your very own rainwater harvesting system with simple materials, easy-to-follow instructions, and practical tips.
What You’ll Need (Simple Materials)
Before getting started, make sure you have all the necessary materials.
Here’s a simple list of what you’ll need to collect and store rainwater efficiently.
The barrel or container
Choose a large, food-grade barrel, like a 55-gallon drum.
This size is popular because it holds a good amount of water and is often available at a low cost.
Make sure the container is clean and free from harmful chemicals to keep your collected water safe.
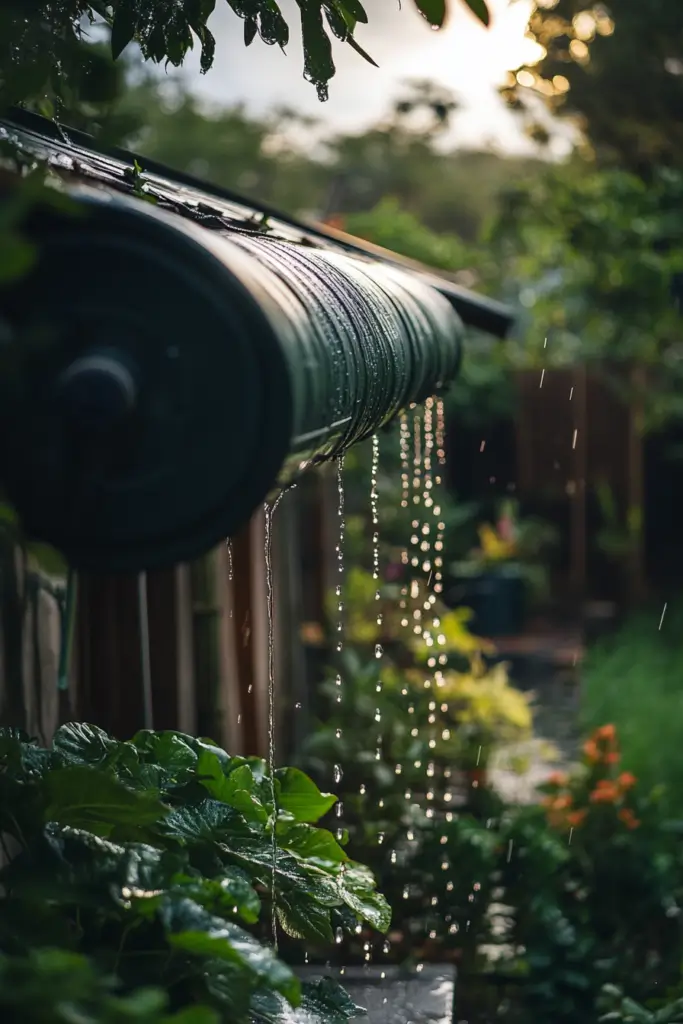
The diverter or connector
A rainwater diverter attaches to your gutter and directs water into your barrel.
This helps control water flow and prevents leaves or dirt from getting inside.
- Read also: DIY Plant Watering System: Keep Your Plants Hydrated
- Read also: A Comprehensive Guide: Hanging Plant Watering System
The downspout extension
You’ll need a downspout extension to connect your home’s gutter system to your barrel.
This piece makes sure that rainwater flows directly into your storage container without spilling or splashing.
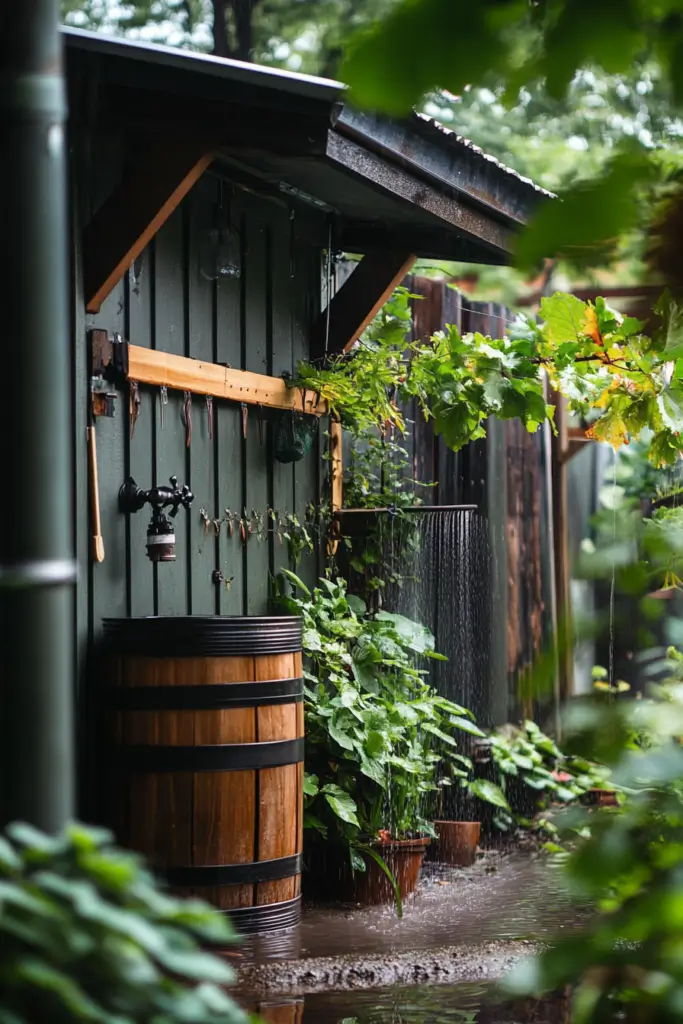
The spigot or faucet
Adding a spigot (small faucet) at the bottom of your barrel makes it easy to use the stored water.
Choose a durable, weather-resistant faucet and ensure it’s attached securely to prevent leaks.
The screen or filter
A fine mesh screen or filter sits on top of your barrel to block leaves, insects, and debris from contaminating the water.
This step is important for keeping the water clean and safe to use.
Basic tools
To put everything together, you’ll need some simple tools:
- A drill (for making holes)
- A saw (if you need to cut any parts)
- Screws and sealant (to secure connections and prevent leaks)
Step-by-Step Instructions (Easy to Follow)
Building a rainwater harvesting system is easier than you think!
Follow these simple steps to collect and store rainwater efficiently.
Step 1: Choose the right location
Find a flat, stable spot near your downspout where your barrel can sit securely.
Make sure the area has good water flow from the gutter.
If possible, place the barrel near your garden to make watering plants more convenient.
Step 2: Prepare the barrel
Before using your barrel, clean it thoroughly to remove any dirt or residues.
If needed, cut an opening near the top where your downspout will connect.
Be sure to smooth any rough edges to avoid injuries during installation.
A clean barrel helps keep your collected water fresh and safe.
Step 3: Install the diverter
Attach a rainwater diverter to your downspout.
This device will redirect water into your barrel while filtering out larger debris.
Follow the manufacturer’s instructions or, if you’re into DIY, use PVC connectors to create a simple setup.
Step 4: Attach the spigot
Drill a hole near the bottom of the barrel to install the spigot (small faucet).
Insert the spigot, secure it with screws and waterproof sealant, and make sure it’s tightly fitted to prevent leaks.
This spigot makes it easy to fill up a watering can or connect a hose.
Step 5: Add a screen or filter
Place a fine mesh screen over the barrel’s opening to keep out leaves, bugs, and other debris.
You can attach it with clips or simply lay it over the top.
This extra step ensures that your collected water stays clean and usable.
Step 6: Test your system
Before relying on your setup, run a test!
You can simulate rain by pouring water into the gutter or waiting for an actual shower.
Check if:
- Water flows smoothly into the barrel
- There are no leaks around the spigot or connections
- The diverter is working correctly
Make any necessary adjustments to improve efficiency.
Tips and Tricks (Making it Easier)
Want to make your rainwater collection system more efficient and easier to use?
Here are some simple tricks to improve your setup!
Raise your barrel for better water flow
Place your barrel on sturdy bricks or a wooden platform.
This small adjustment makes a big difference—it:
- Improves water pressure when using the spigot
- Makes it easier to attach a hose or fill a bucket
- Prevents dirt and debris from splashing onto the bottom of the barrel
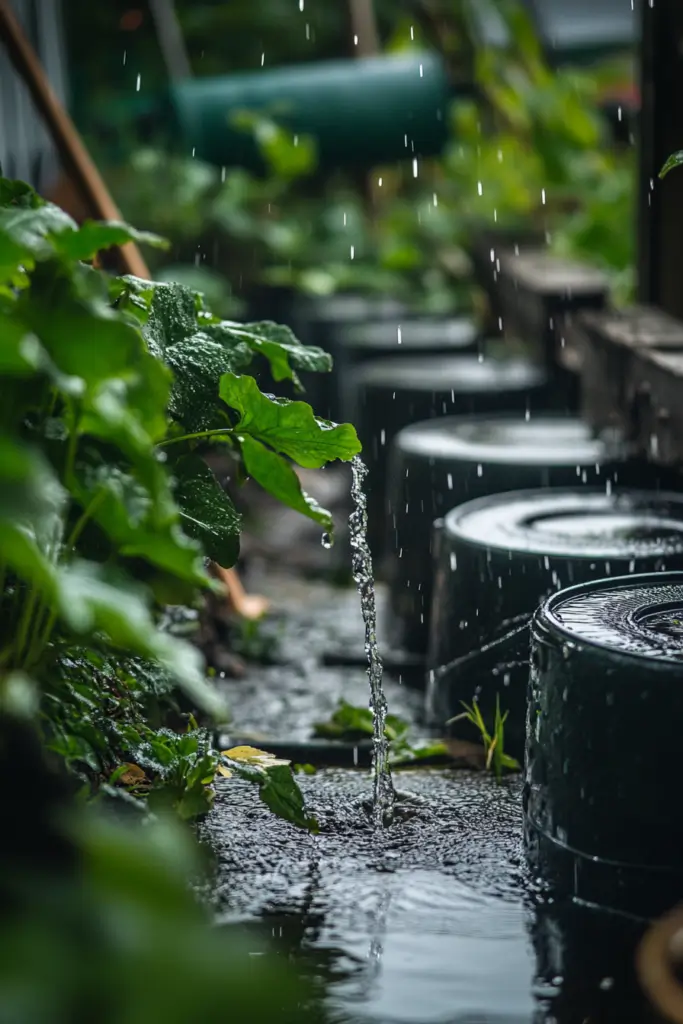
Connect multiple barrels for extra storage
If you want to store more water, you can link two or more barrels using PVC pipes.
This way:
- You collect more water during heavy rains
- You have a backup supply for dry periods
- The system stays organized and efficient
Prepare for winter (if you live in a cold climate)
Cold weather can cause water to freeze and expand, which may damage your barrel. To prevent this:
- Drain the barrel completely before temperatures drop
- Disconnect hoses to avoid cracking
- Cover the barrel to keep it protected
Proper winter maintenance can extend the life of your system by years!
Stay safe while installing
Working with tools? Safety first! Always:
- Wear gloves and safety glasses
- Make sure all materials are secure before use
- Check that your barrel is stable to avoid accidents
Using Your Rainwater (Simple Applications)
- Read also: A Step-by-Step Guide: DIY Self-Watering Raised Garden Bed
- Read also: Transform Your Yard: Build a DIY Garden Water Feature
Now that your rainwater harvesting system is up and running, let’s talk about how you can put that free, chemical-free water to good use in your garden!
Water your plants naturally
Rainwater is soft and free from chlorine, making it perfect for keeping your plants healthy and hydrated.
Use it to:
- Water flower beds for vibrant blooms
- Keep your vegetable garden thriving
- Nourish houseplants without chemical buildup
Many gardeners say their plants grow better with rainwater than with treated tap water!
Fill watering cans for easy access
For smaller gardens or indoor plants, filling a watering can with rainwater is an easy way to:
- Ensure every drop is used efficiently
- Control how much water each plant gets
- Avoid wasting water through hoses or sprinklers
Clean garden tools without waste
Instead of using tap water, try using your harvested rainwater to rinse off muddy shovels, pruners, and pots.
This helps:
- Conserve water and reduce waste
- Keep tools free from harsh chemicals
- Prevent rust by cleaning tools right after use
Final Thoughts
Building a DIY rainwater harvesting system is a practical, cost-effective, and environmentally friendly project that anyone can tackle.
By following these simple steps, you’ll not only reduce your water bills but also contribute to a sustainable lifestyle.
Remember, rainwater harvesting is more than just a trend—it’s a smart way to manage natural resources, especially in areas facing water scarcity.
With proper installation and maintenance, your system can serve your garden for many years, proving that even small changes can make a big difference.


