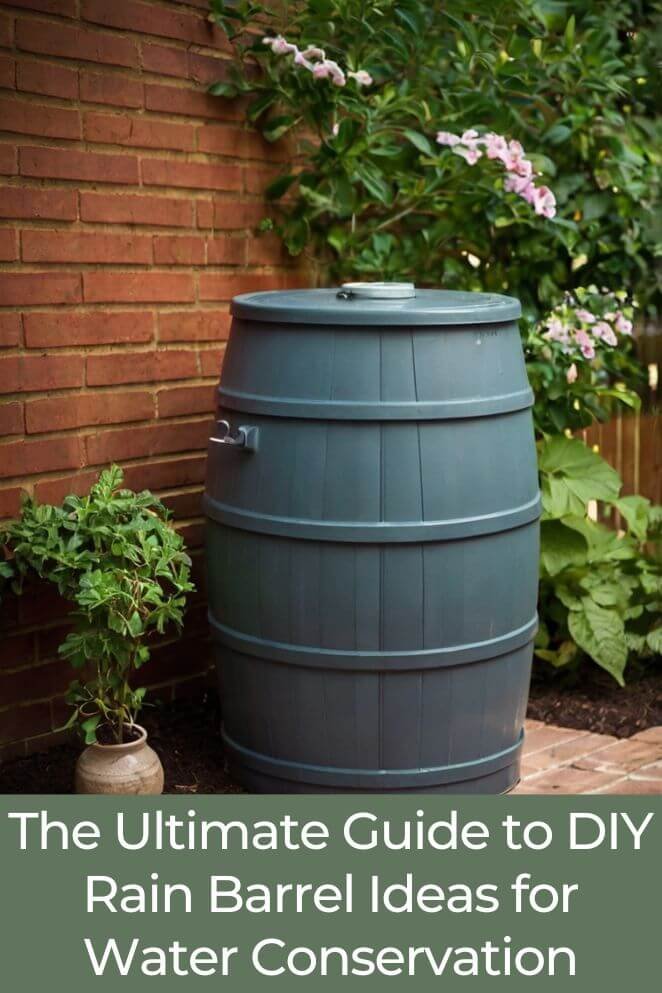
If you’re looking for an eco-friendly and cost-effective way to conserve water, building a DIY rain barrel is the perfect project.
Rain barrels help you capture and store rainwater, which you can use for tasks like watering plants, washing your car, or even cleaning outdoor spaces.
This blog will guide you through creating your own rain barrel, covering everything from planning to maintenance.
What is a Rain Barrel?
A rain barrel is a simple tool that helps you save rainwater for later use.
It’s a container placed under your gutter system to collect rainwater that would otherwise flow off your roof and go to waste.
Instead of letting the water runoff into storm drains or your yard, the rain barrel stores it, giving you a free and eco-friendly way to water your garden or wash outdoor surfaces.
Using a rain barrel is an easy way to conserve water, reduce runoff, and make the most of what nature provides!
- Read also: A Beginner’s Guide: DIY Rainwater Collection for Plants
- Read also: Save Water, Grow More! DIY Drip Irrigation for Raised Beds
Benefits of Using Rain Barrels
Rain barrels aren’t just trendy—they’re a smart, practical way to save water and help the environment.
Here’s why they’re worth considering:
Water conservation
By collecting rainwater, you reduce your need to rely on municipal water supplies.
It’s a simple way to conserve a valuable resource, especially during dry seasons.
Cost savings
Using free rainwater for tasks like watering your garden or cleaning outdoor spaces means a lower water bill.
This is especially helpful if you do a lot of gardening in the warmer months.
Eco-friendly
Rain barrels help reduce stormwater runoff, which can carry pollutants like chemicals, oil, and dirt into local rivers and lakes.
Less runoff means a cleaner environment and healthier waterways.
Healthier plants
Rainwater is free of chlorine, fluoride, and other chemicals often found in tap water.
This makes it gentler on your plants, helping them grow stronger and healthier.
Planning Your DIY Rain Barrel Project
Before diving into the project, it’s important to plan:
Choosing the right container
The container is the heart of your rain barrel, so choose wisely.
- Ideal containers: Food-grade plastic barrels, repurposed pickle barrels, or large trash bins.
- Capacity: Aim for a barrel that holds at least 50-100 gallons.
- Condition: Ensure the container is clean and free of chemicals.
Materials needed
Here’s a checklist of items you’ll need for this project:
- A large plastic barrel (50-100 gallons)
- Spigot with washers and a rubber gasket
- Drill with hole saw attachments
- Teflon tape
- Screen mesh (to filter debris)
- Silicone sealant
- Cinder blocks or a sturdy stand (to elevate the barrel)
- Overflow hose (optional)
Step-by-Step Guide to Building a DIY Rain Barrel
Follow these steps to build your own rain barrel:
Step 1: Prepare the container
Before you can start collecting rainwater, you need to get your barrel ready.
Here’s how to do it:
Clean the barrel
Give your barrel a good wash with mild soap and water.
This removes any dirt or leftover residue inside.
Be sure to rinse it thoroughly so there’s no soap left behind—it’s important for keeping the water safe for your plants.
Check for cracks or leaks
Inspect the barrel for any cracks, holes, or other signs of damage.
If you find any, fix them before moving forward.
A sturdy, leak-free barrel will ensure you don’t lose any water.
Drill the necessary holes
Use a hole saw attachment to drill:
- A hole at the bottom for the spigot, which you’ll use to access the water.
- Overflow holes near the top to let excess water escape when the barrel is full.
Step 2: Install the spigot
Now it’s time to attach the spigot so you can easily access the water stored in your rain barrel.
Follow these steps for a secure and leak-free installation:
Position the spigot
Drill a hole about 2–3 inches from the bottom of the barrel.
Placing it low ensures you can drain most of the water while leaving enough room for stability.
Seal the spigot
- Wrap the threads of the spigot with Teflon tape to create a watertight seal.
- Insert the spigot into the hole and secure it from the inside using a washer and nut. This extra layer of support keeps the spigot firmly in place.
Test for leaks
- Tighten all connections and apply a layer of silicone sealant around the spigot, both inside and outside the barrel.
- Let the silicone dry completely for at least 24 hours before testing.
Step 3: Create an inlet for rainwater
To collect rainwater effectively, you’ll need to create a way for water to flow from your roof into the barrel.
Cut a hole in the lid
Use a drill or utility knife to make a hole in the lid of the barrel where your downspout will fit.
Add a mesh screen
Cover the hole with a mesh screen to prevent debris, leaves, and mosquitoes from getting inside.
Secure the screen in place to keep your water clean and pest-free.
Step 4: Set up overflow management
Rain barrels can fill quickly, especially during heavy rain, so you need a plan for handling excess water.
Drill overflow holes
Make small holes near the top of the barrel to let extra water escape.
Attach an overflow hose
Connect a hose to one of the holes to guide overflow water safely away from your home’s foundation.
This helps prevent water damage or erosion around your house.
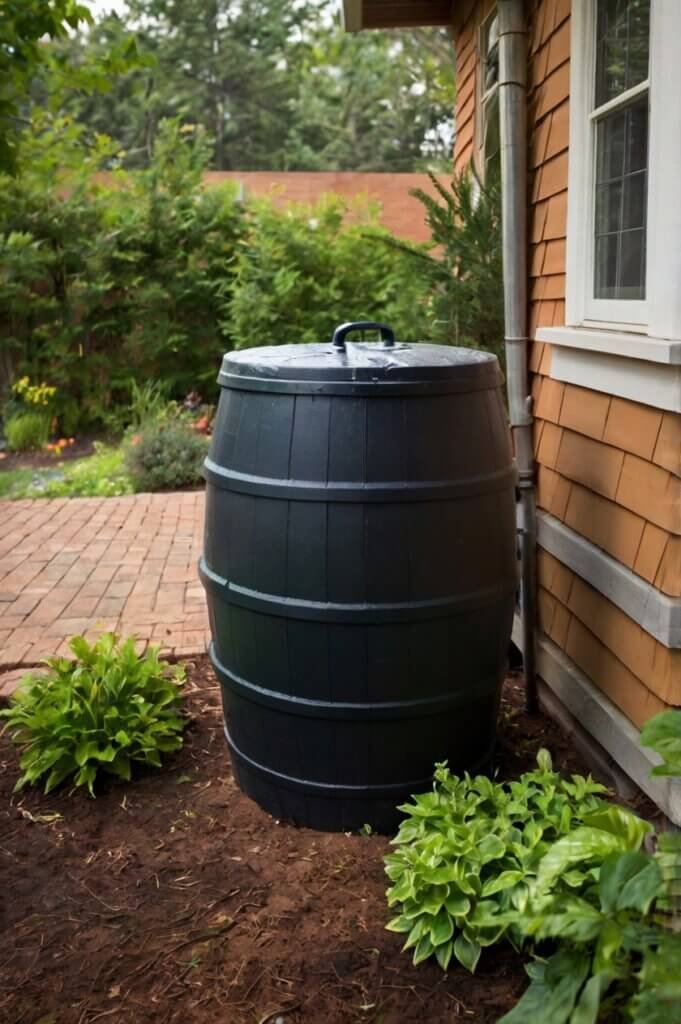
Step 5: Elevate your rain barrel
Raising your rain barrel improves its functionality and safety.
Build a stand
Place your barrel on a sturdy base, such as cinder blocks or a wooden platform.
Elevating the barrel increases water pressure, making it easier to use a hose or fill watering cans.
Level the base
Ensure the stand is stable and level to prevent tipping over, especially when the barrel is full of water.
Enhancements and Customizations
Once your rain barrel is up and running, you can add some creative and practical upgrades to make it even better!
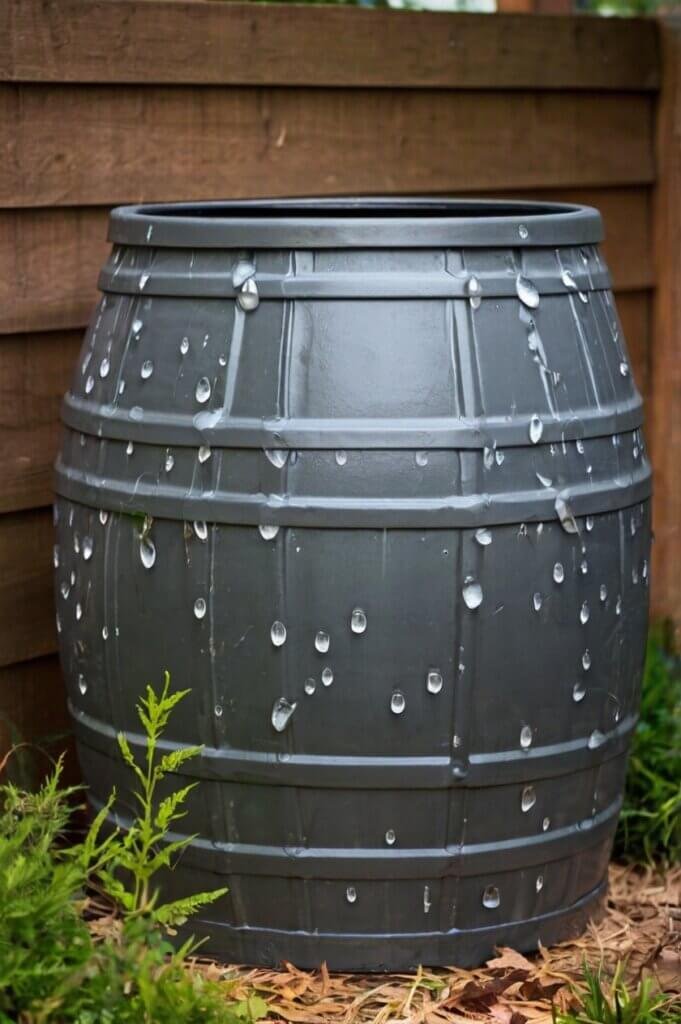
Add decorative elements
Turn your rain barrel into a feature of your garden instead of just a functional item.
- Paint it: Use weatherproof paint to decorate the barrel, matching it to your garden or home’s exterior.
- Add stencils: Create patterns or designs for a personalized touch. This can make the barrel look less like a utility and more like a piece of art.
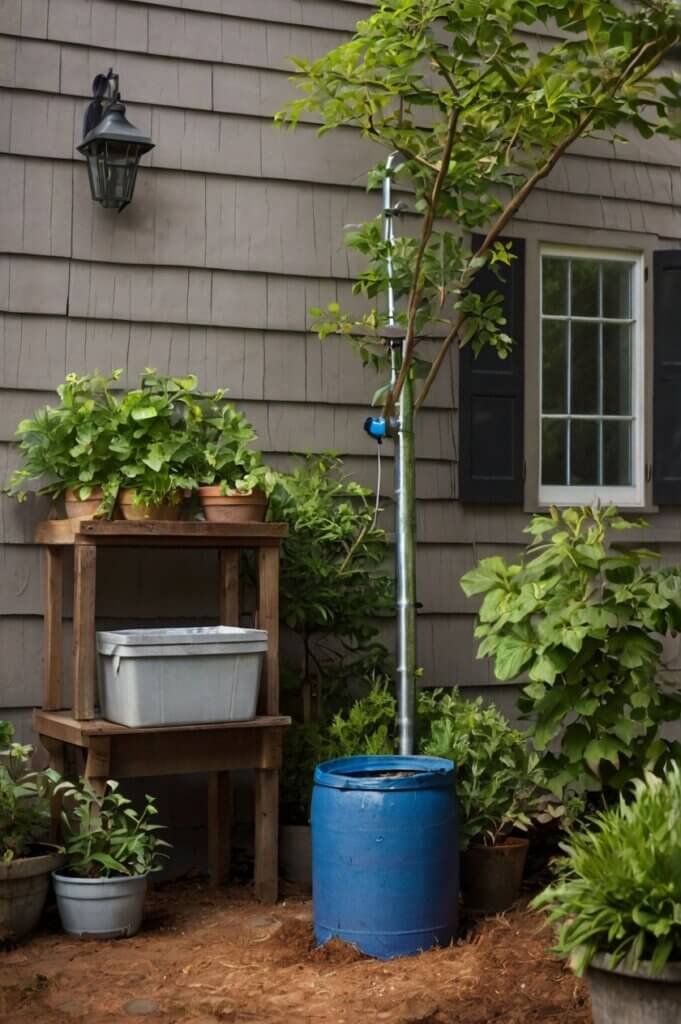
Create a multi-barrel system
If you want to store more water, consider connecting multiple rain barrels.
- Use PVC pipes or hoses to link barrels together. This allows overflow water from one barrel to fill another, effectively increasing your storage without needing more downspouts.
- Great for larger gardens or regions with heavy rainfall!
Integrate with garden irrigation
Make watering your plants easier by connecting your barrel to a garden irrigation system.
- Attach a soaker hose: Run the hose from the barrel directly into your garden beds for slow, consistent watering.
- Use a timer: Add a simple timer to automate when water flows to your plants, saving time and effort.
Tips for Maintaining Your Rain Barrel
To keep your rain barrel working effectively and ensure it lasts for years, regular maintenance is essential.
Here are some simple tips to help:
Keep your rain barrel clean
Over time, debris, algae, and insects can accumulate, affecting the quality of the water and the barrel itself.
Remove debris and algae
Check the barrel regularly for leaves, dirt, or algae buildup.
- Empty the barrel, scrub the interior with a mixture of water and mild soap, and rinse thoroughly.
- Clean the mesh screen over the inlet to prevent blockages.
Treat for mosquitoes
Standing water can attract mosquitoes.
- Use a fine mesh screen to prevent mosquitoes from entering the barrel.
- Consider adding a mosquito dunk or tablet (natural, non-toxic options are available) to keep larvae at bay.
Prepare for winter
Freezing temperatures can damage your rain barrel and its components, so it’s important to winterize it before the cold sets in.
- Drain the barrel: Empty the barrel completely to prevent water from freezing and causing cracks or leaks.
- Store the barrel indoors (if possible): If you have the space, bring the barrel inside a shed or garage to protect it from harsh weather.
- Cover it outdoors (if storing outside): If you can’t move it indoors, turn it upside down to prevent water from collecting inside, and cover it with a tarp for added protection.
- Read also: A Step-by-Step Guide: DIY Self-Watering Raised Garden Bed
- Read also: A Guide: Create Your Own DIY Drip Irrigation for Containers
Final Thoughts
Building a DIY rain barrel is a simple, rewarding project that benefits both you and the environment.
With the right materials, a little effort, and regular maintenance, you’ll have a sustainable water source that supports your garden and reduces your water bill.
Start your project today and make a positive impact!
FAQs
It’s best to use food-grade plastic barrels to ensure the water remains safe for plants. Avoid barrels that previously held toxic substances.
The amount depends on your roof size and rainfall. A 1,000-square-foot roof can collect about 600 gallons of water per inch of rain.
Absolutely! Even in dry areas, occasional rainfall can be captured and stored for future use.
Not necessarily. Elevating the barrel improves gravity-fed water pressure, but a pump can be added for more force.


