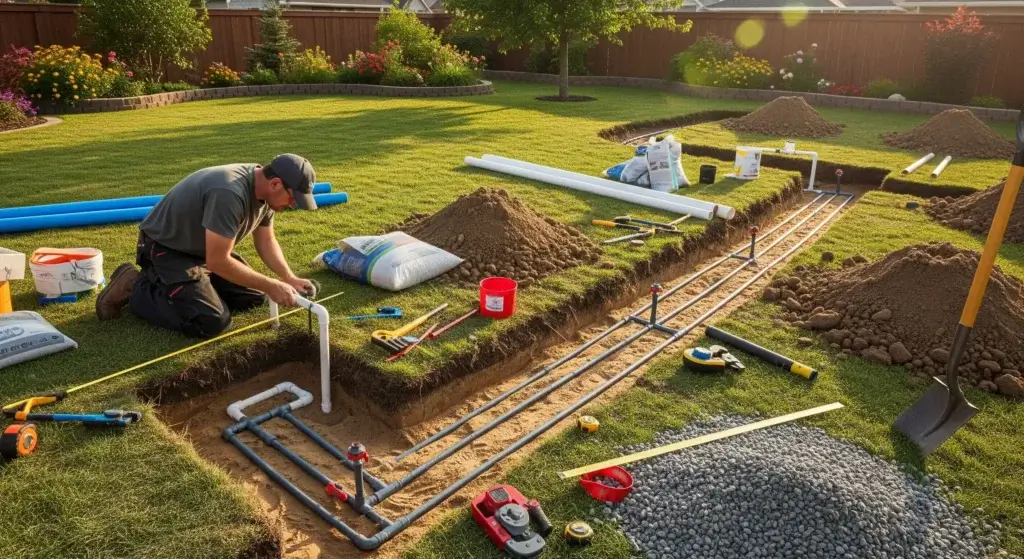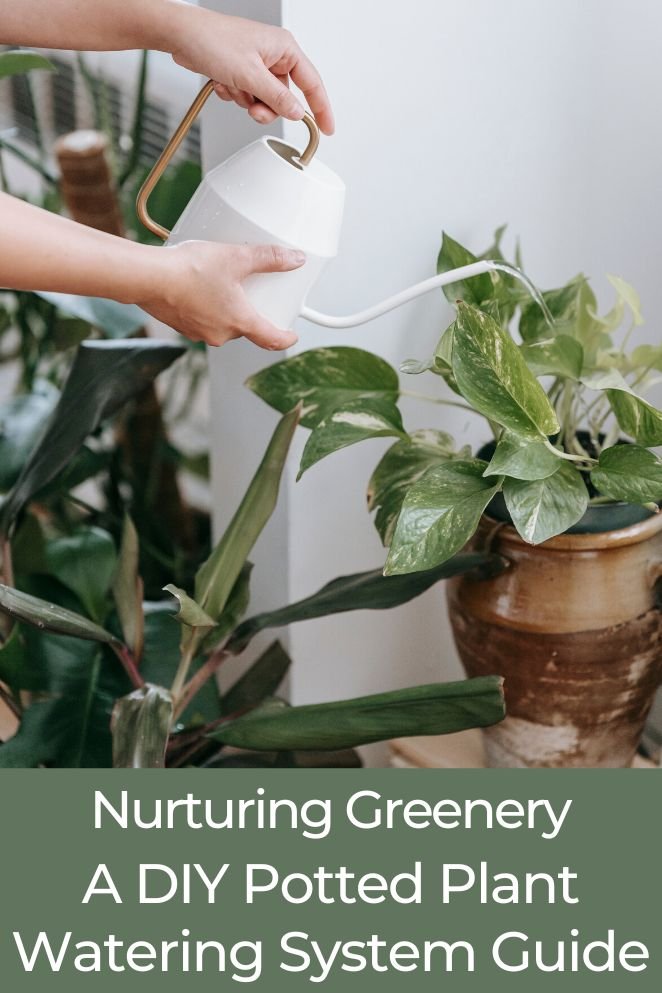
Step into the realm of effortless plant care! In this all-inclusive guide, we’ll delve into the craft of crafting your DIY potted plant watering system.
Bid farewell to the hassle of uneven watering and welcome a garden that flourishes.
Come along on this expedition as we create a straightforward and efficient solution to ensure your plants stay well-hydrated and thrive.
The Importance of Proper Plant Hydration
Before delving into the intricacies of setting up a DIY watering system, let’s underscore the pivotal role that proper hydration plays in promoting the well-being of your plants.
Much like us, plants rely on a consistent water supply to fuel their growth, enhance vitality, and fortify their resilience.
A plant that receives ample hydration is a contented one, boasting lush foliage, vibrant blooms, and a robust root system.
Consistency emerges as the key factor in ensuring optimal plant health.
It’s the unwavering provision of water that contributes to a thriving garden, even on those hectic and time-pressed days.
Now, let’s explore why this is crucial.
- Read also: DIY Plant Watering Globes
- Read also: Tomato Plant Watering System
Growth and development
Plants, like any living organism, exhibit growth as a fundamental characteristic of their life cycle.
Adequate hydration supports this growth process by facilitating the absorption of essential nutrients from the soil.
It fuels the development of leaves, stems, and roots, contributing to a well-formed and resilient plant structure.
Vitality and resilience
Proper hydration is directly linked to the overall vitality and resilience of plants.
When adequately watered, plants can better withstand environmental stressors such as extreme temperatures or fluctuations in weather conditions.
This resilience is reflected in the plant’s ability to recover swiftly from adverse situations and maintain its overall health.
Foliage and bloom quality
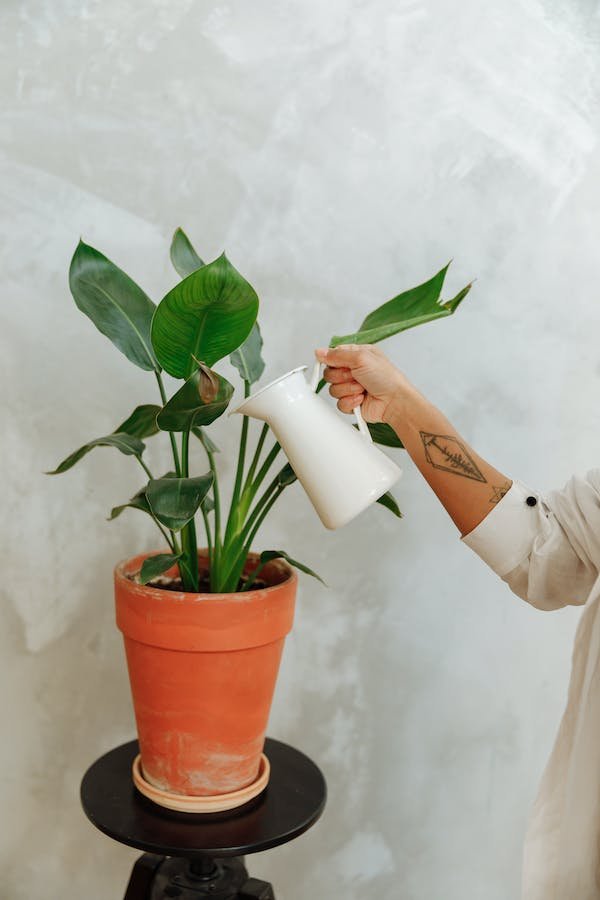
Consistent watering enhances the visual appeal of your garden by promoting healthy foliage and vibrant blooms.
This not only adds aesthetic value but also signifies the plant’s optimal state of health.
Materials and Tools
Now, let’s gather the essentials for your DIY project. You won’t need a degree in engineering—just a few readily available items:
Materials
- Plastic or PVC tubing: Choose a size suitable for your plant arrangement.
- Drip emitters: These regulate water flow to individual plants.
- Tubing connectors: Ensure a secure and watertight fit.
- Water reservoir: A container to hold the water supply.
- Timer (optional): For automated watering convenience.
Tools
- Scissors or PVC cutter: To cut tubing to the desired lengths.
- Drill with bits: For creating holes in the tubing.
- Tape measure: Ensure precision in tubing placement.
- Zip ties or clamps: Secure tubing and drip emitters in place.
Step-by-Step Construction
Measure and cut tubing
Start by carefully assessing the distance from the water source to each plant.
This step ensures you cut the tubing to the exact length needed for efficient water delivery.
Consider the layout of your garden and the placement of each plant to determine the most effective configuration for your DIY watering system.
Drill holes
Armed with a drill, create holes in the tubing at strategic points aligned with the water requirements of each plant.
Take into account the specific needs of individual plants and adjust the hole size accordingly.
This meticulous approach ensures that your DIY watering system delivers the right amount of water to each plant, promoting optimal growth and health.
Connect tubing
Utilize tubing connectors to seamlessly link different sections of tubing.
This forms a comprehensive network that efficiently reaches all the plants in your garden.
Pay attention to the placement of connectors, ensuring a secure and watertight connection.
This interconnected tubing system becomes the backbone of your DIY watering setup, providing a well-organized and effective solution for plant hydration.
Attach drip emitters
With your drilled tubing in place, it’s time to introduce drip emitters.
These small devices play a crucial role in controlled watering.
Gently insert them into the pre-drilled holes, ensuring a snug fit to prevent leaks.
Drip emitters act as the distribution points for water, ensuring a steady and targeted flow to each plant.
This meticulous step enhances the efficiency of your DIY watering system, providing tailored hydration to every corner of your garden.
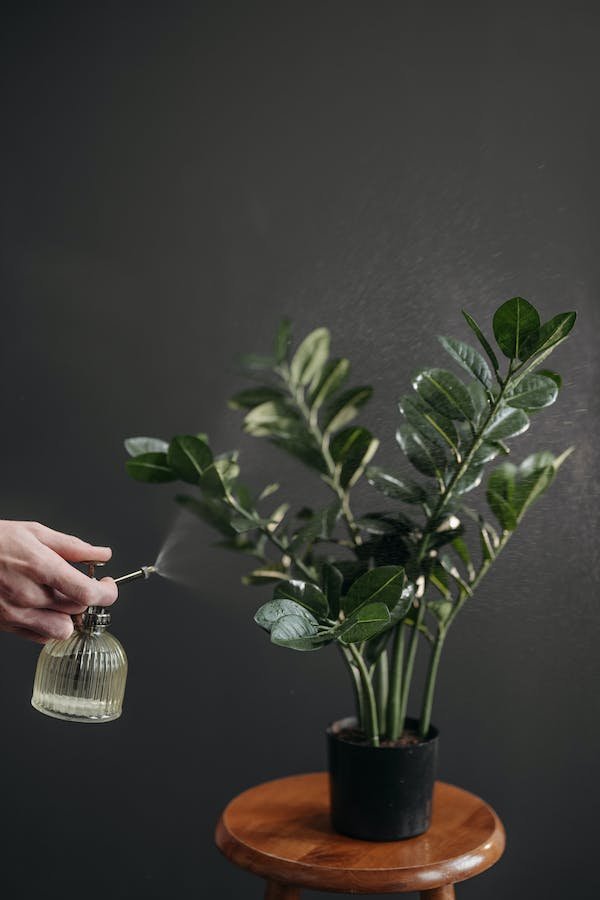
Set up the water reservoir
Take your DIY watering system to the next level by strategically positioning the water reservoir.
Elevate it to harness the power of gravity for a consistent and reliable water supply.
Securely connect the reservoir to the tubing network.
This setup ensures a seamless flow of water from the reservoir to your plants, contributing to the overall effectiveness of your system.
Test and adjust
Before declaring victory, it’s crucial to test your system.
Turn it on and observe the water flow to identify any potential issues.
Pay close attention to each drip emitter, ensuring they function as intended.
Take this opportunity to make any necessary adjustments to emitter placement and flow rates.
This hands-on testing and adjustment phase ensures that your DIY watering system is optimized for your specific garden layout, guaranteeing each plant receives the right amount of water.
Tips for Success
Customize for Plant Needs
Recognize the diversity in water requirements among different plants in your garden.
Adjust the number of drip emitters and their flow rates according to each plant’s specific needs.
Some plants may thrive with more frequent, gentle watering, while others prefer a slower, deeper soak.
This customization ensures that your DIY watering system is not a one-size-fits-all solution but a tailored approach to meet the unique demands of each plant in your care.
Monitor Soil Moisture
The key to a successful watering system lies in maintaining an optimal soil moisture level.
Regularly check the soil moisture around each plant to fine-tune your watering system.
This hands-on approach helps you avoid the pitfalls of overwatering or underwatering, promoting a healthy and balanced environment for your plants to flourish.
Use a Timer (Optional)
For added convenience and efficiency, contemplate incorporating a timer into your DIY watering system.
This optional addition allows you to automate watering schedules, particularly useful during vacations or busy periods.
A timer ensures that your plants receive consistent care, even when your schedule becomes hectic.
This thoughtful inclusion enhances the overall effectiveness of your DIY watering system and contributes to the hassle-free maintenance of your garden.
- Read also: DIY Garden Bed Ideas
- Read also: DIY Garden Fence Ideas
Conclusion
Implementing a DIY potted plant watering system simplifies your routine, bringing ease to daily plant care.
The consistent hydration provided empowers your plants to thrive, fostering happiness and health in your garden.
This newfound simplicity transforms your daily routine, ensuring that each plant receives tailored care without causing unnecessary stress.
By embracing simplicity in your routine and providing tailored care, your garden is poised to flourish.
Your green allies express their gratitude through thriving growth, making your efforts as a caretaker truly rewarding.
FAQs
Absolutely! The DIY watering system works wonders for both indoor and outdoor potted plants. Adjust tubing length and emitter placement based on your garden layout.
The frequency depends on plant type, soil, and environmental factors. Monitor soil moisture regularly and adjust watering schedules accordingly.
Yes, you can repurpose containers as long as they are clean, have a lid to prevent evaporation, and are elevated for gravity-fed watering.


