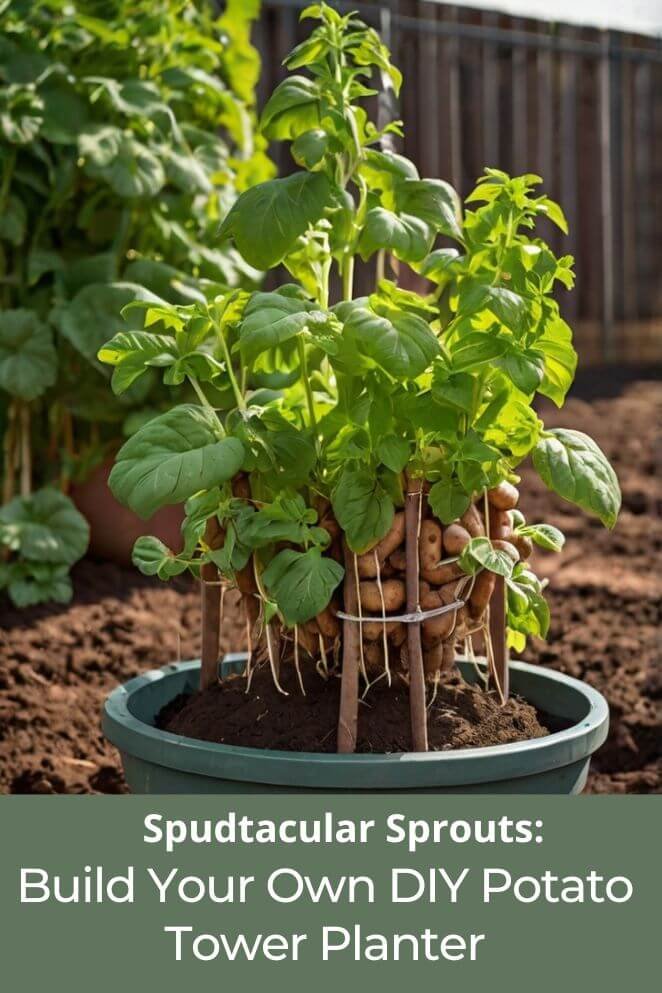
Growing potatoes at home is a rewarding experience, especially when you use a potato tower planter.
This method maximizes yield in minimal space, making it perfect for small gardens or urban settings.
In this guide, we’ll explore the benefits of potato tower planters, materials needed, step-by-step instructions to build your tower, and tips for growing and maintaining it.
Let’s get started!
Benefits of Potato Tower Planters
Space efficiency
Potato towers are great for saving space.
Instead of spreading out horizontally like traditional gardens, they grow vertically.
This means you can grow more potatoes in a smaller area, making them perfect for small yards, balconies, or patios where space is limited.
- Read also: DIY Potato Planter Box: A Step-by-Step Guide to Growing Spuds
- Read also: The Ultimate DIY Potato Grow Bag Guide
Higher yield
Using a tower allows you to grow potatoes in layers of soil.
As the plant grows taller, you add more layers of soil and continue planting.
This method can significantly increase your potato yield compared to planting them in the ground.
You maximize the use of vertical space, getting more potatoes per square foot of garden space.
Easy harvesting
Harvesting potatoes from a tower is much simpler.
When it’s time to harvest, you don’t need to dig through the soil.
Instead, you can dismantle the tower layer by layer.
This makes it easier to find and collect your potatoes without damaging them or disturbing the plants excessively.
Pest control
Elevating your potatoes in a tower can help with pest management.
Many pests, like slugs and rodents, find it harder to access your plants when they’re raised off the ground.
This reduces the risk of pests damaging your crop and decreases the need for chemical pesticides.
Materials Needed
Before you start building your potato tower, gather the following materials:
- Wooden boards or wire mesh (for the tower structure)
- Nails or screws
- Hammer or screwdriver
- Straw or mulch
- Compost or potting soil
- Seed potatoes
- Watering can or garden hose
Step-by-Step: Building Your Potato Tower
Building a potato tower is a practical way to grow potatoes in a small space.
Here’s a detailed, easy-to-follow guide:
Step 1: Choose a location
Select a sunny spot in your garden or on your patio where your potato tower will receive at least 6-8 hours of sunlight per day.
Step 2: Build the frame
Using wooden boards
- Cut four wooden boards to your preferred height, typically 3-4 feet tall.
- Nail or screw the boards together to make a square or rectangle. This forms the main structure of your tower.
- Ensure the frame is strong enough to support the weight of the soil and potatoes.
Using wire mesh
- Cut a piece of wire mesh to the same height as your wooden frame and to a length that forms a cylinder.
- Shape the mesh into a cylinder and secure the ends with wire or zip ties.
- Place the mesh cylinder in your chosen sunny location.
Step 3: Add the base layer
- Start by placing a layer of straw or mulch at the bottom of the frame or mesh cylinder. This helps with drainage and prevents soil from washing away.
- On top of the straw or mulch, add a 6-inch layer of compost or potting soil. This provides a good foundation for your potatoes to grow in.
Step 4: Plant your seed potatoes
- Cut your seed potatoes into pieces, making sure each piece has at least one sprout or “eye”.
- Place these potato pieces evenly spaced on top of the soil layer within the tower.
- Cover the potato pieces with another 6-inch layer of soil.
Step 5: Continue layering
- As the potato plants grow and reach about 6 inches in height, add another layer of straw or mulch on top of the plants.
- Follow this with another 6-inch layer of soil. Repeat this layering process as the plants continue to grow, always keeping the top of the tower covered with soil.
Step 6: Watering
- Water your potato tower regularly to keep the soil moist, but avoid waterlogging. Potatoes need consistent moisture for healthy growth.
- Check the soil regularly by inserting your finger into the soil—water if the top inch feels dry.
Growing and Maintaining Your Potato Tower
Watering
Potato plants need consistent moisture to thrive, especially during the growing season.
Check the soil regularly by inserting your finger into the soil—water when the top inch feels dry.
Avoid letting the soil dry out completely, as this can affect potato development.
Fertilizing
Potatoes are hungry plants that need nutrients to grow well.
Use a balanced fertilizer or organic compost to provide essential nutrients.
Start fertilizing about two to three weeks after planting and continue every 2-3 weeks throughout the growing season.
This helps support healthy growth and ensures your potatoes develop properly.
Pest control
Watch out for common potato pests like aphids, potato beetles, and slugs.
Monitor your plants regularly and take action if you notice any pests.
Use natural pest control methods whenever possible, such as spraying with neem oil or introducing beneficial insects like ladybugs, which prey on pests.
This helps protect your plants without harmful chemicals.
Monitoring growth
Keep an eye on your potato tower as the plants grow.
Ensure the tower structure remains stable and secure.
If needed, add support stakes or tie the tower to prevent it from tipping over, especially as it gets taller and heavier.
Regularly inspect your plants for signs of disease, such as yellowing leaves or spots, and address any issues promptly to prevent them from spreading.
Harvesting
Harvesting potatoes from a tower is easier than traditional methods.
When the potato plants start to yellow and die back, it’s a sign that the potatoes are ready for harvesting.
Carefully dismantle the tower layer by layer, starting from the top.
Dig through the soil to collect the potatoes, being gentle to avoid damaging them.
Harvesting this way is less labor-intensive and keeps your potatoes clean and undamaged.
- Read also: Balcony to Farm Fresh: DIY Vegetable Garden on a Balcony
- Read also: Beat the Frost: DIY Cold Frame For Your Vegetable Garden
Conclusion
A DIY potato tower planter is a fantastic way to grow a bountiful harvest of potatoes in a small space.
With the right materials and care, you can enjoy fresh, home-grown potatoes all season long.
Remember to monitor your tower regularly, water consistently, and provide the necessary nutrients for optimal growth.
Happy gardening!
FAQs
You can grow any variety of potatoes in a potato tower, including Russet, Yukon Gold, and Red potatoes. Choose a variety that suits your taste and growing conditions.
The yield depends on the size of your tower and the growing conditions. On average, you can expect to harvest 10-20 pounds of potatoes from a well-maintained tower.
Potato towers require regular watering, fertilizing, and monitoring for pests and diseases. However, the maintenance is manageable and rewarding given the high yield and ease of harvesting.
It’s best to refresh the soil each season to avoid disease and nutrient depletion. Use the old soil in other parts of your garden and replace it with fresh compost or potting soil.
The best time to start a potato tower is in early spring, after the last frost. Potatoes need warm soil to sprout and grow effectively.


