Growing your own potatoes can be a rewarding and delicious endeavor.
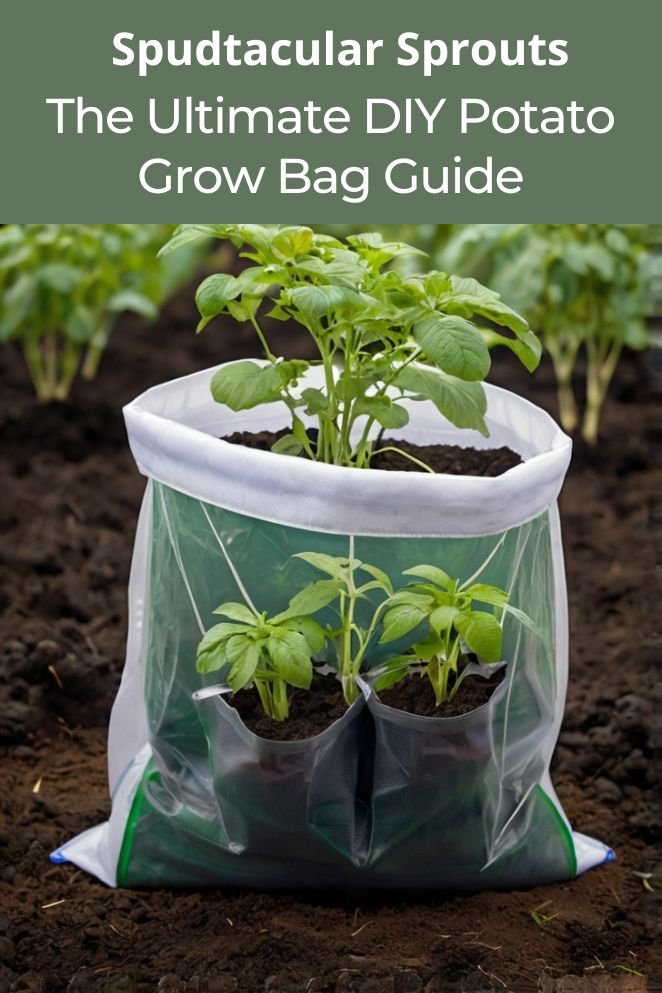
Using a grow bag is an efficient and space-saving method that allows you to cultivate potatoes even if you don’t have a large garden.
This guide will walk you through the process of creating a DIY potato grow bag, including the materials you’ll need and step-by-step instructions.
Let’s get started on your journey to homegrown potatoes!
Materials Needed
Before you start planting potatoes, make sure you have these essential materials ready:
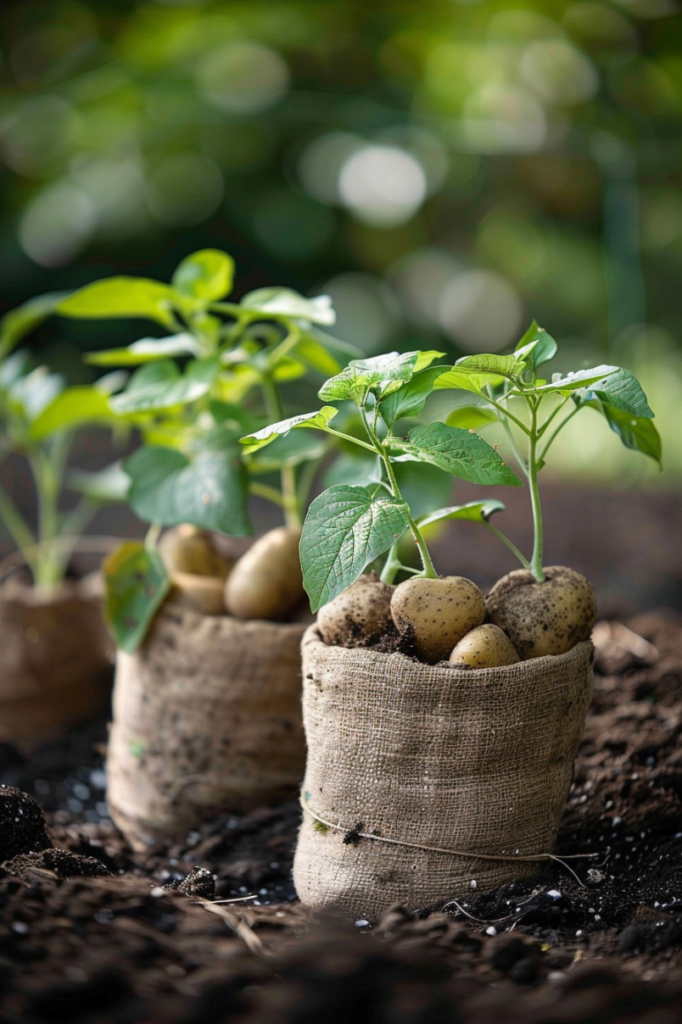
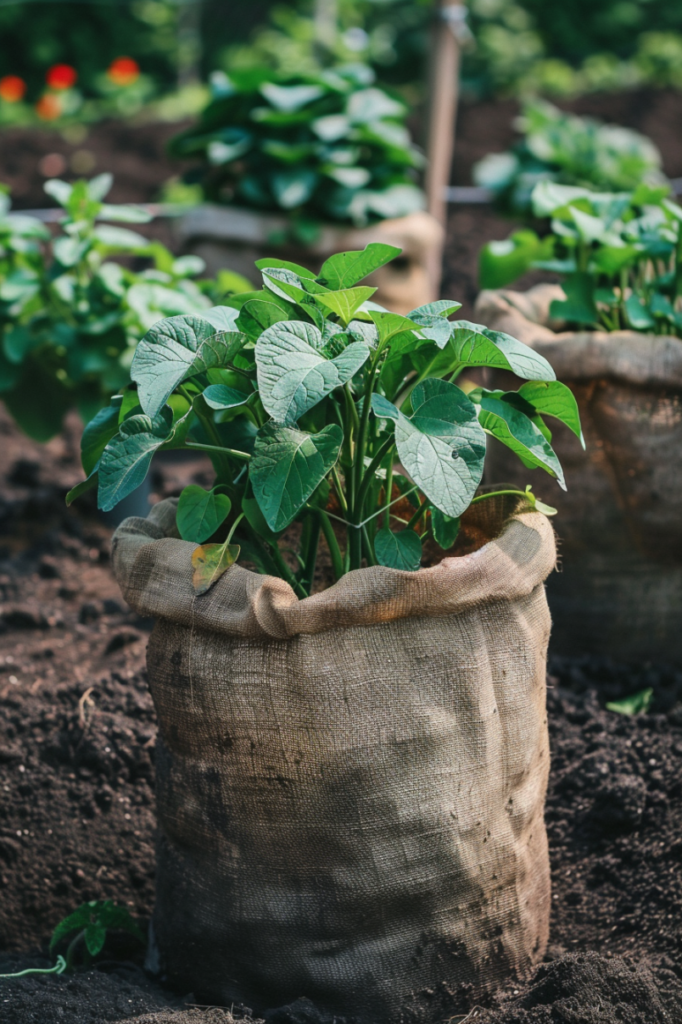
- Grow bag: You’ll need a grow bag to plant your potatoes. This can be a plastic bag, burlap bag, or even an old t-shirt.
- Potatoes: Choose the right type of potatoes for your local climate and the time of year you’re planting.
- Soil: Use a soil mix that drains well and is specifically formulated for growing potatoes. Good drainage is important to prevent waterlogging, which can rot the potatoes.
- Fertilizer: Add a balanced fertilizer to the soil before planting. This helps provide the nutrients your potatoes need to grow healthy and strong.
- Water: Keep the soil consistently moist throughout the growing season, but avoid overwatering, as this can also cause problems for your plants.
Steps to Create a DIY Potato Grow Bag
Growing potatoes in a DIY grow bag is a fun and rewarding project.
Here’s a step-by-step guide to get started:
- Read also: DIY Potato Planter Box: A Step-by-Step Guide to Growing Spuds
- Read also: Effective Strategies on How to Prevent Potato Beetles
Cut the bottom
Begin by cutting out the bottom of your chosen grow bag.
This creates a drainage hole, which is crucial to prevent water from pooling and causing root rot.
Make sure the hole is large enough to allow excess water to escape freely.
Add soil
Fill the grow bag with soil, leaving about 2-3 inches of space at the top.
Use a well-draining soil mix designed for potatoes or mix your own with compost and garden soil.
This space at the top is where you’ll plant your potatoes.

Add potatoes
Place your seed potatoes into the soil with the “eyes” facing upwards.
The eyes are small, sprout-like growths on the surface of the potato.
Each potato should have a few eyes, as these will sprout and grow into new potato plants.
Add fertilizer
Sprinkle a balanced fertilizer evenly over the potatoes and surrounding soil.
Fertilizer provides essential nutrients like nitrogen, phosphorus, and potassium that help the potatoes grow healthy and produce a good yield.
Follow the instructions on the fertilizer package for the correct amount to use.
Water
Gently water the soil until it is moist but not soggy.
The soil should feel damp to the touch, but not waterlogged.
Watering is important, especially during dry spells, to keep the soil consistently moist for optimal potato growth.
Place in sun
Position the grow bag in a sunny location where it will receive full sunlight for most of the day.
Potatoes thrive in sunlight, so choose a spot on a windowsill, balcony, or in your garden that gets plenty of sunlight.
Monitor
Check the soil regularly to ensure it stays evenly moist.
During hot weather, you may need to water more frequently to prevent the soil from drying out.
Avoid overwatering, as this can lead to issues like rotting potatoes or fungal diseases.

Tips for Growing Potatoes
Growing potatoes can be a rewarding experience, whether you’re a novice gardener or have a green thumb.
Here are some essential tips to help you grow healthy potatoes:
Choose the right variety
Select potato varieties that suit your local climate and the season you’re planting in.
Early varieties mature quicker, mid-season are versatile, and late-season store well.
Check with your local garden center for recommendations.
Provide adequate sunlight
Potatoes need plenty of sunlight to grow well.
Make sure your grow bag or garden bed is placed in a spot that gets at least six hours of direct sunlight daily.
This helps the plants develop strong tubers underground.
Keep the soil moist
Consistently moist soil is key for potatoes.
Water regularly to keep the soil evenly damp, especially during dry periods.
Avoid letting the soil dry out completely, as this can stunt growth.
However, be cautious not to overwater, which can lead to rotting and other issues.
Avoid overwatering
While potatoes like moist soil, too much water can be harmful.
Overwatering can cause the roots to suffocate and lead to diseases like root rot.
Always check the soil moisture before watering and adjust based on weather conditions.
Harvest at the right time
Knowing when to harvest is important.
Wait until the tops of the potato plants start to yellow and wither.
This indicates that the potatoes have reached maturity underground.
Carefully dig around the plants to avoid damaging the tubers, which are the potatoes you’ll be harvesting.

- Read also: Grow Your Own! DIY Vegetable Garden for Beginners
- Read also: Garden Up! Easy DIY Vertical Gardens in Small Spaces
Conclusion
Growing potatoes in a DIY grow bag is a straightforward and fulfilling project suitable for anyone, even with limited space.
By following the steps and tips mentioned earlier, you can successfully grow your own potatoes at home.
Enjoy the process and look forward to a satisfying harvest of fresh, homegrown potatoes. Happy gardening!
FAQs
Early varieties such as Yukon Gold and Red Norland are ideal for grow bags due to their shorter growing season and smaller size.
Watering frequency depends on the weather and soil condition. Generally, water when the top inch of soil feels dry to the touch.
It’s best to use fresh soil each season to prevent disease and nutrient depletion. If reusing soil, mix in fresh compost and fertilizer.
Depending on the size of the grow bag, you can plant 2-4 seed potatoes. Ensure there’s enough space for each potato to grow.
Yes, as the potato plants grow, you should add more soil to cover the stems, a process known as “hilling.” This encourages more tuber growth and prevents sunlight from reaching the potatoes, which can cause greening and make them inedible.


