
Recycling plastic containers into DIY planters is a fantastic way to cut down on waste and add a personal touch to your garden or home.
With growing attention on sustainability, many people are embracing upcycling projects to give everyday items a new purpose.
Plastic containers are especially versatile for this kind of project.
Whether you’re an experienced gardener or just enjoy DIY crafts, turning these containers into planters is not only cost-effective but also a great way to support environmental efforts.
Choosing the Right Plastic Container
Not all plastic containers are created equal, and selecting the right one is the first step to creating a successful DIY planter.
Types of plastic containers suitable for planters
Many types of plastic containers can be repurposed as planters, including:
- Soda bottles
- Water bottles
- Milk jugs
- Take-out containers
- Plastic tubs (e.g., yogurt or ice cream containers)
Each of these containers comes in various sizes and shapes, which gives you flexibility depending on the plants you want to grow.
- Read also: Beginner’s Guide: DIY Eco-Friendly Upcycled Container Garden
- Read also: From Trash to Table: DIY Container Ideas For Herbs
Factors to consider
Size
The size of your container will depend on the type of plant you’re planning to grow.
Small herbs or succulents, for example, can thrive in compact containers, while larger plants will need more space.
Shape
Choose a shape that complements the aesthetic you’re aiming for.
Tall and narrow containers are great for vertical arrangements, while wide containers provide more room for spreading plants.
Drainage
One of the most important considerations is ensuring your planter has proper drainage.
Without drainage holes, water can accumulate at the bottom, leading to root rot.
If your container doesn’t have holes, you can easily add them with a drill or utility knife.
Preparing the container
Before you start planting, clean your plastic container thoroughly to remove any residue or chemicals.
Warm, soapy water is usually enough to clean the interior.
Once it’s dry, drill or cut small holes at the bottom for drainage.
These holes allow excess water to escape, preventing the roots from sitting in water, which could cause damage.
Materials Needed
To create your DIY planters, gather the following materials:
- Plastic bottles (soda, water, milk, etc.)
- Acrylic paint (for decoration)
- Scissors
- Dry erase marker (for marking where to cut)
- Paint pens (for fine details)
- Permanent marker
- Utility knife (for cutting harder plastic)
- Googly eyes (optional, for fun designs)
- Glue (if adding decorative items like googly eyes or embellishments)
- Potting soil
- Small plants (succulents, herbs, or flowers)
Step-by-Step Guide
Step 1: Choose and prepare your plastic container
Start by selecting a plastic container from your household.
Larger containers, like milk jugs, work well for medium-sized plants, while soda or water bottles are perfect for small plants like succulents.
- Clean the container thoroughly with soap and water.
- Mark with a dry erase marker where you want to make cuts or add drainage holes.
- Use scissors or a utility knife to cut the top part of the container if needed and drill or cut drainage holes at the bottom.
Step 2: Decorate the planter
Once your container is clean and prepped, it’s time to get creative.
Use acrylic paint to cover the surface of the container.
This step not only makes the planter look attractive but can also help protect the plastic from UV rays, extending its lifespan.
- Use a base coat of acrylic paint and allow it to dry completely.
- Once dry, use paint pens or permanent markers to add designs, patterns, or even faces. For a playful twist, glue on googly eyes!
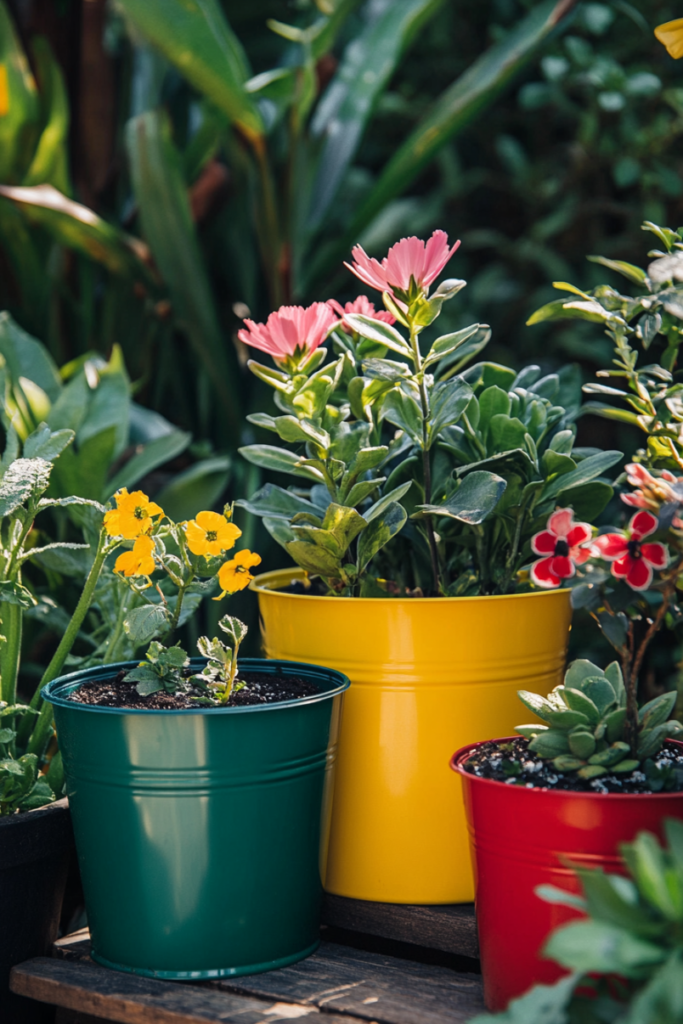
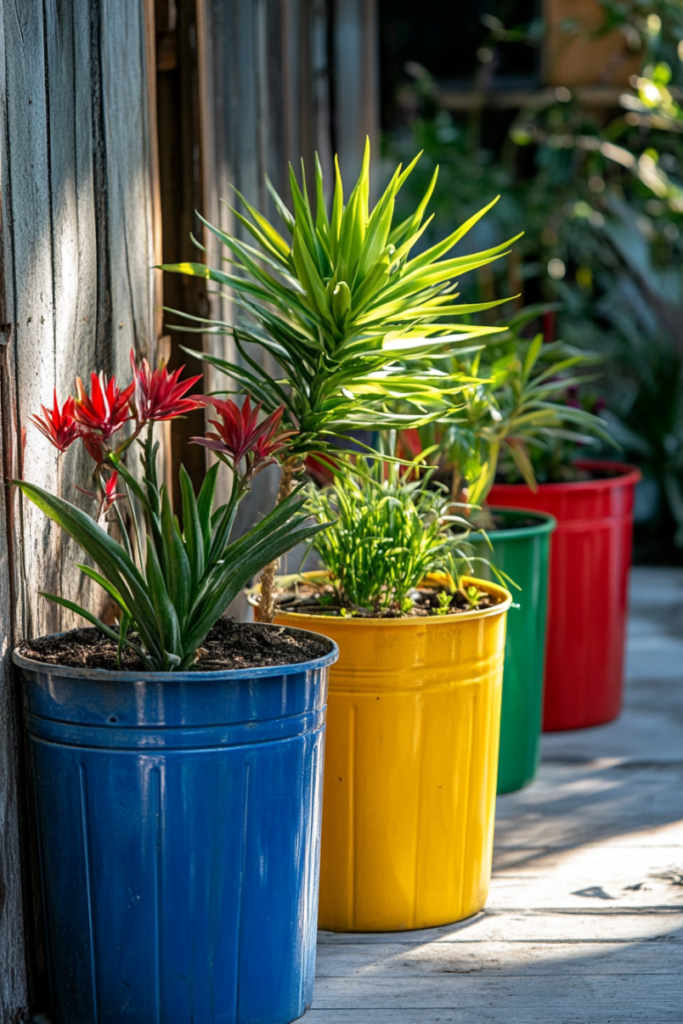
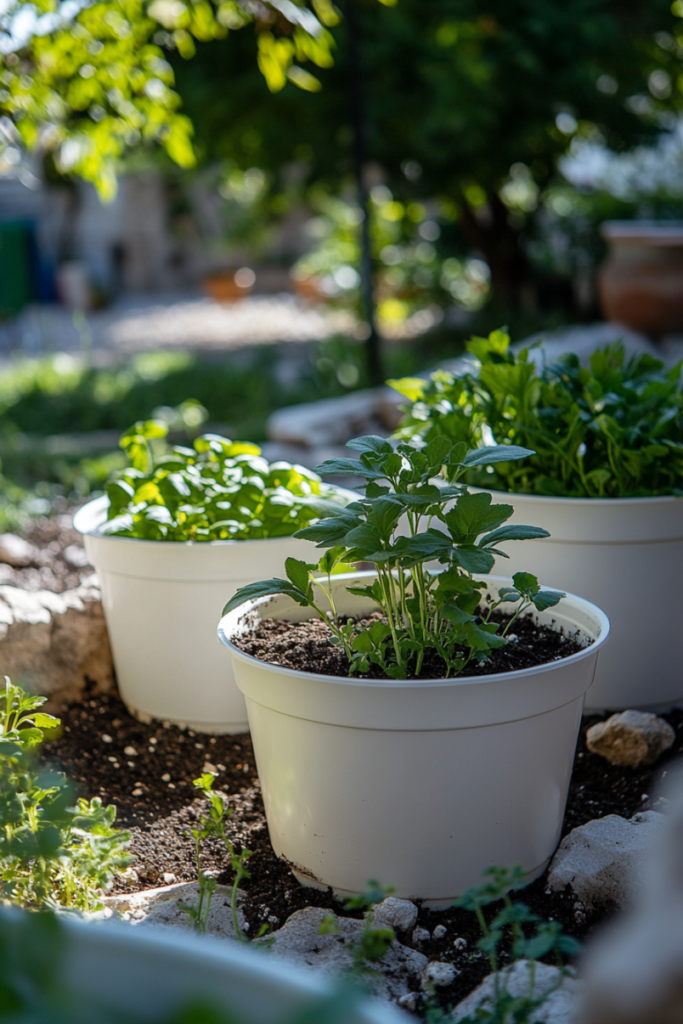
If you’re going for a sleek, modern look, opt for neutral colors like white, gray, or black.
For something more whimsical, bright colors and playful designs work best.
Step 3: Add soil and plants
Now that your container looks fantastic, it’s time to turn it into a functional planter.
- Add a layer of small pebbles or gravel at the bottom to further aid in drainage.
- Fill the planter with potting soil, leaving enough room at the top for your plant.
- Plant your chosen greenery by gently placing it into the soil and covering the roots. Succulents and herbs are excellent choices for small containers.
Step 4: Place the planter in a suitable location
Once your DIY planter is complete, place it in a location that suits the type of plant you’ve chosen.
Most plants will need a sunny spot, while others might prefer partial shade.
Make sure your planter is placed in an area where the drainage holes allow excess water to escape freely.
Adding Decorative Elements
Enhancing your plastic planters with decorative elements can transform them into unique and attractive pieces for your garden or home.
Here are some simple ideas to make your planters stand out:
Decals and stencils
Apply decals or use stencils to create detailed designs on your planters.
Decals are easy to apply and can come in various patterns, while stencils allow you to paint or spray designs directly onto the planter.
This method lets you personalize your planters with anything from floral patterns to geometric shapes.
Natural materials
Wrap your planter with natural materials like twine or rope for a rustic look.
Simply glue or tie these materials around the planter.
This not only adds texture but also gives a more organic, earthy feel.
Twine works well for a simple, natural look, while thicker ropes can add a more rugged appearance.
Small accessories
Glue small accessories such as beads, buttons, or charms onto your planter to add a touch of whimsy and personality.
These can be arranged in patterns or random designs, depending on your style.
Adding these details can make each planter unique and reflective of your creativity.
Fun embellishments
For a quirky and playful touch, consider adding fun embellishments like googly eyes.
These can be glued onto the planter to give it a cheerful, characterful look.
You can also use other imaginative decorations to make your planters stand out and bring a smile to anyone who sees them.
- Read also: Grow Anywhere: DIY Container Ideas For Vegetables
- Read also: Blooming Brilliant: DIY Container Ideas for Spectacular Flowers
Final Thoughts
Making DIY planters from plastic containers is a fun, sustainable, and budget-friendly project.
Not only do you get to upcycle materials that might otherwise end up in the landfill, but you also get to create unique, personalized planters for your garden or home.
With a little creativity and a few basic supplies, you can transform any plastic container into a functional and stylish planter.
Whether you’re growing herbs on your windowsill or adding greenery to your backyard, this eco-friendly project is a great way to combine creativity with sustainability.
Plus, it’s an activity that you can enjoy with kids, teaching them about recycling and gardening in a fun, hands-on way.


