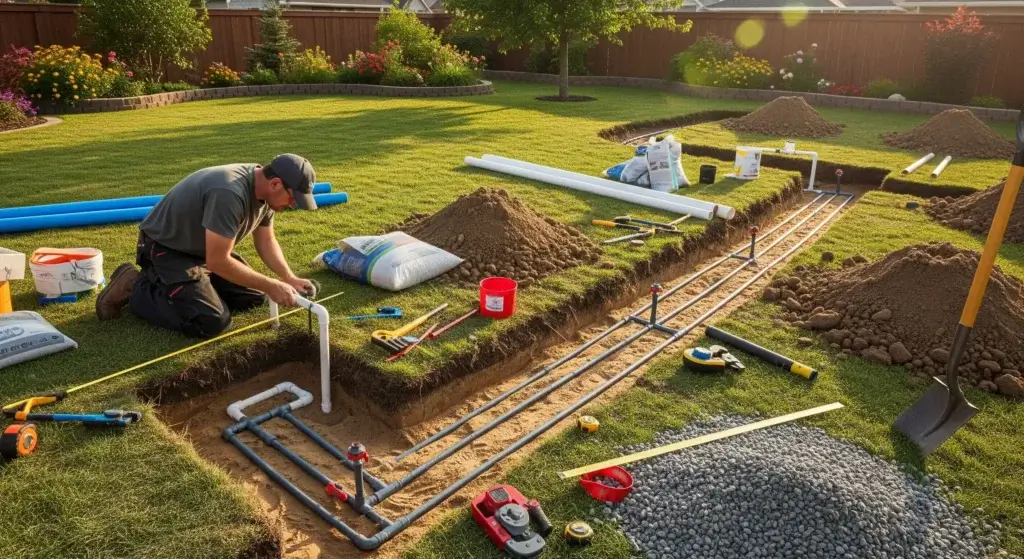
Step into the realm of effortless plant care with our hassle-free guide.
If you’ve ever longed for a straightforward and efficient solution to keep your green companions well-hydrated, you’re in for a delightful experience.
This guide will walk you through creating a DIY plant watering system using recycled plastic bottles – a sustainable and cost-effective approach to ensure your plants receive the care they deserve.
Join us in exploring this eco-friendly journey towards nurturing your leafy friends.
Materials Needed
Before we get our hands dirty, let’s gather the materials needed for this DIY project:
- Plastic bottles: Choose sizes based on your plant’s water needs.
- Tubing: To create the irrigation system.
- Connectors: For linking multiple bottles.
- Drill or poking tool: To make holes in bottle caps.
- Watering stakes (optional): For targeted watering.
- Scissors or cutting tools: For preparing the bottles.
Step-by-Step Instructions
Prepare the plastic bottles
Choose appropriate sizes
Begin by considering the size and water requirements of your plants.
Select bottles that align with the needs of each plant; larger plants may benefit from more substantial containers, while smaller ones thrive with more petite options.
Tailoring the bottle size to your plants ensures an efficient and customized watering system.
- Read also: DIY Potted Plant Watering System Guide
- Read also: DIY Plant Watering Globes
Thoroughly rinse
Before diving into the project, give your chosen plastic bottles a thorough rinse.
This step is essential to eliminate any residue or labels, ensuring a clean and uncontaminated water source for your plants.
Clean bottles contribute to a healthier and more effective watering system.
Create water reservoirs
The next crucial step involves transforming the plastic bottles into water reservoirs.
Carefully cut the bottles near the bottom to form containers capable of storing water.
These reservoirs play a vital role in maintaining a consistent water supply for your plants.
Precision in this step ensures the functionality of your DIY watering system, providing your plants with the hydration they need.
Create the drip irrigation system
Drill or poke a hole
Initiate the drip irrigation system by making a small hole in the bottle cap.
This precise opening will serve as the point from which water gracefully drips, providing essential nourishment to your plants.
Ensure the hole is small enough to control the flow and prevent overwatering.
Insert tubing
Take a length of tubing and carefully insert it into the hole in the bottle cap, ensuring a snug fit.
This tubing acts as the conduit through which water will travel, delivering a consistent and controlled supply to the base of your plants.
Confirm that the tubing is securely in place to avoid leaks.
Adjust tubing length
Customize the length of the tubing to reach the base of each plant.
The objective is to create a direct water source for every plant in your care.
Precision in adjusting the tubing length ensures efficient water delivery, catering to the unique needs of each plant.
Connect multiple bottles
For multiple plants or larger areas, enhance your drip irrigation system by connecting multiple bottles.
Use additional tubing and connectors to create a centralized watering system.
This streamlines your plant care routine, ensuring a systematic and efficient approach to keeping your green companions hydrated.
This interconnected setup simplifies your watering process and is especially beneficial for larger garden spaces or multiple potted plants.
Install the watering stakes (optional)
Poke holes in bottle caps
If you opt for watering stakes, start by creating holes in the bottom of the bottle caps to accommodate them.
These holes serve as entry points for the watering stakes, facilitating an effective and controlled distribution of water.
Insert watering stakes
Once the holes are in place, securely attach the watering stakes to the bottle caps.
Ensure a snug fit to prevent any leaks.
Next, position the bottle upside down with the watering stakes inserted into the soil near the base of the plant.
This installation method enhances precision in watering, directing moisture directly to the root zone.
The optional addition of watering stakes adds another layer of customization to your DIY plant watering system, particularly beneficial for maintaining consistent hydration in individual plants or specific areas of your garden.
Tips for Ensuring Success in Your DIY Plant Watering System
Adjust hole sizes
Fine-tune the size of the holes in the bottle caps to control water flow.
Smaller holes result in a slower drip, providing a gradual and controlled release of water.
Conversely, larger holes increase water flow for plants with higher hydration needs.
This customization ensures you meet the unique watering requirements of each plant in your care.
Consider centralized systems
For larger plants or clusters, enhance efficiency by connecting multiple bottles to a central tubing system.
This centralized approach streamlines watering, ensuring a systematic and thorough distribution of water across the entire garden or specific areas.
Prevent algae growth
Maintain the cleanliness of your DIY watering system by regularly cleaning the bottles.
This practice helps prevent algae growth in the water, ensuring a clear and uncontaminated water source for your plants.
Consider using opaque or dark-colored bottles to minimize light exposure, further inhibiting algae development.
Customize watering schedule
Tailor the watering schedule to meet the unique needs of each plant.
Some plants thrive with daily watering, while others may only require hydration once a week.
Understanding the specific needs of your plants allows you to create a customized watering schedule, promoting optimal growth and health.
Benefits of a DIY Plant Watering System
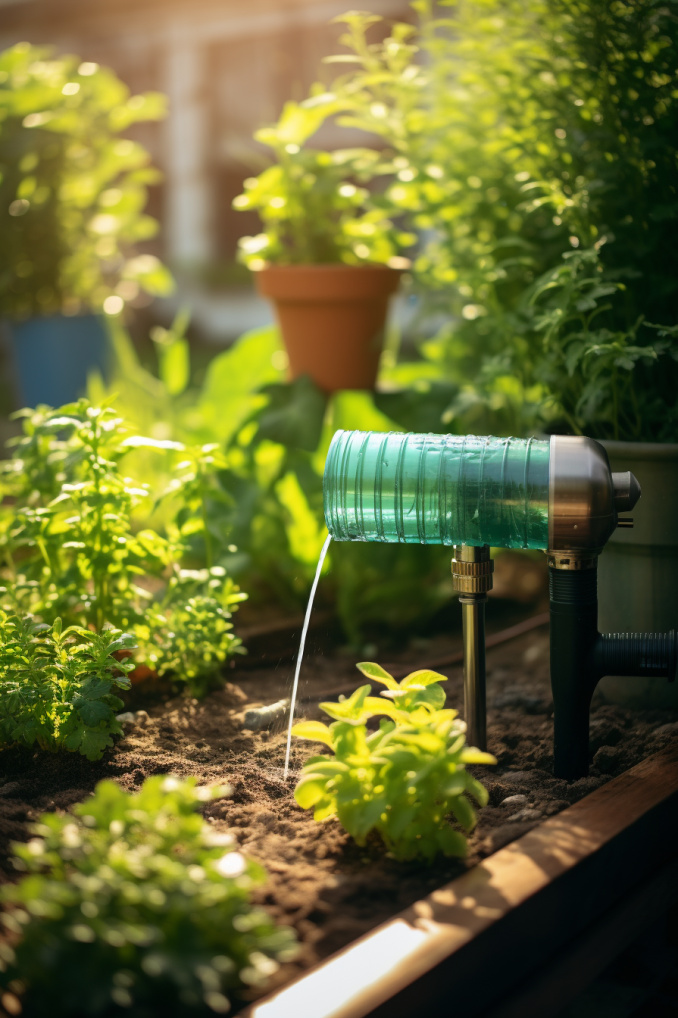
Now that your DIY plant watering system is in action, let’s explore the perks:
Consistent watering
With your DIY plant watering system in action, one of the key advantages is the assurance of consistent watering.
This ensures that each plant receives a steady and measured supply of water, promoting healthy growth and maintaining optimal hydration levels.
The controlled water flow from your system contributes to the overall well-being of your green companions.
Budget-friendly
Embrace the eco-friendly and cost-effective aspect of your DIY plant watering system.
By utilizing recycled materials, you not only contribute to environmental sustainability but also create a budget-friendly solution for efficient plant care.
This approach allows you to prioritize both the health of your plants and the health of your wallet.
Customizable
The beauty of your DIY system lies in its adaptability.
Customize the watering system to suit the specific needs of each plant in your care.
Whether adjusting the hole sizes for controlled water flow, connecting multiple bottles for larger plants, or tailoring the watering schedule, the system provides a level of customization that traditional watering methods may lack.
This adaptability ensures that your plant care routine is tailored to the unique requirements of your diverse plant collection.
- Read also: DIY Tomato Plant Watering System
- Read also: DIY Garden Bed Ideas for Every Gardener
Conclusion
Congratulations on embarking on the journey toward stress-free plant care with your newly established DIY plant watering system.
By adopting this system, you’re not only nurturing your plants but actively contributing to a greener, more sustainable home environment.
Revel in the benefits of a well-hydrated garden, all achieved without putting a strain on your budget.
Embrace the satisfaction of knowing that your efforts have created a solution that not only simplifies plant care but also aligns with your commitment to sustainability.
Your dedication to fostering a thriving and well-nurtured garden reflects a conscious choice toward a greener lifestyle.
Enjoy the continual benefits of a garden that flourishes with consistent care, all made possible through your ingenious and budget-conscious approach to plant watering.
Here’s to a flourishing and sustainable home filled with the beauty of well-hydrated plants!


