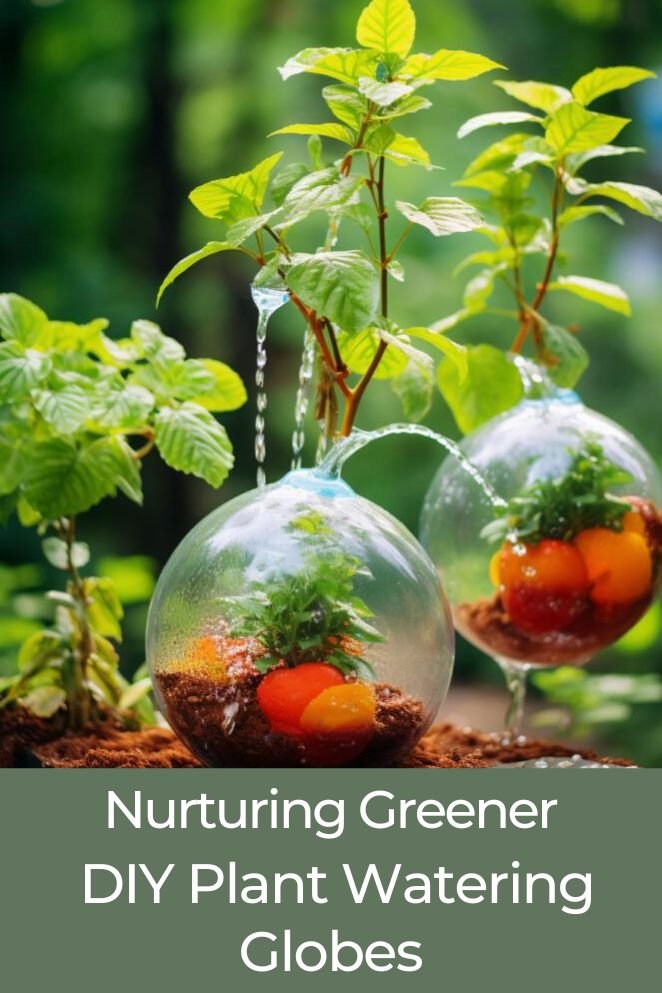
Embark on the fulfilling journey of plant care, where keeping your plants adequately hydrated becomes a rewarding challenge.
This comprehensive guide will delve into the importance of maintaining optimal plant hydration, shed light on the advantages of creating your own DIY plant watering globes, guide you through the necessary materials, provide a step-by-step crafting tutorial, offer additional tips for effective use, and conclude with valuable insights to ensure your plants flourish.
Join us in enhancing your plant care skills for a thriving and lush green environment.
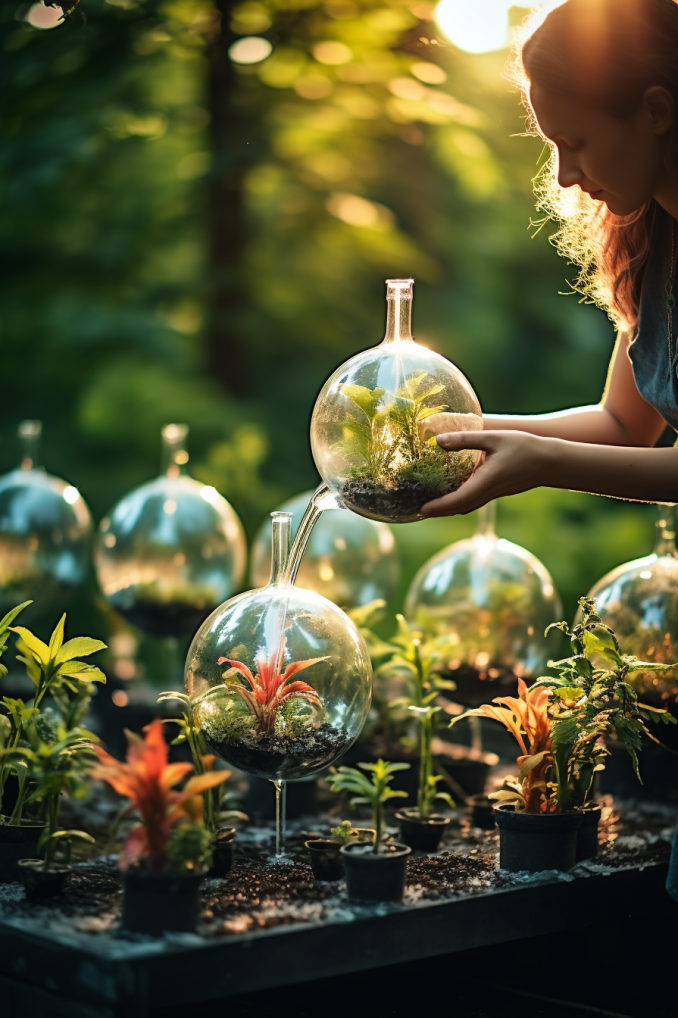
Benefits of DIY Plant Watering Globes
Consistent hydration
Plant watering globes act as reliable caretakers for your green companions, delivering a consistent and regulated water supply.
This ensures your plants receive just the right amount of moisture, eliminating the risk of overwatering or underwatering.
Controlled hydration promotes optimal growth and health.
- Read also: DIY Plant Watering System
- Read also: A DIY Potted Plant Watering System Guide
Water efficiency
Say goodbye to water wastage with DIY watering globes.
By directing water straight to the plant’s roots, these globes minimize runoff and evaporation, promoting water efficiency.
This targeted approach not only conserves water but also optimizes the use of this precious resource, making your plant care efforts environmentally friendly.
Convenience redefined
Embrace the convenience of a self-watering system with DIY plant watering globes.
Particularly beneficial for individuals with busy schedules or varying routines, these globes reduce the need for frequent manual watering.
Once set up, you can enjoy the peace of mind that your plants are receiving the care they need, even when life gets hectic.
Materials Needed
Embarking on your journey to create homemade watering globes for your plants?
Make sure you have these essential materials ready to bring your project to life:
- Glass or plastic bottles: Choose transparent bottles with a narrow neck for better control of water flow.
- Cork or rubber stoppers: Use stoppers to seal the neck of the bottle, controlling the release of water.
- Drill or screwdriver: This tool will be necessary for creating holes in the bottle caps for controlled water flow.
- Water-based paint (optional): Add a touch of creativity by using water-based paint to decorate your watering globes.
Step-by-Step Guide
Step 1: Clean the bottles
Begin your project by ensuring the selected bottles are thoroughly cleaned. Remove any labels and residues to guarantee a clean and hygienic water supply for your plants.
Step 2: Create holes in the caps
Utilize a drill or screwdriver to carefully make small holes in the bottle caps.
The size of these holes plays a crucial role in determining the rate of water flow. Smaller holes lead to a slower release, providing controlled and consistent hydration for your plants.
Step 3: Seal the holes with waterproof sealant (Optional)
For added security and to prevent any potential water leakage, consider applying waterproof sealant around the drilled holes.
This step is optional but ensures a tight seal, enhancing the effectiveness of your watering globes.
Step 4: decorate the bottles (Optional)
If you wish to add a personal touch to your watering globes, consider using water-based paint to decorate the bottles.
This step is purely optional but can turn your functional globes into aesthetically pleasing additions to your plant environment.
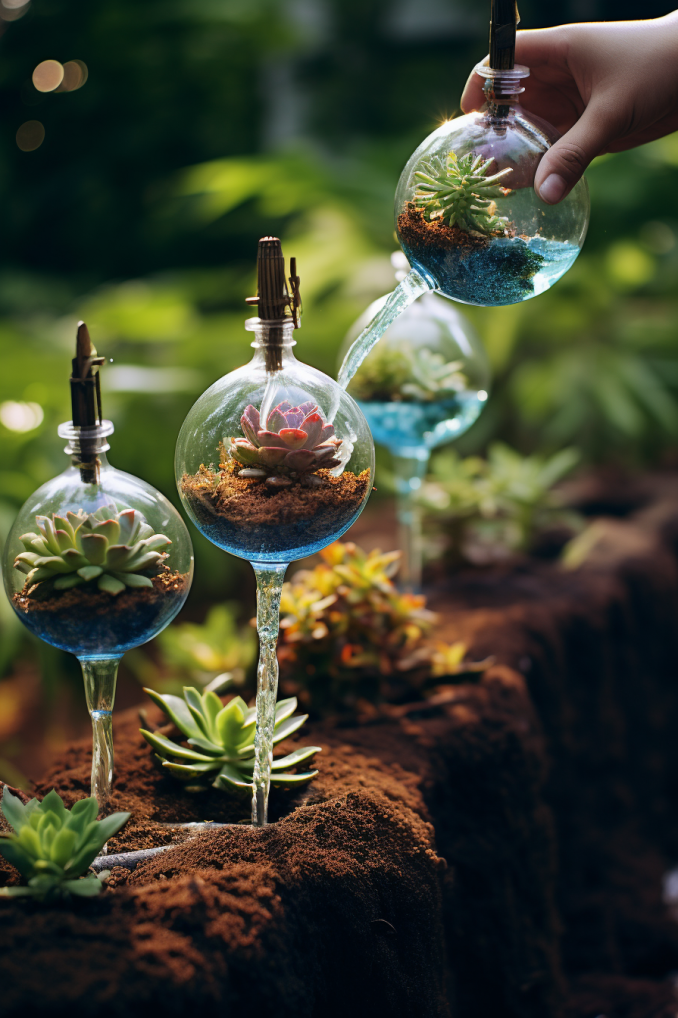
Step 5: Fill the bottles and screw on the caps
Once your watering globes are prepared, fill them with water and securely screw on the caps.
Ensure a tight seal to prevent any water from escaping before the globes are placed in the soil.
Step 6: Insert the watering globes into the soil
Gently insert the prepared watering globes into the soil around your plants.
Ensure they are positioned securely to allow for a steady and regulated release of water directly to the plant roots.
Additional Tips
Monitor water flow
Keep a close eye on the water flow from your DIY watering globes.
If you observe that the rate is either too fast or too slow, consider adjusting the size of the holes or the number of bottles accordingly.
This customization allows you to cater to the specific water needs of your plants and adapt to varying environmental conditions.
Choose appropriate bottles
Ensure the success of your watering globes by selecting bottles with capacities that align with the size and water requirements of your plants.
Larger plants may benefit from bottles with greater water-holding capacities, while smaller containers work well for petite plant companions.
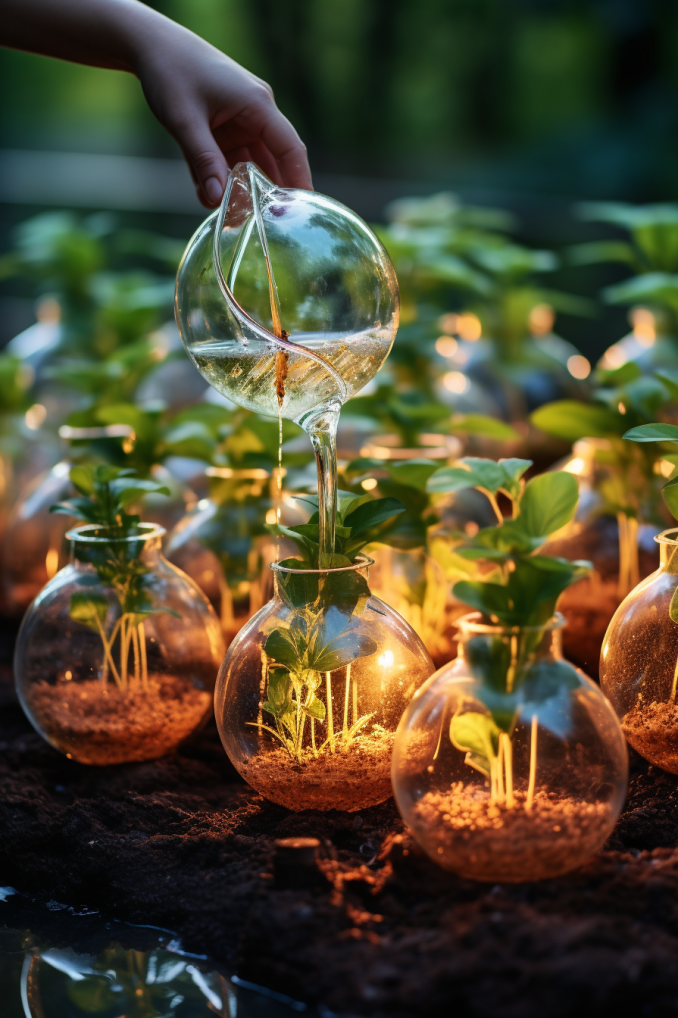
Regularly refill bottles
Maintain a consistent water supply by regularly checking and refilling the bottles.
Depending on factors like temperature and plant size, the water levels may fluctuate.
Stay proactive in keeping the bottles filled to guarantee your plants receive the hydration they need for flourishing growth.
Consider bottle placement
Experiment with the placement of your DIY watering globes to ensure optimal coverage.
Strategically position them around the root zones of your plants, allowing for an even distribution of water.
This thoughtful placement enhances the effectiveness of your homemade watering system.
Weather adaptation
Be mindful of changing weather conditions. During hotter periods, your plants may require more frequent watering.
Adjust the placement or number of watering globes to accommodate the evolving needs of your plants in different seasons.
- Read also: Mastering the Art of Drip Irrigation for Tomatoes
- Read also: How to Make Organic Fertilizers at Home
Conclusion
As you embark on the journey of crafting your own DIY plant watering globes, remember that you are not just providing water – you are nurturing a thriving ecosystem within your home.
The consistent hydration these globes offer contributes to the overall well-being of your plants, promoting lush greenery and vibrant blooms.
In this guide, we’ve explored the importance of proper plant hydration, highlighted the benefits of DIY watering globes, listed the essential materials, provided a step-by-step crafting guide, and shared additional tips for success.
With this newfound knowledge, you’re well-equipped to create a self-sustaining watering system that not only saves you time but also ensures your plants flourish with vitality.
Happy gardening!


