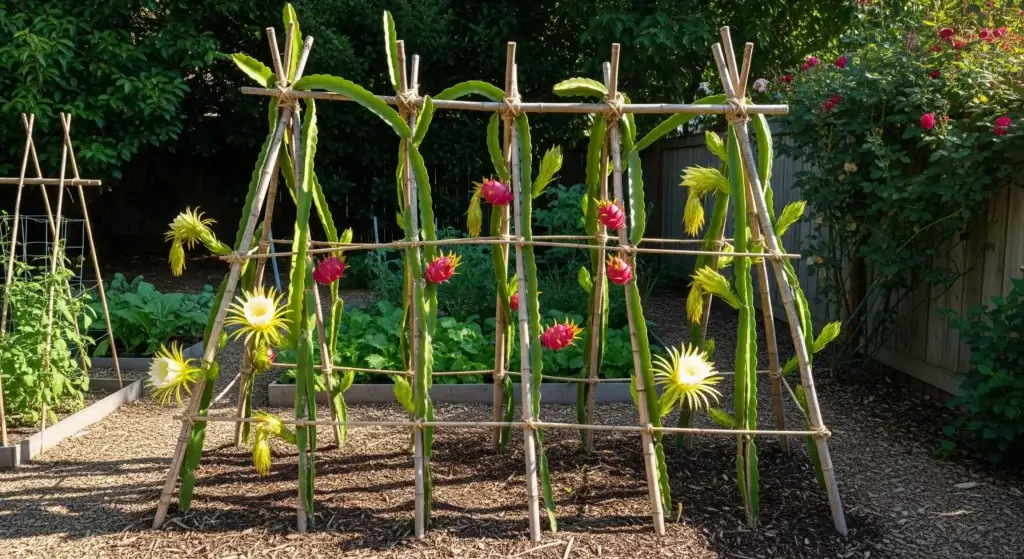
Enhancing your outdoor space with both greenery and privacy can be achieved effortlessly through the addition of a plant wall.
This not only transforms a dull wall into a lively focal point but also presents an enjoyable and gratifying project for you to undertake.
A plant wall serves as a dual-purpose solution, elevating the aesthetics of your outdoor area while offering a practical means of creating a more secluded and intimate space.
This endeavor can be both creatively fulfilling and functionally beneficial, providing a refreshing and visually appealing enhancement to your surroundings.
Consider embracing the versatility and charm of a plant wall to rejuvenate your outdoor setting.
- Read also: DIY Plant Shelf Outdoor Ideas
- Read also: DIY Plant Stand Outdoor Ideas
Materials Needed
Before we get started, let’s go over the materials you’ll need for this project. You’ll need:
- 4′ lath boards
- Wood glue
- Power nailer + 2″ nails
- Orbital sander
- Stain
- Pot hangers
- Terra cotta pots
- Your favorite plants
- Concrete mix
- Galvanized deck screws
- Measuring tape
- Drill
- Hanging flowerpots
- Potting soil
- Mesh rebar sheet
- Copper spray paint
- L-brackets
- Drip line (optional)

Step-by-Step Guide
Now that you have your materials, let’s get started on building your plant wall!
Construct the Frame
The initial step in creating your plant wall involves constructing a sturdy frame.
Utilize 2x2s to shape the frame, arranging the longer pieces parallel to each other and connecting the shorter pieces to form the structure.
To enhance stability, attach L-brackets at each inside corner of the frame. This ensures that your plant wall will stand secure and resilient.
Install posts
Next, determine the size of your garden wall and strategically install posts.
Maintain a spacing of approximately 6 feet between each post to guarantee stability and prevent any tipping.
Properly positioned posts are integral to the overall durability and steadfastness of your plant wall.
Plant away
With the frame in place, embark on the exciting process of planting.
Embed the chosen plants into gardening cups, anticipating the lush and vibrant wall of foliage that will ensue.
While you have the freedom to select any plants that suit your preferences, it’s essential to factor in the wall’s orientation, ensure good drainage, and opt for trailing plants suitable for your local climate.
Water your wall
Ongoing maintenance is key to the health of your living wall.
Be attentive to watering needs, and if your planters include a drip line, position it on the top row for convenient and sustainable watering.
Regular hydration ensures the vitality and vibrancy of your plants, contributing to the long-term success of your plant wall.
Choose the right plants
When deciding on plants for your vertical wall, consider factors such as the wall’s orientation, the importance of good drainage, and the compatibility of trailing plants with your local climate.
Optimal choices for a vertical garden include crassula, echeveria, and sedum, each bringing its unique charm to the composition.
Careful selection ensures a thriving and visually appealing vertical garden that stands the test of time.
- Read also: A Guide to DIY Plant Wall Indoor
- Read also: DIY Plant Hanger with Yarn

Conclusion
Creating a DIY plant wall for your outdoor space is a great way to add some greenery and privacy.
By following these steps and using the right materials, you can build a beautiful and refreshing plant wall that will take your garden to the next level.
I hope this guide has been helpful for you!
Remember, building a plant wall can be a fun and rewarding project, so don’t be afraid to get creative and make it your own.
FAQs
Varieties like crassula, echeveria, and sedum are great choices for a vertical garden.
A living wall, also known as a vertical garden, is a collection of plants hanging vertically on a wall, indoors or outside.
Living walls require regular watering. If your planters come with a drip line, install it on the top row to make watering easier and sustainable.


