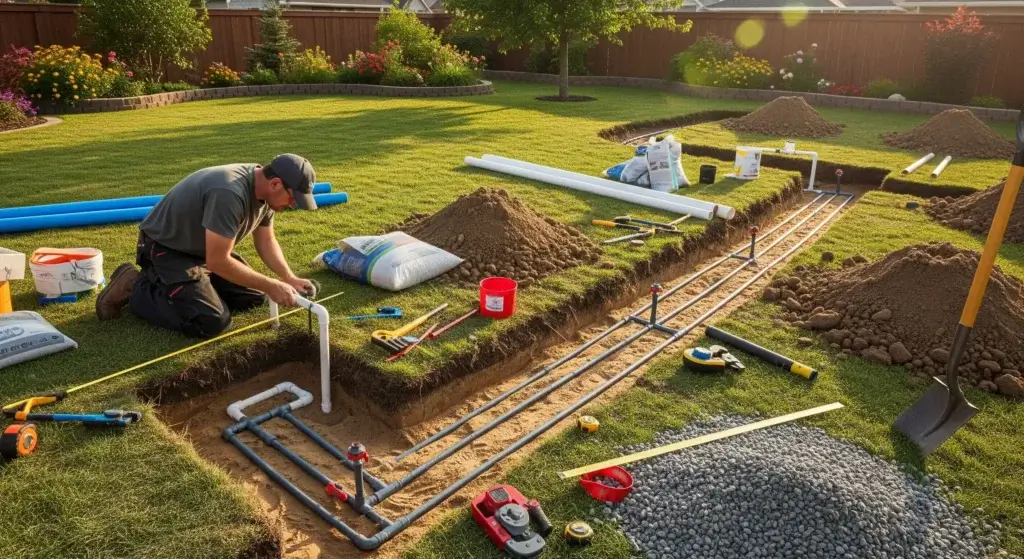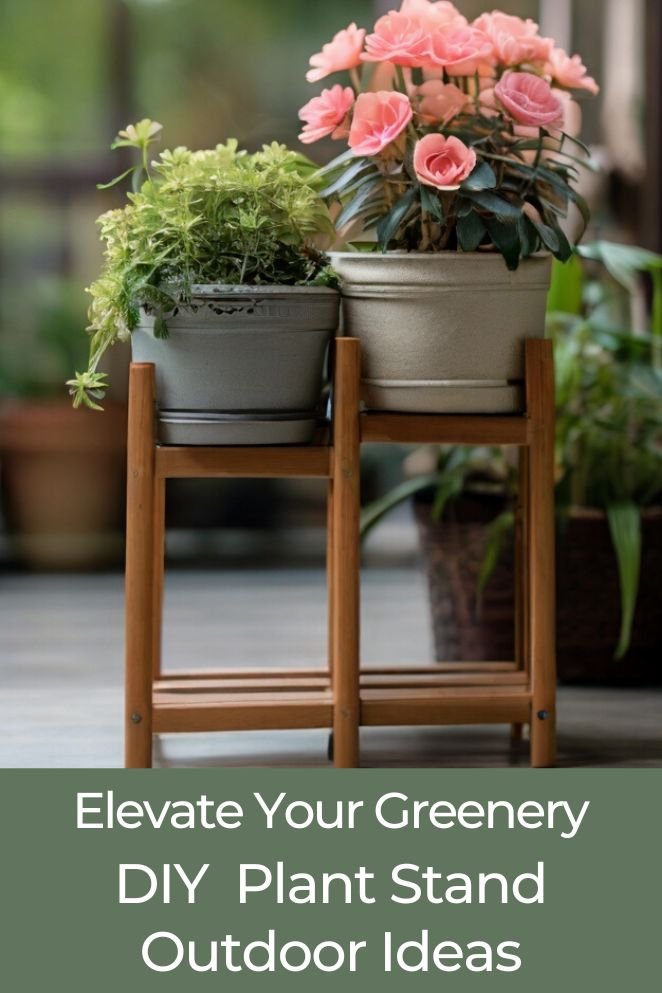
Transform your outdoor area with effortlessly charming DIY plant stands.
This guide introduces three unique projects, making the creation of the ideal outdoor plant stand both simple and delightful.
Explore these projects to infuse your surroundings with a perfect blend of nature and creativity.
DIY Plant Stand Outdoor Project Ideas
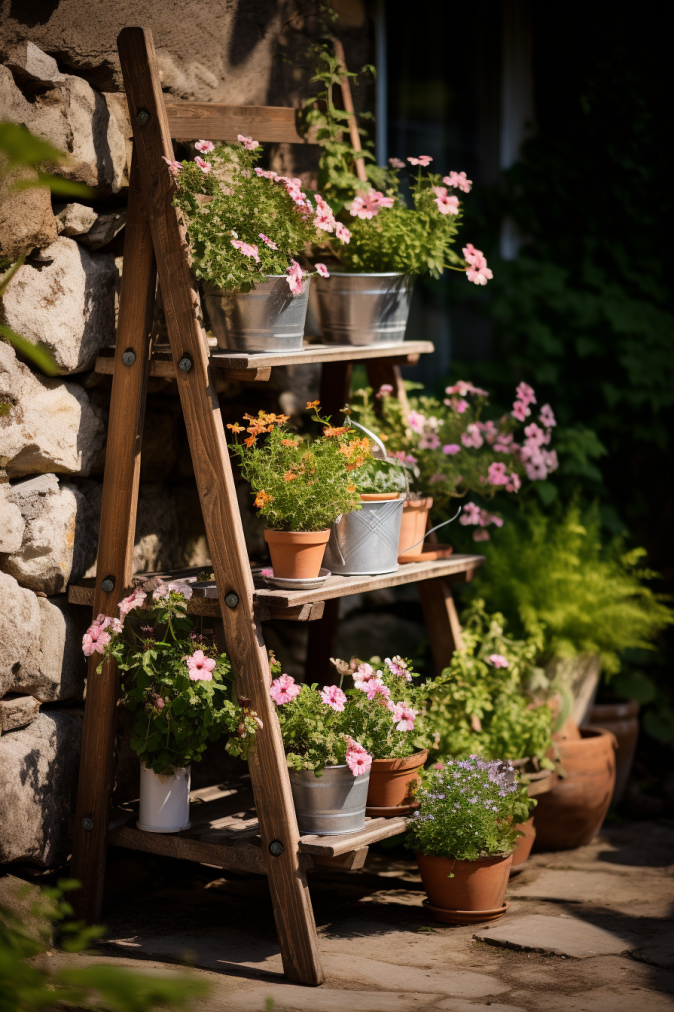
Rustic ladder plant stand
Materials needed
- Reclaimed wood planks
- Screws
- Paint (optional)
Step-by-Step Guide
Cutting and assembling
Begin the project by cutting the reclaimed wood planks to your desired sizes.
Assemble the ladder structure. Visual aids accompanying the steps will guide you through this process, ensuring a sturdy and visually appealing result.
- Read also: DIY Plant Stands Indoor for Every Style
- Read also: DIY Garden Bed Ideas for Every Gardener
Optional paint or sealant
Consider personalizing your rustic ladder plant stand by adding optional paint or sealant.
This step allows you to align the stand with your outdoor aesthetics, creating a cohesive and customized look.
Customization Tips
Hanging baskets
Elevate the charm of your rustic ladder by adding hanging baskets.
This not only introduces a cascading effect but also maximizes your plant display, creating a visually dynamic arrangement.
Shelves
Enhance functionality by incorporating shelves into your ladder plant stand.
These can be utilized for additional plant display or as spaces for decorative accents, adding versatility to your outdoor greenery ensemble.
Benefits of the rustic ladder plant stand
Cost-effective and eco-friendly
Utilizing reclaimed wood makes this DIY project cost-effective and environmentally friendly, giving you a rustic look with a sustainable twist.
Versatile outdoor aesthetics
The optional paint or sealant allows you to tailor the ladder plant stand to match your outdoor aesthetics, ensuring it seamlessly integrates into your garden or patio decor.
Personalized display
The addition of hanging baskets and shelves provides opportunities for a personalized plant display.
Showcase a variety of plants or include decorative elements to reflect your unique style.
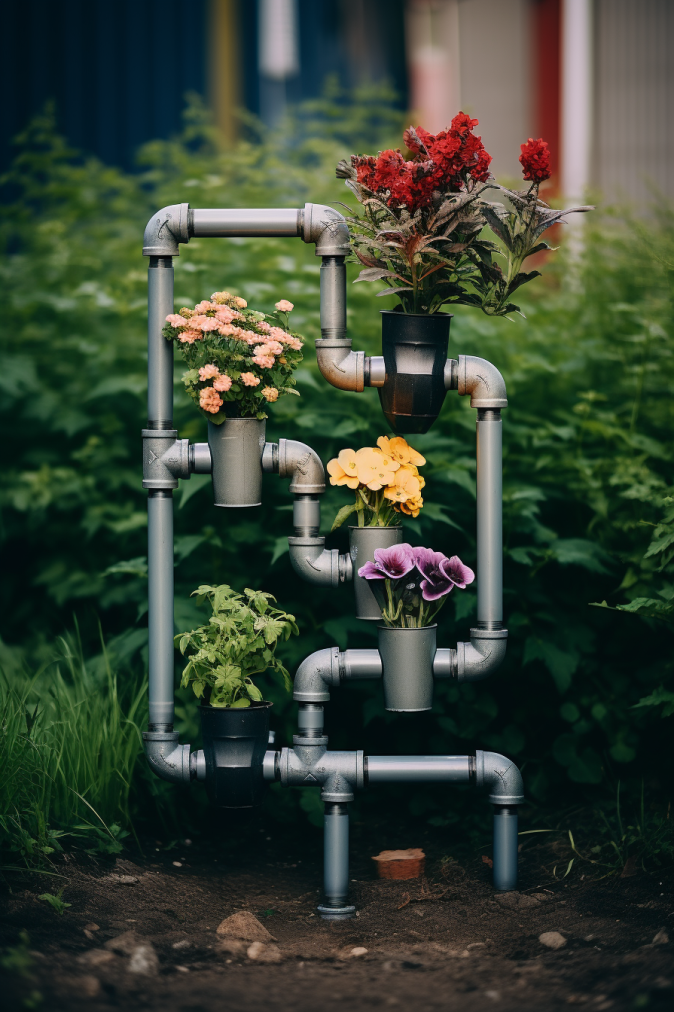
Modern metal pipe stand
Materials needed
- Galvanized steel pipes
- Pipe connectors
- PVC caps
Step-by-step guide
Assembling pipes
Begin by assembling the galvanized steel pipes using connectors.
Ensure a secure structure by tightening the connectors appropriately.
Safety precautions, including gloves and eye protection, are paramount when working with metal.
Capping the ends
Use PVC caps to securely cap the ends of the steel pipes.
This not only provides a finished look but also ensures safety by covering sharp edges.
Customization tips
Spray painting
Elevate the modern aesthetics of your metal pipe plant stand by adding a pop of color with spray-painted pipes.
Choose a hue that complements your outdoor decor, creating a sleek and cohesive appearance.
Hanging chains
Enhance the versatility of your metal pipe stand by incorporating hanging chains.
This allows you to create a suspended planter system or a multi-tiered stand, adding visual interest and maximizing your plant display.
Benefits of the modern metal pipe plant stand
Sturdy and durable
Galvanized steel pipes provide a sturdy and durable framework for your plant stand, ensuring stability and longevity.
Contemporary aesthetics
The sleek and minimalist design of the metal pipe stand adds a contemporary touch to your outdoor space, making it a stylish focal point.
Customizable appearance
The option to spray paint the pipes allows for easy customization, enabling you to tailor the appearance to match your personal style and outdoor color palette.
Versatile plant display
With the addition of hanging chains, your metal pipe stand becomes a versatile platform for creative plant displays.
Experiment with suspended planters or create multi-tiered arrangements for a dynamic green showcase.
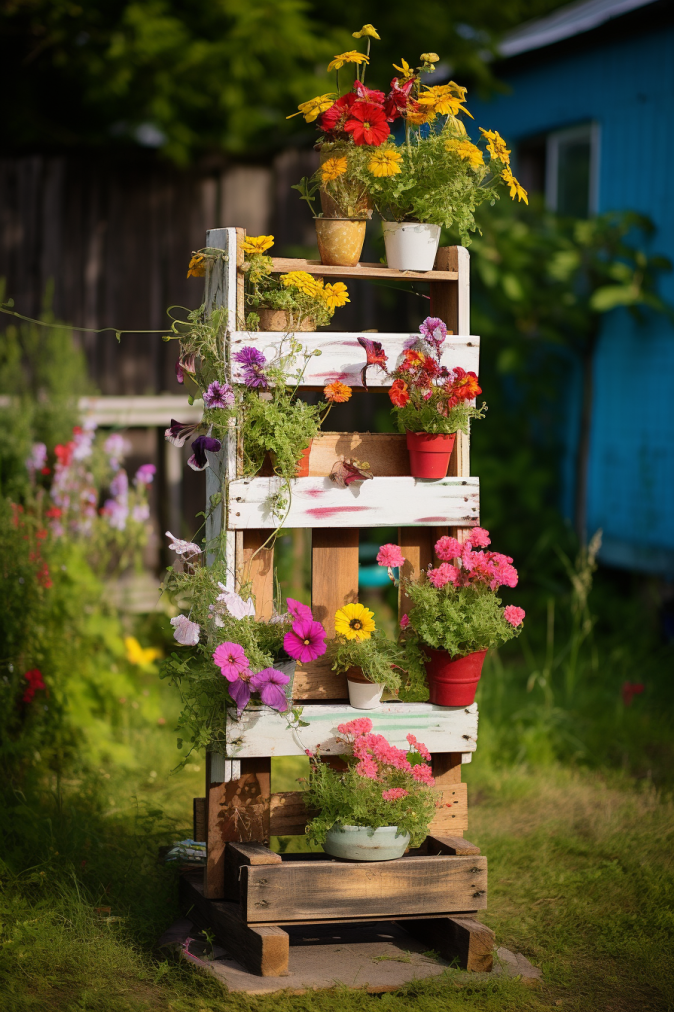
Upcycled pallet plant stand
Materials needed
- Used wooden pallets
- Hammer
- Nails
- Sandpaper (optional)
Step-by-step guide
Disassembling and sanding
Begin the project by carefully disassembling the used wooden pallets.
Ensure to remove any nails or staples.
For a polished finish, use sandpaper to smooth out rough edges and surfaces.
Reassembling in a creative design
Once disassembled and sanded, reimagine the pallet pieces into a creative plant stand design.
This could involve arranging them to form shelves, tiered sections, or even a small planter box on top.
Use nails to secure the pieces in place, ensuring stability.
Customization Tips
Pallet slats
Utilize pallet slats creatively to construct shelves for your plants.
Experiment with tiered sections to add visual interest or create a small planter box on the top level for a unique touch.
Staining or painting
Elevate the aesthetic appeal of your upcycled pallet plant stand by staining or painting the wood.
Choose colors or stains that complement your outdoor decor, transforming the plant stand into a personalized and visually appealing feature.
Benefits of the upcycled pallet plant stand
Environmentally friendly
Repurposing used pallets reduces waste and contributes to a more sustainable and eco-friendly gardening solution.
Cost-effective DIY project
Wooden pallets are often readily available and cost-effective, making this DIY project budget-friendly and accessible.
Customizable design
The flexibility of the pallet pieces allows for a customizable design.
Tailor the plant stand to your preferences, creating a unique piece that suits your garden or patio.
Versatile plant display
The incorporation of shelves and tiered sections provides ample space for a versatile plant display.
You can showcase a variety of plants or use different sections for decorative elements, maximizing the visual impact.
Pro Tips and Finishing Touches
Choosing the right plants
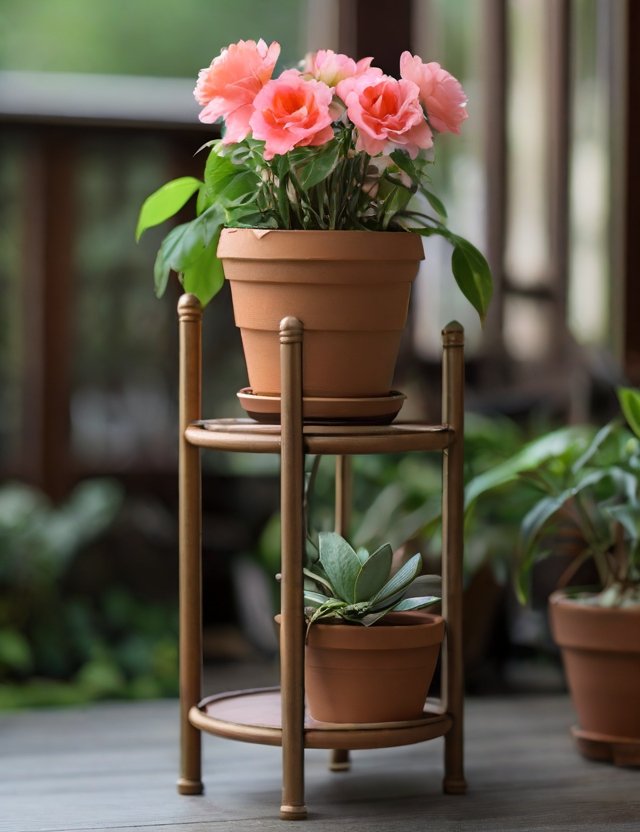
When selecting plants for your DIY plant stand, consider essential factors to ensure their thriving presence:
Sunlight requirements
Assess the sunlight conditions in your chosen location.
Different plants have varying sunlight needs, so match them with the available light to promote healthy growth.
Drainage
Ensure your chosen plants have proper drainage.
Well-draining soil and pots with drainage holes prevent waterlogging, promoting optimal plant health.
Size requirements
Consider the mature size of your chosen plants. This prevents overcrowding and ensures each plant has adequate space to flourish.
Drainage and stability
Maintaining proper drainage and stability is crucial for the longevity of your DIY plant stand, especially in varying weather conditions:
Drainage holes
Incorporate drainage holes in the plant stand to prevent water accumulation.
This safeguards the plants from potential root rot and enhances overall soil aeration.
Stability
Reinforce the stability of your plant stand, particularly if it will be exposed to windy conditions.
Consider adding additional support or securing it to a stable surface to prevent toppling.
Adding decorative touches
Elevate the visual appeal of your DIY plant stand with creative and decorative elements:
Fairy lights
Introduce a whimsical ambiance by adding fairy lights to your plant stand.
This not only enhances the aesthetic but also extends the charm into the evening.
Pebbles and moss
Incorporate pebbles and moss around the base of your plants for a natural and textured look.
This not only adds visual interest but also aids in moisture retention.
Colorful paintwork
Infuse personality into your plant stand with colorful paintwork.
Choose hues that complement your outdoor decor, turning your stand into a vibrant and eye-catching feature.
- Read also: 8 DIY Garden Fence Ideas for a Perfect Oasis
- Read also: DIY Garden Decor Ideas for a Stunning Outdoor
Conclusion
Embark on a transformative journey for your outdoor space with these engaging DIY plant stand projects.
Roll up your sleeves, unleash your creativity, and witness the flourishing beauty of your green companions in their chic and personalized new abodes.
Let’s dive into the joy of hands-on gardening and turn your outdoor area into a botanical haven that reflects your unique style and love for nature.


