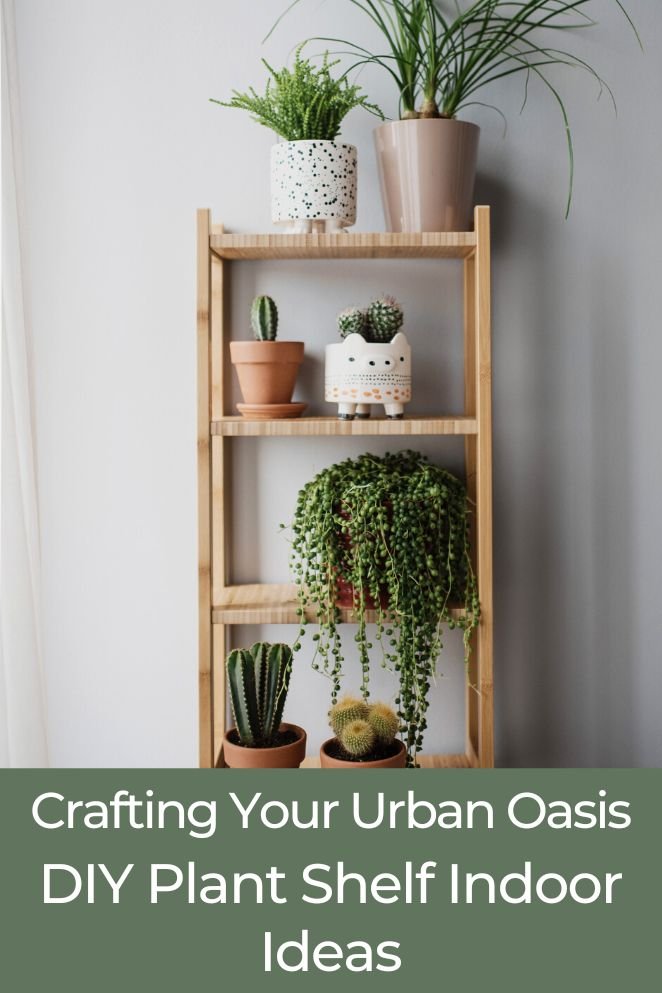
Transform your living space into a green oasis with the charm of indoor plant shelves.
Not only do they infuse your home with a refreshing touch of nature, but they also create an aesthetically pleasing and lively atmosphere.
Discover a collection of creative and effortlessly achievable DIY indoor plant shelf ideas to breathe life into your surroundings.
Whether you’re a seasoned plant enthusiast or a novice, these simple and innovative suggestions will elevate your home décor and bring the outdoors inside.
What are the benefits of having indoor plant shelves?
Having indoor plant shelves offers various benefits, making them a valuable addition to any living space. Some of the key advantages include:
Space-saving and accessibility
Indoor plant shelves help save room and make it easier to access your plant collection, especially when you have a large number of plants to care for.
They allow you to efficiently display and maintain your plants, making watering and tending to them more convenient.
- Read also: DIY Plant Stand Outdoor Ideas
- Read also: : DIY Plant Stands Indoor for Every Style
Enhanced aesthetics
Plant shelves create an attractive display, turning your space into a green oasis and making your plants the focal point of your home.
They can be designed to complement your interior decor, adding a touch of natural beauty to the surroundings.
Improved air quality and health benefits
Indoor plants contribute to purifying the air, reducing stress levels, and enhancing overall mood.
They also improve air quality by removing toxins, which is particularly beneficial in home offices and living spaces.
Light exposure and air circulation
Placing plants on shelves can increase light exposure and enhance airflow around and underneath them, promoting healthy growth and preventing moisture-related issues.
Productivity and well-being
Studies have shown that the presence of plants can boost mood, reduce stress, and increase productivity.
Having a green environment in your home or office can contribute to a more positive and vibrant atmosphere.
Best DIY Indoor Plant Shelves

The Minimalist Ladder
Materials needed
- Wooden ladder
- Sandpaper
- Paint or wood finish
- Screws
- Screwdriver
- Potted plants
Step by step instructions
Step 1: Preparing the wooden ladder
Begin by sanding the wooden ladder to create a smooth surface.
This step is crucial for ensuring that your finished plant shelf looks polished and professional.
Take your time to sand all surfaces, paying attention to any rough spots or imperfections.
Step 2: Adding the finishing touch
Once the ladder is smooth, it’s time to add a touch of personalization.
Apply the paint or wood finish of your choice. Whether you prefer a vibrant color to make a statement or a natural wood finish for a classic look, this step allows you to tailor the plant shelf to your home’s aesthetic.
Allow the paint or finish to dry completely before moving on to the next step.
Step 3: Securing the ladder
To ensure stability, securely attach the ladder to the wall using screws.
This step is crucial, especially if you plan to display multiple potted plants on the shelves.
Use a screwdriver to firmly anchor the ladder, checking for any wobbling or instability.
Step 4: Arranging your green ensemble
Now comes the fun part – arranging your potted plants on the ladder steps.
Start from the bottom and work your way up, allowing for a visually appealing display.
Consider varying plant heights and types to create a dynamic and harmonious composition.
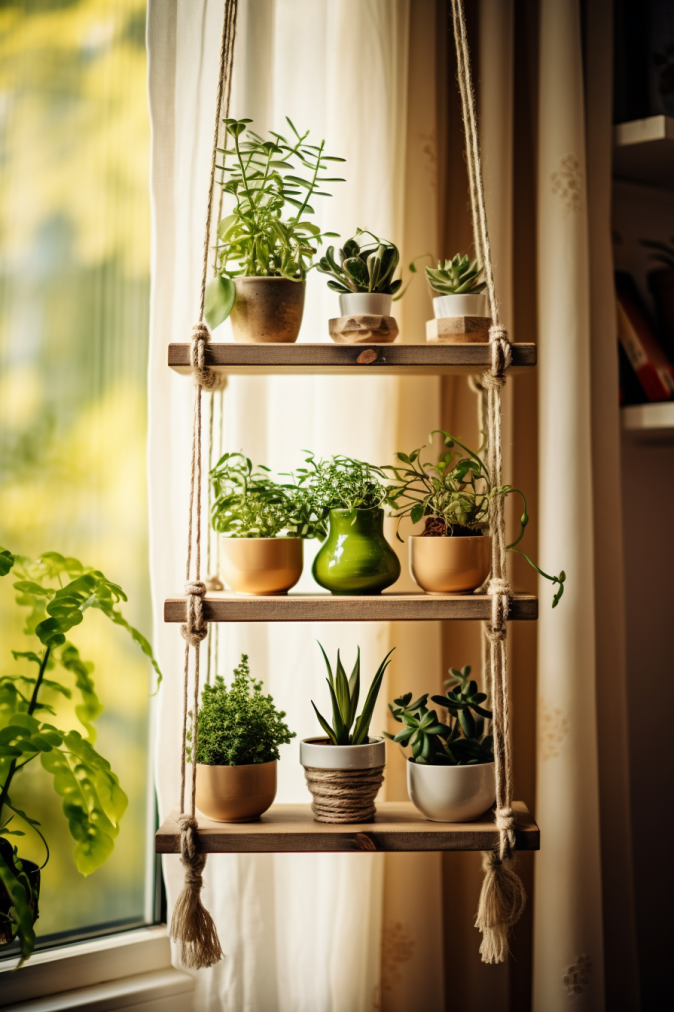
The Hanging Jungle
Materials needed
- Wooden board
- Rope or macrame hangers
- Potted plants
- Ceiling hooks
- Drill
- Screws
Step by step instructions
Step 1: Preparing the wooden board
Start by selecting a wooden board that suits your space and design preferences.
Ensure it is sturdy and of the desired length.
Use a drill to create holes along the board’s length. These holes will be where you attach the rope or macrame hangers.
Step 2: Attaching the hangers
Thread the rope or macrame hangers through the holes you drilled in the wooden board.
Make sure the knots are secure, as they will bear the weight of the plants.
The length of the hangers will determine how far the board hangs from the ceiling, so adjust them according to your desired height.
Step 3: Preparing the ceiling
Identify the ideal location for your hanging jungle and install ceiling hooks accordingly.
Ensure these hooks are firmly secured to provide stable support for your plant display.
The number of hooks needed depends on the length and weight of your wooden board.
Step 4: Hanging the board
With the ceiling hooks in place, suspend the board using the ropes or macrame hangers.
Confirm that the board hangs evenly and adjust the length of the hangers if necessary.
This step requires precision to achieve a balanced and visually appealing display.
Step 5: Arranging the jungle
Now comes the creative part – arranging your potted plants.
Place the plants on the wooden board at varying heights to create a cascading effect.
This arrangement not only adds visual interest but also allows each plant to receive adequate sunlight.
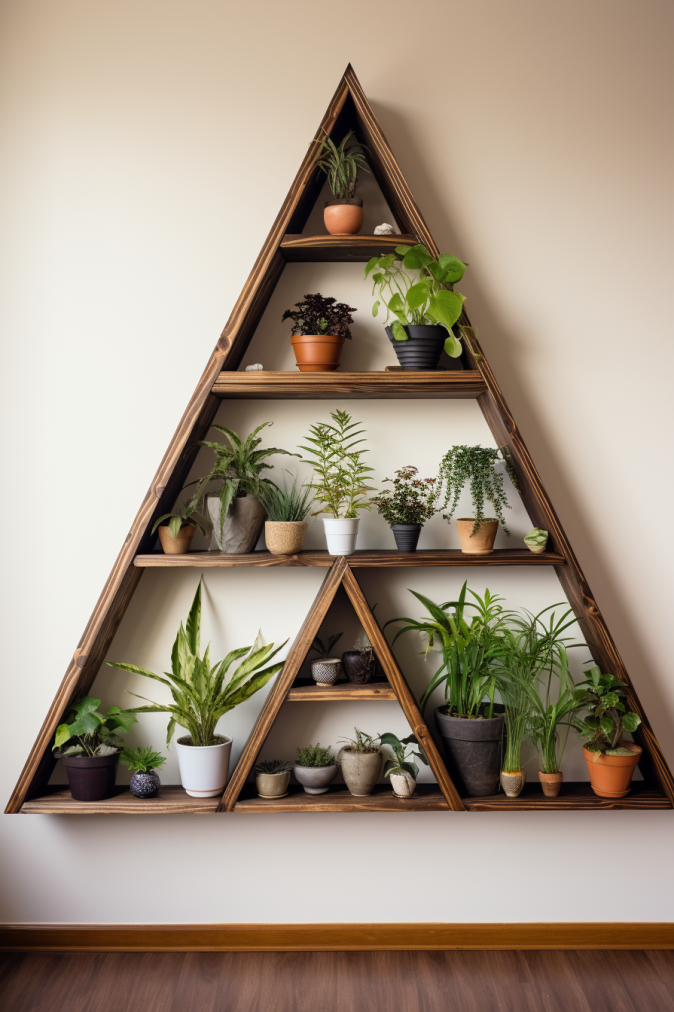
The Geometric Gem
Materials Needed
- Wooden planks
- Wood glue
- Nails
- Hammer
- Stain or paint
- Potted plants
Step by step instructions
Step 1: Planning the geometric shapes
Begin by envisioning the geometric shapes you want for your plant shelves.
Common options include triangles, hexagons, or a combination of various shapes.
Once decided, carefully measure and cut the wooden planks to the desired lengths for each shape.
Precision in cutting ensures a cohesive and visually pleasing final product.
Step 2: Assembling the geometric structures
Using wood glue and nails, assemble the cut wooden planks to form the geometric shapes.
Apply a moderate amount of wood glue to the edges before securing them together with nails. Ensure that the joints are tight for stability.
This step requires patience and attention to detail to create sturdy and well-defined shapes.
Step 3: Applying stain or paint
Once the geometric structures are assembled and the glue has dried, it’s time to add a finishing touch.
Apply a stain or paint of your choice to enhance the aesthetic appeal of the wooden structures.
Consider the existing color scheme of your space to ensure a harmonious blend.
Allow the stain or paint to dry completely before proceeding to the next step.
Step 4: Plant placement on the geometric shelves
With the geometric wooden shelves now crafted and adorned with the chosen finish, it’s time to bring them to life with potted plants.
Carefully arrange the plants on the shelves, considering the size and shape of each geometric structure.
Play with the arrangement to achieve a modern and artistic display that complements your overall decor.
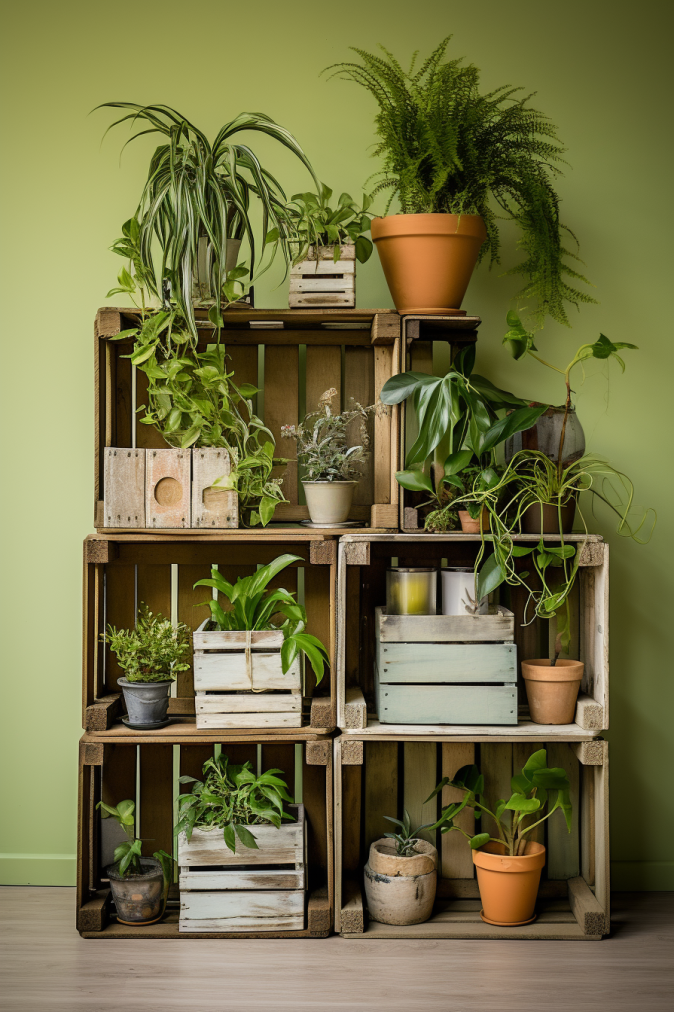
The Upcycled Masterpiece
Materials Needed
- Old wooden crates or pallets
- Sandpaper
- Paint
- L-brackets
- Screws
- Potted plants
Step by Step Instructions
Step 1: Preparing the wooden crates or pallets
Embark on your upcycling journey by selecting old wooden crates or pallets.
To ensure a smooth and polished finish, use sandpaper to remove any rough edges or imperfections.
This step not only enhances the aesthetic appeal but also guarantees the safety of your plant display.
Step 2: Adding a splash of color
Inject personality into your upcycled masterpiece by choosing a paint color that aligns with your style.
Apply the paint generously to the wooden crates, covering all surfaces.
Allow the paint to dry completely before moving on to the next step.
This phase provides an opportunity to get creative, selecting colors that complement your home’s decor.
Step 3: Securing the upcycled crates to the wall
To bring your upcycled creation to life, secure the painted crates to the wall using L-brackets and screws.
Ensure the crates are spaced evenly and level to create a visually appealing and stable display.
This step demands accuracy to guarantee a secure attachment that can withstand the weight of the plants.
Step 4: Arranging the green ensemble
With the upcycled crates securely affixed to the wall, it’s time to introduce the green element.
Carefully arrange the potted plants within the crates, considering the size and shape of each.
Experiment with various plant combinations to achieve a charming and eclectic display.
This phase allows you to exercise your creativity while showcasing the beauty of upcycled materials.
Pro Tips for Plant Shelf Perfection
Embarking on the journey of creating plant shelves is an exciting endeavor.
To ensure your botanical display thrives and your shelves stand the test of time, here are essential pro tips for plant shelf perfection:
Prioritize sunlight needs
Plants have varying sunlight requirements, ranging from low to bright.
Before placing your potted green companions on the shelves, understand their specific needs.
Position shelves strategically to provide adequate sunlight based on each plant’s requirements.
Ensure that those needing more light are placed in prominent positions, basking in the sunshine, while shade-loving plants find their cozy corners.
Level up your alignment
The visual appeal of your plant shelves depends on proper alignment.
Utilize a level to ensure that each shelf is not only straight but also balanced.
This not only enhances the aesthetic appeal but also contributes to the stability of the overall structure.
A carefully aligned set of shelves creates a polished and professional look, showcasing your plants in the best possible light.
Weight consideration is key
A crucial aspect often overlooked is the weight-bearing capacity of your shelves.
Different plants vary in size and weight, and the choice of shelf materials plays a significant role.
Always consider the combined weight of the plants and the shelf materials to prevent any potential accidents.
Reinforce shelves if needed, ensuring they can confidently bear the load without compromising stability.
Regular maintenance routine
Maintaining the health and longevity of your plant shelves requires periodic checks.
Regularly inspect the alignment of the shelves, ensuring they haven’t shifted.
Check the screws, brackets, or any supporting elements to identify signs of wear or weakness.
This proactive approach helps prevent unforeseen accidents and ensures that your plant shelves remain a safe and reliable home for your green companions.
Embrace creativity within safety parameters
While creativity is encouraged, always ensure that your innovative plant shelf ideas align with safety parameters.
Whether you opt for a hanging jungle or a geometric gem, strike a balance between artistic expression and structural integrity.
This ensures a harmonious blend of creativity and safety, resulting in plant shelves that are both visually stunning and structurally sound.
- Read also: DIY Garden Bed Ideas
- Read also: 8 DIY Garden Fence Ideas for a Perfect Oasis
Conclusion
Integrating DIY indoor plant shelves not only brings nature’s beauty indoors but also provides a canvas for expressing your creativity.
Whether you prefer the simplicity of a minimalist ladder, the lush charm of a hanging jungle, the modern allure of a geometric gem, or the sustainable appeal of an upcycled masterpiece, these ideas promise to effortlessly transform your space into a captivating green oasis.
Explore the possibilities and let your home showcase both the serenity of nature and your unique creative touch.


