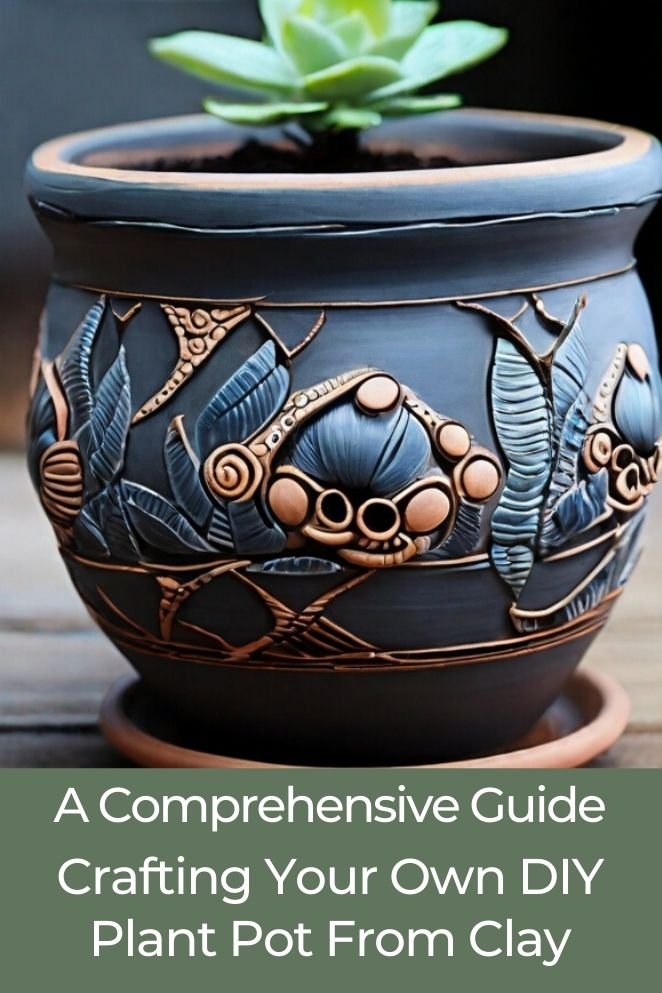
Plant pots are a great way to add a touch of greenery to your home or garden.
While there are many options available for purchase, making your own plant pot from clay can be a fun and rewarding DIY project.
In this article, we’ll explore the different types of clay suitable for plant pots and provide a step-by-step guide to creating your own.
- Read also: DIY Potato Planter Box
- Read also: Crafting Your Own DIY Plant Terrarium
What Are The Benefits of Using Clay For Plant Pots
For plants
- Improved drainage: Clay is naturally porous, allowing excess water to drain freely, preventing root rot, a common issue in plastic pots.
- Better airflow: The porous nature of clay also allows for proper air circulation around the roots, promoting healthy growth and preventing root suffocation.
- Regular temperature: Clay absorbs and releases moisture naturally, helping to regulate soil temperature and protect roots from extreme fluctuations.
- Sustainable and natural: Clay is a natural and eco-friendly material, unlike plastic pots, which can contribute to landfill waste and environmental pollution.
For plant owners
- Aesthetics: Clay pots come in various shapes, sizes, and colors, offering a more natural and visually appealing option than plastic pots.
- Customizable: You can easily decorate, paint, or personalize clay pots to match your style or home decor.
- Durable and long-lasting: Clay pots are generally more durable than plastic and can last for years with proper care.
- Safer for sensitive plants: Some plants, like orchids, prefer clay pots due to their better drainage and breathability.
Additional benefits
- Cost-effective: Clay pots are often less expensive than high-quality plastic pots, especially for larger sizes.
- Promotes responsible plant care: The need for proper drainage and watering awareness with clay pots can encourage responsible plant ownership.
Different types of clay for plant pots
When it comes to making plant pots from clay, there are several types of clay to choose from. Here are some of the most common:
Earthenware clay
Earthenware clay is porous and often chosen for decorative plant pots.
Its porous nature allows for intricate designs and patterns, making it an ideal choice for indoor use.
However, it’s not the best option for outdoor planters, as the porous quality can lead to cracking in freezing temperatures.
Gardeners often appreciate earthenware clay for its aesthetic appeal and versatility in crafting visually appealing pots.
Stoneware clay
Stoneware clay, in contrast, offers a denser and more durable option for plant pots.
This type of clay is well-suited for outdoor use, as its density provides resistance to environmental elements.
Stoneware is less porous compared to earthenware, reducing the likelihood of water absorption and cracking.
Gardeners favor stoneware clay for its durability, making it an excellent choice for both indoor and outdoor planters that need to withstand varying weather conditions.
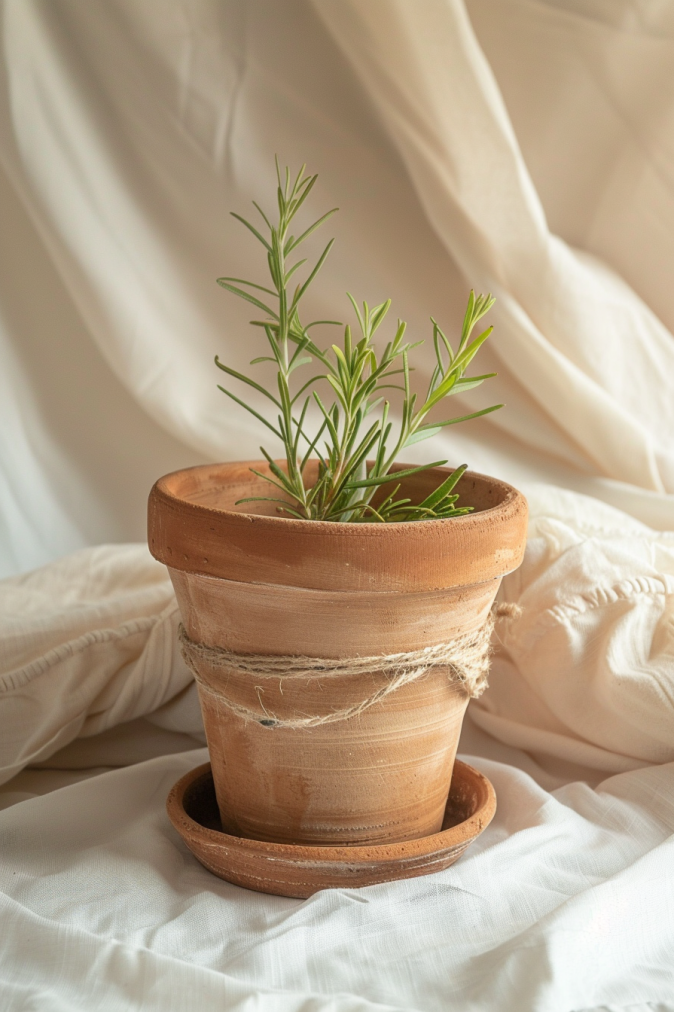
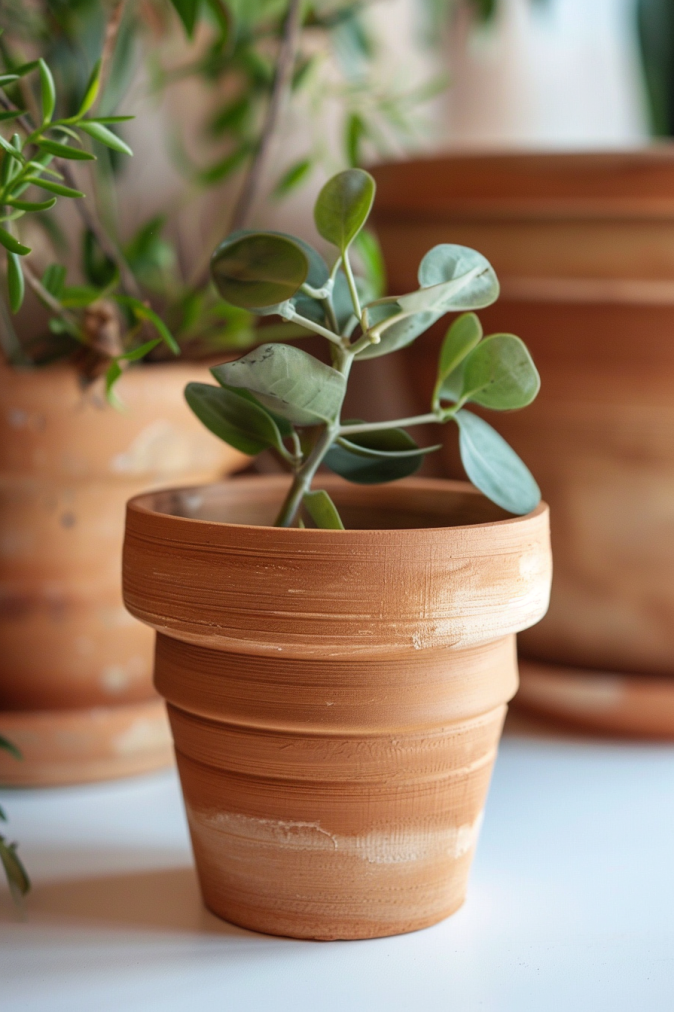
Terracotta clay
Terracotta clay, a specific type of earthenware, undergoes high-temperature firing, resulting in increased durability and reduced porosity.
This makes it a preferred choice for plant pots. Known for its distinctive reddish-brown color, terracotta pots not only complement various plant types but also offer enhanced resilience.
The firing process ensures that these pots are more resistant to cracking and are suitable for both indoor and outdoor use.
A step-by-step guide to creating a DIY plant pot from clay
Get ready to unleash your inner potter and create a unique home for your greenery! Here’s a step-by-step guide to making a DIY clay plant pot:
Necessary materials
- Clay
- Rolling pin
- Knife or clay cutter
- Ruler
- Pencil
- Plastic wrap
- Water
- Sponge
- Optional: decorative stamps or tools
Step-by-step instructions
Crafting your plant pot from clay is a satisfying and creative endeavor.
Follow these step-by-step instructions for a successful pottery project:
Knead the clay
Begin by warming up the clay through kneading.
Spend several minutes working the clay until it achieves a soft and pliable consistency.
This crucial step ensures uniform moisture distribution, preventing potential cracks in your finished pot.
Shape the base
Roll out a thick slab of clay using a rolling pin. Aim for a thickness of approximately 1/2 inch.
With a knife or your hands, cut a circular base for your pot.
This foundation sets the stage for your creation.
Build the walls
Roll out another slab of clay, this time thinner (around 1/4 inch).
Cut long strips and coil them around the base, gently pressing them together to construct the pot walls.
Smooth out any unevenness using your fingers or a sculpting tool.
Shape and refine
Let your creativity shine as you shape and refine the pot.
Use your fingers or tools to adjust the height, widen the rim, or add curves according to your artistic vision.
This step allows for personalization and artistic expression.
Create drainage holes
Promote plant health by incorporating drainage holes.
Using a tool or your fingers, carefully poke several small holes, approximately pea-sized, near the base of the pot.
Ensure these holes penetrate through the entire thickness of the clay.
Smooth and refine
Achieve a polished finish by smoothing any rough edges or addressing potential cracks.
A damp finger or sponge works well for this, and you can use sandpaper for an extra refined touch.
Drying time
Place your crafted pot in a well-ventilated area away from direct sunlight to allow it to dry completely.
The drying time varies based on the size and thickness of your pot.
Generally, smaller pots take 24-48 hours, while larger ones may require additional time.
Patience during this stage ensures a sturdy and well-crafted final product.
Finishing Touches
Once the clay is dry, use a sponge to smooth out any rough edges or imperfections.
If you plan to use the plant pot for outdoor plants, add drainage holes to the bottom of the pot using a knife or clay cutter.
If desired, add decorative touches such as painting or glazing the pot.
How to add drainage holes
Adding drainage holes to your plant pot is essential for preventing water from accumulating and causing root rot.
To add drainage holes, use a knife or clay cutter to cut several small holes in the bottom of the pot.
Optional decorative touches
If you want to add some personality to your plant pot, there are several decorative touches you can try.
Painting the pot with acrylic paint or glazing it with a clear coat can add color and shine.
You can also use decorative stamps or tools to add texture or designs to the surface of the clay.
- Read also: DIY Plant Pots Ideas
- Read also: DIY Plant Stand Outdoor Ideas
Conclusion
Crafting your own plant pot from clay is an enjoyable and fulfilling DIY endeavor.
With just a few simple materials and a dash of creativity, you can fashion a distinctive and practical vessel that enhances the greenery in your home or garden.
Prioritize selecting the appropriate clay type for your project, ensuring it meets your requirements.
Incorporate drainage holes at the pot’s base to promote plant health, and don’t hesitate to experiment with decorative elements to infuse personality into your creation.
Embrace the process and let your imagination flourish as you embark on this delightful pottery journey.


