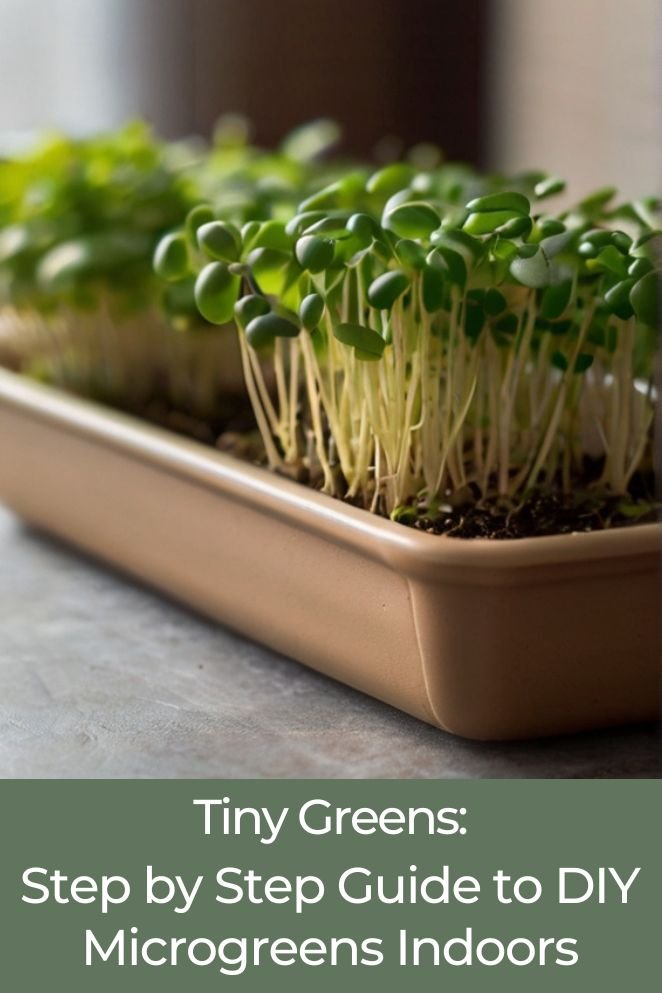
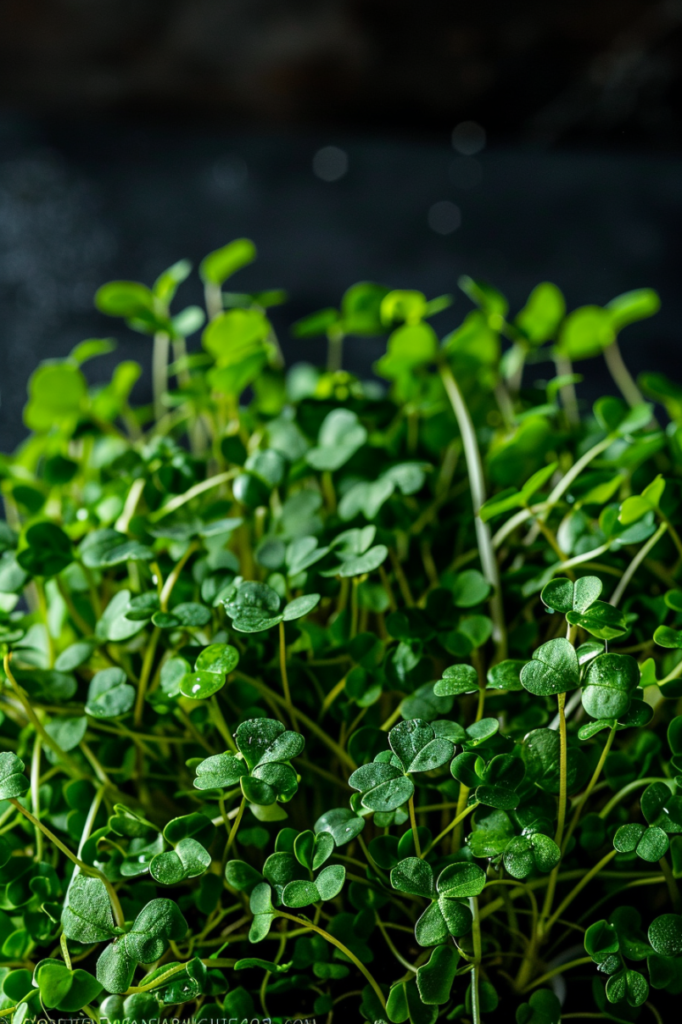
Microgreens are young vegetable or herb plants that are harvested between the seedling and mature plant stages.
They are packed with nutrients and can be grown indoors, making them an excellent choice for urban gardeners or those with limited outdoor space.
In this blog post, we will discuss the benefits of growing microgreens indoors, the essential supplies you’ll need, how to choose the right seeds, and a step-by-step guide on how to grow microgreens indoors.
What are Microgreens?
Microgreens are young shoots of vegetables, herbs, or other plants harvested within 7-14 days.
They offer intense flavor and concentrated nutrients, making them popular for both culinary and health purposes.
These tiny greens come in various types like broccoli, kale, arugula, and radish, each with unique tastes and benefits.
Growing microgreens is easy and requires minimal space, making them accessible to home gardeners.
They are rich in vitamins, minerals, and antioxidants, often surpassing mature plants in nutrient content.
- Read also: DIY Container Ideas For Herbs
- Read also: DIY Broccoli Planters Made from Everyday Items
Benefits of Growing Microgreens Indoors
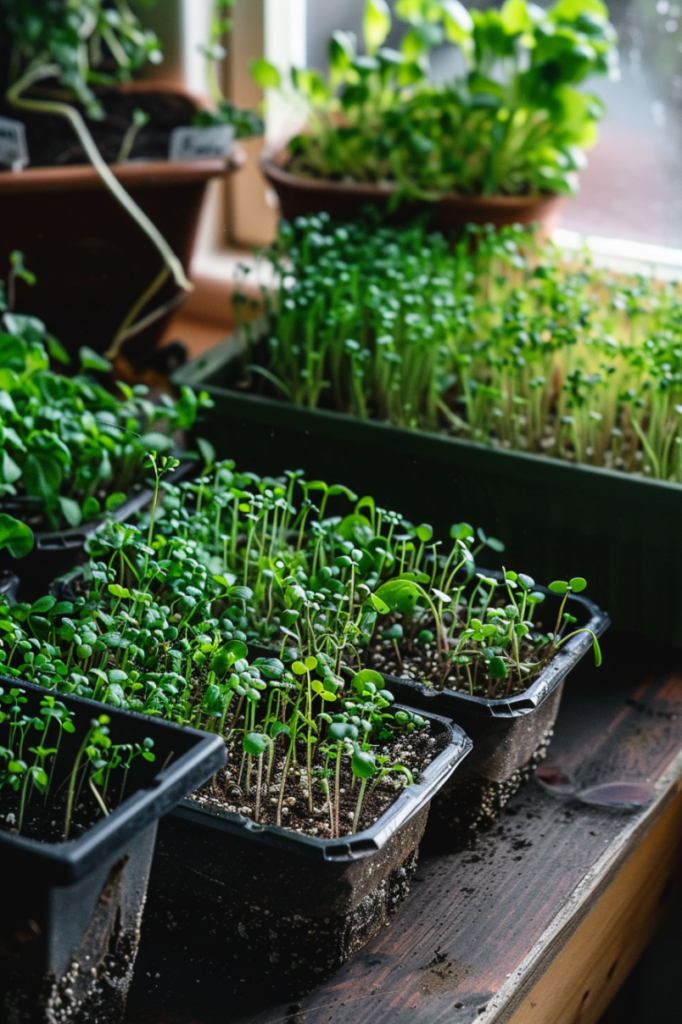
Growing microgreens indoors offers numerous benefits, including:
- Nutrient-dense: Microgreens are packed with vitamins, minerals, and antioxidants, providing a concentrated source of nutrients.
- Space-saving: Microgreens require minimal space, making them ideal for urban gardens or indoor spaces.
- Quick growth: Microgreens can be harvested in as little as 10 days, allowing for a quick turnaround.
- Cost-effective: Growing your own microgreens at home can save money compared to purchasing them from the store.
- Organic and pesticide-free: By growing your own microgreens, you have control over the growing process, ensuring they are organic and free from harmful chemicals.
- Year-round cultivation: Indoor microgreen farming allows for a consistent supply of fresh greens throughout the year.
- Elevated culinary creations: The vibrant flavors and colors of microgreens add excitement to dishes, such as salads, sandwiches, and wraps.
Popular Microgreens To Grow Indoors
The most popular microgreens to grow indoors include:
- Radish: Known for their peppery flavor, radish microgreens are quick to grow and add a zing to your dishes.
- Arugula: Arugula microgreens offer a nutrient-rich, earthy flavor and are easy to grow indoors.
- Kale: Packed with nutrients, kale microgreens are a popular choice for their health benefits and mild flavor.
- Mustard: Mustard microgreens have a mild, peppery flavor and are rich in vitamins and minerals.
- Broccoli: Broccoli microgreens have a mild, slightly bitter taste and are a nutritional powerhouse.
- Pea shoots: These tender and sweet shoots offer a delicate flavor reminiscent of fresh peas.
- Sunflower: Sunflower microgreens have a nutty taste and crunchy texture, and are packed with essential nutrients.
Essential Supplies
- Seeds: Choose a variety of seeds, including vegetables and herbs.
- Container: Use a shallow container with drainage holes, such as a seedling tray or a repurposed container.
- Soil: Use a seed starting mix or a soilless growing medium.
- Water: Use filtered or distilled water to avoid mineral buildup in the container.
- Light: Provide adequate light, either from a sunny window or a grow light.
- Growing trays: Choose trays with or without drainage holes, depending on your preference.
- Fertilizer: Use a mineral fertilizer to provide the necessary nutrients for your microgreens.
- Spray bottle: Keep your microgreens hydrated with a spray bottle, especially if natural sunlight is limited.
- Scissors or knife: Use these tools to harvest your microgreens when they reach the desired height
Choosing the Right Seeds
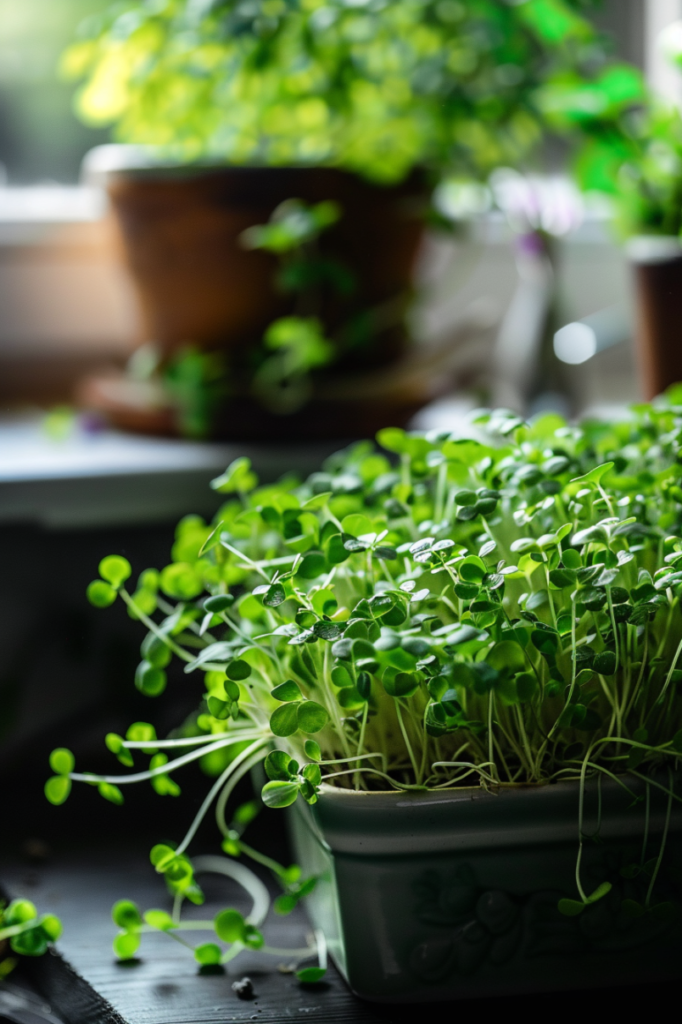
To choose the right seeds for DIY microgreens indoors, consider the following factors:
- Variety: Select a variety of microgreens that appeal to your taste preferences and dietary needs. Common options include arugula, radishes, sunflower, mizuna, mustards, broccoli, or pea shoots.
- Growing conditions: Choose seeds that are suitable for your indoor growing conditions, such as light, temperature, and humidity requirements.
- Germination rate: Look for seeds with a high germination rate, ideally above 90%, to ensure successful growth.
- Organic and untreated: Opt for organic and untreated seeds to avoid the use of fungicides and insecticides, which can pose a higher risk for microgreens due to their small size.
- Reliable sources: Purchase seeds from reputable garden seed companies or organic suppliers to ensure quality and transparency.
- Growing methods: If you plan to grow your microgreens using different methods, such as sprouting or growing as a microgreen, choose seeds that are suitable for your chosen method.
Step by Step how to Grow Microgreens Indoors
Growing microgreens indoors is a straightforward process. Follow these steps for successful cultivation:
Choose the right seeds
Select your desired microgreen varieties, such as arugula, radishes, sunflower, mizuna, mustards, broccoli, or pea shoots.
These seeds are readily available from garden centers or online suppliers.
Prepare the growing medium
Use a clean and sterile growing medium, such as coconut coir, peat-based mix, or a growing mat made of natural or synthetic fibers.
Ensure the medium is moist but not waterlogged before sowing the seeds.
Sow the seeds
Scatter the seeds evenly over the surface of the growing medium.
Gently press them down into the medium without burying them too deeply. This ensures good seed-to-soil contact for germination.
Create a blackout period
Cover the planted seeds with a tray or container to create a blackout period, promoting germination by providing darkness and humidity.
Remove the cover once the seeds have germinated enough to avoid blocking light.
Provide light
Place the container in a well-ventilated location with adequate sunlight or use a grow light. Microgreens require good light for healthy growth.
A sunny windowsill or artificial grow light can provide the necessary illumination.
Watering
Keep the growing medium consistently moist by watering the seeds with care.
Avoid overwatering and spraying from above, as excess moisture can lead to mold growth.
Water gently at the base of the plants to prevent disturbance.
Harvesting
Once the microgreens have developed their first true leaves and reached a desirable height, typically 1 to 3 inches, they are ready to harvest.
Use clean scissors to cut just above the soil line. Harvesting at this stage ensures the best flavor and nutritional content.

Additional Tips and Tricks
Growing microgreens indoors is a rewarding experience, but a few extra tricks can elevate your success and enjoyment.
Here are some additional tips to transform you from a microgreen novice to a pro:
Optimizing growth
- Airflow is key: Proper air circulation helps prevent mold growth. Avoid overcrowding your containers and consider placing them on a tray to elevate them for better air flow.
- Temperature talk: Most microgreens prefer cool to moderate temperatures (around 60-70°F). Avoid placing them near heat sources or drafty windows.
- Blackout cover for light-sensitive seeds: Some seeds, like lettuce, benefit from a dark period during germination. Cover your containers with a blackout cover for a few hours daily.
- Rotate your crops: Regularly rotate the position of your containers to ensure even light exposure and growth.
Maximizing your harvest
- Succession planting on steroids: Plant different varieties of microgreens in separate containers with staggered planting times.
- Repurpose and recycle: Don’t throw away those used yogurt cups or egg cartons! Clean and reuse them as microgreen planters.
- Microgreens as living decorations: Utilize attractive containers and display your microgreens in your kitchen or on a windowsill.
Troubleshooting common issues
- Leggy growth: This is caused by insufficient light. Ensure your microgreens receive enough bright light or adjust your grow light settings.
- Mold problems: Excess moisture can lead to mold growth. Reduce watering frequency, improve air circulation, and remove any moldy seeds or greens promptly.
- Slow germination: Cooler temperatures can slow down germination. If using a heat mat under your containers can help speed things up.
- Limited Space? No Problem!: Microgreens thrive in vertical spaces. Consider using vertical gardening systems or hanging planters to maximize your growing area.
- Read also: Grow Anywhere: DIY Container Ideas For Vegetables
- Read also: DIY Asparagus Bed: A Guide to Growing Your Delicious Harvest
Conclusion
Growing microgreens indoors is a fantastic way to incorporate fresh and nutritious produce into your diet, regardless of space constraints.
With these steps and tips, you’ll be able to cultivate microgreens effortlessly within the comfort of your home.

