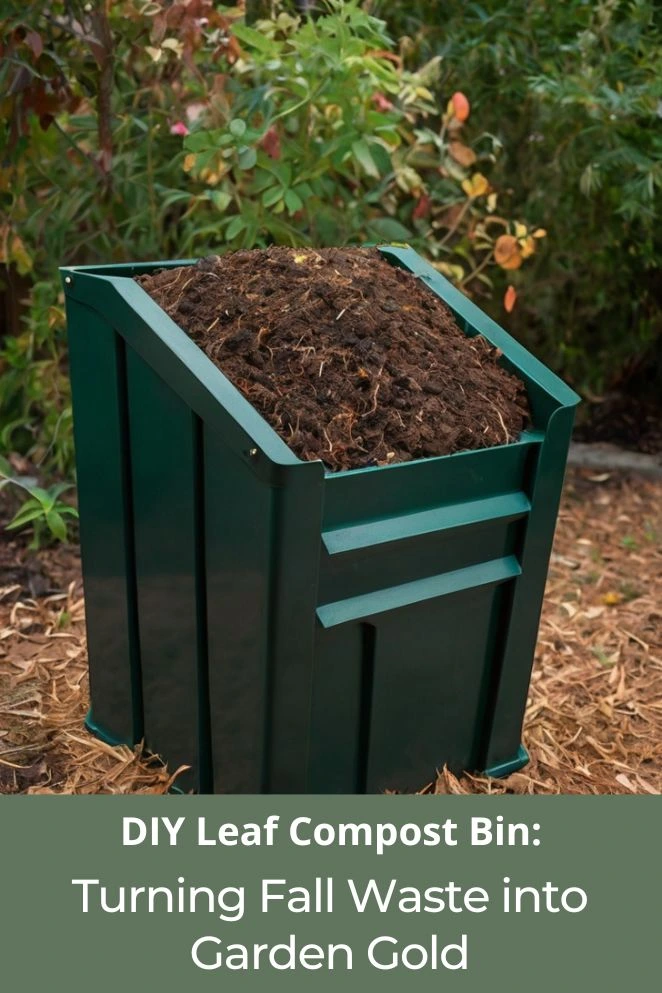
Forget bagging those leaves! Every fall, I see people toss away the best free fertilizer nature gives us.
I started composting leaves as a teen, and trust me—it feels like magic.
You stack up “trash,” and months later, boom: dark, rich soil that makes plants explode with growth. It’s cheap, easy, and insanely satisfying.
Let’s build a bin and turn that waste into black gold.
Why Choose Leaf Composting Over Traditional Disposal?
Okay, so you might be thinking, “Why not just bag ’em up?” Here’s the deal: when leaves hit a landfill, they rot into methane—super nasty pollution.
But if you compost them, it’s a total glow-up. I once had a patch of dirt hard as concrete—nothing grew.
After mixing in my leaf compost, next season it turned into a jungle.
The soil held water, plants thrived, and I barely had to water.
It’s free fertilizer, and you’re actually helping fight climate change right in your backyard.
Essential Materials for Your DIY Leaf Compost Bin
Here’s the thing—you don’t need to be some master builder or drop a ton of cash to make a killer compost bin.
A few simple materials and you’re set. Check it out:
Wire mesh method (most popular)
- About 12–15 feet of hardware cloth or chicken wire (with holes small enough so leaves don’t escape)
- Wire clips or zip ties to hold it together
- Wire cutters (trust me, don’t try this with scissors)
- Work gloves—because that wire bites back
Wooden pallet method
- 3–4 wooden pallets (lots of businesses just give these away)
- Corner brackets or hinges to connect them
- Screws or nails
- A drill or hammer (time to look handy)
Snow fencing method
- 12 feet of plastic snow fencing
- Wooden or metal stakes
- Zip ties or wire to fasten it down
- Post-hole digger or shovel for the stakes
If you’re just starting out, go with the wire mesh—it’s cheap, easy, and you can move it if you change your mind later.
Plus, it lets your pile breathe, which is compost-speak for “works way faster.”
- Read also: Eco-Friendly Gardening: How to Make Your DIY Compost Barrel
- Read also: Steps for Beginners: Create Your Own DIY Compost Bucket
Step-by-Step Construction Guide: Wire Mesh Leaf Compost Bin
Step 1: Pick the right spot
Don’t just dump it in some random corner. You want a place with a little sun but not the afternoon scorch zone.
Under a tree with dappled light? Perfect.
And avoid low spots unless you’re aiming for a swampy “leaf soup.”
Step 2: Set the base
Clear out the weeds or grass in a circle. Nothing fancy.
I like tossing down a layer of small sticks first—kind of like a little raft so air can sneak in from the bottom.
Makes the pile break down faster.
Step 3: Shape the circle
Here’s the fun part. Unroll that wire mesh and bend it into a circle about as wide as your armspan.
Zip ties go click, click, click every foot or so to hold the ends together.
Don’t stress if it looks wonky—my first one looked like a shopping cart crash, and it still worked like a charm.
Step 4: Keep it steady
If you live somewhere windy, you can pound a couple of stakes into the ground and zip tie the cage to them.
Otherwise, once it’s stuffed with leaves, it’s heavy enough to stay put.
Step 5: Build a secret door (Pro Hack)
Here’s the move: don’t zip tie one small section all the way. Leave it clipped at the top but loose at the bottom.
When your compost is ready, just unhook it and boom—you’ve got a secret hatch to grab the black gold.
Saves you from wrestling the whole bin later.
Alternative Construction Methods
Wooden pallet bin
If you want something sturdier, pallets are the way to go.
They’re tough, look kind of rustic, and best of all—you can usually snag them free behind grocery stores or warehouses.
Just stand three pallets up in a U-shape, screw or hinge them together, and boom—instant bin.
Leave the front open so you can toss in leaves or scoop out compost easily.
The little gaps in the pallet slats? Perfect built-in airflow.
Snow fencing bin
Need something lighter or temporary? Snow fencing’s your friend.
Just pound a few stakes into the ground in a circle, wrap the fencing around, and tie it down.
I used this setup once when I wasn’t sure where I wanted my “forever bin.”
Bonus: you can move it around each season, which is clutch if you’re short on space.
Filling and Managing Your Leaf Compost Bin
Initial setup
Late fall is prime time—leaves everywhere, free for the taking.
Toss them in the bin about 6–8 inches at a time, and give each layer a light press with your hands or a rake.
Don’t stomp it down like you’re smashing trash—leaves need air to break down. Think “fluffy pancake stack,” not “compressed brick.”
Moisture management
Your pile should feel like a wrung-out sponge—damp, not dripping.
If you get regular rain, nature does the job for you.
But in drier spots, give it a quick spray with the hose now and then.
I’ve literally seen piles stall out just because they dried up.
Accelerating decomposition
Leaves will rot eventually, but you can make it way faster.
Mix in some “greens”—stuff like grass clippings, veggie scraps, or even coffee grounds.
Aim for about 4–5 parts leaves to 1 part greens. Every few weeks, grab a pitchfork or shovel and flip the pile.
That little burst of oxygen? It’s like compost steroids.
Shredding for faster results
If you really want speed, shred those leaves first.
Run a mower over them, and you’ll cut your composting time in half.
Smaller pieces = more surface area = faster breakdown.
The first time I tried it, my pile was cooking so fast it felt like I’d hacked the system.
Troubleshooting Common Issues
Slow decomposition
If your pile just sits there like a lazy teenager after months, it’s missing one of the big three: water, food, or air.
Toss in some “greens” (like grass clippings or veggie scraps), make sure it’s damp like a wrung-out sponge, and give it a good flip.
Once, I ignored mine for weeks, and it was basically a giant leaf lasagna—no breakdown at all. A quick turn and splash of water got it cooking again.
Unpleasant odors
If it reeks like gym socks left in a locker, that means it’s too wet or not getting enough air.
Easy fix: add more dry “browns” (leaves, shredded paper, cardboard), then turn it to let oxygen in. Boom—smell gone.
Pest concerns
Run your bin right, and you won’t have to deal with rats, raccoons, or fly invasions.
Skip tossing in leftover pizza crusts or meat scraps—that’s basically an open invite to critters.
Stick to leaves, plus safe greens, and keep it airy.
My bins have been in my backyard for years, and not once have I had a mouse rave happening in there.
Seasonal Maintenance and Long-term Success
Winter care
When it’s cold, your compost slows down, but it doesn’t totally hit pause.
Throw a tarp or even an old carpet over the bin to keep in some heat and moisture.
Fun fact: snow’s not the enemy—it actually works like a blanket and adds water as it melts.
Spring activation
When things warm up, it’s time to wake your pile back up.
Toss in some fresh greens—grass clippings, veggie scraps, whatever you’ve got—and give it a good turn.
This jump-starts the microbes like a breakfast smoothie for your compost crew. Perfect moment to check progress too.
Year-round strategy
Don’t think composting’s just a fall thing.
Some trees drop leaves all year, and you can keep feeding your bin whenever.
The more you feed it, the more black gold you’ve got ready when your plants need it.
- Read also: DIY Compost Spreader: A Step-by-Step Guide to Building Your Own
- Read also: A Beginner’s Guide: How to Make a DIY Compost Sifter
Conclusion: Embracing Sustainable Gardening Practices
Building a leaf compost bin isn’t just a weekend project—it’s a way to level up your garden while doing something good for the planet.
You’re basically turning free “trash” into soil magic that makes plants explode with growth.
The best part? It barely costs anything, but the payoff is huge—healthier soil, stronger plants, and less waste going to landfills.


