Are you tired of sacrificing valuable space in your small garden for a traditional herb garden?
Do you want to grow your own fresh herbs without taking up too much room?
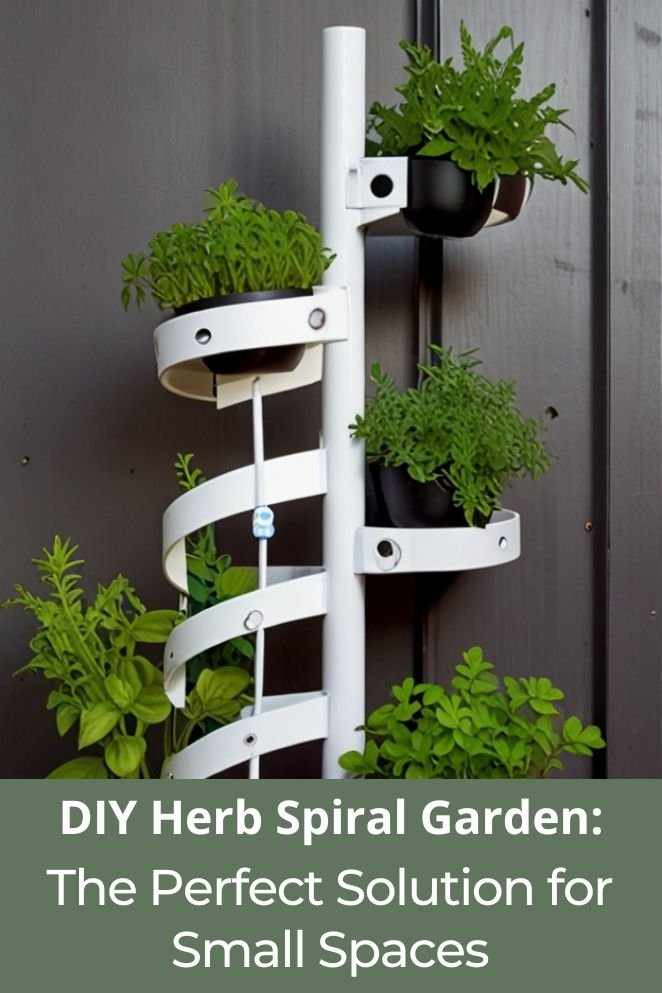
Look no further than a DIY herb spiral garden.
This innovative and space-saving design allows you to grow a variety of herbs in a compact, spiral shape, perfect for small spaces like balconies, patios, or even indoor areas.
Benefits of a Herb Spiral
Herb spirals are a fantastic way to add a touch of freshness and functionality to your garden, especially if you’re limited on space.
Here are some of the key benefits of building your own DIY herb spiral:
Maximize your space
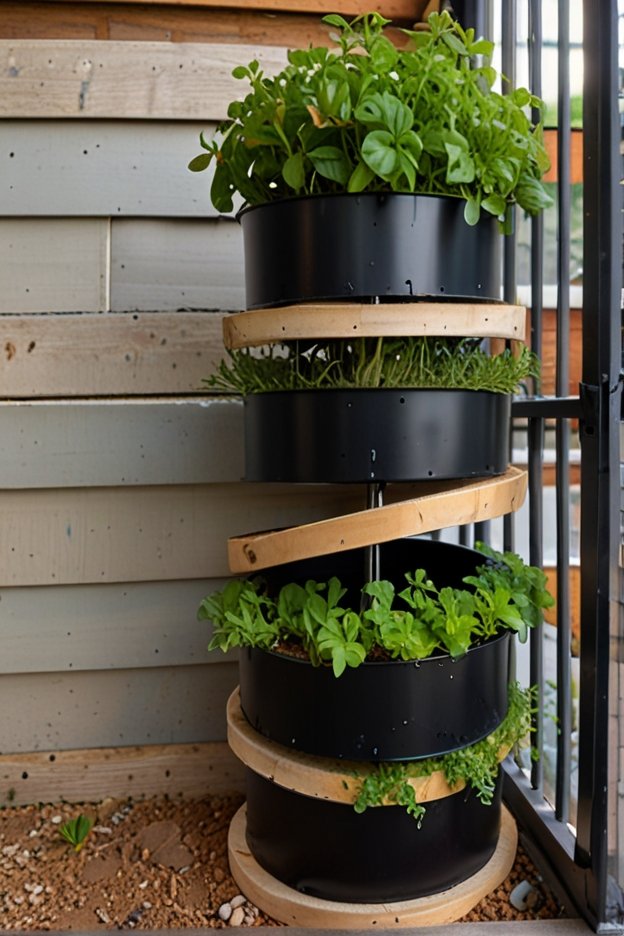
Herb spirals are masters of vertical gardening, efficiently utilizing limited space.
This compact design allows you to cultivate an array of herbs in even the smallest of spaces, whether it’s a cozy patio, a petite balcony, or a modest garden patch.
- Read also: No Yard Needed! DIY Herb Garden for Small Apartment
- Read also: Trash to Treasure: DIY Herb Garden From Recycled Materials
Craft unique microclimates
With its winding tiers, the herb spiral creates diverse microclimates within its structure.
Each level receives varying amounts of sunlight and moisture, catering to the specific needs of different herbs.
From sun-loving rosemary and thyme at the top to moisture-craving mint and parsley at the bottom, the spiral accommodates a variety of plant preferences.
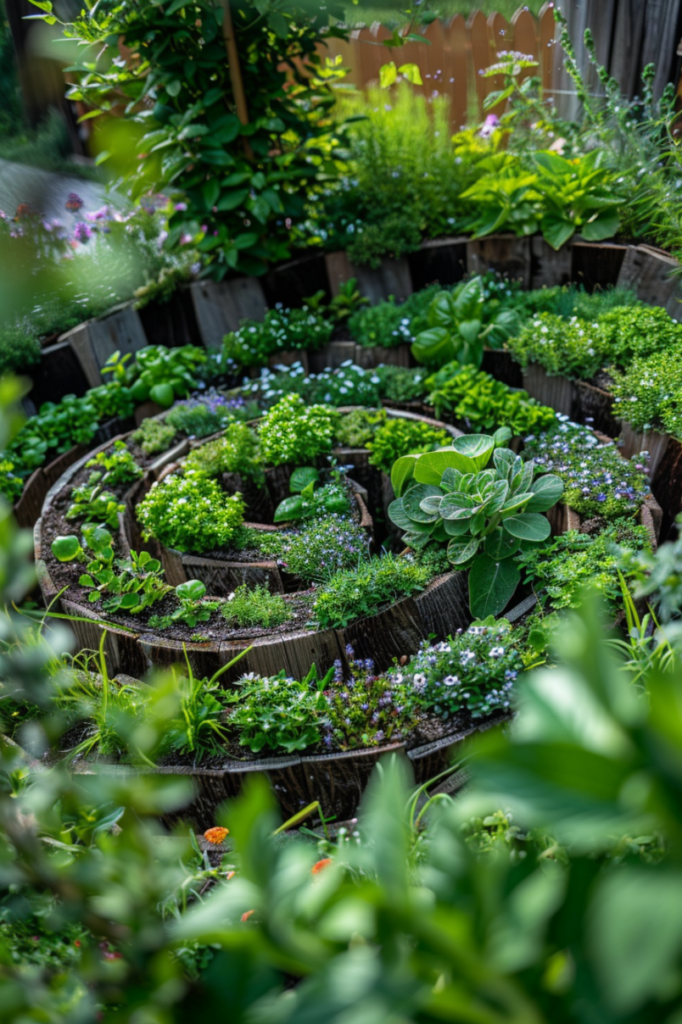
Enhance your outdoor aesthetic
Beyond functionality, herb spirals bring an element of natural beauty to your garden.
The spiral’s organic design, adorned with cascading herbs, adds visual interest and charm to any outdoor space, elevating its allure and appeal.
Simplify access and upkeep
Thanks to its spiral design, harvesting herbs becomes a breeze.
With plants easily within reach at every turn, you can effortlessly pluck fresh herbs for your culinary creations.
Plus, the raised bed structure aids in drainage and weed control, keeping maintenance tasks to a minimum.
Promote biodiversity
Herb spirals are not only havens for herbs but also magnets for beneficial insects like bees and butterflies.
By incorporating companion planting techniques, you can further enhance biodiversity and naturally safeguard your plants against pests, fostering a thriving ecosystem in your garden.
Enjoy fresh flavor daily
Perhaps the most rewarding benefit of a DIY herb spiral is the joy of cultivating your own fresh herbs.
With a constant supply of homegrown goodness just steps from your door, you can elevate your culinary endeavors with a burst of flavor and freshness in every dish.
Materials and Tools
To build your own herb spiral garden, you’ll need the following materials and tools:
Essential materials
- Stones: Opt for flat or irregularly shaped stones for a natural look. Consider size and weight when making your selection.
- Bricks: Standard red bricks are a classic choice, offering a neat and structured design.
- Wooden timbers: Recycled wooden boards or timbers add a rustic charm. Ensure the wood is untreated and suitable for outdoor use.
- Soil: High-quality potting mix or garden soil will provide a good base for your herbs.
- Compost: Adding compost to your soil mixture improves drainage, aeration, and nutrient content for healthy herb growth.
- Herb seedlings or plants: Choose a variety of herbs that suit your culinary preferences and consider their sun and moisture needs for placement within the spiral.
Tools
- Shovel: For digging and moving soil.
- Trowel: Essential for planting your herbs and creating pockets in the spiral.
- Work gloves: Protect your hands while working with stones, soil, and plants.
- Wheelbarrow (optional): Useful for transporting materials like soil and compost, especially if your building site is not close to your storage area.
- Tape measure (optional): Helpful for ensuring consistent spacing and overall size of your herb spiral.
Building Your Herb Spiral (Step-by-Step)
Building your herb spiral garden is a relatively simple process. Here’s a step-by-step guide to help you get started:
Choose a location
Selecting the right spot for your herb spiral is crucial.
Find a location that receives at least six to eight hours of sunlight daily.
Proximity to your kitchen door is ideal for easy access when cooking.
Ensure the ground is flat and clear of weeds and grass.
A sunny, convenient location will help your herbs thrive and make it easy to harvest them whenever needed.
Prepare the ground
If your chosen spot is not clear of weeds or grass, start by laying down cardboard.
This will act as a natural weed barrier, preventing unwanted plants from growing into your herb spiral.
If your site is on a slope, take the time to level the ground as much as possible.
A flat base ensures your spiral will be stable and the water will distribute evenly throughout the structure.
Design the spiral
Designing your spiral is a fun and creative part of the process.
Use bricks, stones, or even a sprinkling of flour to outline the shape of your spiral on the ground.
Aim for a width of at least 12 inches (30 cm) for the growing area to ensure ample space for your herbs.
The spiral should gradually rise towards the center, creating different microclimates ideal for various herbs.
Build the spiral
Begin by placing a single layer of bricks or stones along your outlined design.
To create the spiral structure, start at the outer edge and work your way inwards, stacking another layer of bricks while skipping 1½ to 2½ bricks at intervals.
This staggered stacking not only strengthens the structure but also helps maintain the spiral shape.
Continue this process until you’ve reached your desired height, typically around three to four feet at the highest point.
Fill the spiral
Fill the spiral with a mixture of soil and compost in a 50-50 ratio.
This combination provides a nutrient-rich environment for your herbs, promoting healthy growth.
Start filling from the bottom of the spiral, ensuring each layer is well-compacted before adding the next.
This will help maintain the stability of the structure and support the roots of your plants.
Smooth the soil
Once the spiral is filled to within a couple of inches (5 cm) from the top, begin smoothing the soil.
Aim for a gentle, downward slope spiraling from the top down.
This slope will facilitate proper drainage, ensuring that water flows naturally from the top of the spiral to the bottom, preventing waterlogging and encouraging healthy plant growth.
Plant your herbs
Now it’s time to plant your herbs.
Consider the light and moisture requirements of each herb when deciding their placement.
Plant sun-loving herbs such as rosemary and thyme at the top of the spiral, where they will receive the most sunlight.
More moisture-loving herbs like mint and basil should be planted towards the bottom, where water naturally collects.
Leave enough space between each plant to allow for proper growth and air circulation.
Caring for Your Herb Spiral
Creating a herb spiral garden is a rewarding endeavor, but maintaining its health and vitality requires ongoing care.
Here are some detailed tips to help you keep your herb spiral garden flourishing:
Water regularly
Consistent watering is crucial for the health of your herbs, but it’s important to find the right balance.
Each layer of the spiral garden can have different water needs due to its unique microclimate.
Herbs at the top, such as rosemary and thyme, often prefer drier conditions and may require less frequent watering. Conversely, herbs planted towards the bottom, like basil and mint, enjoy more moisture.
- Morning routine: Watering in the morning is ideal as it allows the plants to absorb moisture before the heat of the day, reducing evaporation.
- Check soil moisture: Before watering, check the soil moisture about an inch below the surface. If it feels dry, it’s time to water.
- Use mulch: Applying a layer of mulch can help retain soil moisture and reduce the frequency of watering, especially during hot, dry periods.
Prune regularly
Pruning is essential for maintaining healthy and productive herb plants.
Regular trimming encourages new growth, helps control the size of the plants, and prevents them from becoming leggy or overgrown.
- Timing: Prune herbs in the morning when they are fresh and hydrated. Avoid pruning during the hottest part of the day to reduce stress on the plants.
- Technique: Use sharp, clean scissors or pruning shears to make clean cuts. Focus on cutting just above a leaf node (the point where leaves attach to the stem) to encourage bushier growth.
- Frequency: Different herbs have varying growth rates. Fast-growing herbs like basil may need weekly pruning, while slower-growing ones like rosemary may only need a trim every few weeks.
Fertilize
Fertilizing your herbs provides them with essential nutrients needed for vigorous growth.
However, too much fertilizer can be harmful, leading to excessive foliage with poor flavor or even damaging the plants.
- Organic options: Use organic fertilizers like compost, fish emulsion, or seaweed extract. These provide a balanced nutrient profile and improve soil health over time.
- Frequency: Fertilize lightly every 4-6 weeks during the growing season. Over-fertilizing can lead to nutrient imbalances and reduced herb quality.
- Application: Apply fertilizer according to the package instructions, and water the soil afterwards to help distribute the nutrients.
Monitor for pests and diseases
Regular monitoring is key to catching and managing pest and disease issues before they become severe.
Healthy plants are more resistant to pests and diseases, but vigilance is still necessary.
- Visual inspections: Check your herbs at least once a week for signs of pests or diseases. Look for discolored leaves, holes, wilting, or unusual spots.
- Common pests: Aphids, spider mites, and caterpillars are common herb garden pests. Remove them by hand, spray them off with water, or use natural insecticidal soap.
- Disease management: Fungal diseases can be a problem, especially in humid conditions. Ensure good air circulation around your plants by spacing them appropriately and pruning regularly.
- Beneficial insects: Encourage beneficial insects like ladybugs and lacewings, which help control pest populations.
Additional tips
- Rotate crops: If you notice certain herbs struggling, consider rotating them with different plants in subsequent seasons to prevent soil depletion and reduce pest and disease cycles.
- Soil health: Regularly add organic matter to maintain soil health. This can include compost or well-rotted manure, which will enhance soil structure and fertility.
- Seasonal adjustments: Adjust care routines based on the season. For example, reduce watering and fertilizing in the fall as the growing season winds down, and protect delicate herbs from frost by covering them or moving them indoors if possible.
- Read also: Balcony Heaven: DIY Vertical Herb Garden For Balcony
- Read also: Herb Heaven Indoors: DIY Indoor Herb Garden With Grow Lights
Conclusion
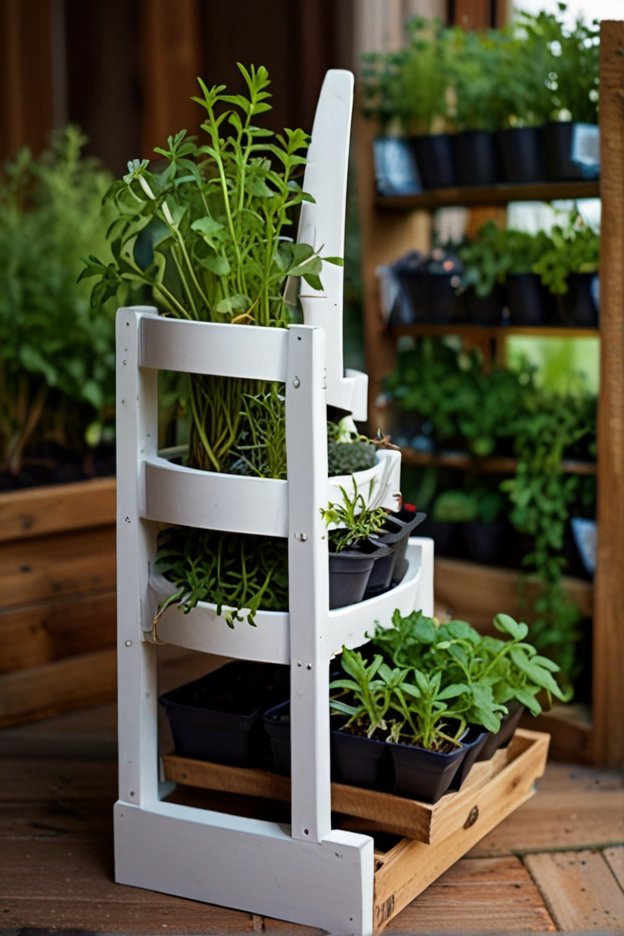
A DIY herb spiral garden is a great way to grow your own fresh herbs in a small space.
With its compact design and easy maintenance, it’s perfect for small gardens or indoor areas.
By following these simple steps and care tips, you can enjoy a bountiful harvest of fresh herbs all year round.


