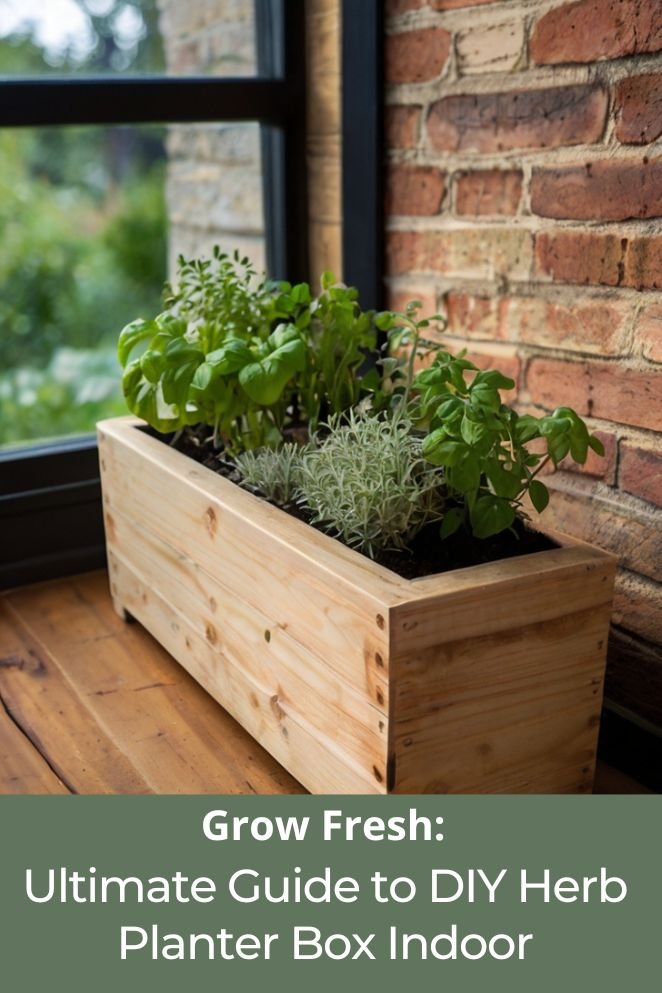
If you love cooking with fresh herbs, an indoor herb planter box is the perfect project for you.
Not only does it bring life to your kitchen or home, but it also gives you easy access to fresh, organic herbs anytime you need them.
Growing herbs indoors ensures that they’re free from pesticides, and since they’re just steps away, you’ll use them more often.
This guide will walk you through creating your own DIY herb planter box, from choosing materials to planting and maintaining your herbs.
Importance of Indoor Herb Gardens
Indoor herb gardens offer more than just a way to spice up your meals—they provide numerous practical and health benefits.
Let’s break down the advantages in a bit more detail:
Health benefits of herbs
Many herbs are packed with nutrients and compounds that can support your overall health. For instance:
- Basil is known for its high antioxidant content. Antioxidants help protect your body from free radicals, which are harmful molecules that can cause cell damage and contribute to aging and diseases.
- Rosemary is often linked to boosting memory and improving digestion. It’s believed that compounds in rosemary can stimulate cognitive function, making it a good herb for mental clarity.
These are just a couple of examples, but many herbs you can grow indoors have similar benefits—whether it’s soothing digestion, fighting inflammation, or helping with stress relief.
- Read also: No Yard Needed! DIY Herb Garden for Small Apartment
- Read also: Trash to Treasure: DIY Herb Garden From Recycled Materials
Convenience of indoor herb gardening
If you live in a place where winters are harsh or unpredictable, an indoor herb garden can be a lifesaver.
Growing herbs inside ensures you have access to fresh ingredients year-round, regardless of the weather.
You don’t need to worry about frost killing your plants or going without fresh herbs during cold months.
Plus, you can grow them right in your kitchen, making it super convenient to snip a bit of parsley, mint, or thyme while cooking.
Improved air quality
Plants naturally improve the air quality around them by releasing oxygen and absorbing carbon dioxide.
Some herbs, like mint and basil, can also act as mild air purifiers by removing toxins from the air, making your home environment cleaner and healthier to breathe in.
Aesthetic and emotional benefits
Having an indoor herb garden adds a splash of green to your home, which can make your living space feel more vibrant and welcoming.
There’s something about having living plants around that lifts the mood and reduces stress.
Tending to your herbs can also be therapeutic caring for something and watching it grow gives a sense of satisfaction and calm.
Sustainability and self-sufficiency
Growing your own herbs can reduce the need to buy plastic-packaged herbs from the store, cutting down on waste.
It also gives you control over what goes into your plants—no pesticides or harmful chemicals, just fresh, homegrown herbs.
Materials Needed
Before diving into the construction, gather the necessary materials.
Here’s what you’ll need:
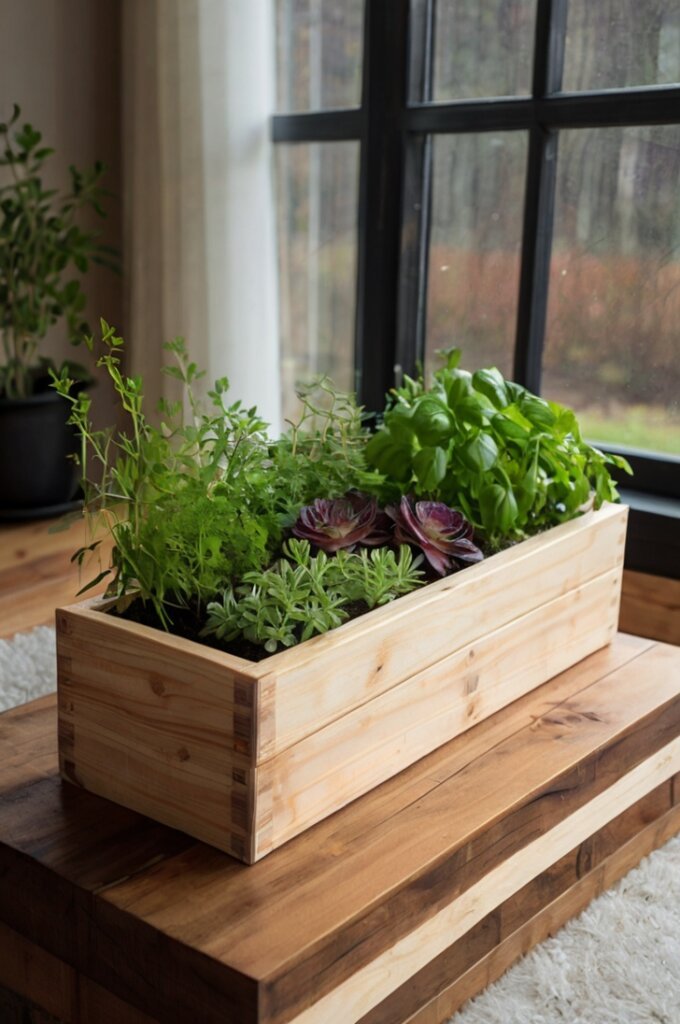
Wooden boards
For this project, 1×4 or 1×6 boards are ideal.
Pine, cedar, or redwood are great options as they are durable and can withstand moisture.
Depending on the size of your planter, you’ll need to measure and cut these boards to form the sides, bottom, and ends of the box.
Screws and nails
To assemble the box, use 1 ½-inch wood screws or nails.
Galvanized screws are a better option since they resist rust, ensuring a longer-lasting box.
Mineral oil or natural finish
Use non-toxic finishes like mineral oil, raw linseed oil, or tung oil to protect the wood.
Since the herbs are edible, it’s crucial to avoid any toxic chemicals that could leach into the soil.
Landscape fabric and gravel/stone
Landscape fabric improves drainage and keeps soil from seeping out, while gravel or stones at the bottom of the box will further enhance drainage, preventing your herbs from waterlogging.
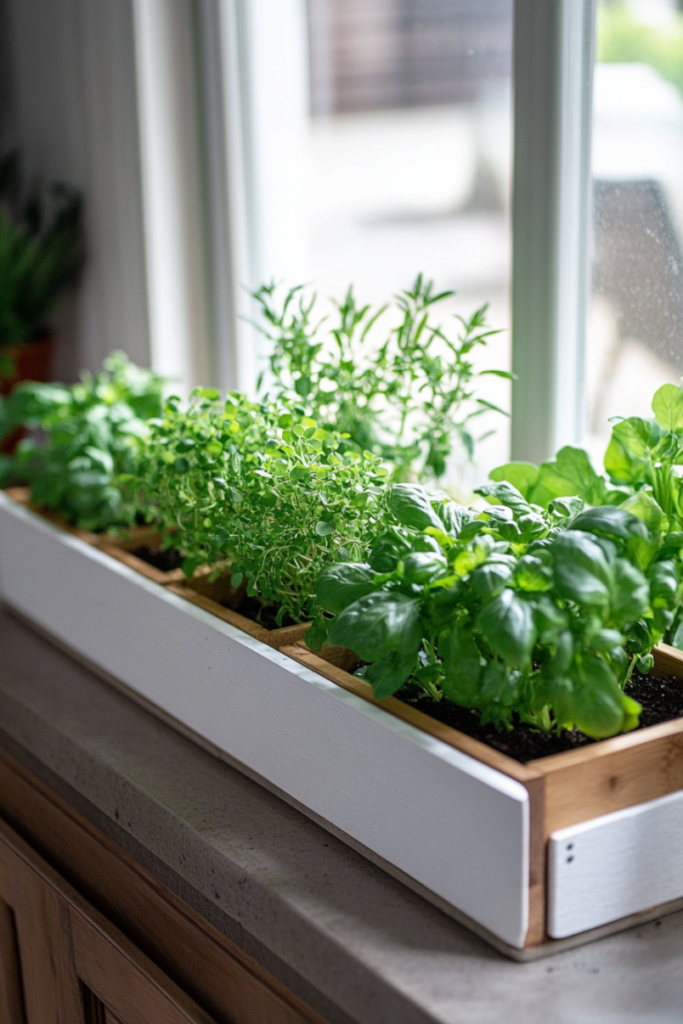
Herbs and plant markers
Choose herbs that thrive indoors such as basil, thyme, rosemary, parsley, or mint.
Plant markers can help you remember which herb is which—use store-bought markers or make your own using popsicle sticks or wine corks.
Step-by-Step Instructions
Cutting the wood
Measure the dimensions of your desired herb box based on your available indoor space.
Use a miter or circular saw for precise cuts.
A standard size would be 24 inches long by 6 inches wide and 6 inches deep, but this can be adjusted to your needs.
You’ll need four pieces for the sides and ends, plus a piece for the base.
Pro tip: Measure twice, cut once. Accurate measurements save time and wood!
Sanding the boards
After cutting, sand the edges of each board to remove any splinters or rough patches.
Sanding not only gives the wood a smoother, more polished look but also prevents potential injury from rough edges.
Use medium to fine-grit sandpaper for this step.
Stenciling the front boards (Optional)
This is where you can get creative!
If you want to personalize your planter box, stencil herb names like “Basil,” “Mint,” or “Parsley” on the front.
You can also add decorative patterns.
Use a stencil and acrylic paint for this.
Be sure to let the paint dry fully before continuing with assembly.
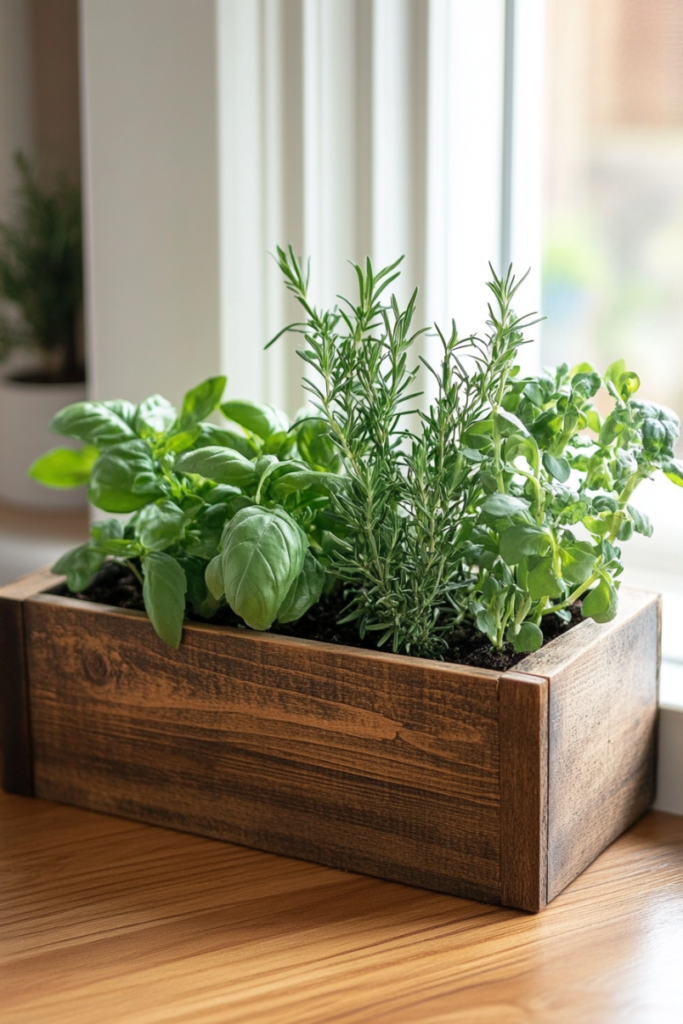
Applying mineral oil
Once your boards are cut, sanded, and stenciled, apply a non-toxic finish such as mineral oil.
This will protect the wood from moisture and wear.
Brush the oil on evenly, ensuring all surfaces are covered.
Let it sit for 24 hours before moving on to the next step.
Assembling the box
Begin by screwing the end boards to the bottom board.
Once the ends are securely attached, screw the front and back panels to the base and side pieces.
For added stability, consider using mending plates on the inside corners of the box.
Pro tip: Pre-drill holes for the screws to avoid splitting the wood, especially if you’re using softer wood like pine.
Lining the box
To improve drainage, line the inside of your planter with landscape fabric.
Cut the fabric so it fits snugly in the box.
Then, add a layer of gravel or small stones at the bottom to allow water to escape, which prevents root rot in your herbs.
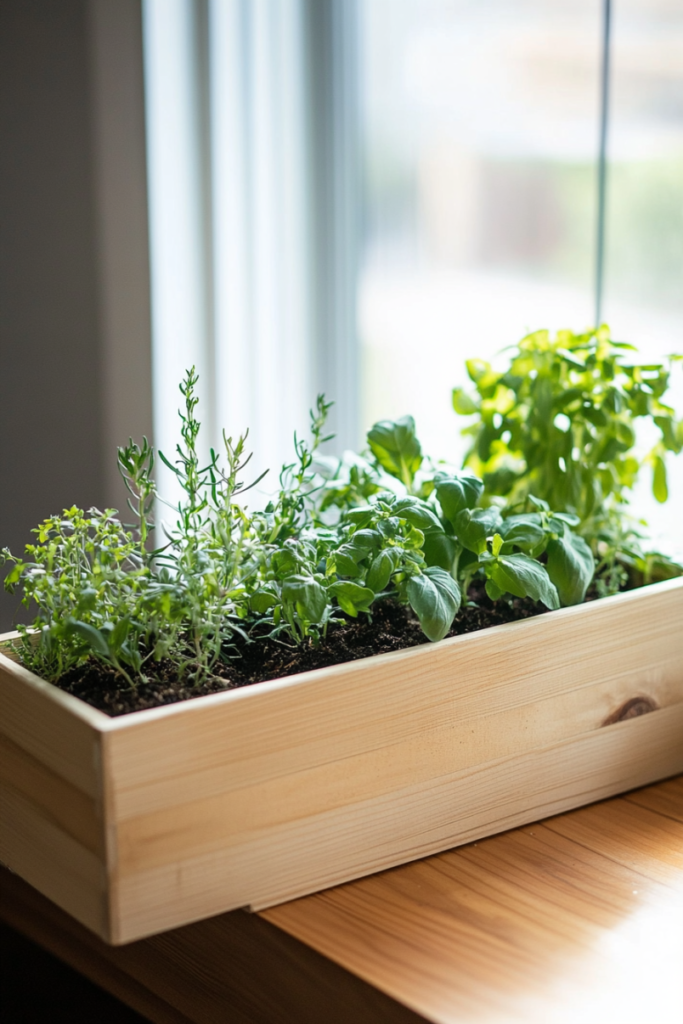
Filling with potting soil and herbs
Now, fill the rest of the box with potting soil, leaving about an inch of space from the top.
Plant your herbs, making sure to space them out according to their growth needs.
If you’re planting multiple types of herbs, be mindful of their space and light requirements.
Adding plant markers
Once your herbs are planted, label them with plant markers.
Use DIY methods like writing herb names on old popsicle sticks or creating stylish markers using wine corks and wire.
Finishing touches
For longevity, apply a second coat of non-toxic finish to the outside of the box if needed.
Keep your planter near a sunny window or, if natural light is limited, use grow lights to ensure your herbs thrive.
Tips and Variations
When setting up an indoor herb garden, there are many ways to personalize it and ensure your herbs thrive.
Here are some detailed tips and ideas for customizing your space and getting the best results.
Customization ideas for your herb planter
If you want to get creative with your herb garden, there are a few fun ways to customize your setup:
Adding a lattice panel
Consider attaching a lattice panel to the back of your herb planter.
A lattice is a crisscross framework that can support climbing plants, such as certain types of herbs or even decorative vines.
This not only gives your garden a charming, vertical look but also makes the most of limited space by allowing plants to grow upwards.
Using reclaimed wood
For a more rustic, eco-friendly feel, try building or buying planters made from reclaimed wood.
Reclaimed wood gives your garden a unique character, as each piece may have different textures and tones.
Plus, it’s a sustainable option, helping you reduce waste and add an environmentally conscious touch to your space.
Indoor placement for maximum growth
Proper placement of your herb garden is key to ensuring healthy growth.
Since herbs typically need plenty of sunlight to thrive, here’s what you should keep in mind:
Find a sunny spot
Herbs like basil, parsley, thyme, and rosemary need 6-8 hours of sunlight each day.
A bright windowsill, ideally facing south, is a perfect spot to place your herb planter.
South-facing windows get the most direct sunlight, which will help your herbs grow strong and healthy.
Use grow lights if needed
If your home doesn’t get enough natural light, especially during winter months or if you live in a cloudy area, don’t worry!
You can use grow lights to mimic the sun’s rays.
These lights come in a variety of shapes and sizes, from small bulbs to larger lamps, and they’re designed to provide the specific type of light that plants need to photosynthesize and grow.
Other considerations
- Rotate your planters: If you notice your herbs leaning toward the light, rotate the pots every few days. This helps them grow evenly, instead of stretching in one direction.
- Temperature and humidity: If your home is too dry, you can mist your herbs occasionally to create a more plant-friendly atmosphere.
- Read also: Easy Elegance: DIY Herb Garden With Mason Jars
- Read also: Grow Your Own Flavor: The Easy DIY Windowsill Herb Garden
Final Thoughts
Building a DIY indoor herb planter box is a simple yet rewarding project that brings nature indoors and provides a steady supply of fresh herbs.
Not only is it practical, but it’s also a beautiful addition to any home. Plus, the satisfaction of harvesting your own herbs adds an extra flavor to your cooking!
FAQs
Cedar and redwood are the most durable options since they naturally resist moisture, but pine is a more budget-friendly choice if properly sealed with a non-toxic finish.
Most indoor herbs prefer to dry out between waterings. Check the soil by sticking your finger about an inch deep—if it feels dry, it’s time to water.
While most herbs need plenty of sunlight, some like mint and parsley can tolerate lower light conditions. However, using grow lights will ensure optimal growth.


