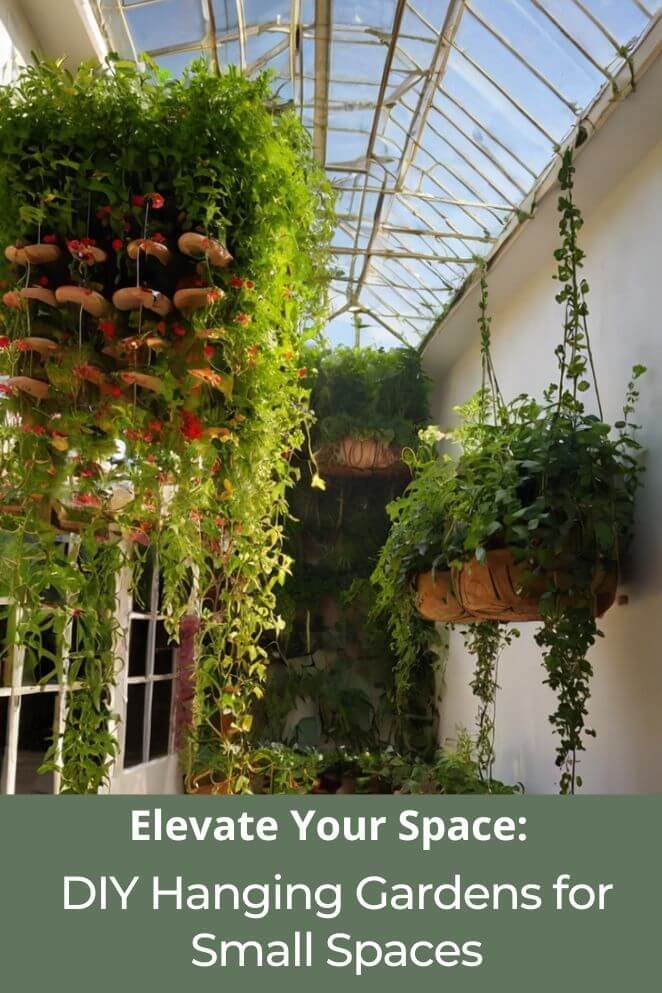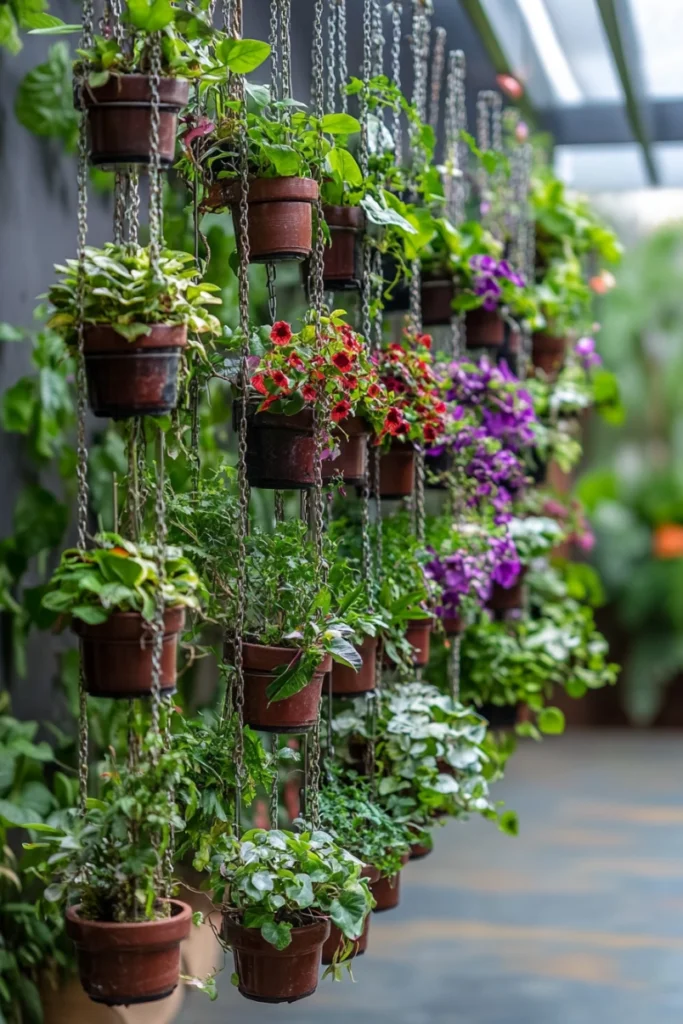
Ever dreamed of adding a touch of nature to your space without taking up too much room?
DIY hanging gardens are the perfect solution!
These vertical gardens are not only a beautiful way to decorate your home but also a practical way to grow herbs, flowers, or even small vegetables.
In this blog post, we’ll explore the benefits of hanging gardens, how to plan and set up your own, and step-by-step instructions for this fun project.
Advantages of Hanging Gardens
Hanging gardens offer a range of benefits that make them a worthwhile addition to any home.
Here are some of the key advantages:
Space efficiency
Hanging gardens are ideal for small spaces, such as apartments, balconies, or compact backyards.
They allow you to make the most of your vertical space, keeping your floor area free from clutter.
This way, you can enjoy gardening even if you have limited room.
- Read also: Crafting Your Urban Oasis: DIY Plant Shelf Indoor Ideas
- Read also: Creating Green Harmony: A Guide to DIY Plant Wall Indoor
Improved air quality
Plants are natural air purifiers, and hanging gardens can help enhance the air quality in your home.
Research published in Environmental Science & Technology shows that indoor plants can reduce air pollutants by up to 60%.
By incorporating hanging plants, you can create a healthier living environment for you and your family.
Aesthetic appeal
Vertical gardens add depth and visual interest to your living space.
Whether your style is modern or bohemian, hanging plants can be customized to match your decor.
They can serve as beautiful focal points in any room, bringing a touch of nature indoors.
Accessibility for gardening
For those with limited mobility or difficulties with traditional gardening, hanging gardens offer an accessible way to enjoy gardening.
You don’t have to bend or kneel to care for your plants, making it easier to stay engaged with gardening and its rewards.
Sustainable food production
Growing your own herbs or vegetables in a hanging garden allows you to have fresh produce right at your fingertips.
This not only helps reduce your grocery bills but also promotes a sustainable lifestyle, making it easier to enjoy homegrown ingredients.

Planning Your Hanging Garden
Before you start your DIY project, it’s essential to plan.
Proper planning ensures that your garden is not only visually appealing but also functional and sustainable.
Choosing the right location
The success of your hanging garden depends on the location you choose. Consider the following factors:
- Sunlight: Observe your space and choose a spot that receives at least 4-6 hours of sunlight per day. For indoor, placing them near a south-facing window usually works best.
- Temperature and humidity: Different plants have different requirements. Choose plants that match the conditions of your chosen location.
- Accessibility: Make sure your garden is easy to access for watering and maintenance. A convenient height will allow you to care for your plants without strain.
Selecting plants
Choosing the right plants for your hanging garden is crucial. Consider these popular options:
- Herbs: Basil, mint, parsley, and oregano are great for kitchen gardens, providing fresh ingredients while adding a touch of green.
- Flowers: Petunias, geraniums, and fuchsias work well in hanging planters, adding a splash of color.
- Succulents: Ideal for low-maintenance gardens, succulents like string of pearls or burro’s tail look stunning in hanging arrangements.
- Trailing plants: Ivy, pothos, and spider plants create a cascading effect, making your hanging garden visually appealing.
Step-by-Step Instructions
DIY hanging herb garden

A hanging herb garden is perfect for kitchen enthusiasts who want fresh herbs within arm’s reach.
Here’s how to make one.
Materials and tools
- Wooden boards (for shelves)
- Rope (durable enough to hold the weight)
- Plant pots (small, for herbs)
- Drill
- Hooks (for hanging)
Step-by-step process
Prepare the wooden boards for shelving
Start by cutting your wooden boards to the desired length, around 18 inches is a good size.
Once cut, use sandpaper to smooth the edges.
This will help prevent any splinters and give your shelves a polished look.
Drill holes for ropes
Next, drill holes at each corner of the boards.
These holes will be for threading the rope through.
Make sure the holes are big enough for the rope to fit, but not so large that it becomes loose.
Assemble the shelves with pots
Now, thread the rope through the holes in the boards to create tiers for your plants.
Tie knots underneath each board to keep them securely in place.
Ensure the boards are spaced evenly so that your plant pots fit comfortably on each shelf.
Install hooks and hang the garden
Find a sturdy spot on the ceiling or wall to install hooks.
Make sure the hooks can support the weight of the shelves and the pots.
Once the hooks are in place, hang your garden and adjust the knots as needed to level the shelves.
Add your herbs and enjoy!
Finally, fill your hanging shelves with your favorite herbs or plants.
Sit back and enjoy your beautiful new hanging garden!
DIY Rattan Ball Planter

A rattan ball planter adds a bohemian touch to your space and is perfect for small trailing plants.
Materials and tools
- Rattan ball (medium-sized)
- Hessian strings
- Osmunda or coconut fiber
- Small plants (like ivy or ferns)
- Scissors
Step-by-step process
Create a hole in the rattan ball
Start by cutting a hole in the rattan ball.
Make sure the opening is large enough to fit your chosen plants while keeping the ball’s structure intact.
This will allow you to plant your greenery securely.
Fill with osmunda or coconut fiber
Next, fill the inside of the rattan ball with osmunda or coconut fiber.
This material serves as a stable base for your plants and helps retain moisture.
Pack it tightly to ensure it stays in place and provides a solid foundation for your plants.
Insert selected plants
Choose plants that do well in hanging arrangements, like ivy or small ferns.
Carefully insert the plants into the rattan ball, making sure they are positioned securely within the fiber.
This will help them thrive in their new home.
Suspend using hessian strings
Cut several pieces of hessian string to create a hanger for your rattan ball.
Tie the strings securely around the ball and gather them at the top to form a loop.
This will make it easy to hang the ball in your desired spot.
Enjoy your new hanging garden!
Once everything is secure, hang your rattan ball garden in your chosen location.
Step back and enjoy the beauty of your new hanging garden!
Maintenance Tips
Caring for your hanging garden is essential to keep it healthy and thriving.
Here are some simple tips to help you maintain it:
Watering
Hanging plants tend to dry out faster than those in the ground, so they usually need more frequent watering.
Make it a habit to check the soil moisture regularly. If it feels dry to the touch, give your plants a good drink.
Pruning
To keep your hanging garden looking neat and encourage healthy growth, regularly prune dead leaves and trim back any overgrown plants.
This not only enhances the appearance but also helps your plants thrive.
Fertilizing
During the growing season, use a balanced liquid fertilizer every few weeks.
This will provide your plants with essential nutrients they need to grow strong and healthy.
Pest control
Keep an eye out for pests like aphids or spider mites.
If you spot any, treat your plants with an organic insecticidal soap.
This will help keep your plants free from unwanted visitors without harming them.

- Read also: Elevate Your Green Haven: DIY Plant Stands Indoor for Every Style
- Read also: Hang it High: Crafting DIY Plant Hangers with Rope
Final Thoughts
Creating a DIY hanging garden is a rewarding project that enhances both your indoor and outdoor spaces.
Not only does it provide a green touch to your home, but it also offers practical benefits like fresh herbs and improved air quality.
With a little planning and effort, you can create your own vertical oasis that suits your style and needs.
Whether you choose a simple hanging herb garden or a more decorative rattan ball planter, the possibilities are endless.
Happy gardening!


