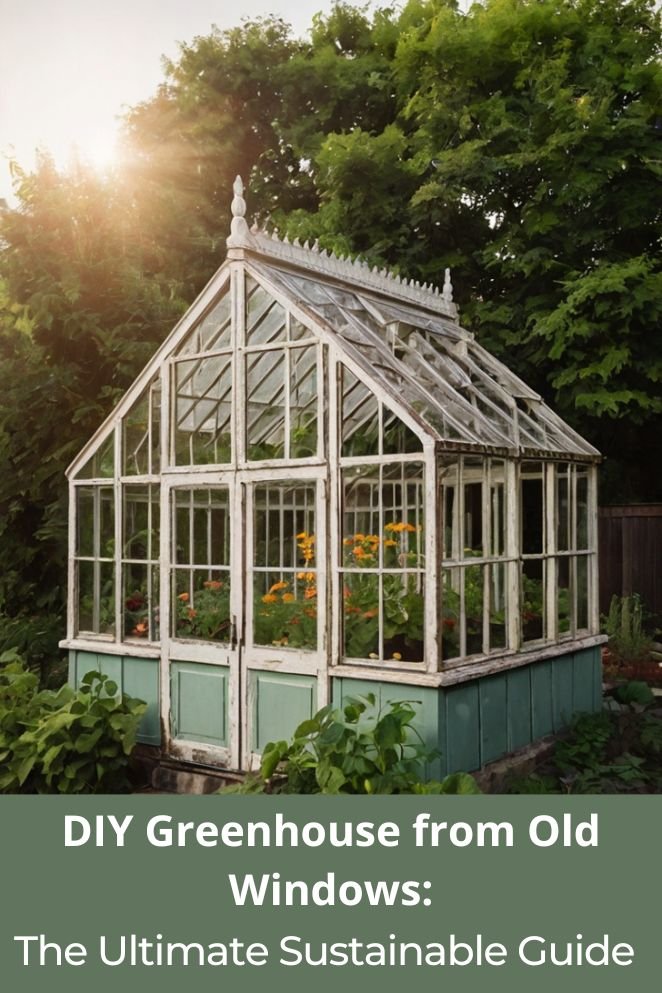
Ever see old windows tossed out and think, “Wait… greenhouse?” You’re not wrong.
Those junked panes could be your golden ticket to building a DIY greenhouse—without torching your wallet or the planet.
Instead of dropping serious cash on a store-bought setup, why not channel your inner MacGyver and build one yourself?
It’s eco-friendly, budget-friendly, and gives off total cottagecore-meets-Mad Max vibes (in the best way).
This guide will show you how to turn curbside finds into a cozy, plant-filled haven—step by step, from scavenger hunt to sprouting seedlings.
Why Choose Old Windows for Your Greenhouse Project?
Let’s be real—buying a brand-new greenhouse can cost more than a weekend trip to Bali.
But old windows? Free or dirt cheap.
And turning them into a greenhouse? Total upcycling flex.
Environmental benefits
When you rescue old windows from the trash heap, you’re not just being crafty—you’re cutting down on waste and skipping the whole energy-hungry process of making new glass.
It’s like giving the environment a high five.
Cost-effective gardening solution
Store-bought greenhouse kits can run anywhere from “meh” to “my bank account is crying.”
But with old windows? You’ll spend way less—usually 60–80% less.
Most of your budget goes to stuff like:
- A solid base (concrete blocks or pressure-treated wood)
- Some decent framing lumber
- Screws, hinges, and weatherproofing
- Basic tools (you might already have ’em in the garage)
Superior insulation properties
Some old windows—especially double-pane or storm windows—are secretly MVPs at keeping heat in.
That means warmer plants and fewer heating bills. Win-win.
So yeah, using old windows is kind of like hacking the gardening system—eco-friendly, budget-friendly, and just plain cool.
- Read also: Transform Your Garden: Easy DIY Greenhouse for Beginners
- Read also: DIY Greenhouse Trellis: Transform Your Garden Space
Essential Tools and Materials
Required tools
Power tools:
- Circular saw or miter saw
- Drill with various bits
- Orbital sander
- Nail gun (optional but recommended)
Hand tools:
- Hammer
- Tape measure
- Level
- Square
- Chisel set
- Utility knife
- Pry bar
Materials shopping list
Foundation materials:
- Concrete blocks or pressure-treated 4×4 lumber
- Gravel for drainage
- Landscape fabric
Framing materials:
- Pressure-treated 2×4 lumber
- Cedar boards for trim
- Galvanized carriage bolts and screws
- Metal brackets and corner braces
Weatherproofing supplies:
- Exterior wood stain or paint
- Caulk (outdoor rated)
- Weather stripping
- Roofing materials (if not using windows for the roof)
Step-by-Step Construction Guide
Ready to turn that pile of dusty windows into a plant palace?
Here’s your no-fluff, friendly guide to making it happen—like your handy friend texting you through a weekend project with coffee in one hand and a drill in the other.
Phase 1: Planning and foundation
Site selection:
Find a place that gets at least 6 hours of sun—plants love a good tan.
Make sure water won’t pool there, and being near a hose or power outlet = less stress later.
Foundation preparation:
- Mark out the shape with string and stakes—pretend you’re setting up for a backyard concert.
- Dig about 6–8 inches down.
- Toss in 4 inches of gravel for drainage (plants hate soggy feet).
- Rake it flat, stomp it down like you’re making a giant sandbox.
- Lay down concrete blocks or treated wood for the base.
Phase 2: Frame construction
Base frame assembly:
- Cut your pressure-treated 2x4s to match the base.
- Make a rectangle. Use galvanized bolts—it’s like IKEA furniture but weatherproof.
- Check your diagonals to keep it square (trust us, future-you will thank you).
- Bolt it down to your foundation.
Wall frame construction:
- Measure your windows so the walls fit them like a glove.
- Build each wall frame to match the window sizes—no guessing.
- Add horizontal fence boards at the bottom for extra strength (and style).
- Pop in corner posts and support studs—think of them as your greenhouse’s bones.
Phase 3: Window installation
Preparation steps:
- Clean the glass (they’ve probably seen things).
- Sand the frames, slap on some paint if needed.
- Caulk every crack and seam like you’re sealing a spaceship.
Installation process:
- Test-fit each window like a puzzle piece.
- Add weatherstripping to keep out drafts and bugs.
- Screw ’em in or use brackets—whatever fits best.
- Add trim if you want it to look finished.
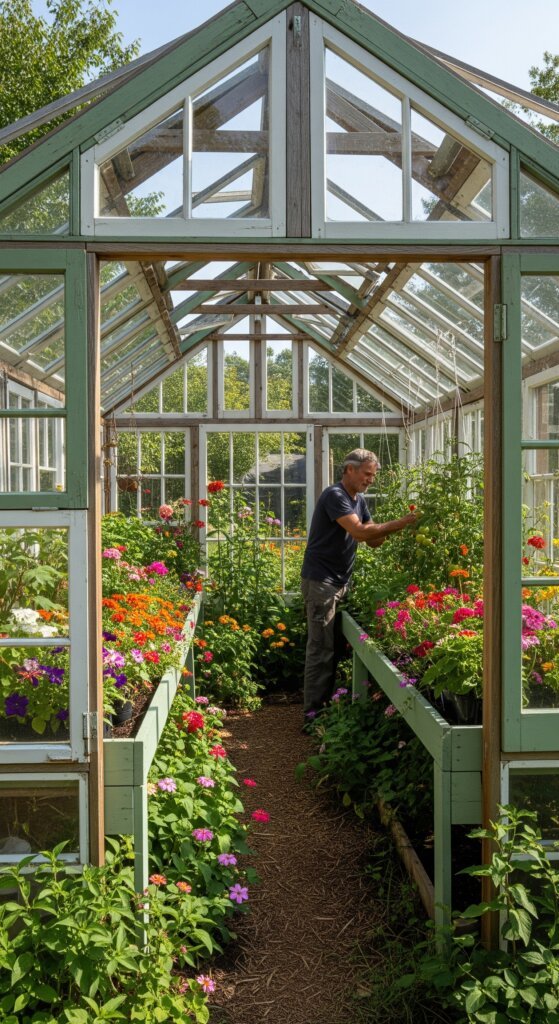
Phase 4: Roof construction
Roof frame options:
- Shed roof: Easy, one slope, great for beginners.
- Gable roof: Classic A-frame. Think “tiny glass cabin.”
- Lean-to: Just slap it on the side of your garage and call it efficient.
Roofing material installation:
- Add rafters—space them evenly like you’re building a treehouse.
- Using windows? Overlap and seal the heck out of them.
- Got gaps? Fill ‘em with polycarbonate panels (clear, light, tough).
- Want to be fancy? Add gutters for rain collection. Your plants will love you.
Climate Control and Ventilation
Once your window greenhouse is up, it’s time to keep it comfy.
Plants don’t like drama—so let’s keep the temps chill in summer and cozy in winter without turning your setup into a full-time job.
Natural ventilation systems
Ridge vents
Pop these along the roof peak—they’re like little escape hatches for hot air.
Heat rises, so give it a way out.
Think of them as the greenhouse’s “sweat glands.”
Side vents
Use those old windows! Open a few low on the shady side and a few up high on the sunny side.
Boom—natural air flow. Cross-ventilation = nature’s AC.
Automated vent openers
Get fancy with temperature-sensitive openers.
They open and close your vents when it gets too hot or cold—like a smart thermostat, but no Wi-Fi required.
Heating solutions for cold climates
Passive solar heating
Stick some water barrels or concrete blocks inside—they soak up sun during the day and release heat at night.
Basically, your greenhouse gets its own heated blanket.
Electric heaters
If it’s really cold, plug in a small electric heater made for greenhouses.
Bonus points if it has a built-in thermostat, so you’re not playing “Guess That Temp” all season.
Insulation strategies
Yep, actual bubble wrap. Stick it to the inside of your windows during frosty weeks.
It keeps things warm, lets light in, and your plants won’t even notice they’re wrapped like Amazon packages.
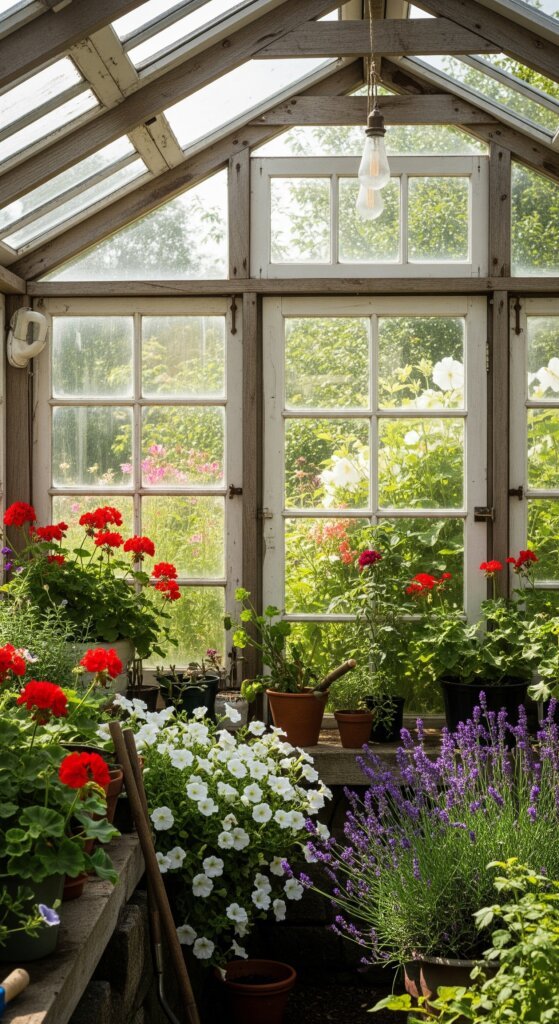
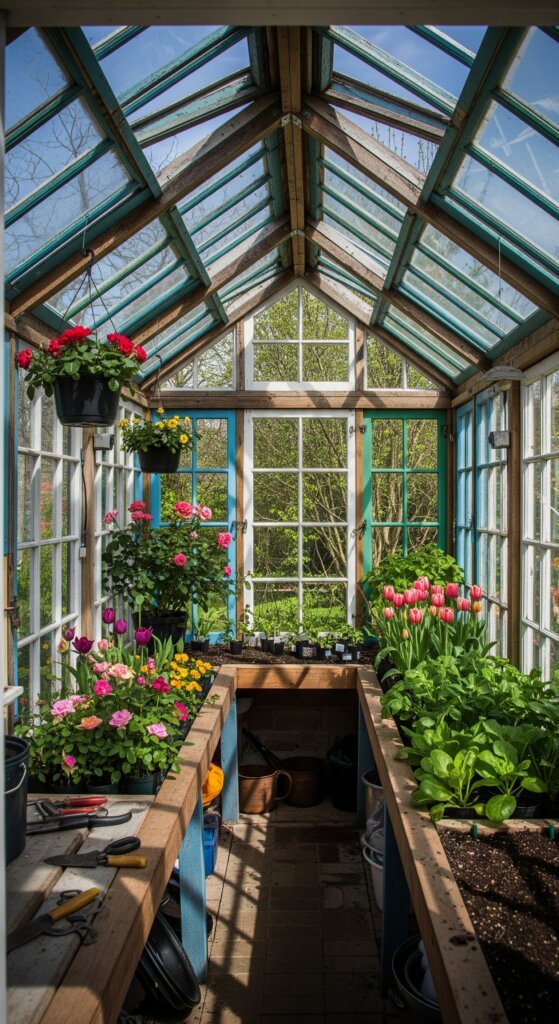
Interior Setup and Organization
You’ve built the shell—now it’s time to turn your DIY greenhouse into a productive little plant paradise.
Let’s talk floors, shelves, water, and all the stuff that keeps your green gang happy and thriving.
Flooring options
Gravel:
Cheap, drains like a champ, and easy to clean.
Lay down some landscape fabric first so you’re not pulling weeds between seedlings.
It’s the Crocs of greenhouse floors—practical, not fancy, but gets the job done.
Concrete pad:
Want something you can hose off and park a potting bench on? Concrete’s your friend.
Permanent, smooth, and ready for heavy gear. Just know it’s not super forgiving on your knees.
Pavers or bricks:
Nice middle ground—drains well, looks sharp, and gives off secret garden vibes.
Go artsy if you want. Plants won’t care, but your Instagram followers might.
Shelving and work surfaces
Tiered shelves:
Stack your space. Go vertical with plant stands or DIY shelves.
Just make sure the bottom rows still get some sunshine—don’t shade out your own seedlings.
Potting bench:
Think of this as your greenhouse command center.
Somewhere to repot, label stuff, start seeds, and maybe drink coffee while pretending you’re on a gardening show.
Storage hacks:
Hooks for tools, shelves for soil bags, a little cabinet for your mystery fertilizers.
If it sparks joy and keeps things off the floor, it’s a win.
Water and electrical systems
Water access:
A frost-free spigot inside = greenhouse luxury.
If not, set it up near a hose hookup and avoid lugging buckets like a medieval gardener.
Electricity:
If you’re running heaters, lights, or fans, add power—but safely.
Use GFCI outlets because greenhouses are basically humid bathrooms with plants.
Shocking yourself while watering seedlings? Not the vibe.
Maintenance and Seasonal Care
Your greenhouse isn’t “set it and forget it.” It’s more like a needy pet crossed with a sci-fi spaceship—give it regular checkups, and it’ll run smoothly year-round.
Skip the TLC? Well… hope you like moldy plants and broken windows.
Monthly inspections
Once a month, grab your coffee and run through this list:
- Check the caulking: If it’s peeling, slap on some fresh stuff—plants hate drafts.
- Wipe down the glass: Dirty windows = less light = sad seedlings.
- Lube the hinges: Windows should open like butter, not creak like a haunted house.
- Test vents and fans: If it’s not moving air, it’s moving toward trouble.
Seasonal maintenance
- Spring: Scrub everything down. Winter gunk, gone. Check for damage and get heaters serviced before you forget they exist.
- Summer: It’s all about airflow now. Make sure vents work overtime and shade cloths are in place—your plants don’t want to be roasted like marshmallows.
- Fall: Time to prep for the chill. Plug up any mystery drafts, test the heater again (yes, again), and stockpile bubble wrap if you’re in colder zones.
- Winter: Keep an eye out for ice buildup or snow damage. Run a fan to stop moisture buildup—nobody wants fungal drama mid-January.
Troubleshooting common issues
Condensation problems
It’s not your greenhouse crying—it’s poor airflow.
Open those vents, add a fan, and let the air move like Beyoncé’s wind machine is inside.
Temperature fluctuations
If your plants are going from sauna to freezer in 24 hours, add thermal mass (like water barrels) or insulate better.
A min/max thermometer helps track what’s actually happening in there.
Structural issues
If the frame starts leaning or cracking, deal with it ASAP.
A tiny tilt today can turn into a full greenhouse faceplant tomorrow
- Read also: A Step-by-Step Guide: DIY Greenhouse for Propagation
- Read also: Best Practices: Effective Strategies for Greenhouse Pests Control
Conclusion: Your Sustainable Growing Future
Building a greenhouse from old windows isn’t just a weekend flex—it’s a long-term win for your garden, your grocery bill, and the planet.
You’re saving glass from the dump and growing fresh veggies in the middle of winter? That’s hero stuff.
Yeah, it looks like a big job at first, but break it into chunks and it’s totally doable—even if you’ve never built anything more complex than IKEA shelves.
And hey, it doesn’t need to look perfect. The quirks and mismatched windows? That’s part of the charm.


