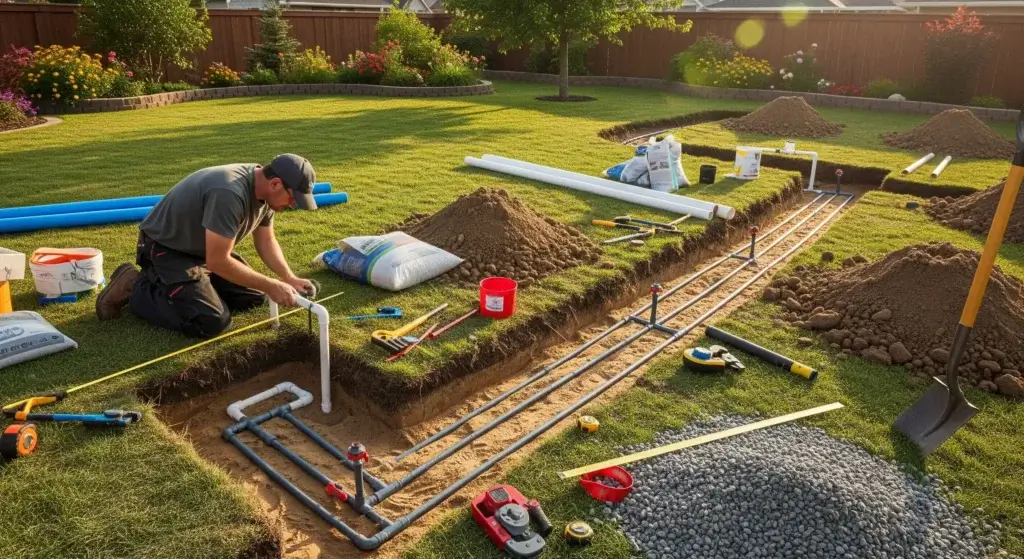
Your garden is more than a patch of green – it’s your sanctuary, a canvas waiting for your creative touch.
Elevate the definition and protection of your outdoor haven with the charm of a DIY garden fence.
In this comprehensive guide, we delve into a trove of imaginative and budget-friendly DIY garden fence ideas.
Each suggestion not only fulfills its practical purpose but also infuses your outdoor space with a unique personality that reflects your style and creativity.
Picket Fence
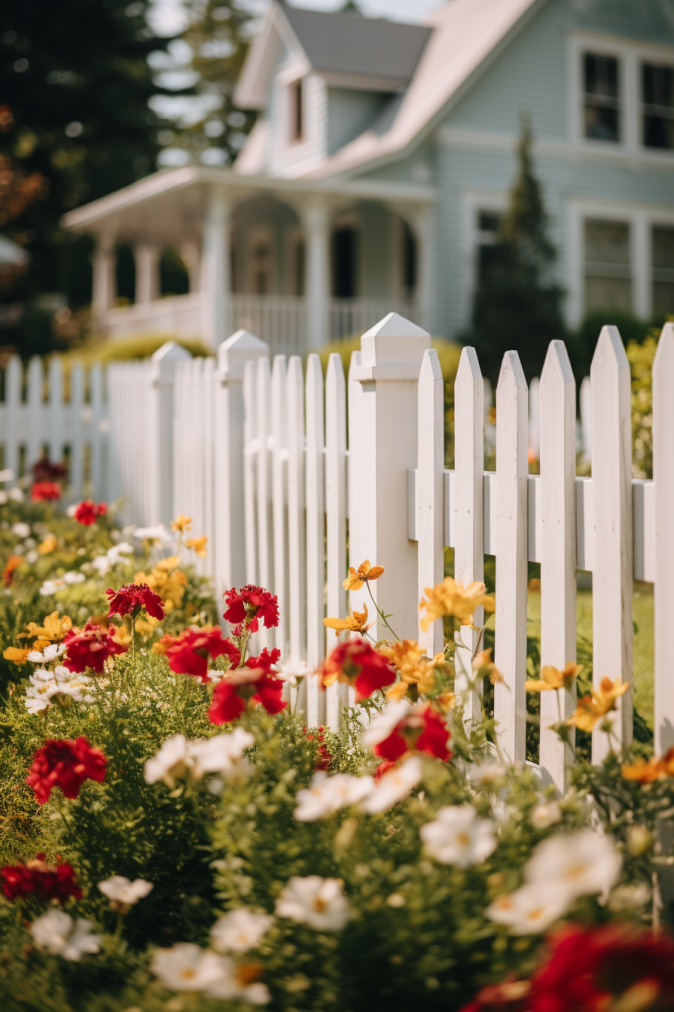
The allure of the classic picket fence is as enduring as it is charming.
This DIY project offers a neat and inviting boundary for your garden, creating a picture-perfect frame for your outdoor haven.
The beauty of the picket fence lies in its adaptability – easily customizable to suit your aesthetic preferences.
Opt for a traditional white picket fence for a timeless look or infuse vibrant colors that resonate with your garden’s theme.
- Read also: DIY Garden Bed Ideas
- Read also: DIY Plant Watering System
Materials Needed
- Wooden pickets: Choose durable and weather-resistant wooden pickets for a classic appeal.
- Wooden posts: Sturdy wooden posts serve as the backbone of your picket fence.
- Nails or screws: Secure the pickets to the posts with the appropriate fasteners.
- Paint or stain: Enhance the visual appeal and weather resistance by painting or staining your picket fence.
Step-by-Step Guide
- Planning: Measure and mark the fence line, determining the spacing between pickets and posts.
- Post-installation: Dig holes for the wooden posts, ensuring they are evenly spaced. Set the posts in concrete for stability.
- Attach pickets: Secure the wooden pickets to the posts using nails or screws. Ensure they are evenly spaced and level.
- Paint or stain: Add a finishing touch by painting or staining your picket fence. Choose colors that complement your garden’s aesthetic.
- Maintenance: Periodically check for any loose pickets or signs of wear. Repaint or restain as needed to maintain the fence’s charm.
Horizontal Slat Fence
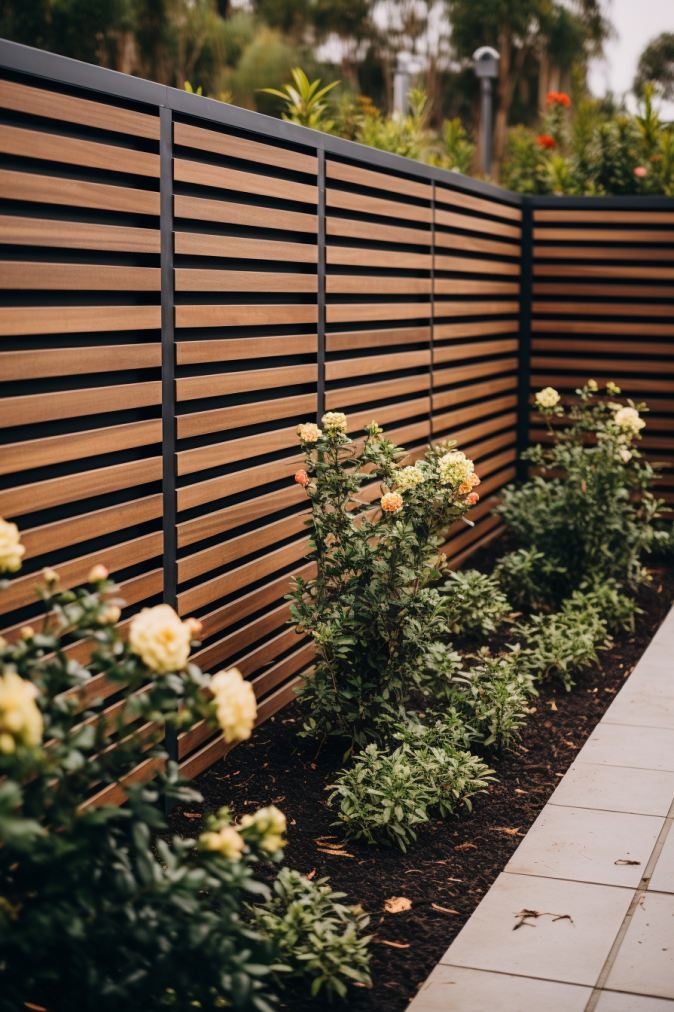
Achieve a contemporary and sleek look for your garden with the stylish horizontal slat fence.
This modern design not only adds a touch of sophistication to your outdoor space but also ensures ample sunlight and optimal air circulation.
Get ready to infuse your garden with a chic aesthetic that seamlessly blends form and function.
Experiment with various wood finishes to create a fence that complements and enhances your outdoor aesthetic.
Materials Needed
- Wooden slats: Choose high-quality, durable wooden slats for a clean and modern appearance.
- Wooden posts: Sturdy posts provide the foundation for your horizontal slat fence.
- Screws or nails: Use appropriate fasteners to secure the slats to the posts securely.
- Level and measuring tape: Ensure precision and accuracy during the installation process.
- Paint or stain (optional): Explore different finishes to customize the appearance of your fence.
Step-by-Step Guide
- Planning: Measure and mark the fence line, determining the spacing and height of the slats.
- Post-installation: Dig holes for the wooden posts, ensuring they are evenly spaced. Set the posts securely in concrete.
- Attach horizontal slats: Affix the wooden slats horizontally to the posts, maintaining consistent spacing. Use screws or nails for a secure connection.
- Leveling: Ensure that the slats are level by using a spirit level during installation.
- Optional finishing: Consider painting or staining the fence for a personalized touch. Choose finishes that complement your garden’s overall aesthetic.
- Regular maintenance: Periodically inspect the fence for any signs of wear or damage. Perform touch-ups or refinishing as needed.
Lattice Fence
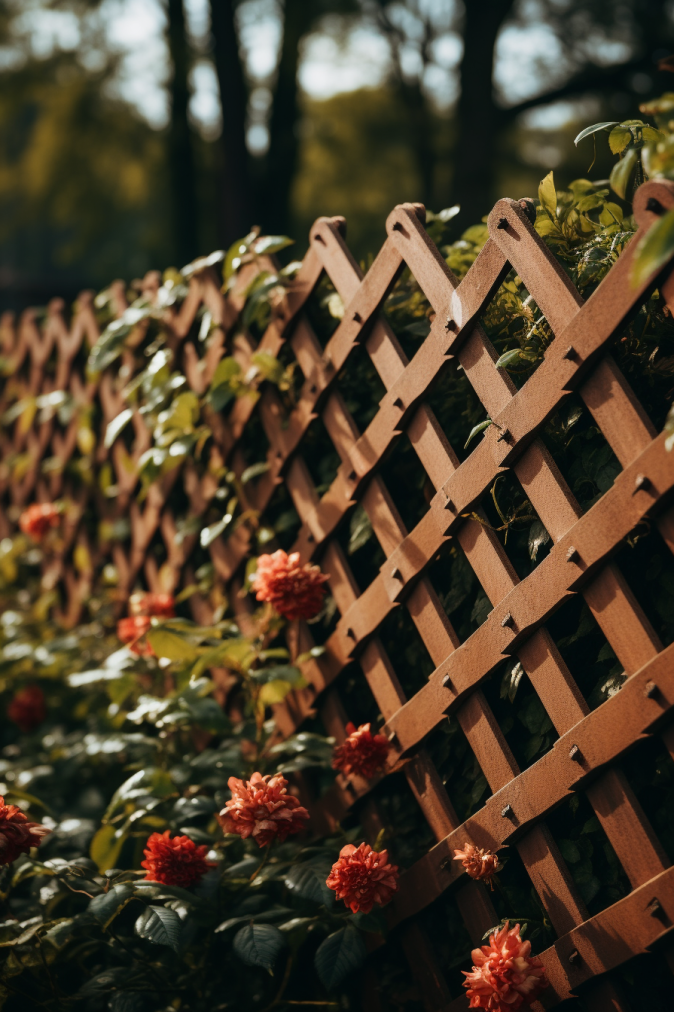
Elevate your garden’s aesthetic with the timeless and versatile lattice fence.
Whether used as standalone fences or decorative panels atop existing ones, lattice fences seamlessly blend functionality and style.
Allow climbing plants to weave their way through for a lush and green touch that adds a touch of natural beauty to your outdoor space.
Discover the art of crafting a lattice fence, and transform your garden into a charming haven.
Materials Needed
- Lattice panels: Choose sturdy and well-constructed lattice panels for durability and visual appeal.
- Wooden frame: Create a solid frame to support and secure the lattice panels.
- Wooden posts: Sturdy posts provide the foundation for your lattice fence.
- Screws or nails: Use appropriate fasteners to secure the lattice panels and frame securely.
- Level and measuring tape: Ensure precision and accuracy during the installation process.
- Paint or stain (optional): Explore different finishes to customize the appearance of your lattice fence.
Step-by-Step Guide
- Planning: Measure and mark the fence line, determining the spacing and height of the lattice panels.
- Post-installation: Dig holes for the wooden posts, ensuring they are evenly spaced. Set the posts securely in concrete.
- Attach wooden frame: Construct a solid wooden frame to support and secure the lattice panels.
- Attach lattice panels: Affix the lattice panels to the wooden frame, ensuring a secure and evenly spaced attachment.
- Leveling: Ensure that the lattice panels are level by using a spirit level during installation.
- Optional finishing: Consider painting or staining the lattice fence for a personalized touch. Choose finishes that complement your garden’s overall aesthetic.
- Encourage climbing plants: Allow climbing plants to grow through the lattice, creating a lush and green appearance.
Wicker Fence
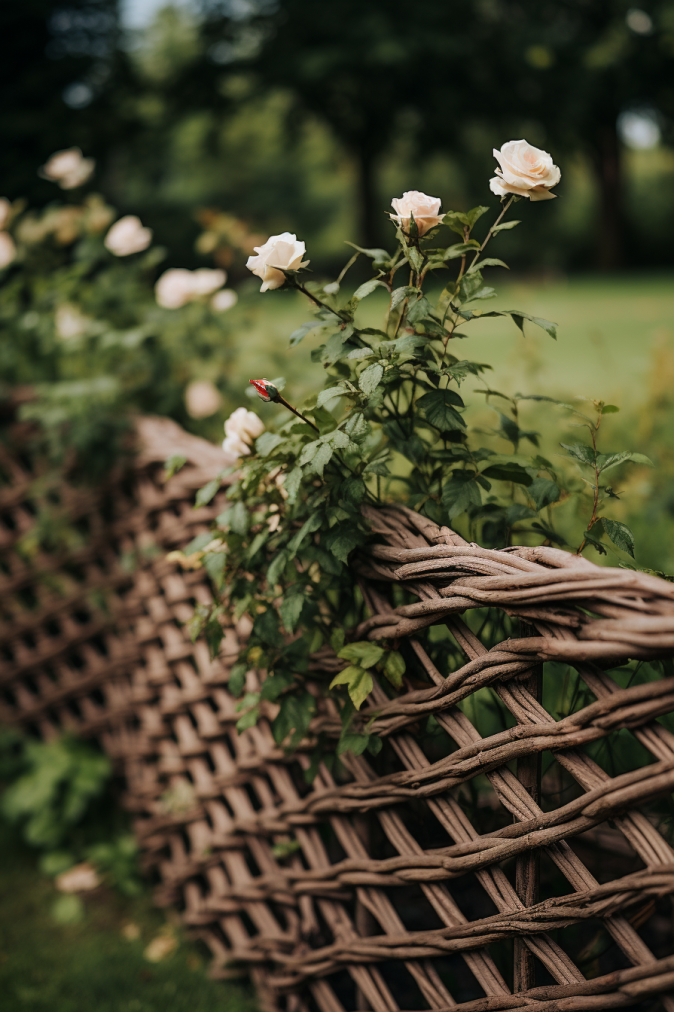
Step into the realm of rustic charm with a wicker fence that effortlessly elevates your garden’s aesthetic.
While crafting a wicker fence may require a bit more effort, the end result is a visually appealing boundary that exudes timeless elegance.
This fence style is particularly well-suited for cottage or bohemian-inspired gardens, bringing a touch of warmth and character to your outdoor space.
Materials Needed
- Wicker material: Choose high-quality wicker material in rolls or sheets, ensuring durability and flexibility.
- Wooden posts: Sturdy wooden posts serve as the foundation for your wicker fence.
- Screws or zip ties: Secure the wicker material to the wooden posts using screws or zip ties.
- Measuring tape: Ensure precision in measuring and cutting the wicker material to fit the desired height and length.
- Saw or shears: Use a saw or shears to cut the wicker material to the required dimensions.
- Level and hammer: Ensure the posts are level during installation, and use a hammer for any adjustments.
Step-by-Step Guide
- Planning: Measure and mark the fence line, determining the desired height and length for your wicker fence.
- Post-installation: Dig holes for the wooden posts, ensuring they are evenly spaced. Set the posts securely in concrete.
- Cutting wicker material: Use a saw or shears to cut the wicker material to fit the desired dimensions.
- Attach wicker material: Secure the wicker material to the wooden posts using screws or zip ties, ensuring a tight and even attachment.
- Leveling: Ensure that the wicker fence is level by using a spirit level during installation.
- Optional finishing: Consider staining or painting the wooden posts for added durability and a cohesive look.
Bamboo Fence
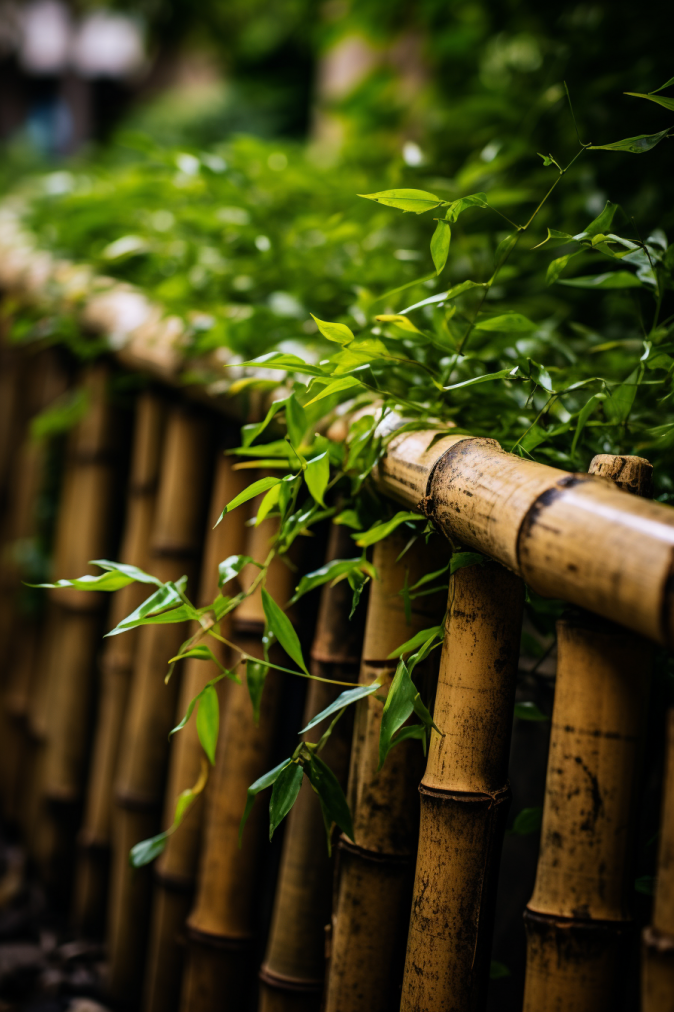
Introduce an exotic touch to your garden with a bamboo fence—a sustainable and visually appealing choice that effortlessly blends with the natural surroundings.
Bamboo fencing not only provides an eco-friendly solution but also adds a distinctive, earthy element to your outdoor sanctuary.
Materials Needed
- Bamboo rolls or poles: Choose high-quality bamboo rolls or poles for durability and an authentic look.
- Wooden posts: Sturdy wooden posts will serve as the framework for your bamboo fence.
- Galvanized wire or zip ties: Secure the bamboo to the wooden posts using galvanized wire or zip ties.
- Measuring tape: Ensure precision in measuring the bamboo rolls or poles to fit the desired height and length.
- Saw or pruners: Use a saw or pruners to cut the bamboo to the required dimensions.
- Spirit level: Ensure the posts are level during installation for a neat and even fence.
- Concrete mix: Use concrete mix to secure the wooden posts firmly in the ground.
Step-by-Step Guide
- Planning: Measure and mark the fence line, determining the desired height and length for your bamboo fence.
- Post-installation: Dig holes for the wooden posts, ensuring they are evenly spaced. Set the posts securely in concrete.
- Cutting bamboo: Use a saw or pruners to cut the bamboo rolls or poles to fit the desired dimensions.
- Attaching bamboo: Secure the bamboo to the wooden posts using galvanized wire or zip ties, ensuring a tight and secure attachment.
- Leveling: Ensure that the bamboo fence is level by using a spirit level during installation.
- Optional finishing: Consider staining or sealing the bamboo for added durability and protection against the elements.
Stacked Stone Fence
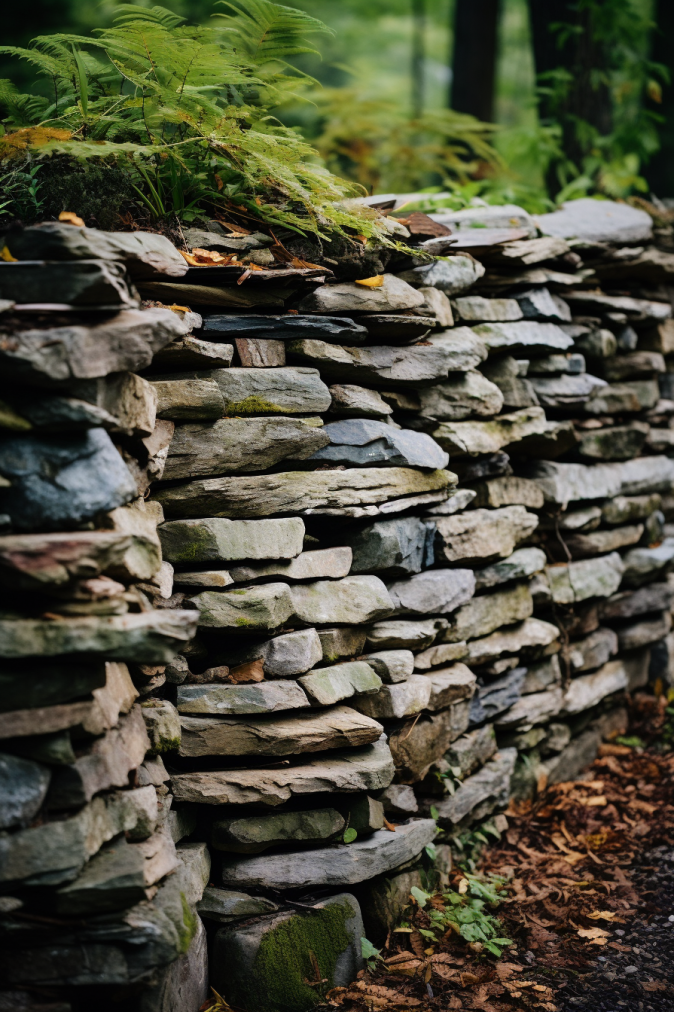
For those seeking a touch of sophistication and enduring charm, a stacked stone fence stands out as a compelling choice.
While the assembly may demand a bit more effort, the result is a boundary that not only exudes durability but also seamlessly integrates with the natural surroundings of your garden.
Materials Needed
- Natural stone veneer: Choose high-quality natural stone veneer that complements the desired look for your garden.
- Concrete footings: Prepare concrete footings to serve as a stable foundation for the stacked stones.
- Mortar mix: Use mortar mix to secure the natural stone veneer to the concrete footings.
- Metal lath: Attach metal lath to the concrete footings to enhance the adhesion of the mortar.
- Trowel: A trowel is essential for applying mortar evenly to the natural stone veneer.
- Level: Ensure that the stacked stones are leveled during the assembly process.
- Rubber mallet: Use a rubber mallet to gently tap and adjust the position of the stones.
Step-by-Step Guide
- Planning: Determine the layout and height of your stacked stone fence, ensuring it complements the aesthetics of your garden.
- Prepare footings: Dig holes for the concrete footings, ensuring they are evenly spaced along the fence line.
- Apply mortar: Mix mortar according to instructions and apply it to the metal lath on the concrete footings.
- Place natural stone veneer: Carefully place the natural stone veneer onto the mortar, ensuring a secure and level attachment.
- Adjust stones: Use a rubber mallet to adjust the position of the stones, ensuring an even and visually appealing arrangement.
- Repeat the process: Continue applying mortar and placing stones until the entire fence is assembled.
- Cure and seal: Allow the mortar to cure, and consider applying a sealant to protect the stacked stone fence from the elements.
Living Wall

Unleash the artistic potential of your garden fence by embarking on a transformative journey to create a living wall.
This ingenious project involves incorporating vertical planters or trellises that support climbing plants, turning your fence into a dynamic tapestry of colors and textures.
Materials Needed
- Vertical planters or trellises: Choose sturdy and well-designed vertical planters or trellises that suit your garden style.
- Climbing plants: Select climbing plants that thrive in your climate and provide the desired aesthetic for your living wall.
- Soil: Use nutrient-rich soil suitable for the chosen climbing plants.
- Fertilizer: Provide essential nutrients to support the growth and vitality of the climbing plants.
- Mounting hardware: Ensure you have appropriate mounting hardware to securely attach planters or trellises to the fence.
Step-by-Step Guide
- Design and layout: Plan the layout of your living wall, considering the arrangement of vertical planters or trellises and the selection of climbing plants.
- Install vertical planters or trellises: Securely attach the vertical planters or trellises to your garden fence, ensuring stability and proper weight distribution.
- Prepare the soil: Fill the vertical planters with nutrient-rich soil, creating a suitable environment for the climbing plants.
- Select climbing plants: Plant climbing species that align with your vision for the living wall, considering factors like color, growth pattern, and maintenance requirements.
- Planting: Carefully plant the climbing vegetation, ensuring proper spacing and depth for optimal growth.
- Secure plants: Use ties or clips to gently secure the climbing plants to the trellises or vertical planters as they grow.
- Regular maintenance: Water, fertilize, and prune the climbing plants regularly to encourage healthy growth and maintain the living wall’s aesthetic appeal.
Recycled Materials Fence

Embrace sustainability in your garden by opting for a recycled materials fence – a thoughtful and environmentally conscious choice for the eco-friendly gardener.
This DIY project utilizes old pallets, reclaimed wood, or discarded materials, transforming them into a unique and character-filled fence.
Materials Needed
- Old pallets or reclaimed wood: Collect pallets or reclaimed wood from various sources, ensuring they are in suitable condition for reuse.
- Discarded materials: Explore your surroundings for discarded materials like metal, old doors, or other items suitable for fence construction.
- Screws or nails: Secure recycled materials together with appropriate screws or nails.
- Saw and cutting tools: Have a saw and cutting tools on hand to customize recycled materials to fit your design.
- Paint or sealant (optional): Enhance the aesthetics and longevity of your recycled fence by using paint or sealant.
Step-by-Step Guide
- Material selection: Gather a variety of recycled materials, ensuring they align with your design vision and are suitable for fencing.
- Design planning: Create a design plan for your recycled materials fence, considering the arrangement and compatibility of different elements.
- Prepare recycled materials: Clean and prepare the recycled materials by removing any nails, screws, or unwanted elements.
- Customization: Use a saw or cutting tools to customize recycled materials based on your design, ensuring they fit together seamlessly.
- Assembly: Begin assembling the recycled materials, securing them together with screws or nails to form the desired fence structure.
- Secure to posts: If needed, secure your recycled materials fence to sturdy posts for stability.
- Optional finishing touches: Consider painting or applying a sealant to enhance the visual appeal and protect your recycled fence from the elements.
Conclusion
As you embark on your DIY garden fence project, remember that functionality and aesthetics can go hand in hand.
Whether you opt for the timeless charm of a picket fence, the modern allure of horizontal slats, or the eco-friendly nature of recycled materials, your fence should reflect your unique style.
Let your garden be a true extension of your personality, where every corner exudes the warmth and beauty you’ve envisioned.
Get creative, have fun, and watch as your DIY garden fence transforms your outdoor space into a picture-perfect oasis.
- Read also: DIY Potted Plant Watering System
- Read also: DIY Plant Watering Globes


