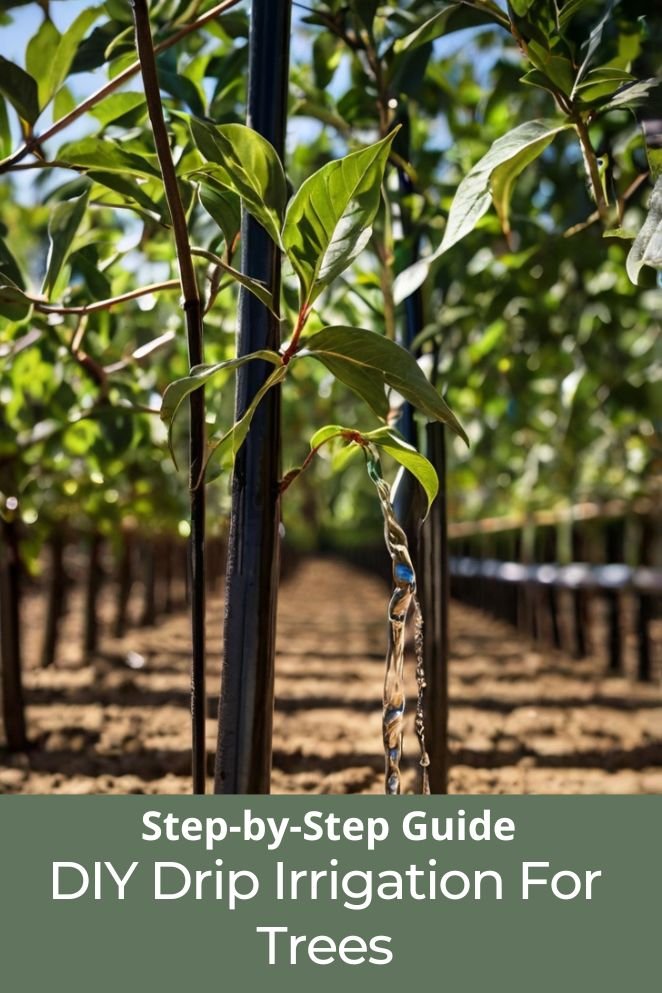
Watering trees efficiently can be a challenge, especially during hot, dry periods.
Drip irrigation is an excellent solution that delivers water directly to the roots, conserving water and promoting healthier growth.
In this guide, we’ll walk you through the process of setting up a DIY drip irrigation system for your trees, covering everything from the materials needed to step-by-step instructions and additional tips.
Why Drip Irrigation for Trees?
Drip irrigation offers several benefits that make it ideal for watering trees:
Water conservation
Drip irrigation systems are designed to use 30-50% less water compared to traditional watering methods like sprinklers.
Instead of spraying water over a large area, which can lead to evaporation and runoff, drip systems deliver water directly to the tree’s root zone.
This efficient use of water not only conserves resources but also reduces your water bills.
- Read also: Save Water, Grow More! DIY Drip Irrigation for Raised Beds
- Read also: A Guide: Mastering the Art of Drip Irrigation for Tomatoes
Targeted watering
With drip irrigation, water is delivered precisely where it’s needed—at the roots of the tree.
This targeted approach minimizes water loss due to evaporation and runoff.
By focusing on the root zone, drip irrigation ensures that the water penetrates deeply into the soil, which is where the tree’s roots can best absorb it.
Improved growth
Consistent moisture provided by drip irrigation promotes healthier tree growth.
When trees receive a steady supply of water, their roots develop more robustly and spread deeper into the soil.
Strong, deep roots help the tree access nutrients and water more effectively, leading to overall better growth and stability.
Time savings
Once a drip irrigation system is installed, it requires minimal maintenance.
The system’s design ensures that water is distributed evenly and efficiently, reducing the need for constant monitoring and adjustments.
This means you spend less time managing the watering process and more time enjoying the benefits of a well-watered garden.
Materials and Tools Needed
Before you start, gather the following materials and tools:
Materials
- Drip irrigation kit: These kits typically include tubing, emitters, connectors, and stakes.
- Mainline tubing: 1/2-inch tubing to supply water to the emitters.
- Emitter tubing: 1/4-inch tubing to deliver water directly to the trees.
- Emitters: Devices that release water at a controlled rate.
- Pressure regulator: Ensures water pressure is suitable for the drip system.
- Filter: Prevents debris from clogging the emitters.
- End caps: Close off the ends of the mainline tubing.
Tools
- Scissors or tubing cutter: For cutting tubing to the desired lengths.
- Punch tool: To create holes in the mainline tubing for emitters.
- Staples or stakes: To secure tubing in place.
- Hose timer (optional): Automates watering schedules for convenience.
Step-by-Step Instructions
Creating a drip irrigation system for your trees can be a straightforward DIY project.
Follow these steps to set up your system efficiently:
Step 1: Plan your layout
Measure your garden
First, measure the distance between your water source (like an outdoor faucet) and the trees you want to water.
Knowing this distance helps you determine how much tubing you will need.
Sketch a layout
Draw a simple diagram of your garden.
Include the mainline tubing (the main hose that carries water), emitter tubing (smaller hoses that deliver water to each tree), and the position of each tree.
This sketch will guide you in laying out the tubing and positioning the emitters.
Step 2: Install the mainline tubing
Lay out the tubing
Position the 1/2-inch mainline tubing along the path you planned on your layout sketch.
This tubing will carry water from your source to the area where you’ll distribute it to each tree.
Cut to length
Using scissors or a tubing cutter, cut the mainline tubing to the length you need.
Make sure the cut is straight to ensure a good fit with the connectors.
Secure the tubing
Use staples or stakes to secure the tubing to the ground.
This helps keep it in place and prevents it from moving or getting damaged.
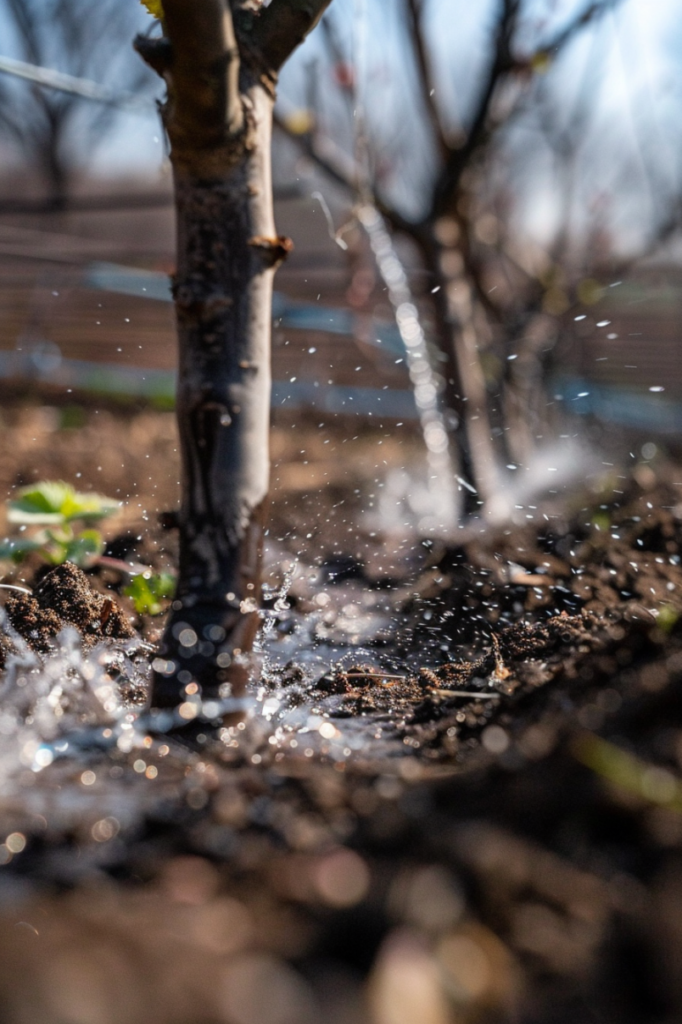
Step 3: Attach the Emitters
Punch holes in the tubing
Use a punch tool to create holes in the mainline tubing where each tree is located.
These holes are where the water will be distributed to the trees.
Insert emitters
Attach emitters to the holes you punched.
Emitters control the flow of water and should be placed close to each tree’s root zone for effective watering.
Connect emitter tubing
Attach 1/4-inch tubing to each emitter and run it to the base of each tree.
This smaller tubing delivers water directly to the roots of each tree.
Step 4: Connect to Water Source
Attach pressure regulator and filter
Connect a pressure regulator and filter to your outdoor faucet.
The pressure regulator ensures that the water flow is consistent and not too strong, while the filter keeps dirt and debris out of the system.
Connect mainline tubing
Attach the mainline tubing to the pressure regulator and filter.
This connects your irrigation system to the water source and ensures clean water is distributed to your trees.
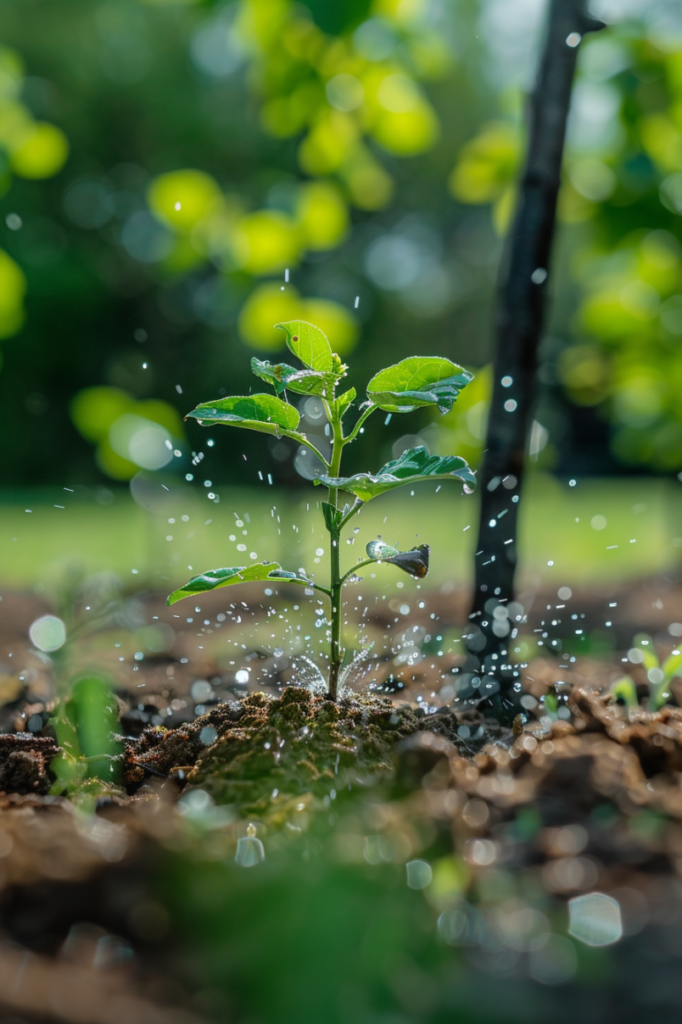
Step 5: Test the System
Turn on the water
Open the faucet to start the flow of water.
Check the entire system for any leaks or issues.
Ensure that water is flowing through all the tubing and emitters.
Adjust emitters
Make sure each emitter is releasing water at the right rate for your trees.
You might need to adjust the flow rate of each emitter to ensure even watering for all trees.
Additional Tips and Considerations
To keep your drip irrigation system working effectively and ensure your trees remain healthy, consider these additional tips:
Seasonal adjustments
Your watering needs can vary with the seasons.
During cooler months, you’ll generally need to water less frequently because the cooler temperatures and increased humidity reduce evaporation.
Conversely, in hot and dry periods, your trees may require more water to stay healthy.
Adjust the watering schedule accordingly to ensure your trees receive the right amount of moisture throughout the year.
Check for clogs
Emitters can sometimes become clogged with dirt or debris, which can affect how much water is delivered to your trees.
It’s important to regularly inspect each emitter to ensure it’s functioning properly.
If you find any clogs, clean the emitters promptly to maintain efficient water distribution.
Keeping the emitters clear helps ensure that each tree gets the right amount of water.
Mulching
Applying mulch around the base of your trees can be very beneficial.
Mulch helps retain moisture in the soil, reducing evaporation and keeping the soil consistently damp.
It also helps regulate soil temperature and can prevent weeds from competing with your trees for water and nutrients.
A layer of mulch around the root zone of each tree can enhance the effectiveness of your drip irrigation system.
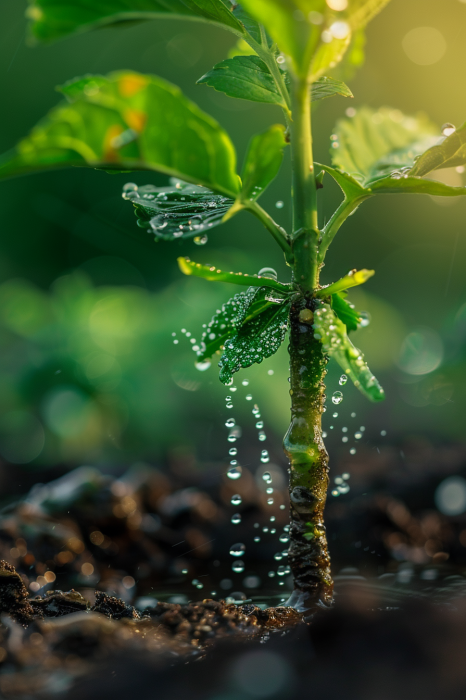
Monitor tree health
Regularly check the health of your trees to ensure they are receiving adequate water.
Look for signs of under-watering or over-watering, such as wilting leaves, yellowing foliage, or root issues.
If you notice any problems, adjust your irrigation system as needed.
Observing your trees helps you make timely adjustments to maintain their health and ensure they get the moisture they need.

- Read also: Different Types of Drip Irrigation Emitters for Efficient Watering
- Read also: Herbs on Autopilot: DIY Drip Irrigation For Herb Garden
Conclusion
Setting up a DIY drip irrigation system for your trees is a smart investment in their health and longevity.
This method conserves water, promotes strong root development, and saves you time.
By following these steps and tips, you can create an efficient watering system that keeps your trees thriving.


